I wanted to make this “happy accident” again to give as Christmas gifts, so here is an updated version of the recipes, which does not include cranberry sauce! Since cranberries and rhubarb are not in season simultaneously, one or the other of them (or both) will most likely be frozen when you make this preserve. I froze cranberries last year at Thanksgiving-time to use in this recipe, and I also always freeze rhubarb for pies throughout the summer. However, I still had rhubarb in the garden last week, so I was able to use fresh stalks this go-round for this recipe. But frozen rhubarb works perfectly well as I discovered last year.
Ingredients:
9 cups cranberries (mine were frozen)
9 cups sliced rhubarb (fresh or frozen)
4 cups water
4 cups sugar + ½ cup sugar, kept separate
2 vanilla beans

OLYMPUS DIGITAL CAMERA
Slit the vanilla beans and scrape the tiny black seeds into the pot. If your beans are fresh, throw the pods in too, just remove them before straining.* Place the all the ingredients except the ½ cup sugar in a large pot and bring to a boil. Reduce heat to medium-low and simmer until cranberry skins have burst and rhubarb is soft.
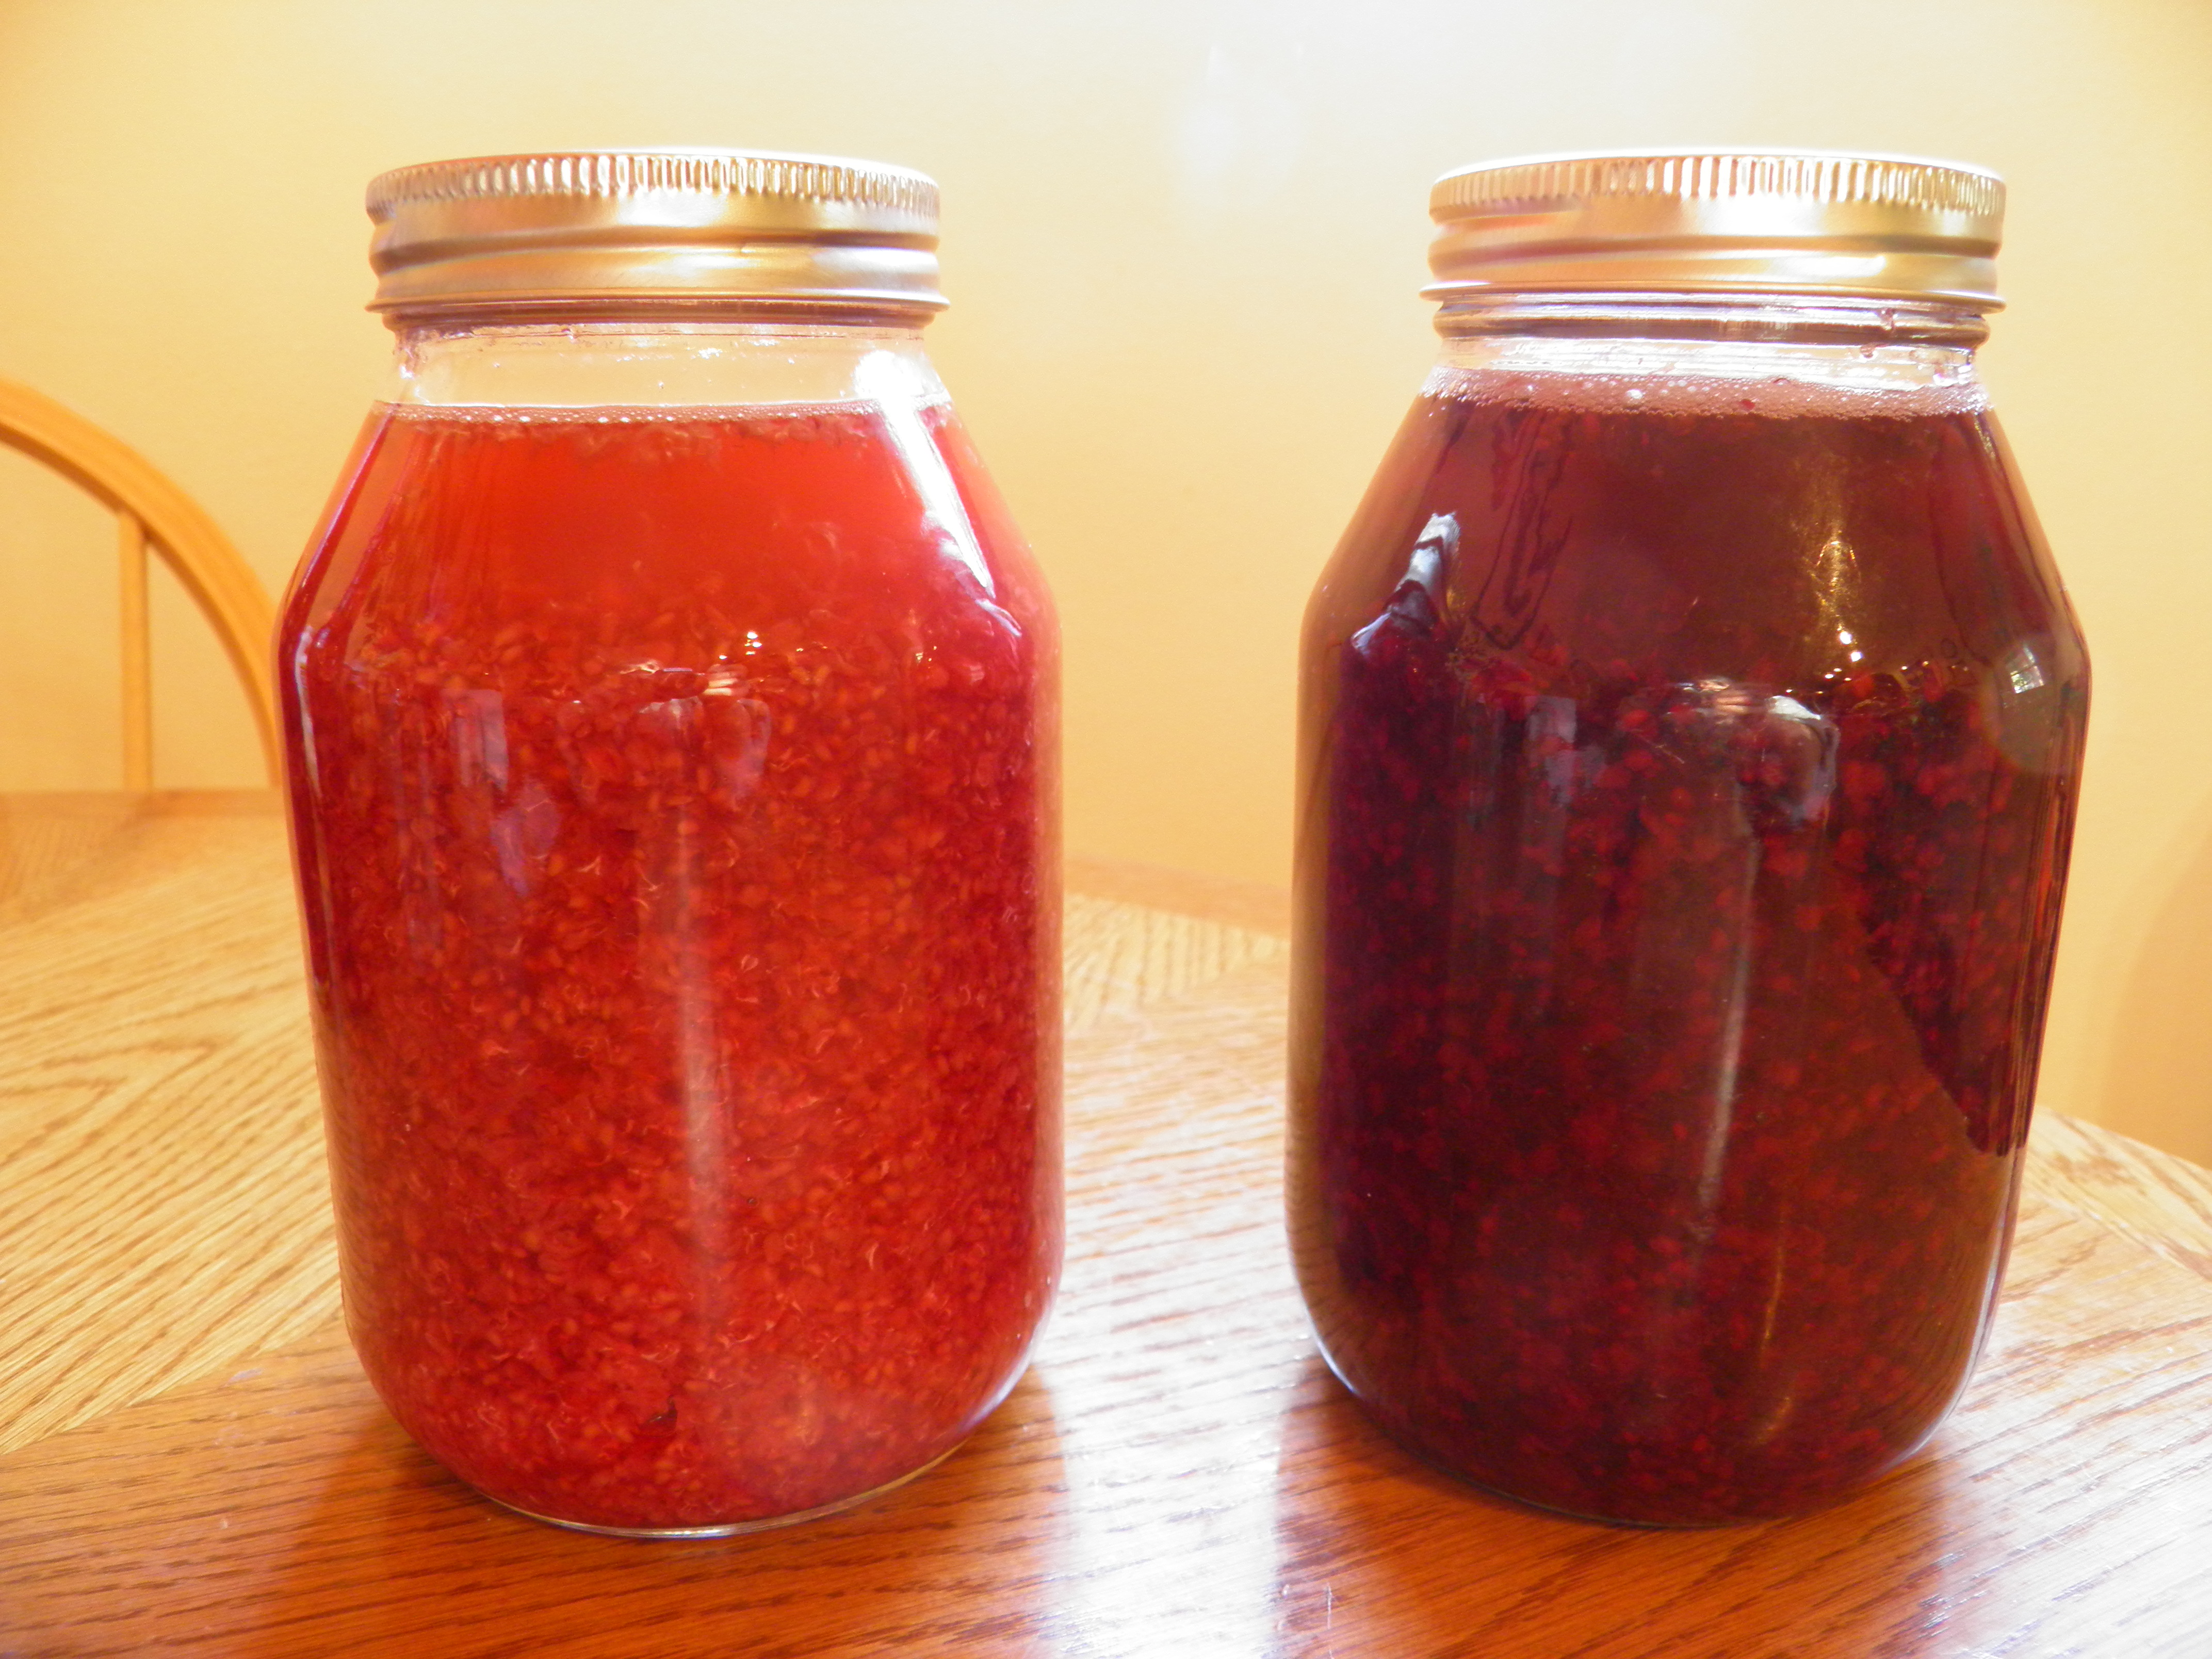
Line a colander or strainer with cheesecloth (personally, I prefer nylon tulle—it has smaller holes and is easier to deal with after you’re done—just rinse it out, wash it, and use it again!). Pour cranberry-rhubarb mixture into the strainer and just leave it for an hour or so. You can stir gently, but avoid forcing solids through the cheesecloth or tulle.

OLYMPUS DIGITAL CAMERA
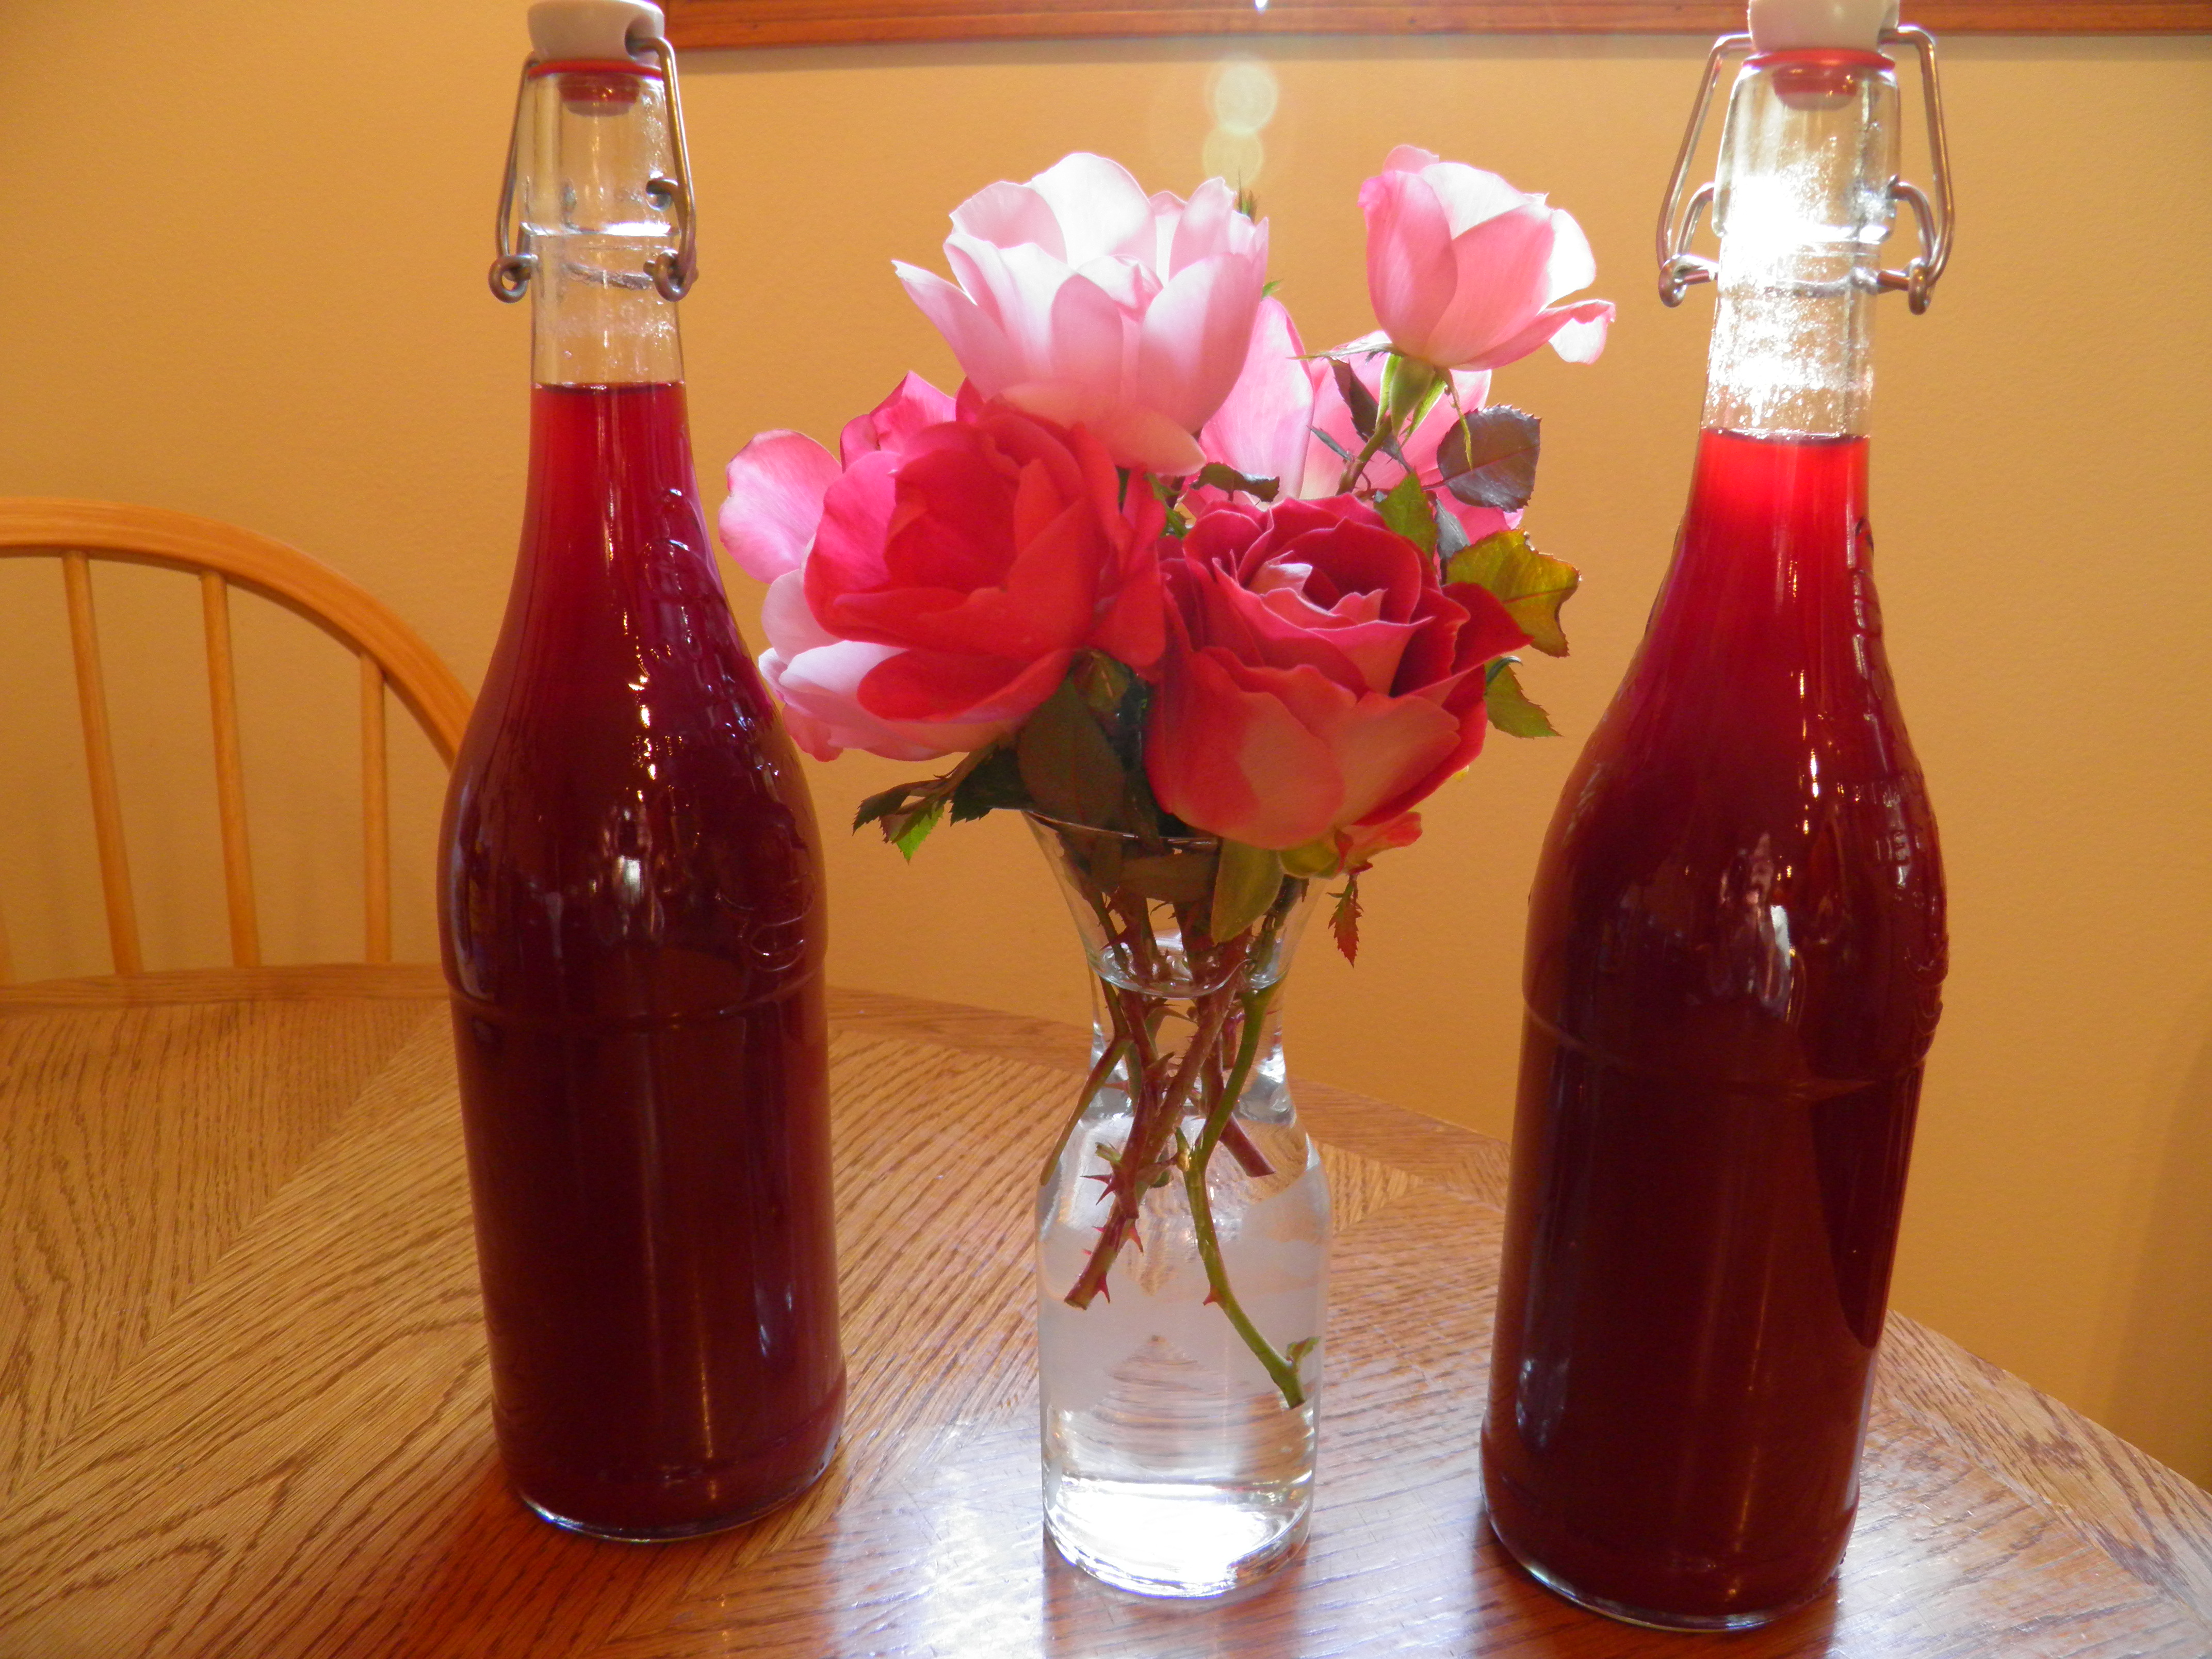
After the dripping has stopped, pour off the syrup you’ve gathered. (If any tiny cranberry seeds have found their way through, you might want to strain through another cloth, but it isn’t necessary.) Pour the fruit syrup into a clean pan and heat until boiling, lowering to simmer for 10 minutes. You should have about 4 cups, or 2 pint jars worth. This can be poured into sterilized, hot jars, capped, and canned in the water bather canner for 15 minutes, adjusting processing time for your altitude. This syrup is delicious in cocktails or non-alcoholic spritzers. You get the tartness of cranberry and rhubarb, the sweetness of sugar, and the floral scent and flavor of the vanilla beans. It is good stuff!

OLYMPUS DIGITAL CAMERA
If you want to use the syrup for pancakes, boil it down a little longer until it is thicker and reduced to the consistency you prefer for pancakes or waffles. If it isn’t sweet enough for you, you can add agave nectar or non-high-fructose corn syrup to the mixture (about a cup per 4 cups of fruit syrup), which will also thicken it more. Bring back to a boil, and can the syrup as directed above.
Now, for the cranberry-rhubarb butter. A word about fruit butters might be in order here. A fruit butter, such as pear butter or apple butter, is a smooth, thick, rich concoction you can spread on toast, or a bagel, or anything else you choose (a cracker with a slice of tart cheese, or a schmear of cream cheese, perhaps). Generally, the fruit is cooked and strained or pureed and cooked down some more until it is concentrated flavor. Oh, my, I do love fruit butters! I make pear butter when I can get pears, and I make apple butter every year from my garden apples. This cranberry-rhubarb butter is just as thick and delicious, but you don’t have to cook it down for very long the way you do pear or apple butter. I am guessing that the abundance of natural pectin in both fruits, and the fact that you’ve strained off some of the juice, have something to do with this.
Now, you could just skip the next step, the second straining, and can this mixture as jam. It would need to be cooked down a little more, until it is thick and glossy, and then it could go right in the sterile jars and be processed for 10 minutes in the water bath canner like any other jam. However, rhubarb can be fibrous, and cranberry skins can be tough even with long cooking, so running the mixture through a strainer is a good idea. And what you end up with is so smooth and delicious, it really is worth the trouble.
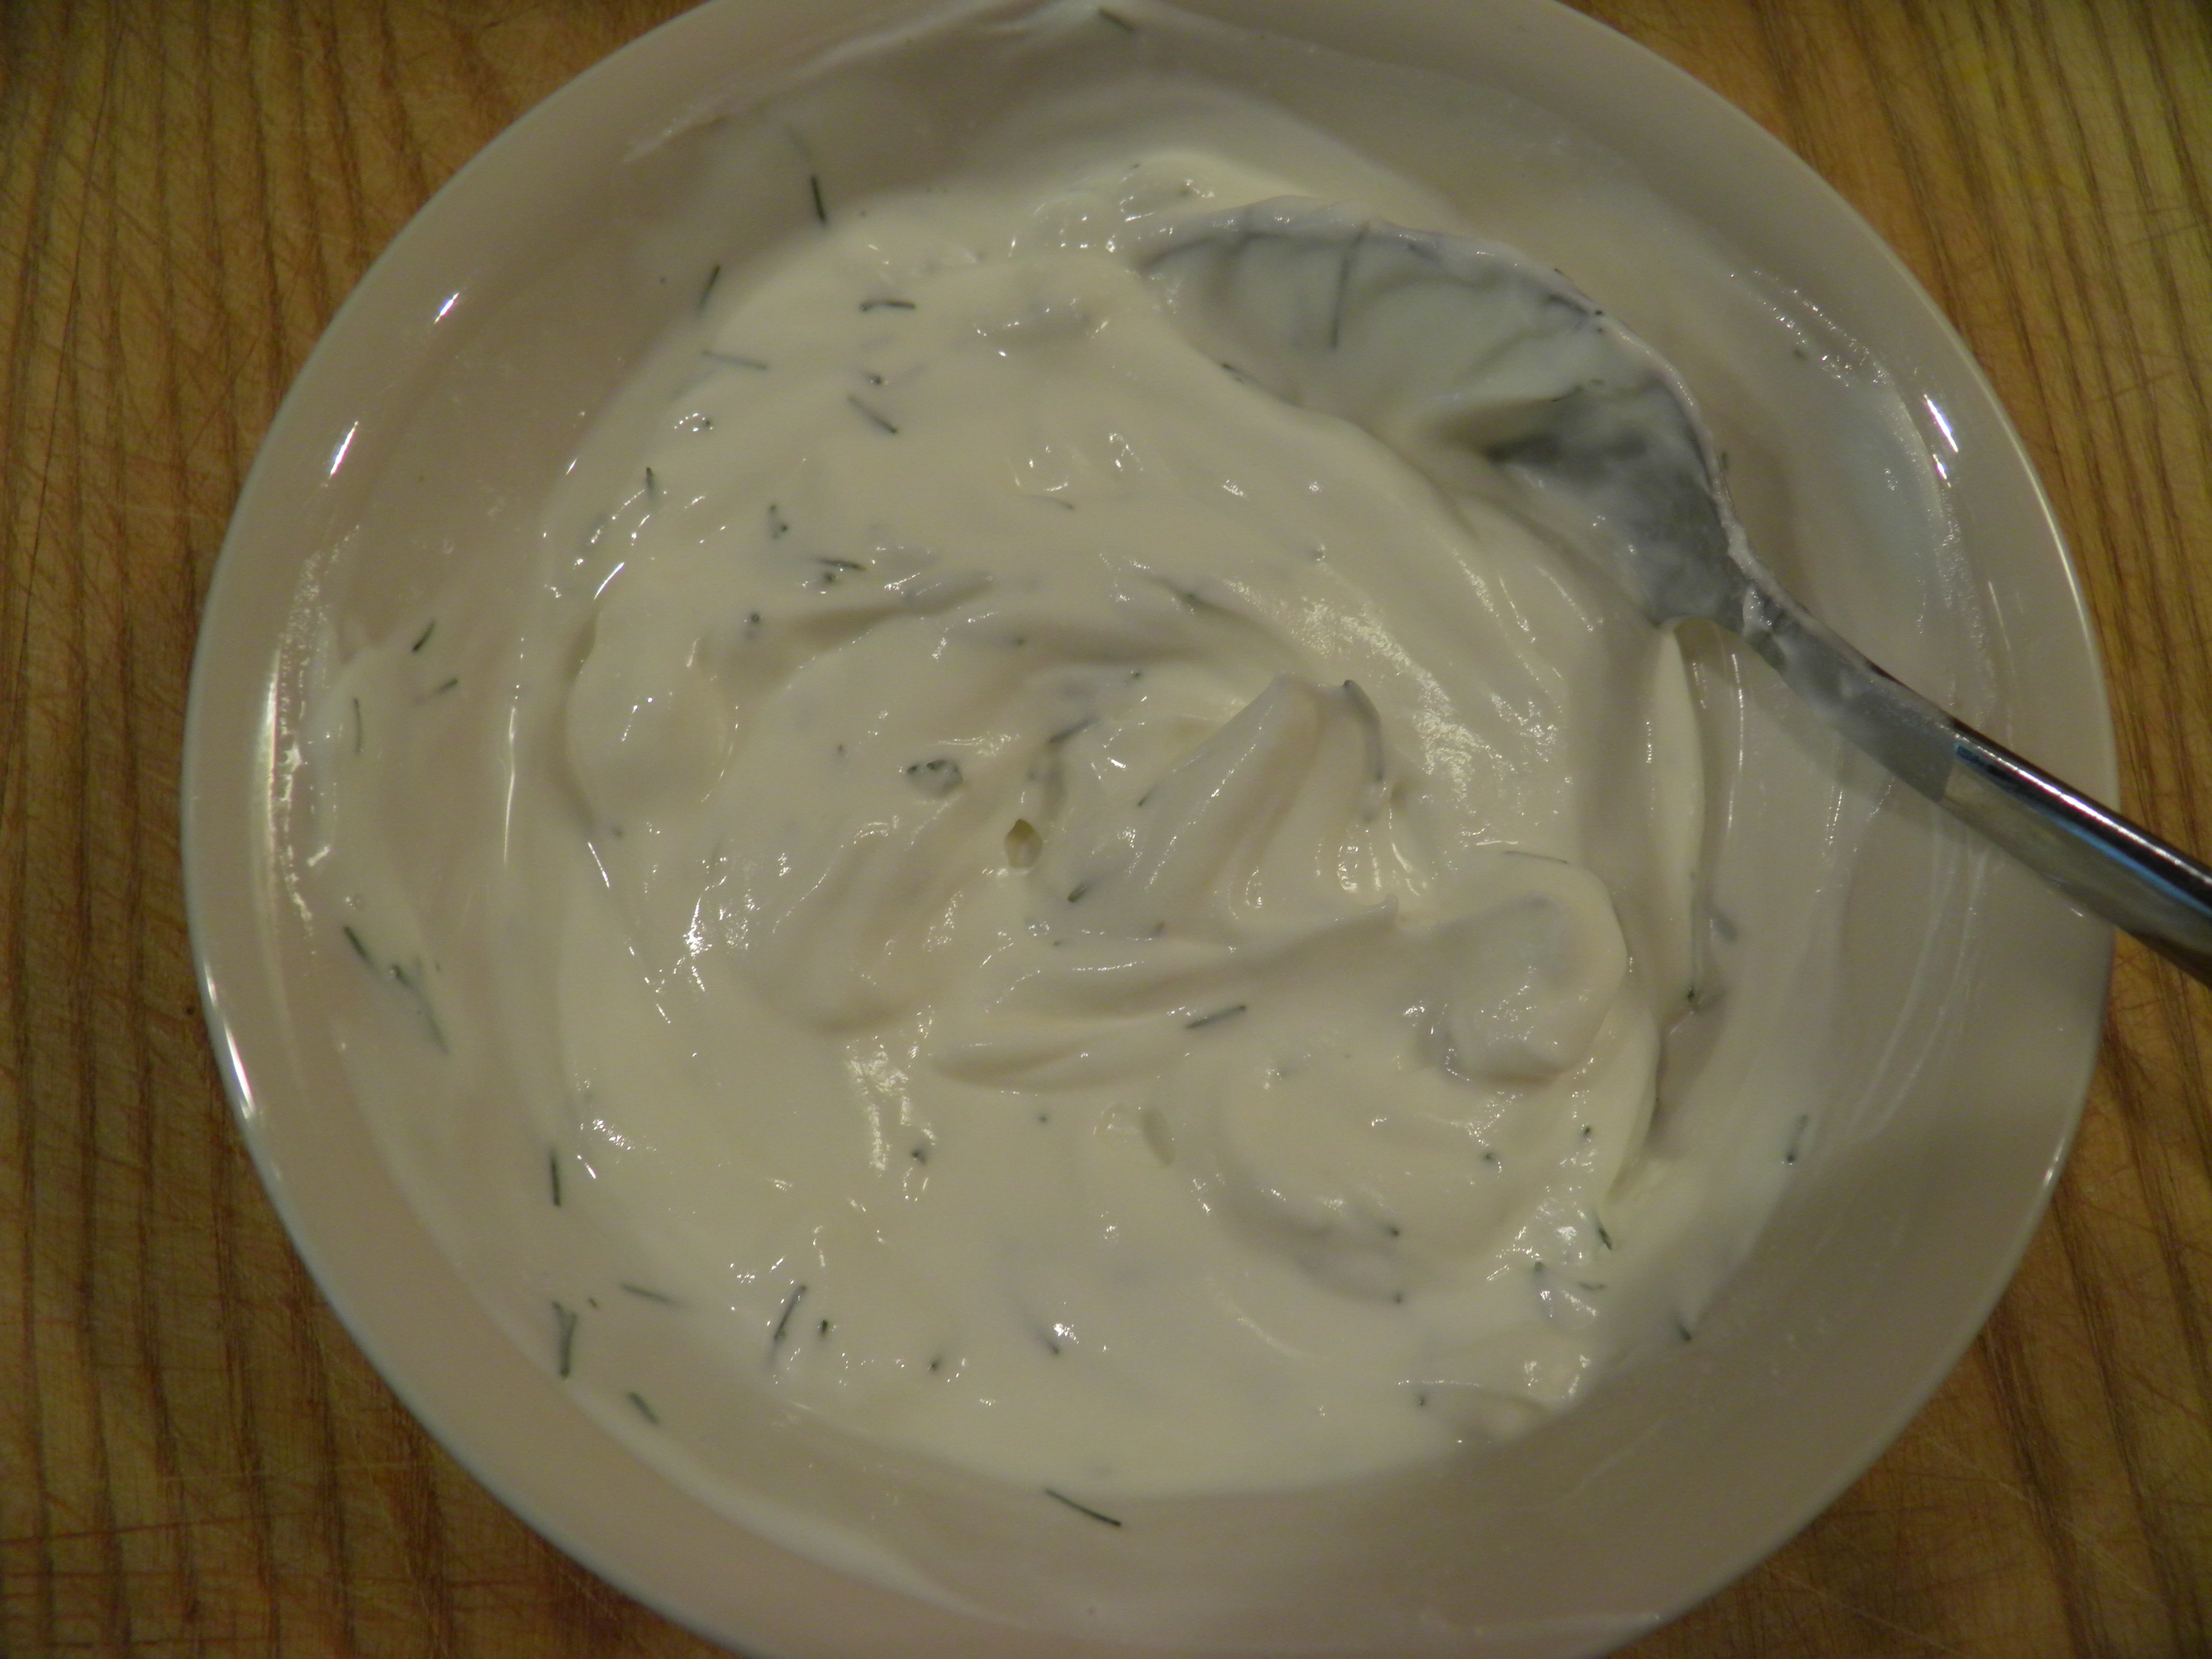
So, for cranberry-rhubarb butter, run the mixture through a chinois (also known as a China cap colander) or a Squeezo strainer, or whatever sort of straining device you have. I use a chinois, which I call a cone colander when I’m not being all fancy-like. This gets out all the rhubarb fibers and tough cranberry skins. (I saved this roughage though to eat like cranberry sauce with roast chicken. I don’t really mind the occasional tough skin or rhubarb string.) What you will end up with in the pan or bowl after straining is thick and smooth pulp.
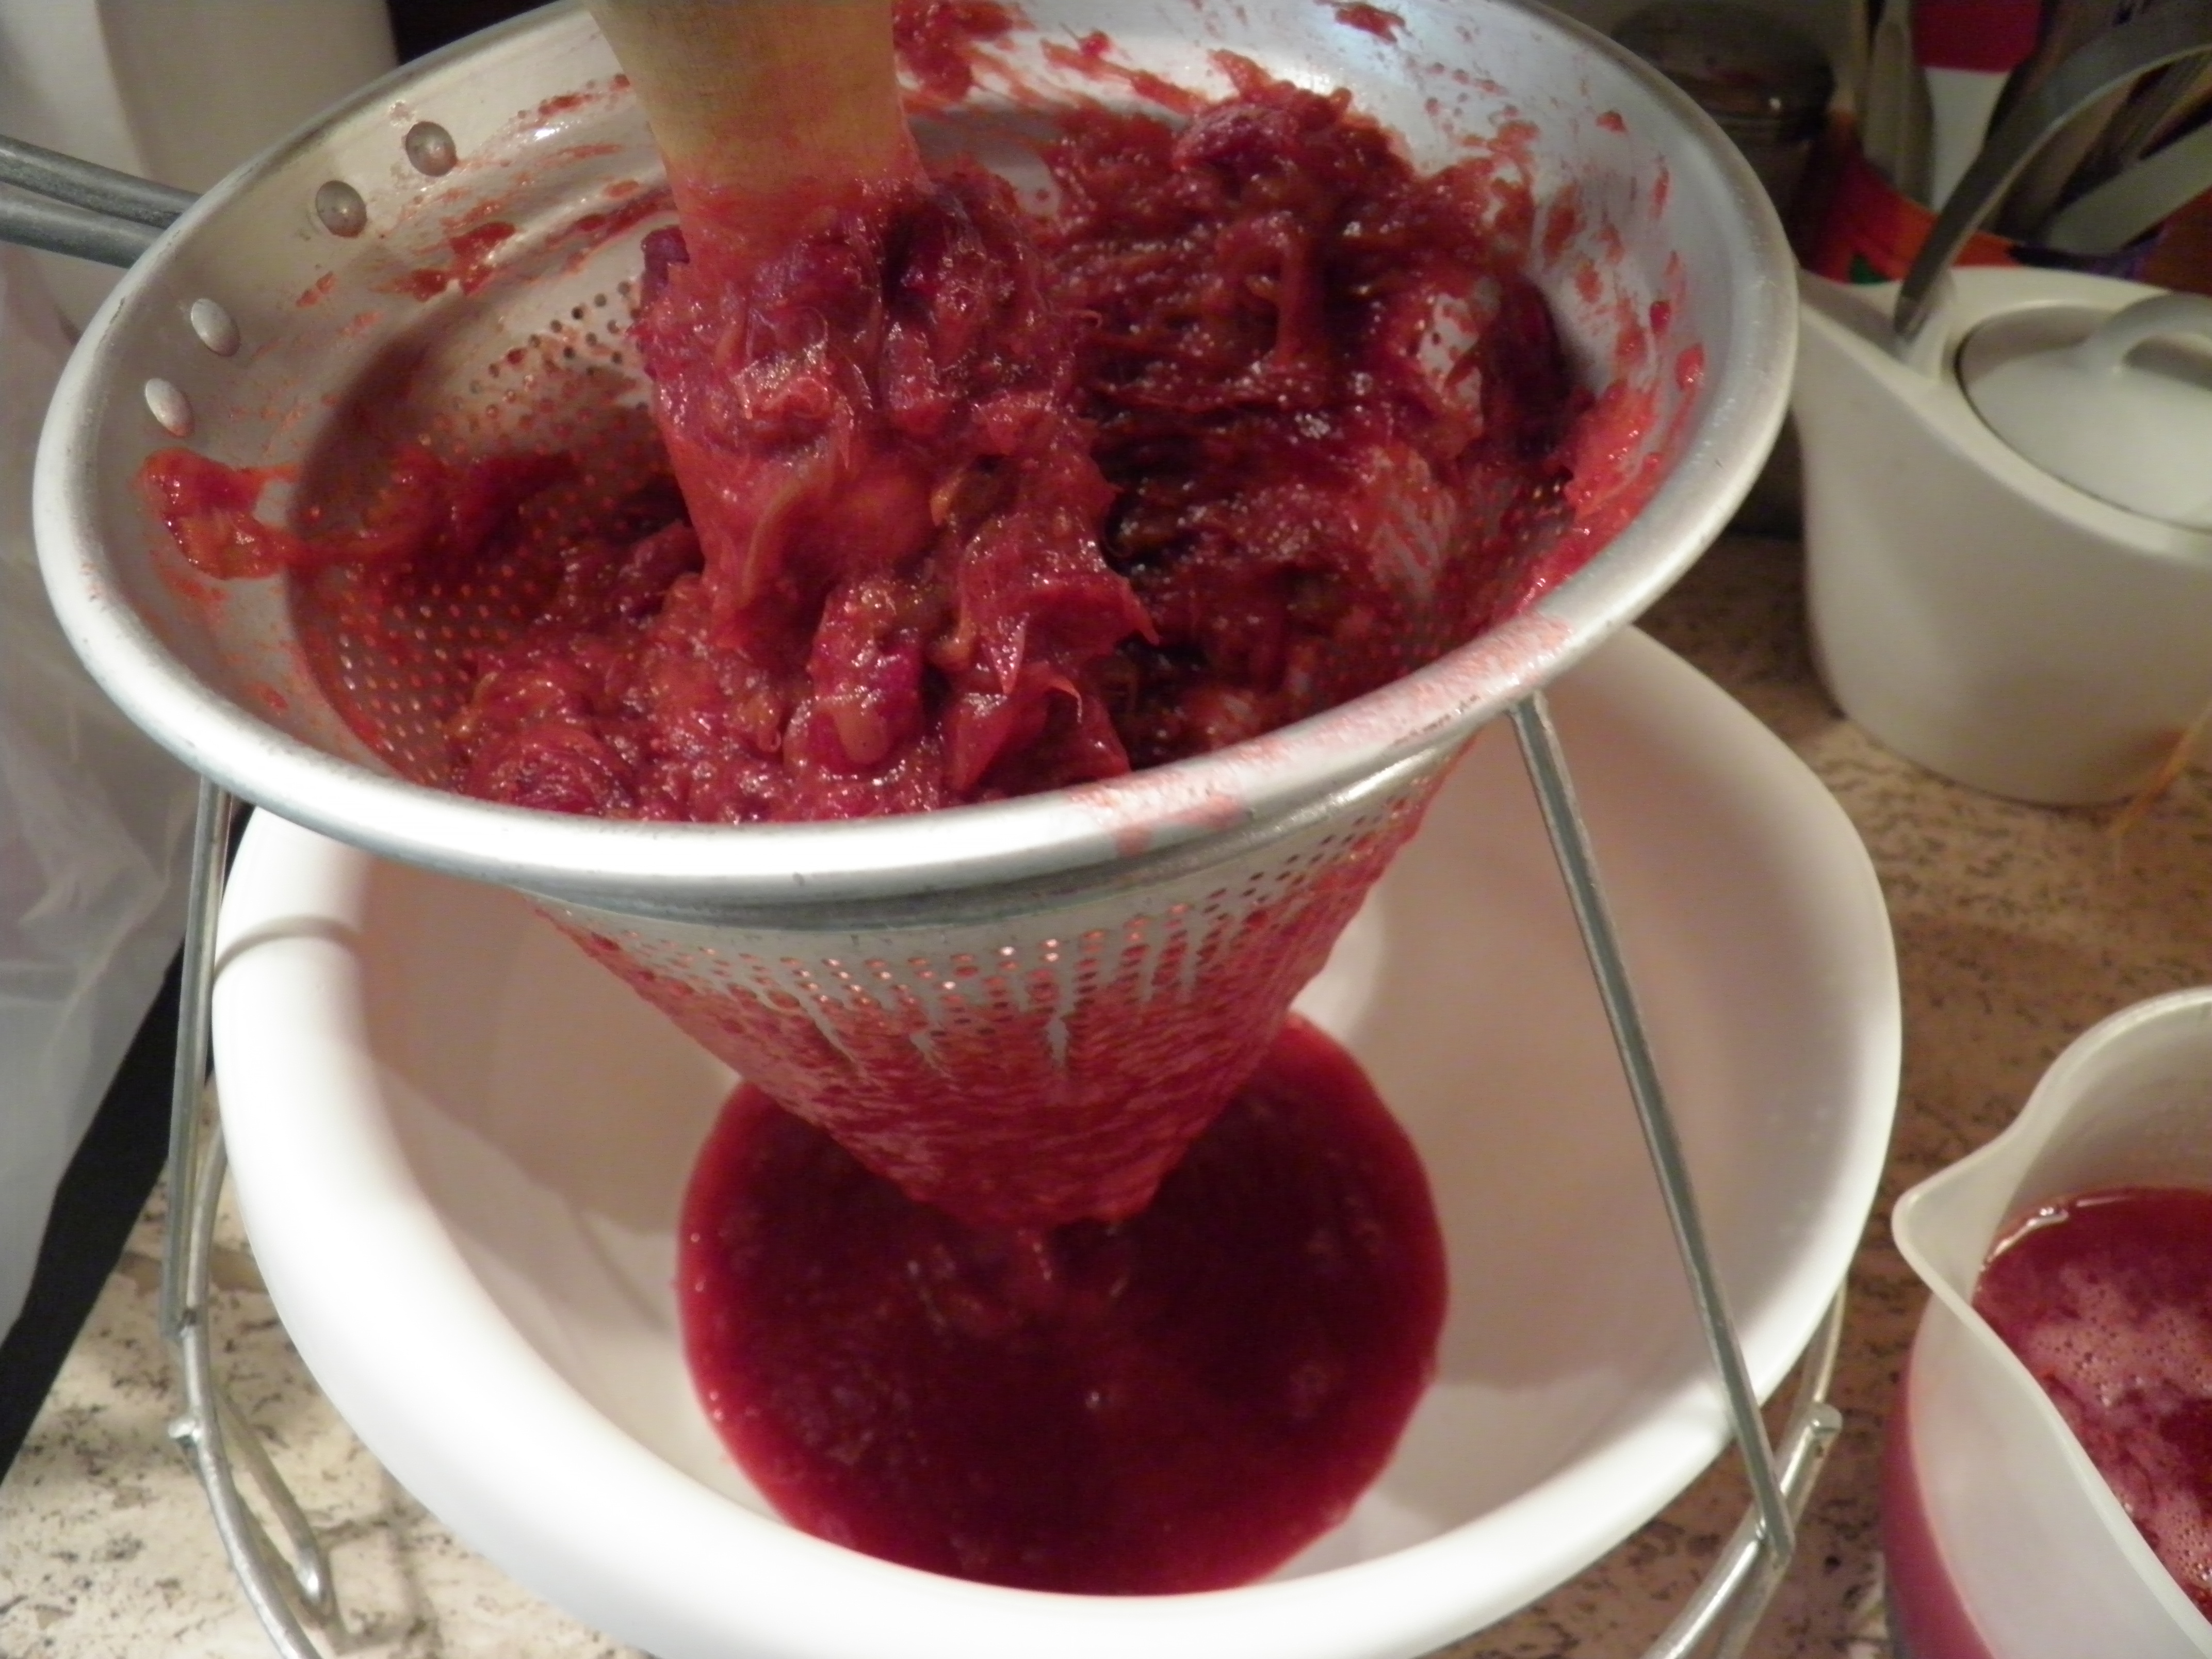
OLYMPUS DIGITAL CAMERA
Put that strained pulp (I got about 5 cups) back in a large pot, add the reserved ½ cup sugar if the mixture is too tart for you (or more, if you prefer a sweeter taste; ½ cup was perfect for me) and heat to boiling. This stuff is really thick, so as soon as it starts to blurp, turn the heat down, and do stir continuously during the heating up process and until the butter reaches a lower heat; otherwise, it will stick and scorch. Cook the butter on a low heat at a constant simmer until it is very glossy. This should only take about 10 or 15 minutes, stirring frequently. The glossiness means that all the sugars have amalgamated, and the pectins have been concentrated, and you will have a nice, thick, rich spread when it comes out of the jar.

OLYMPUS DIGITAL CAMERA
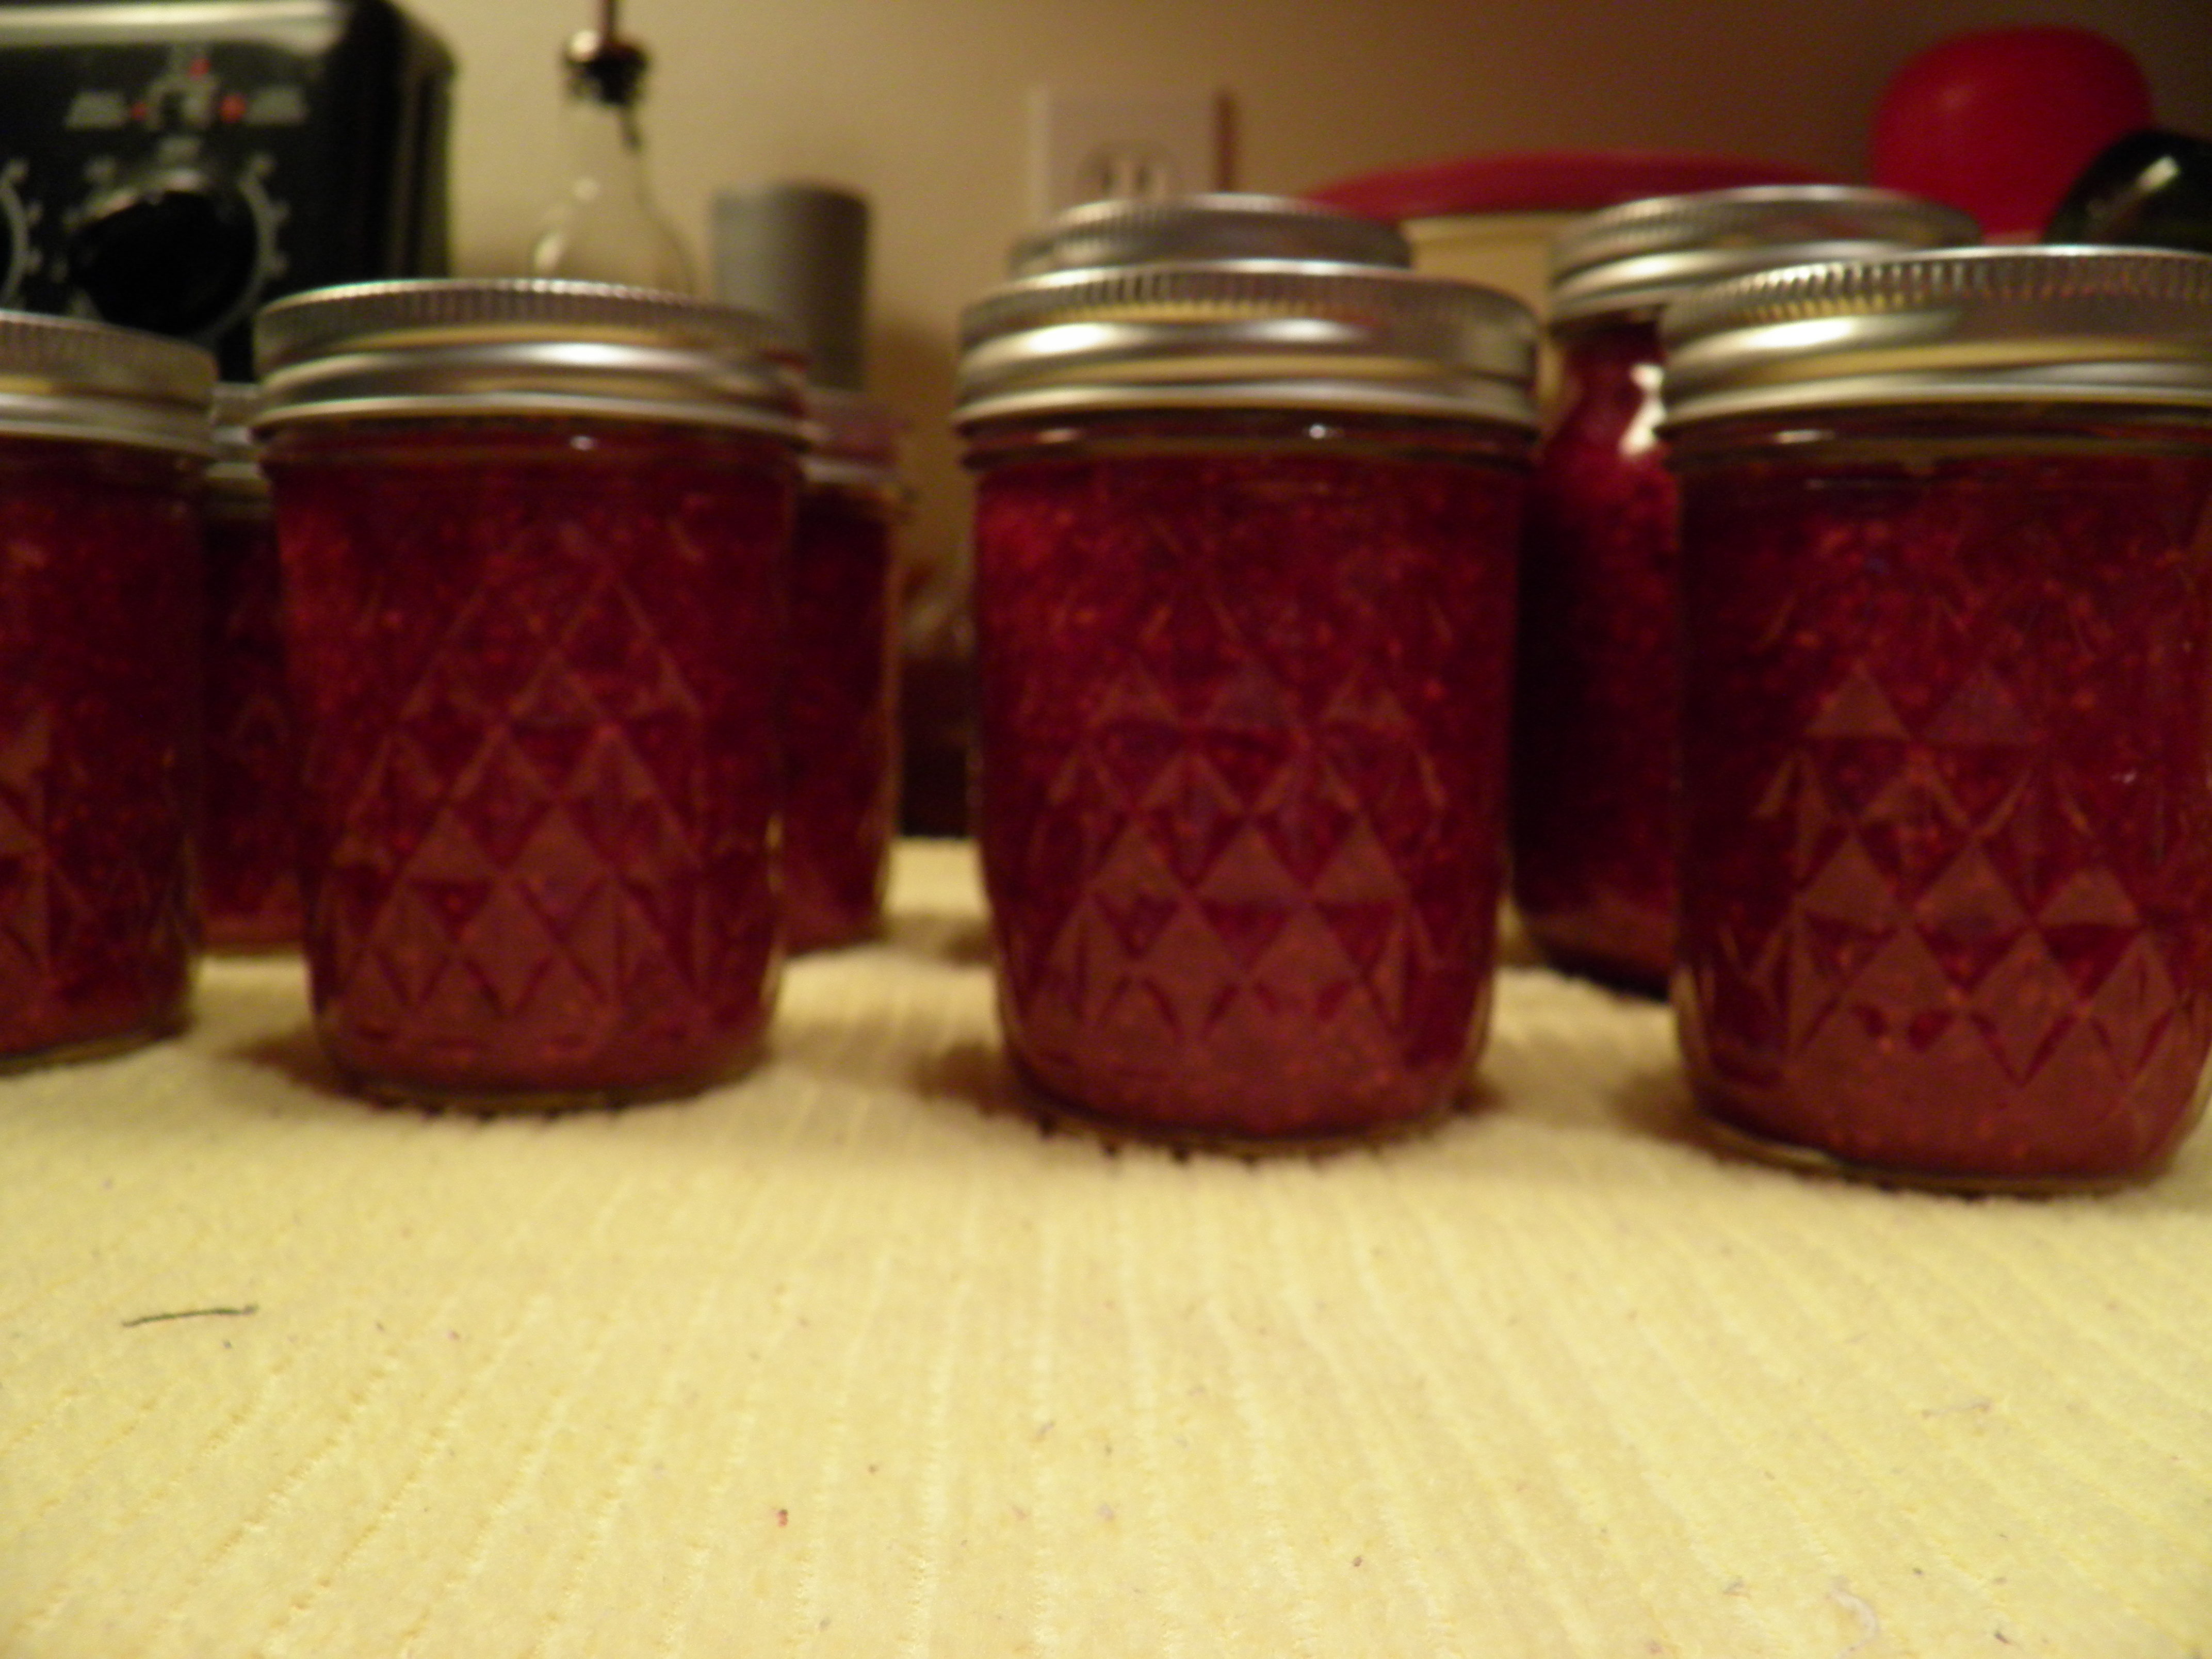
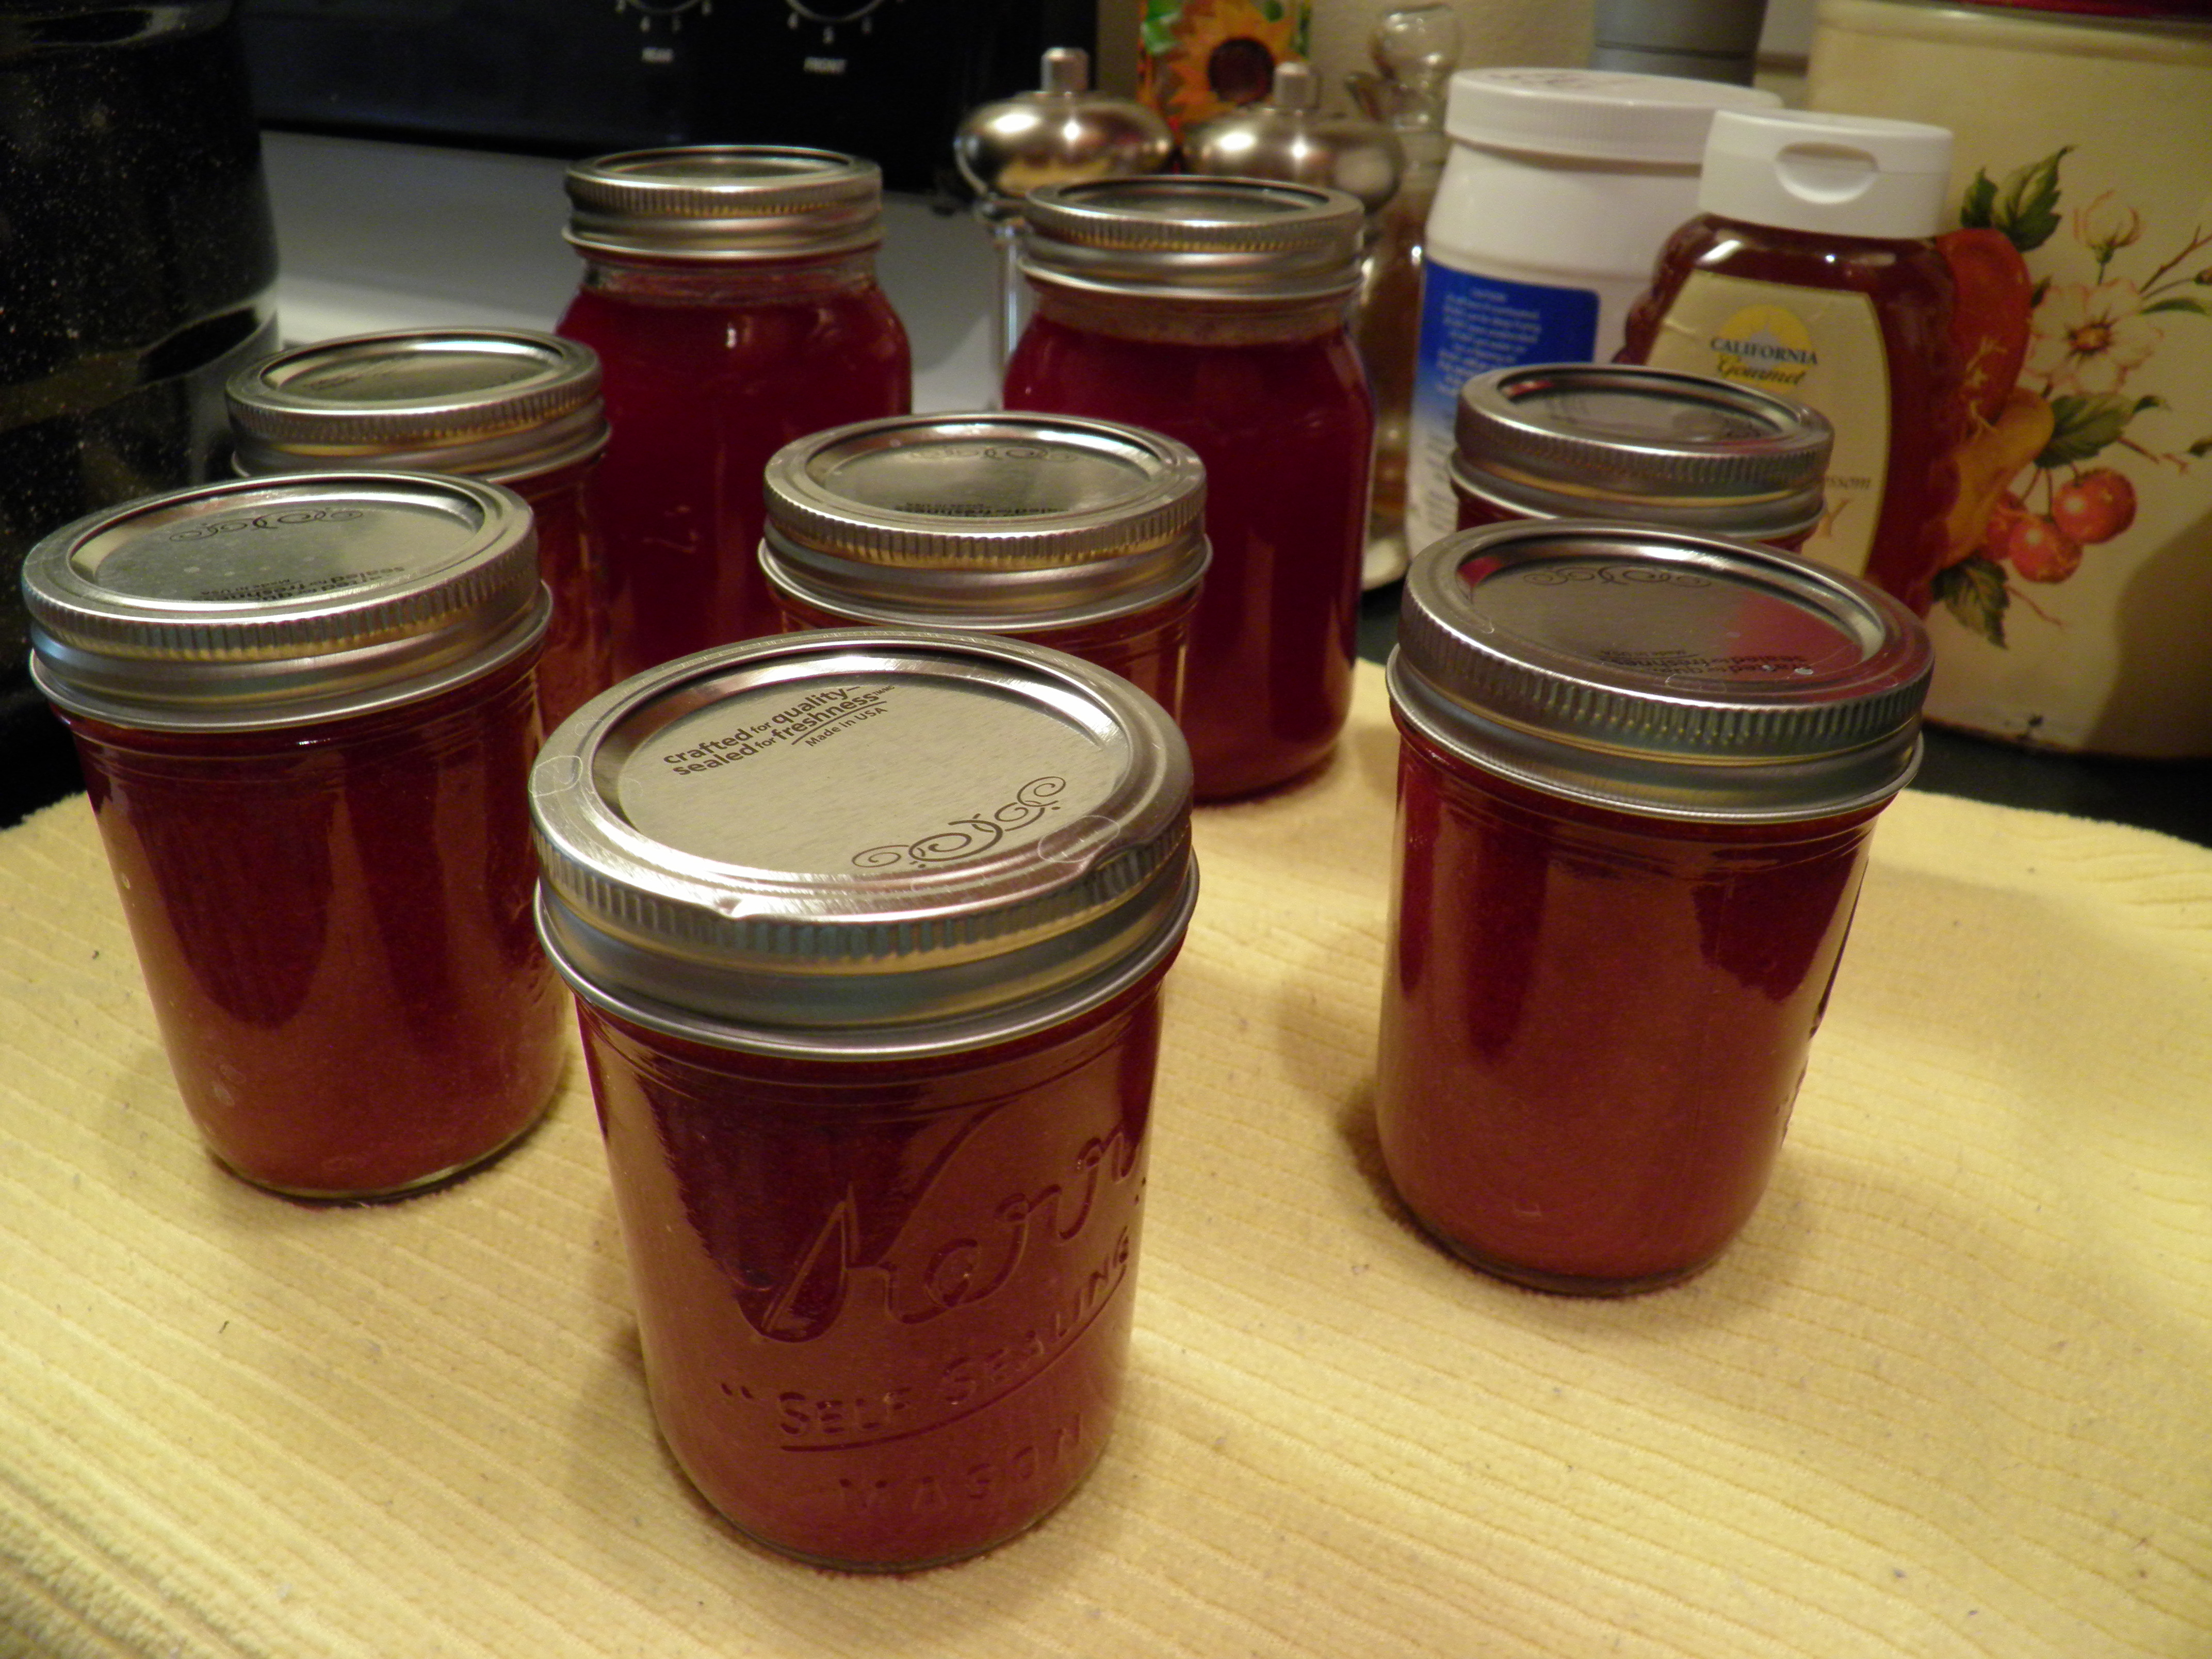
Spoon your cranberry-rhubarb butter into sterilized, hot jars, leaving a ½ headspace, cap, and process in boiling water bath for 15 minutes, adjusting processing time for your altitude.
I got 5 half-pint jars of cranberry-rhubarb butter, most of which I will give for Christmas gifts, but at least one jar will be served with Thanksgiving dinner, because it is perfect for that meal.
OLYMPUS DIGITAL CAMERA
Recipe Notes:
*My vanilla beans weren’t fresh, and I learned something. If the beans smell a bit alcoholic, that’s the pod. Scrape the inside of the bean and use that, but discard the pods. The inside is still perfectly fine. My beans were a year old, but had been kept tightly wrapped in a Ziploc plastic bag and in a jar in the fridge. Obviously, you don’t want to use anything that’s moldy or weeping liquid.
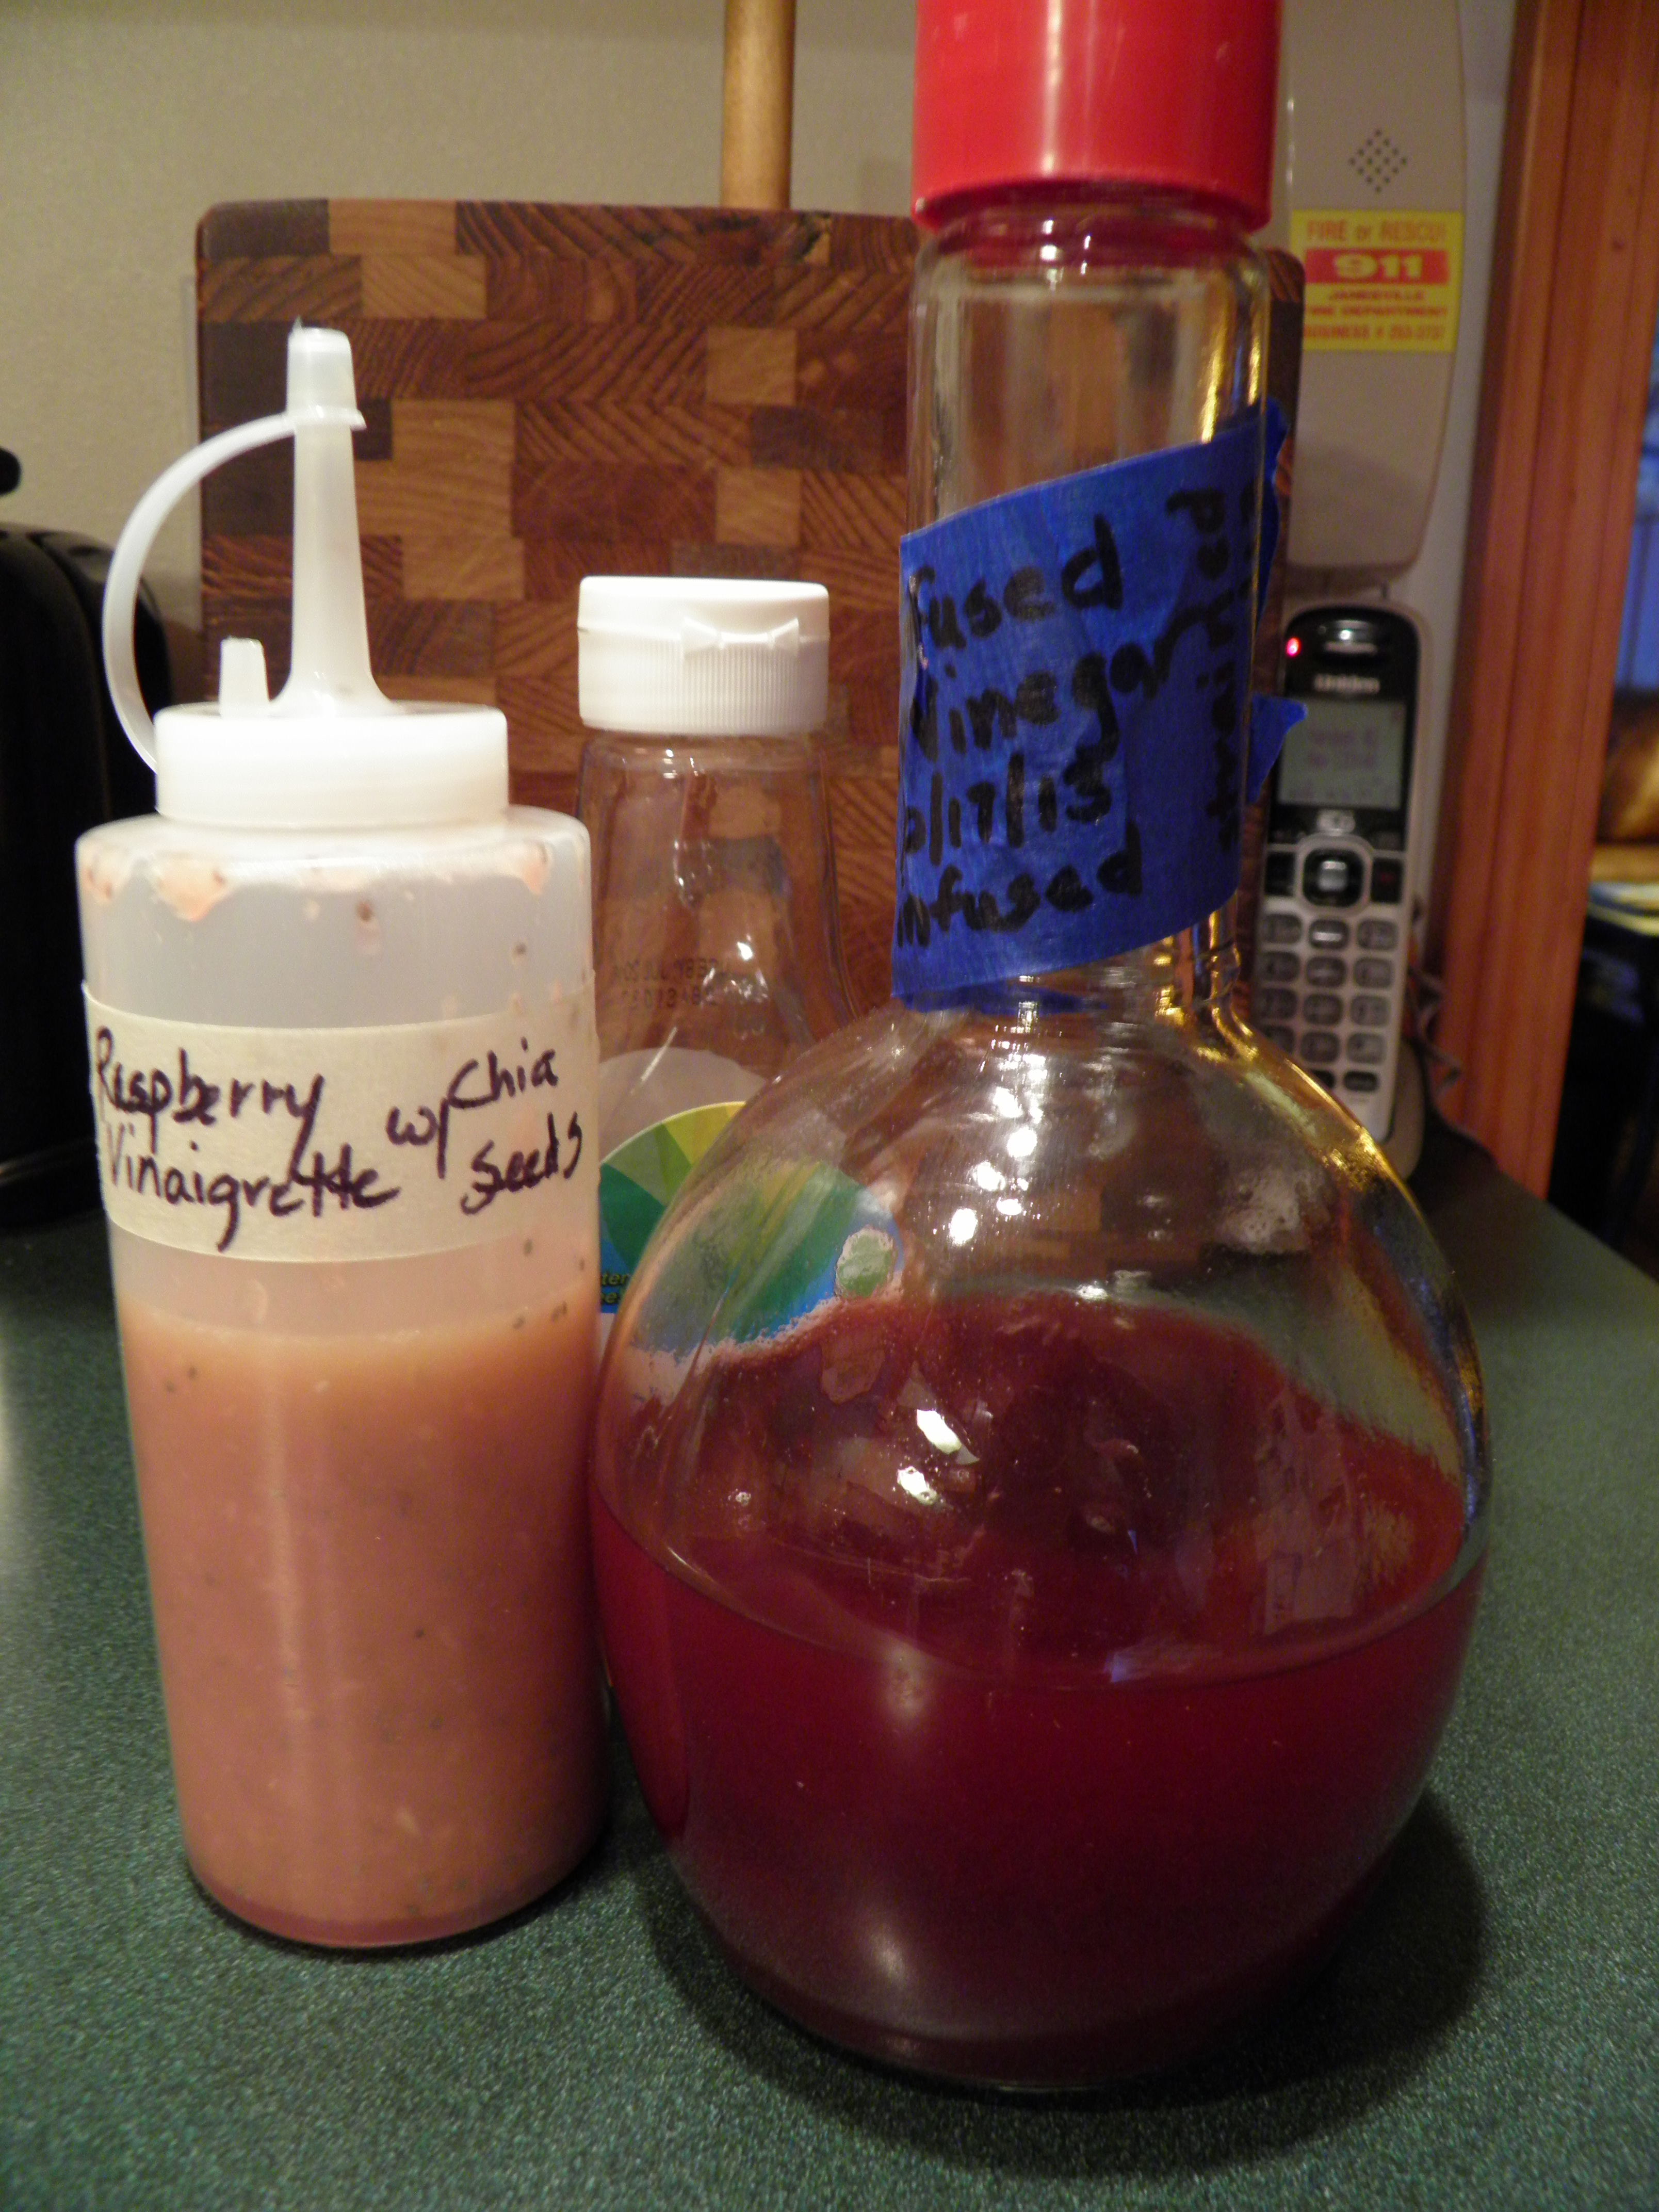
With these amounts of fruit, etc., my yield was 2 pints of cranberry-rhubarb syrup, 5 half-pints of cranberry-rhubarb butter (with a small dish leftover to enjoy NOW!), and a pint-sized tub of roughage to eat like cranberry sauce with roast chicken (pic below).

OLYMPUS DIGITAL CAMERA
I hope you’ll freeze some rhubarb and/or cranberries this year to try this recipe. It really is amazingly good. Happy jamming!