
Update: the LED rope light works! See below.
It’s spring, no matter what the calendar says, but here in northeastern California, in the northern spur of the Sierra Nevada Mountains, spring is always chancy. A few years ago, my husband built a little greenhouse for me, so my spring seed starting is so much easier than it used to be when I had to start everything in the house and rig up lamps in the laundry room and move seed flats outside for sunlight and inside for cold protection. I have a much better system now that I want to share with those of you who are fortunate enough to have a greenhouse or who can rig something similar for seed starting on a sunny, enclosed porch, or even in a warm basement.
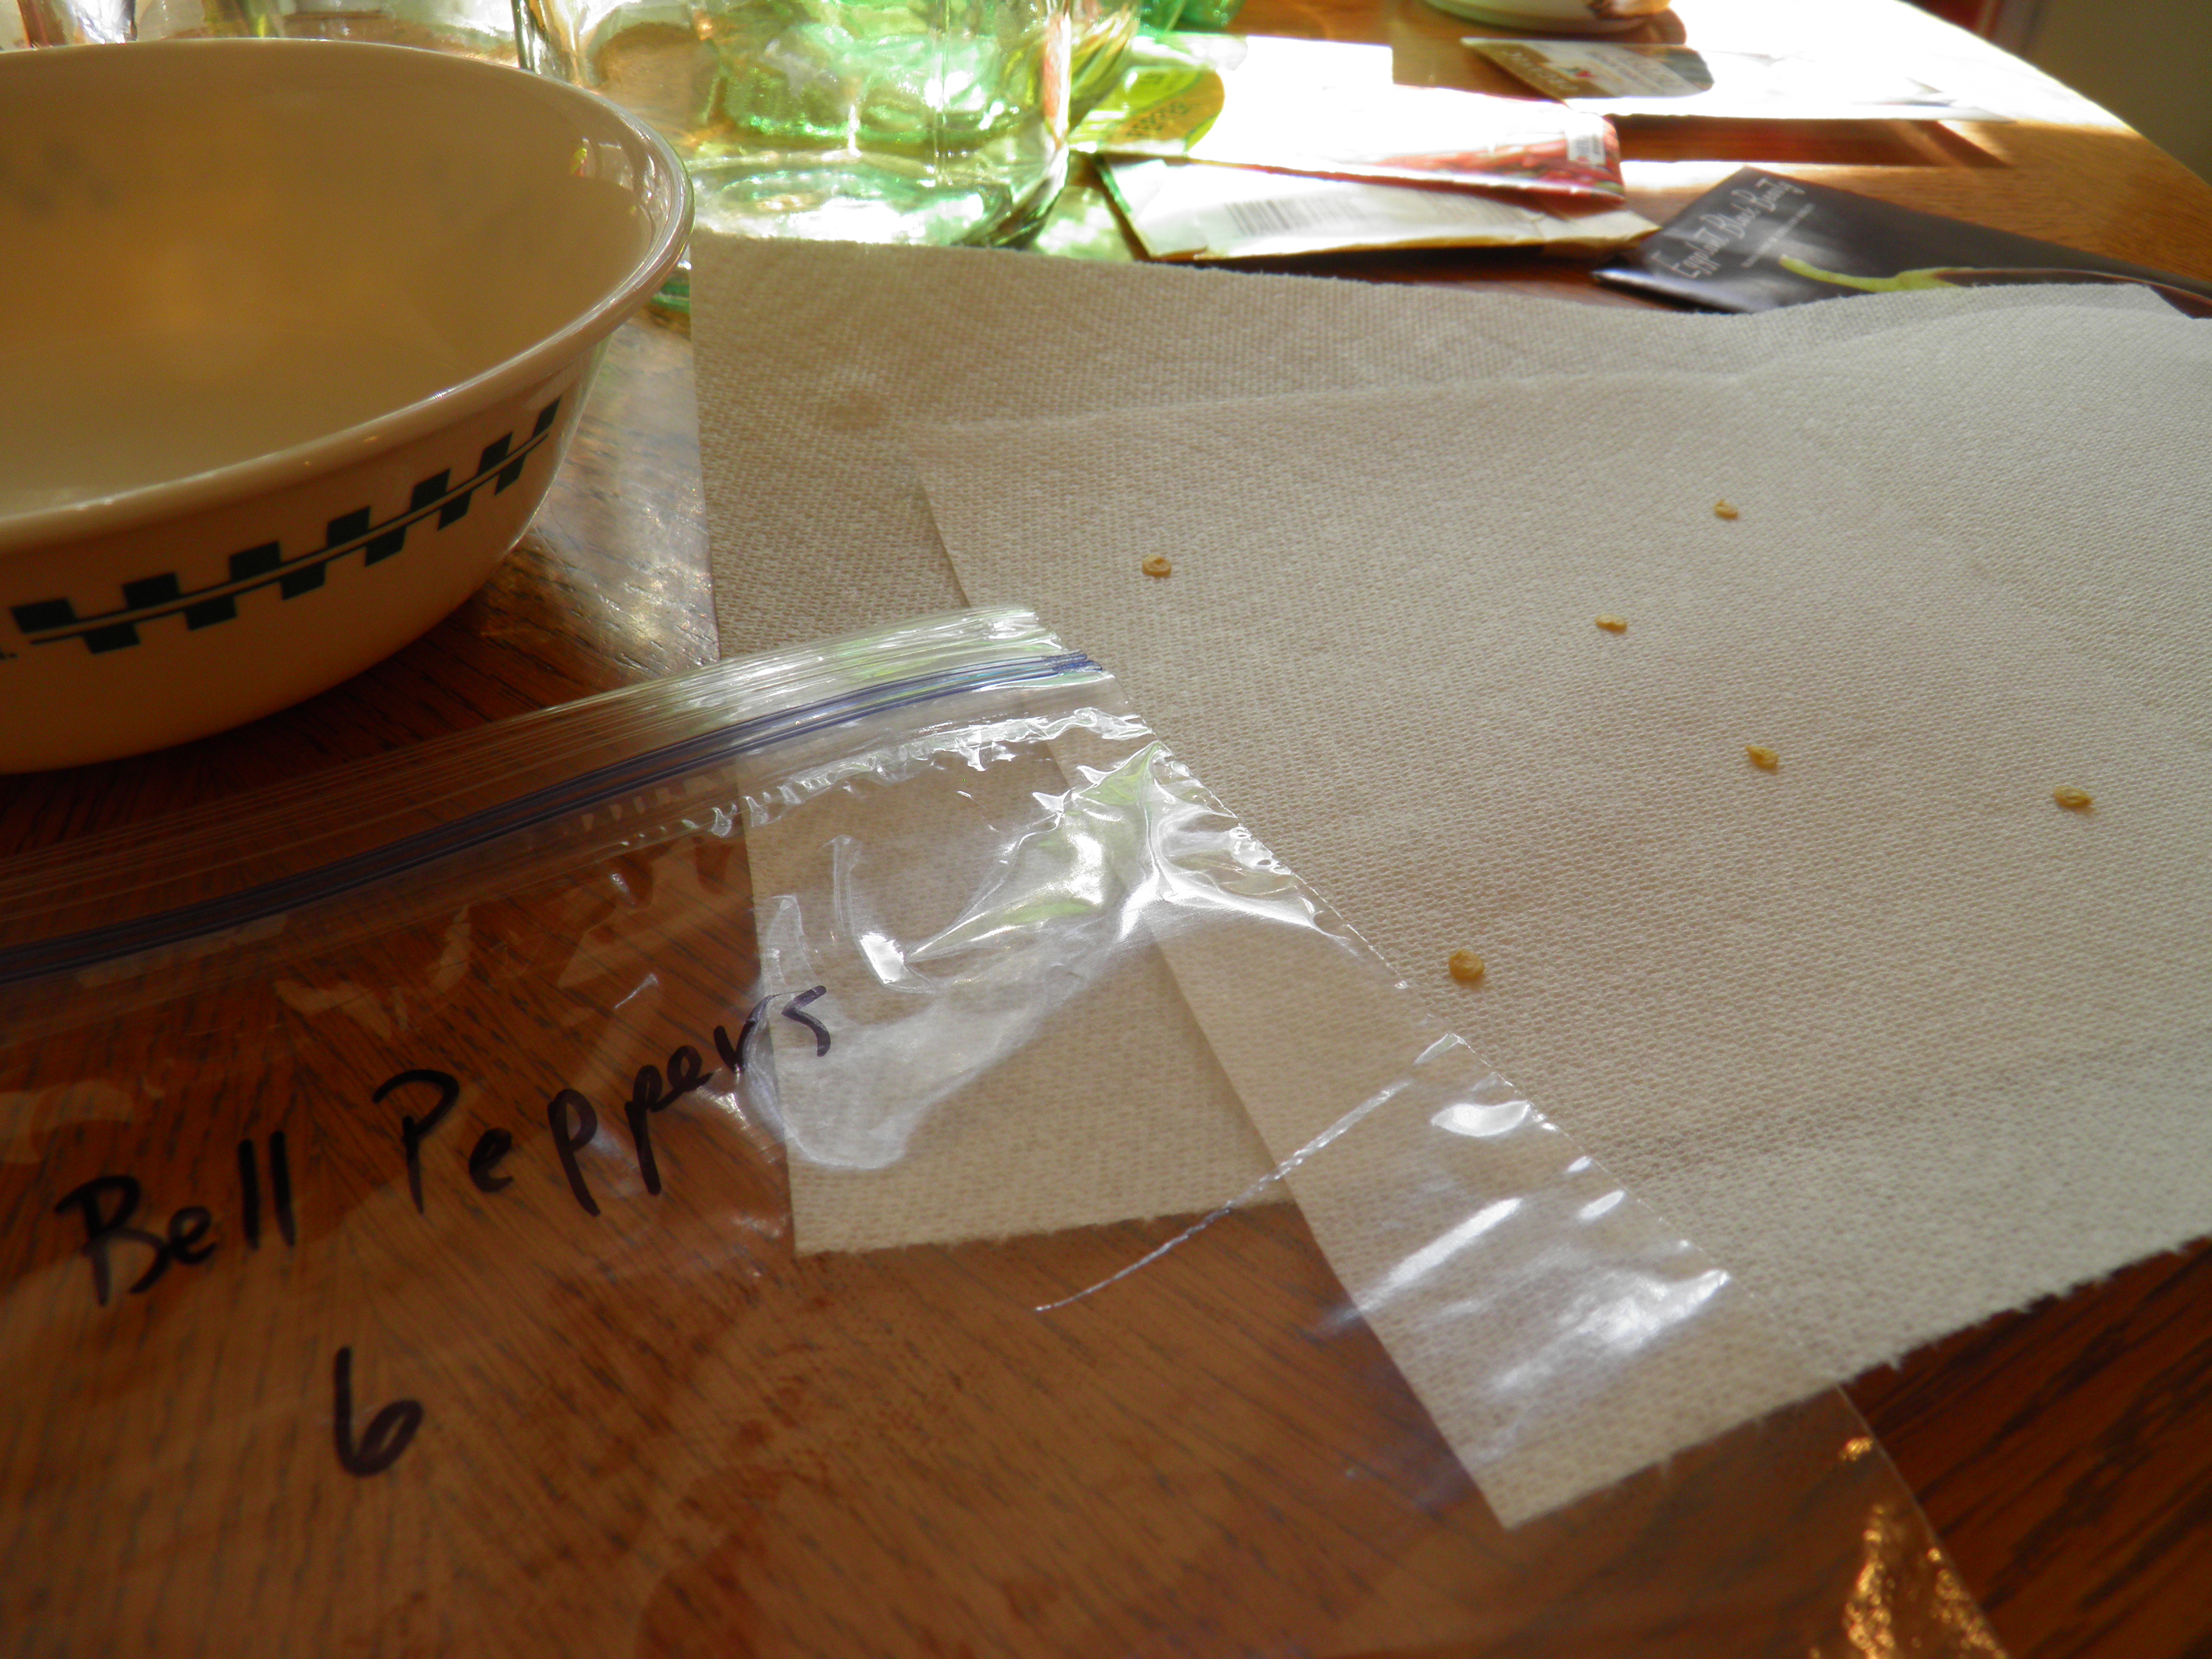
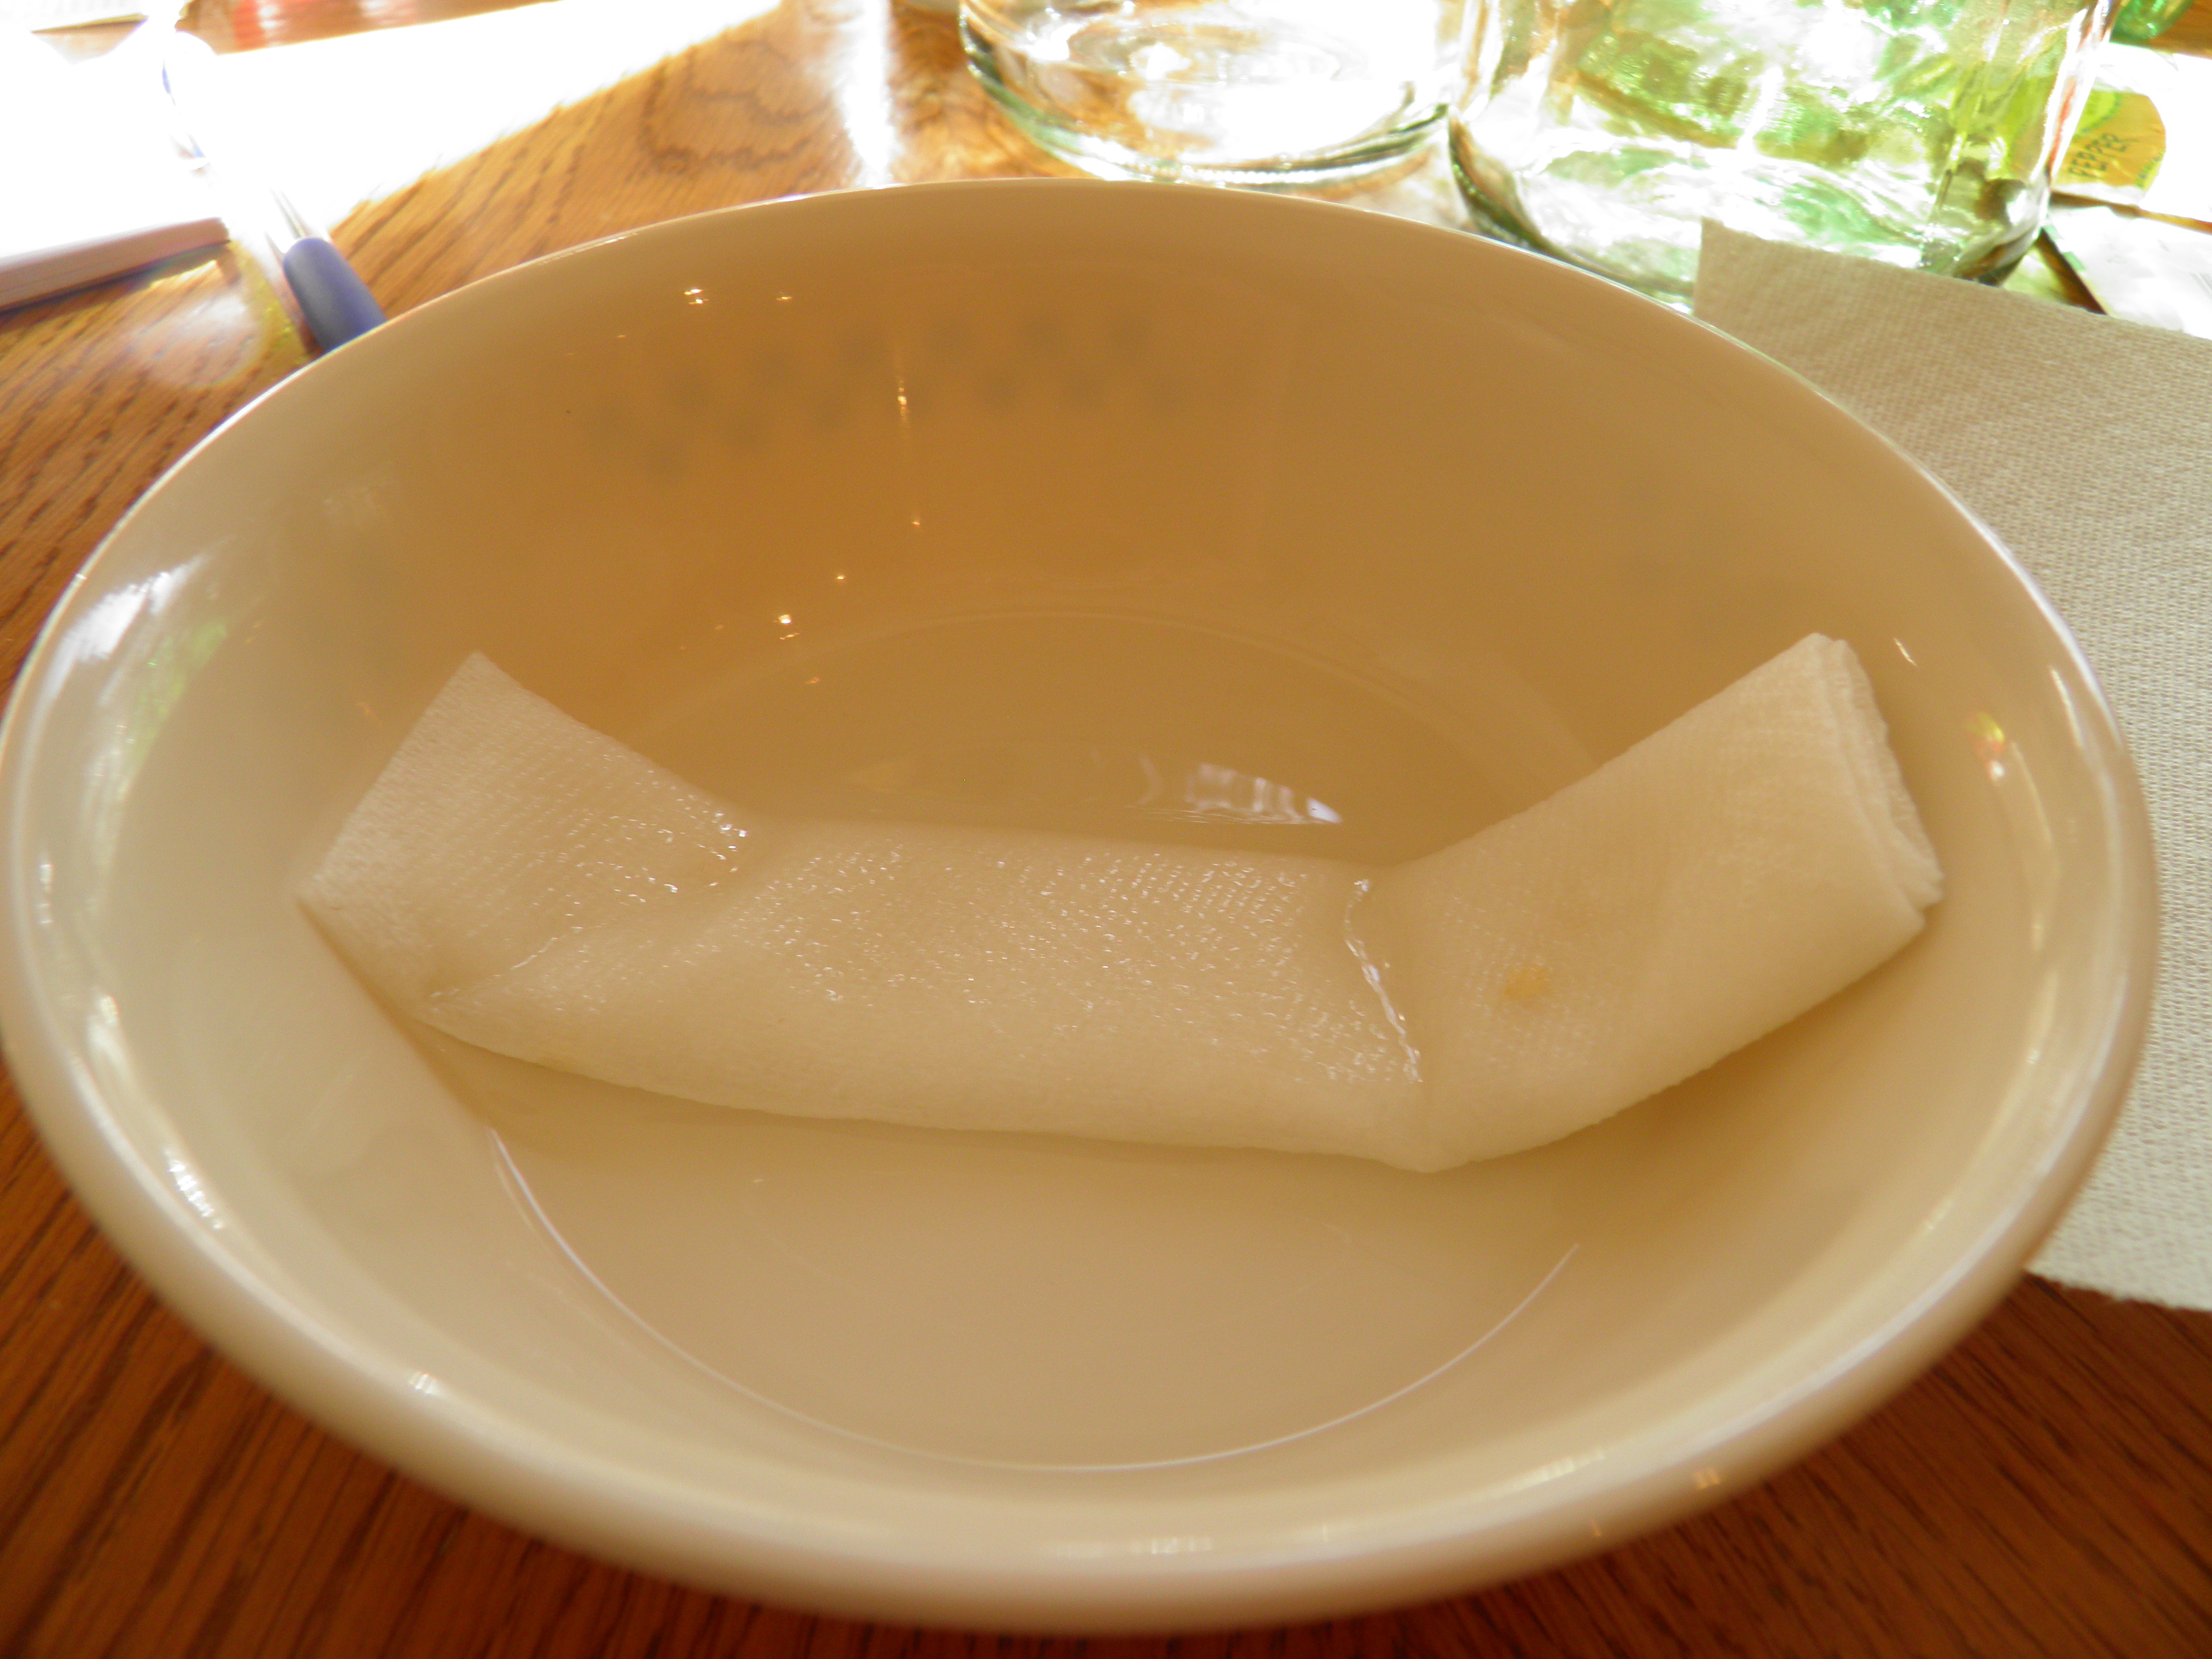
First, I germinate my slowest seeds in the house, near the heating stove. The temperature by the stove is about 75-80 degrees, which is perfect for the slow-to-germinate seeds like peppers and eggplant. I decide how many of each kind of plant I want to grow, and I place my seeds on damp paper towels, spaced out with several inches between each seed, one kind of seed to a towel, of course, and then fold the towel over and place it in a new, plastic zipper closure sandwich bag. I label the outside of the bag with a Sharpie, writing the type of seed/plant and the date I started them. All the sandwich bags go into a clean, larger zipper bag, and that is wrapped in an old towel and placed by the stove to warm.


One advantage to starting seeds this way is it cuts out the guesswork in how many seeds will germinate. You can see within a few days which seeds are viable and which aren’t going to sprout. You can start more without waiting and wondering what’s going under the soil, where you can’t see the seeds. You can tell if your seed is getting old, and if you need to buy fresh.

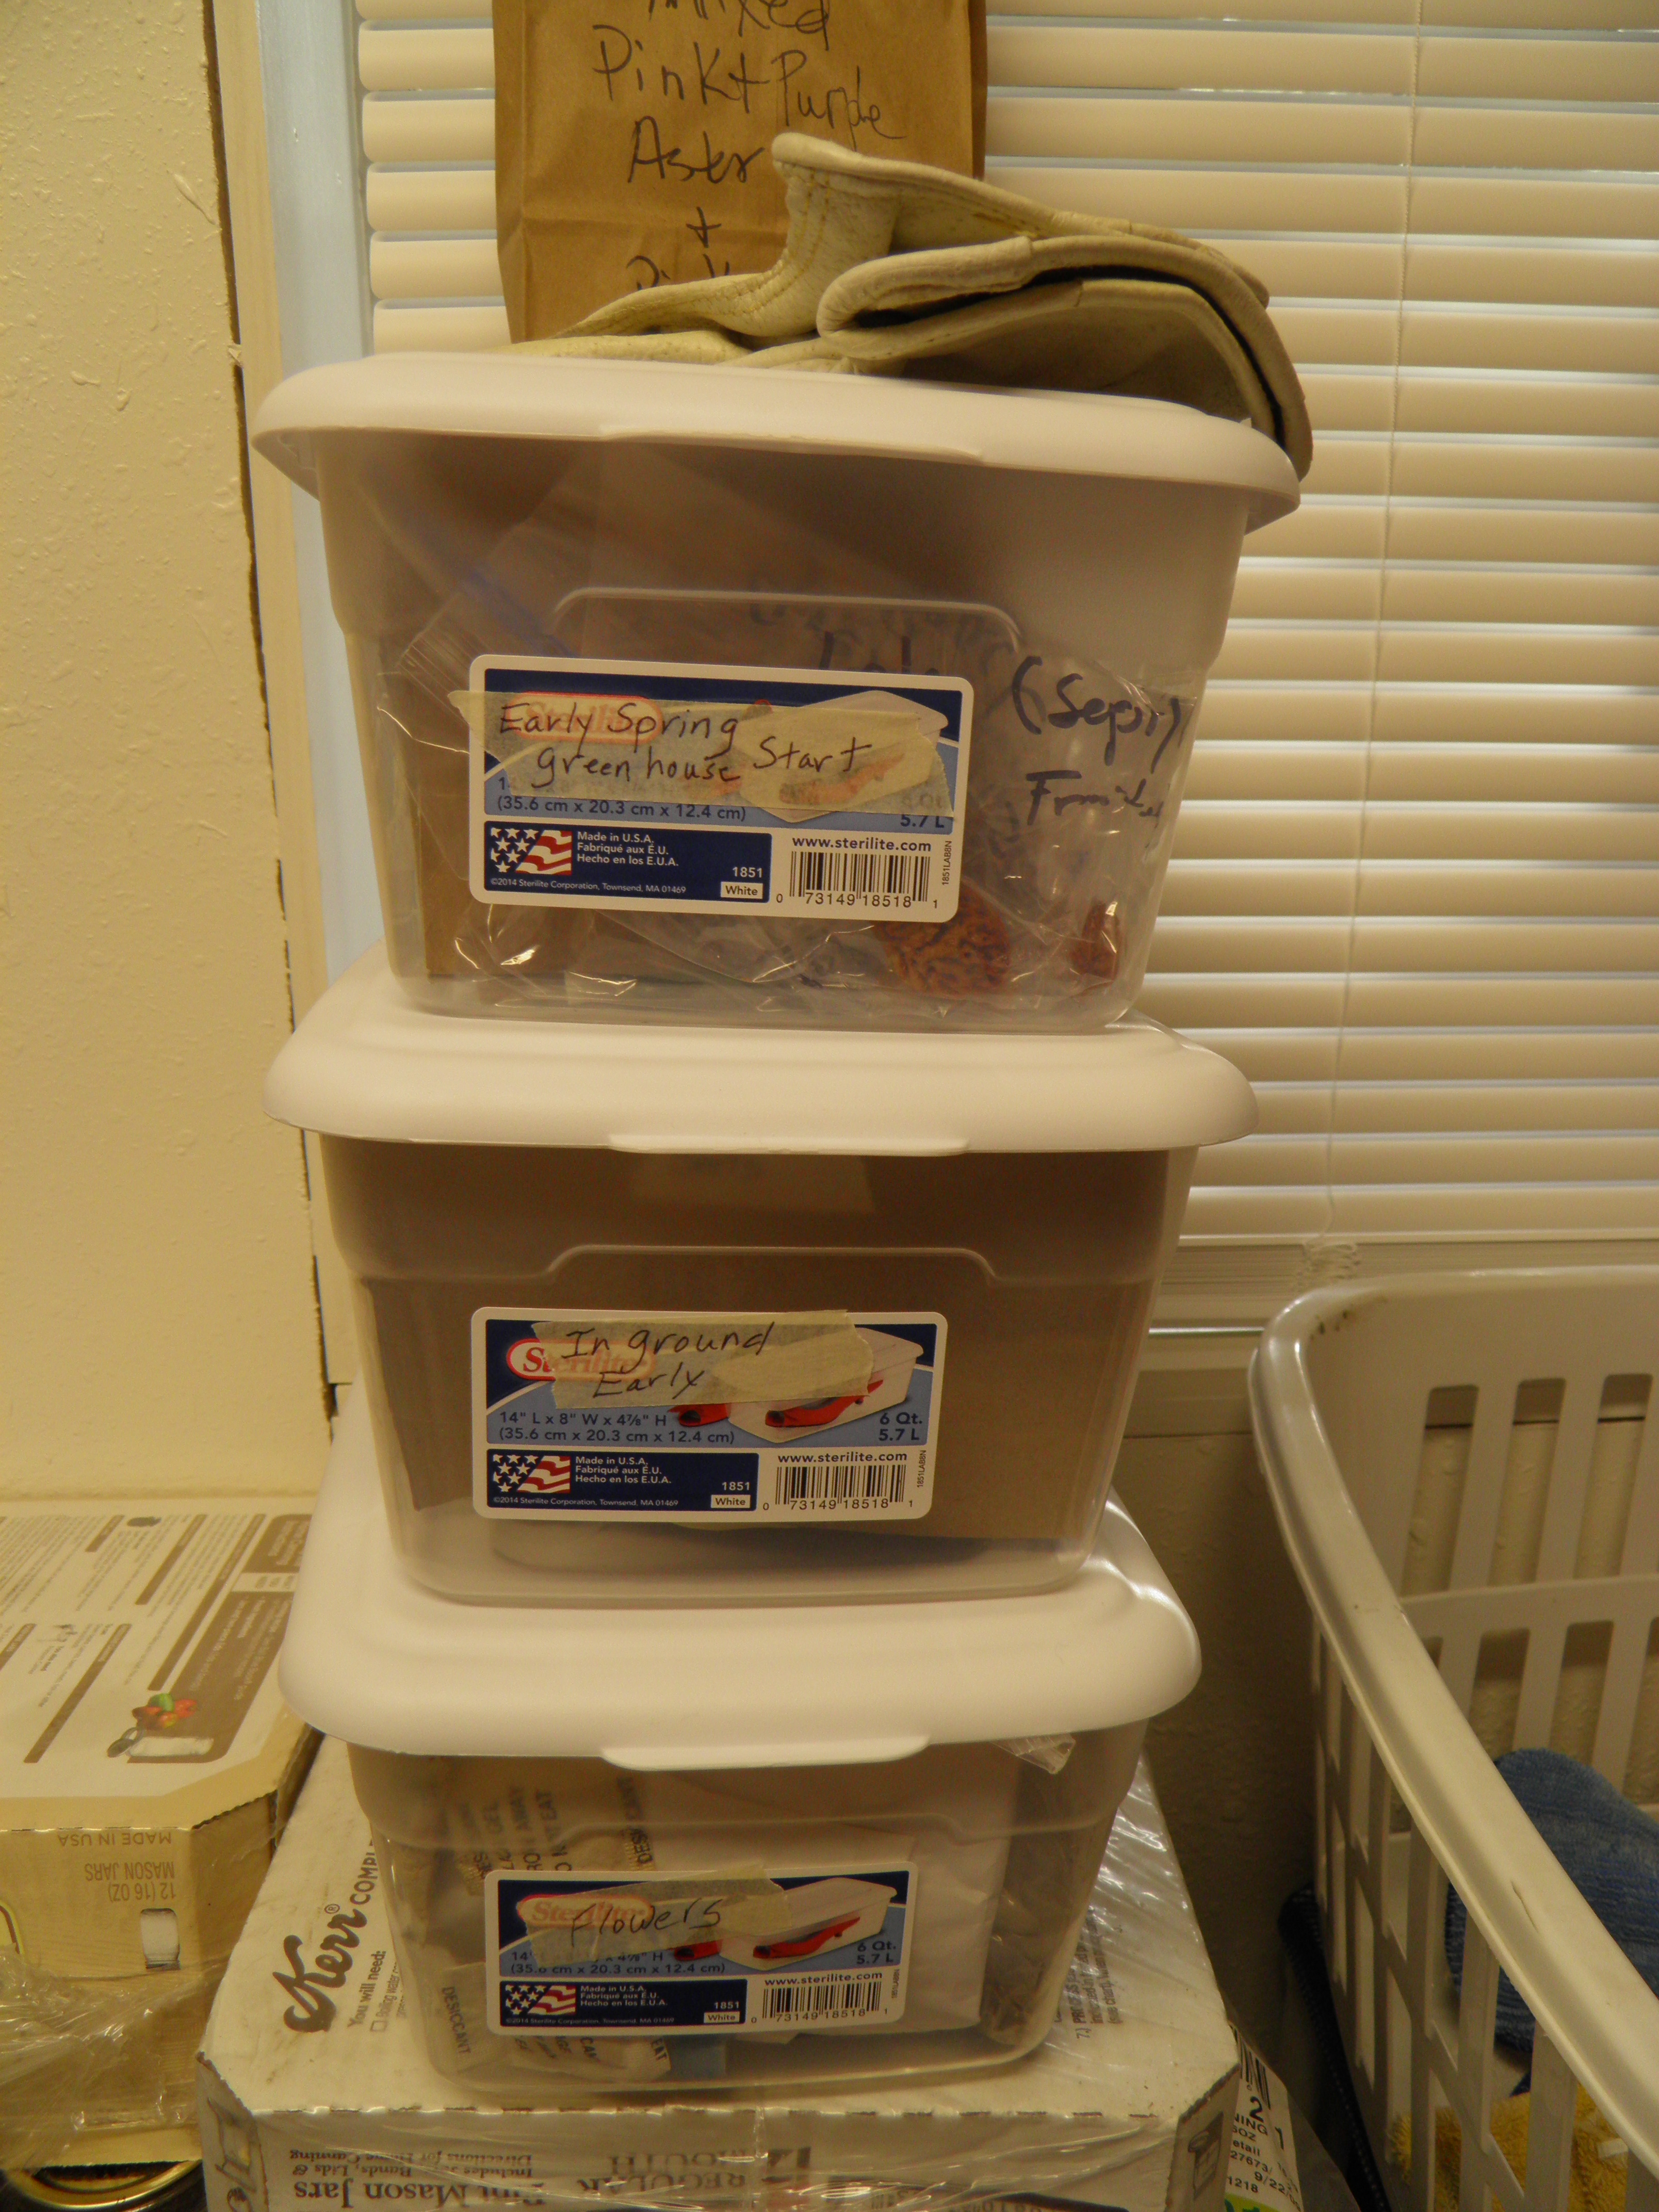
By the way, if you are throwing out seeds and buying fresh ones every year, I hate to tell you how much money you are wasting. Most seeds are viable for years, and there are things you can do to improve seed life. I keep my seeds in plastic containers (glass would be better but I don’t have enough large glass containers) with several silica or charcoal packets (saved from medication bottles and from shoe boxes) in each container to absorb moisture. These containers are kept in my cool, unheated laundry room. I have had seeds (pumpkins and herbs) last 20 years or more in these conditions.
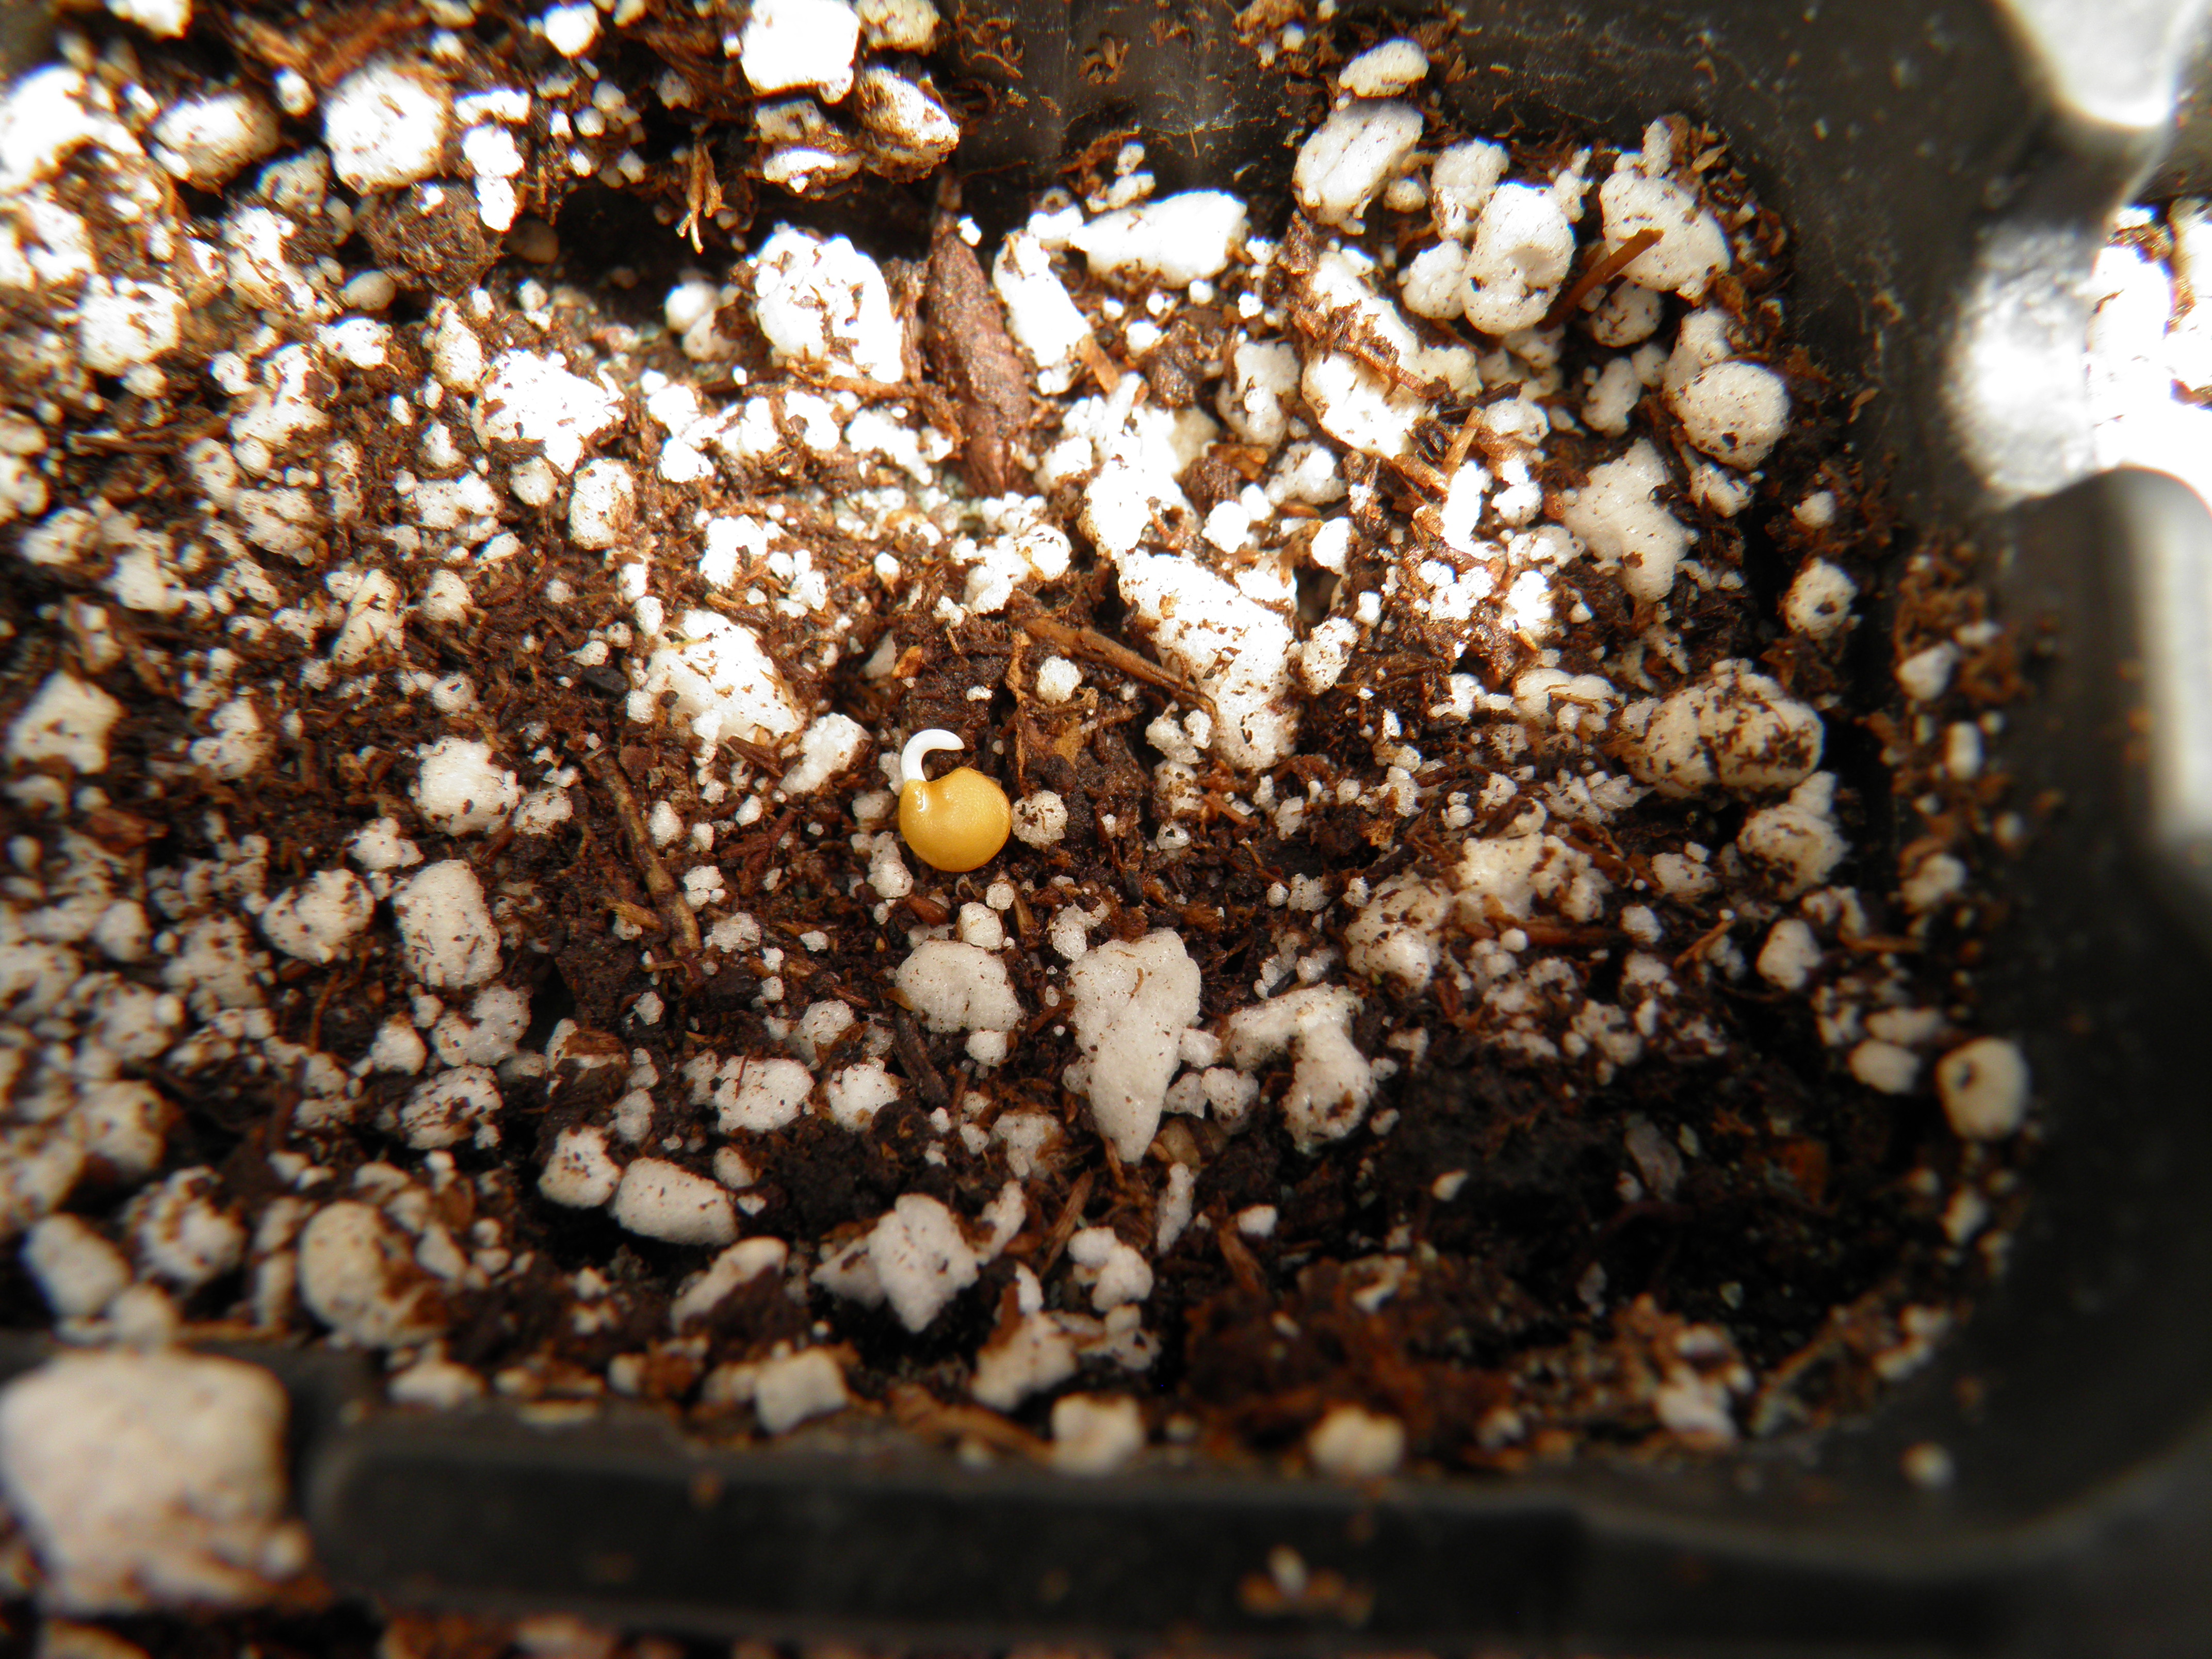
Of the peppers, jalapenos typically sprout first. As soon as the first little white root emerges, usually in only a few days, I take the seeds out to the greenhouse.
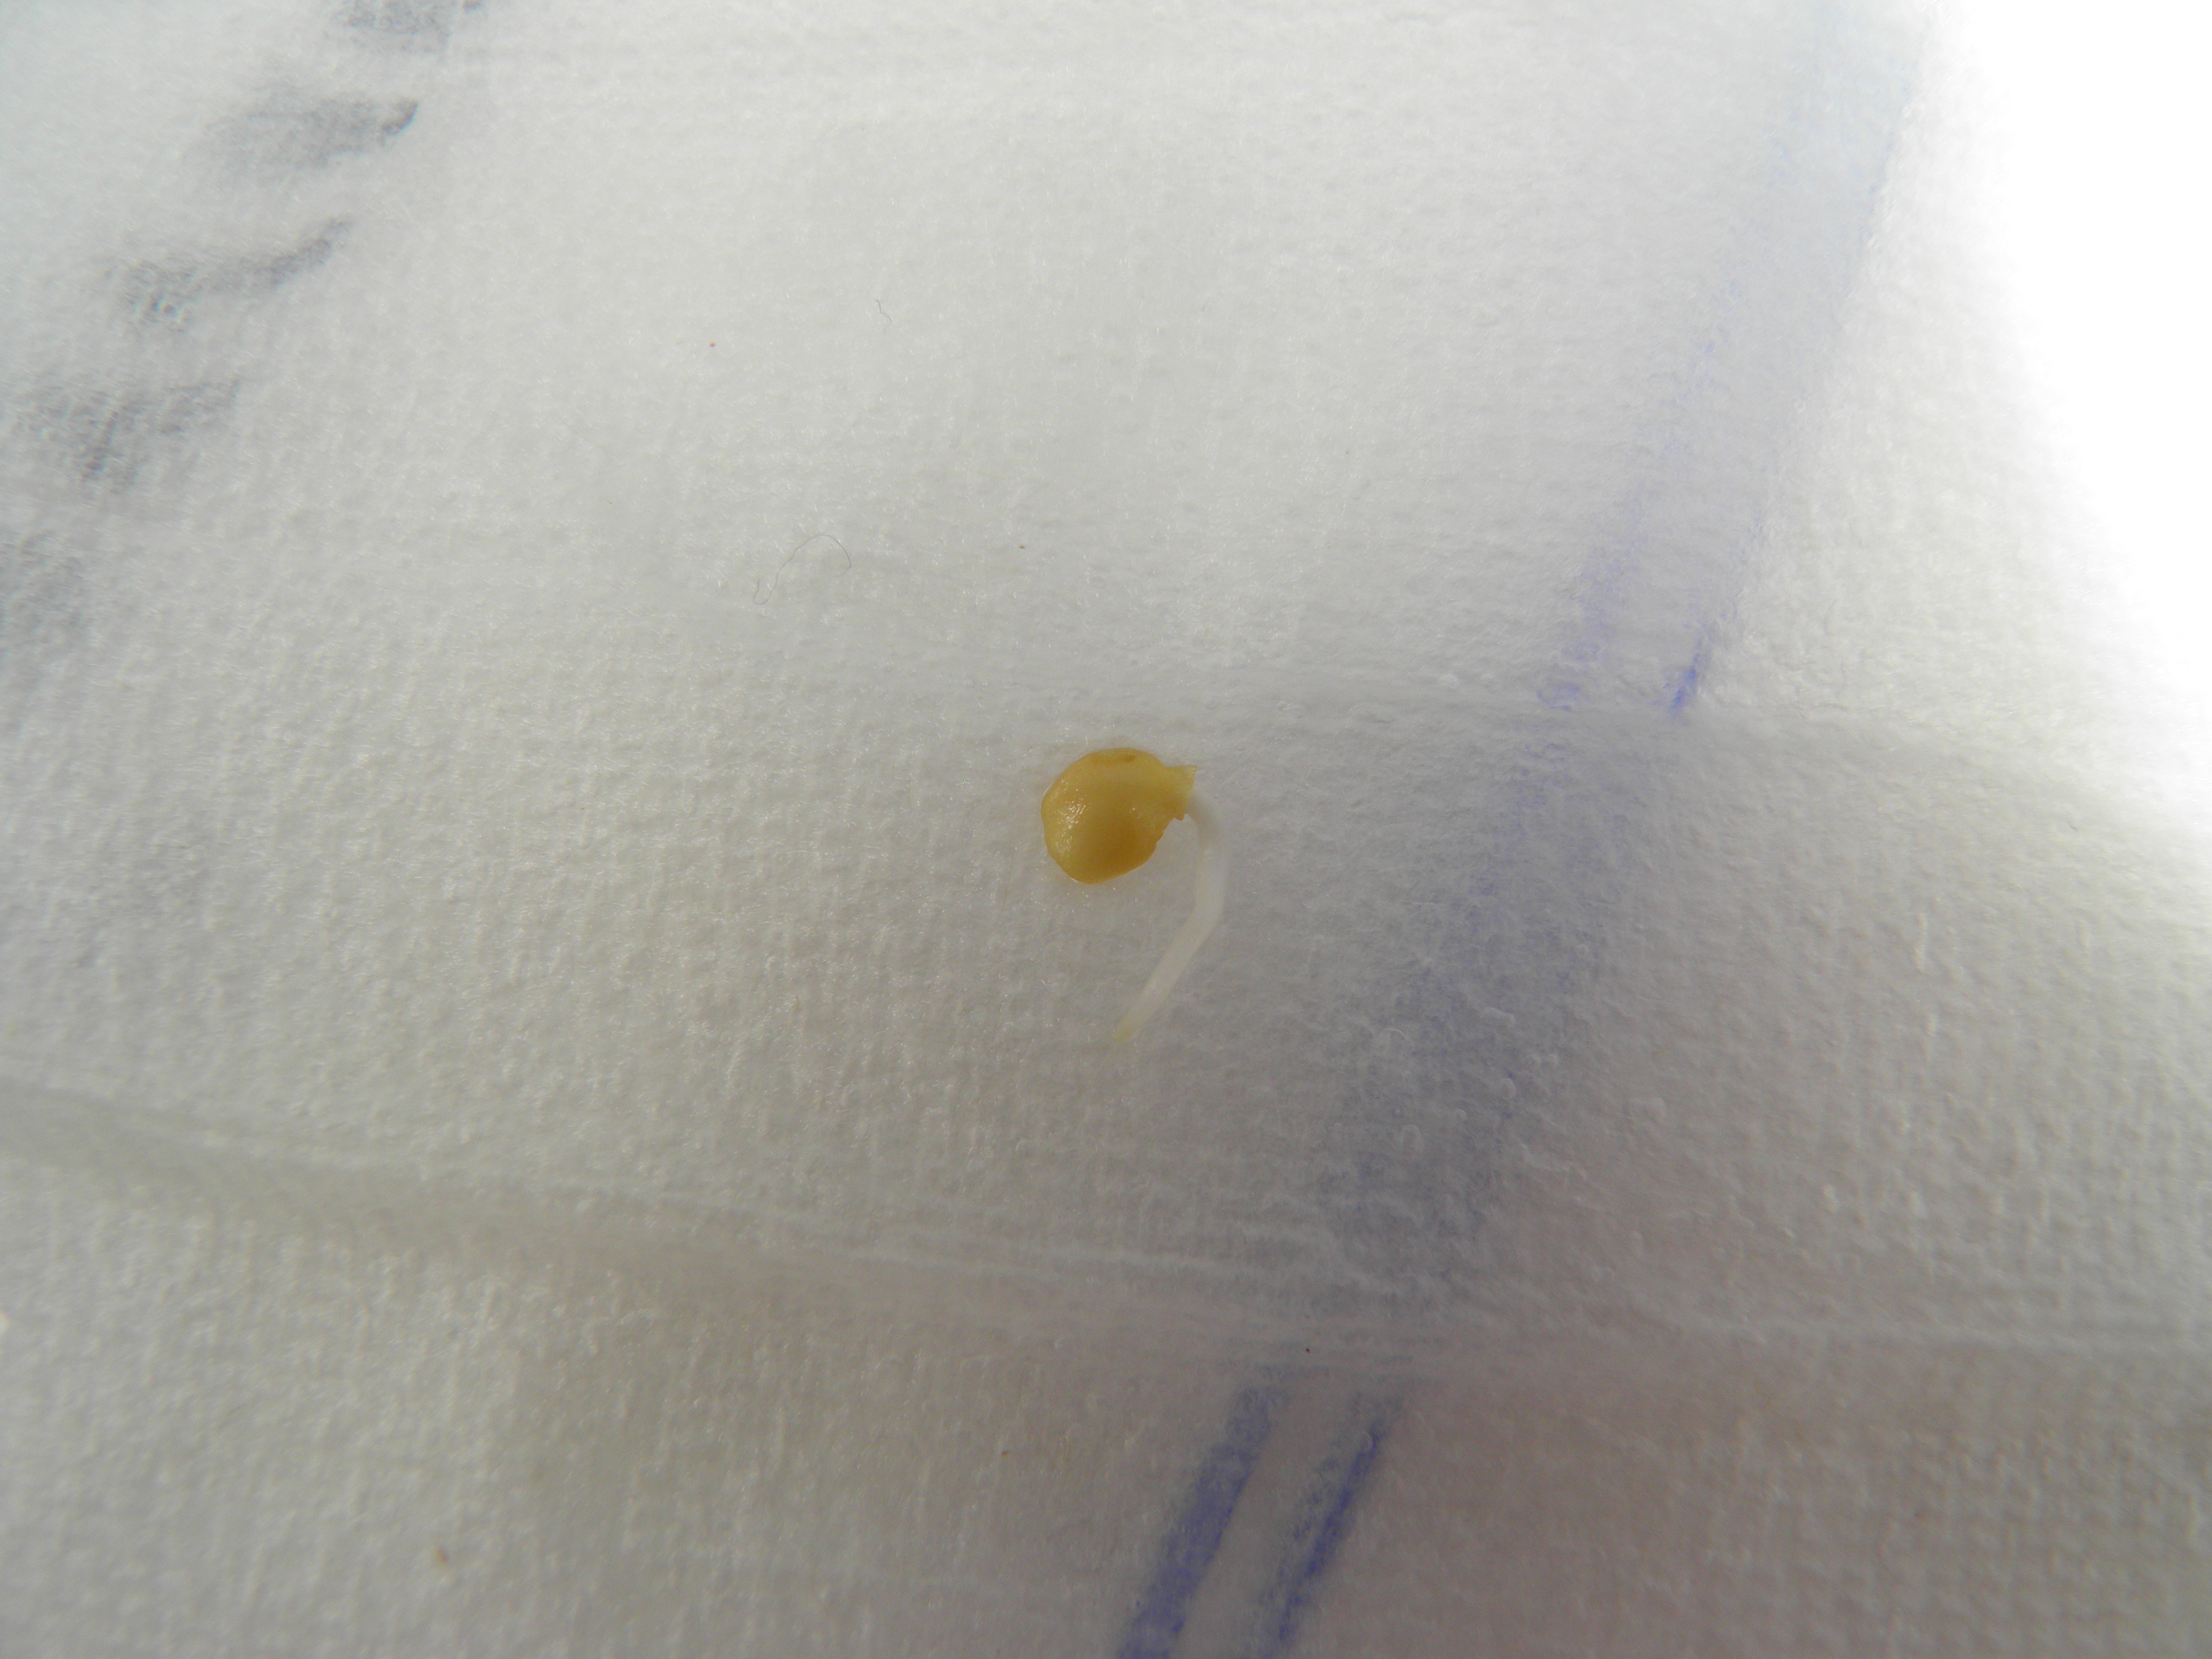
(Check on your bags of seeds every day—if the little roots grow too long, they grow into the paper towels, and then you have to carefully tear the paper towel around the seed and root and plant a bit of it with the seed to avoid damaging the root.)

I’ve already gotten my heated sand box warming up the containers of moist soil that the seeds will go into. I carefully remove each seed from the paper towel and place them in the soil, covering them with as much moistened, warmed soil as the seed packet recommends. I also sprinkle the top of each container with ground cinnamon as soon as the seeds are planted. Cinnamon is anti-fungal, and helps prevent damping-off. It also helps me mark the cells I’ve planted in the six-packs, in case not all the seeds in a plastic bag sprout at the same time, which sometimes happens, especially if the seed is getting old. If I have to plant only one or two cells in a container one day, and two more cells the next, I can tell which cells have already been planted because they have been sprinkled with cinnamon.

I’ve never had an issue with damping-off since I started using cinnamon some years ago, and it sure makes the greenhouse smell good! Each container is labeled with seed type and date and placed back into the heat box to continue growing. This method of germination takes several days, sometimes even a week, off the time it takes to germinate seeds in the soil, and in my area, I need all the growing time I can get. We have a very short growing season here, so even a few days can make a difference as to how much produce I can harvest.
My heat box consists of a large plastic tub filled half-full of builder’s sand that you can buy in a bag at a hardware or lumber supply store. On top of the sand is a rope light. My husband drilled a hole through the tub so that the end of the rope light fits through the tub and can be plugged into an extension cord that runs electricity to the greenhouse from the outside outlet on the side of the house.
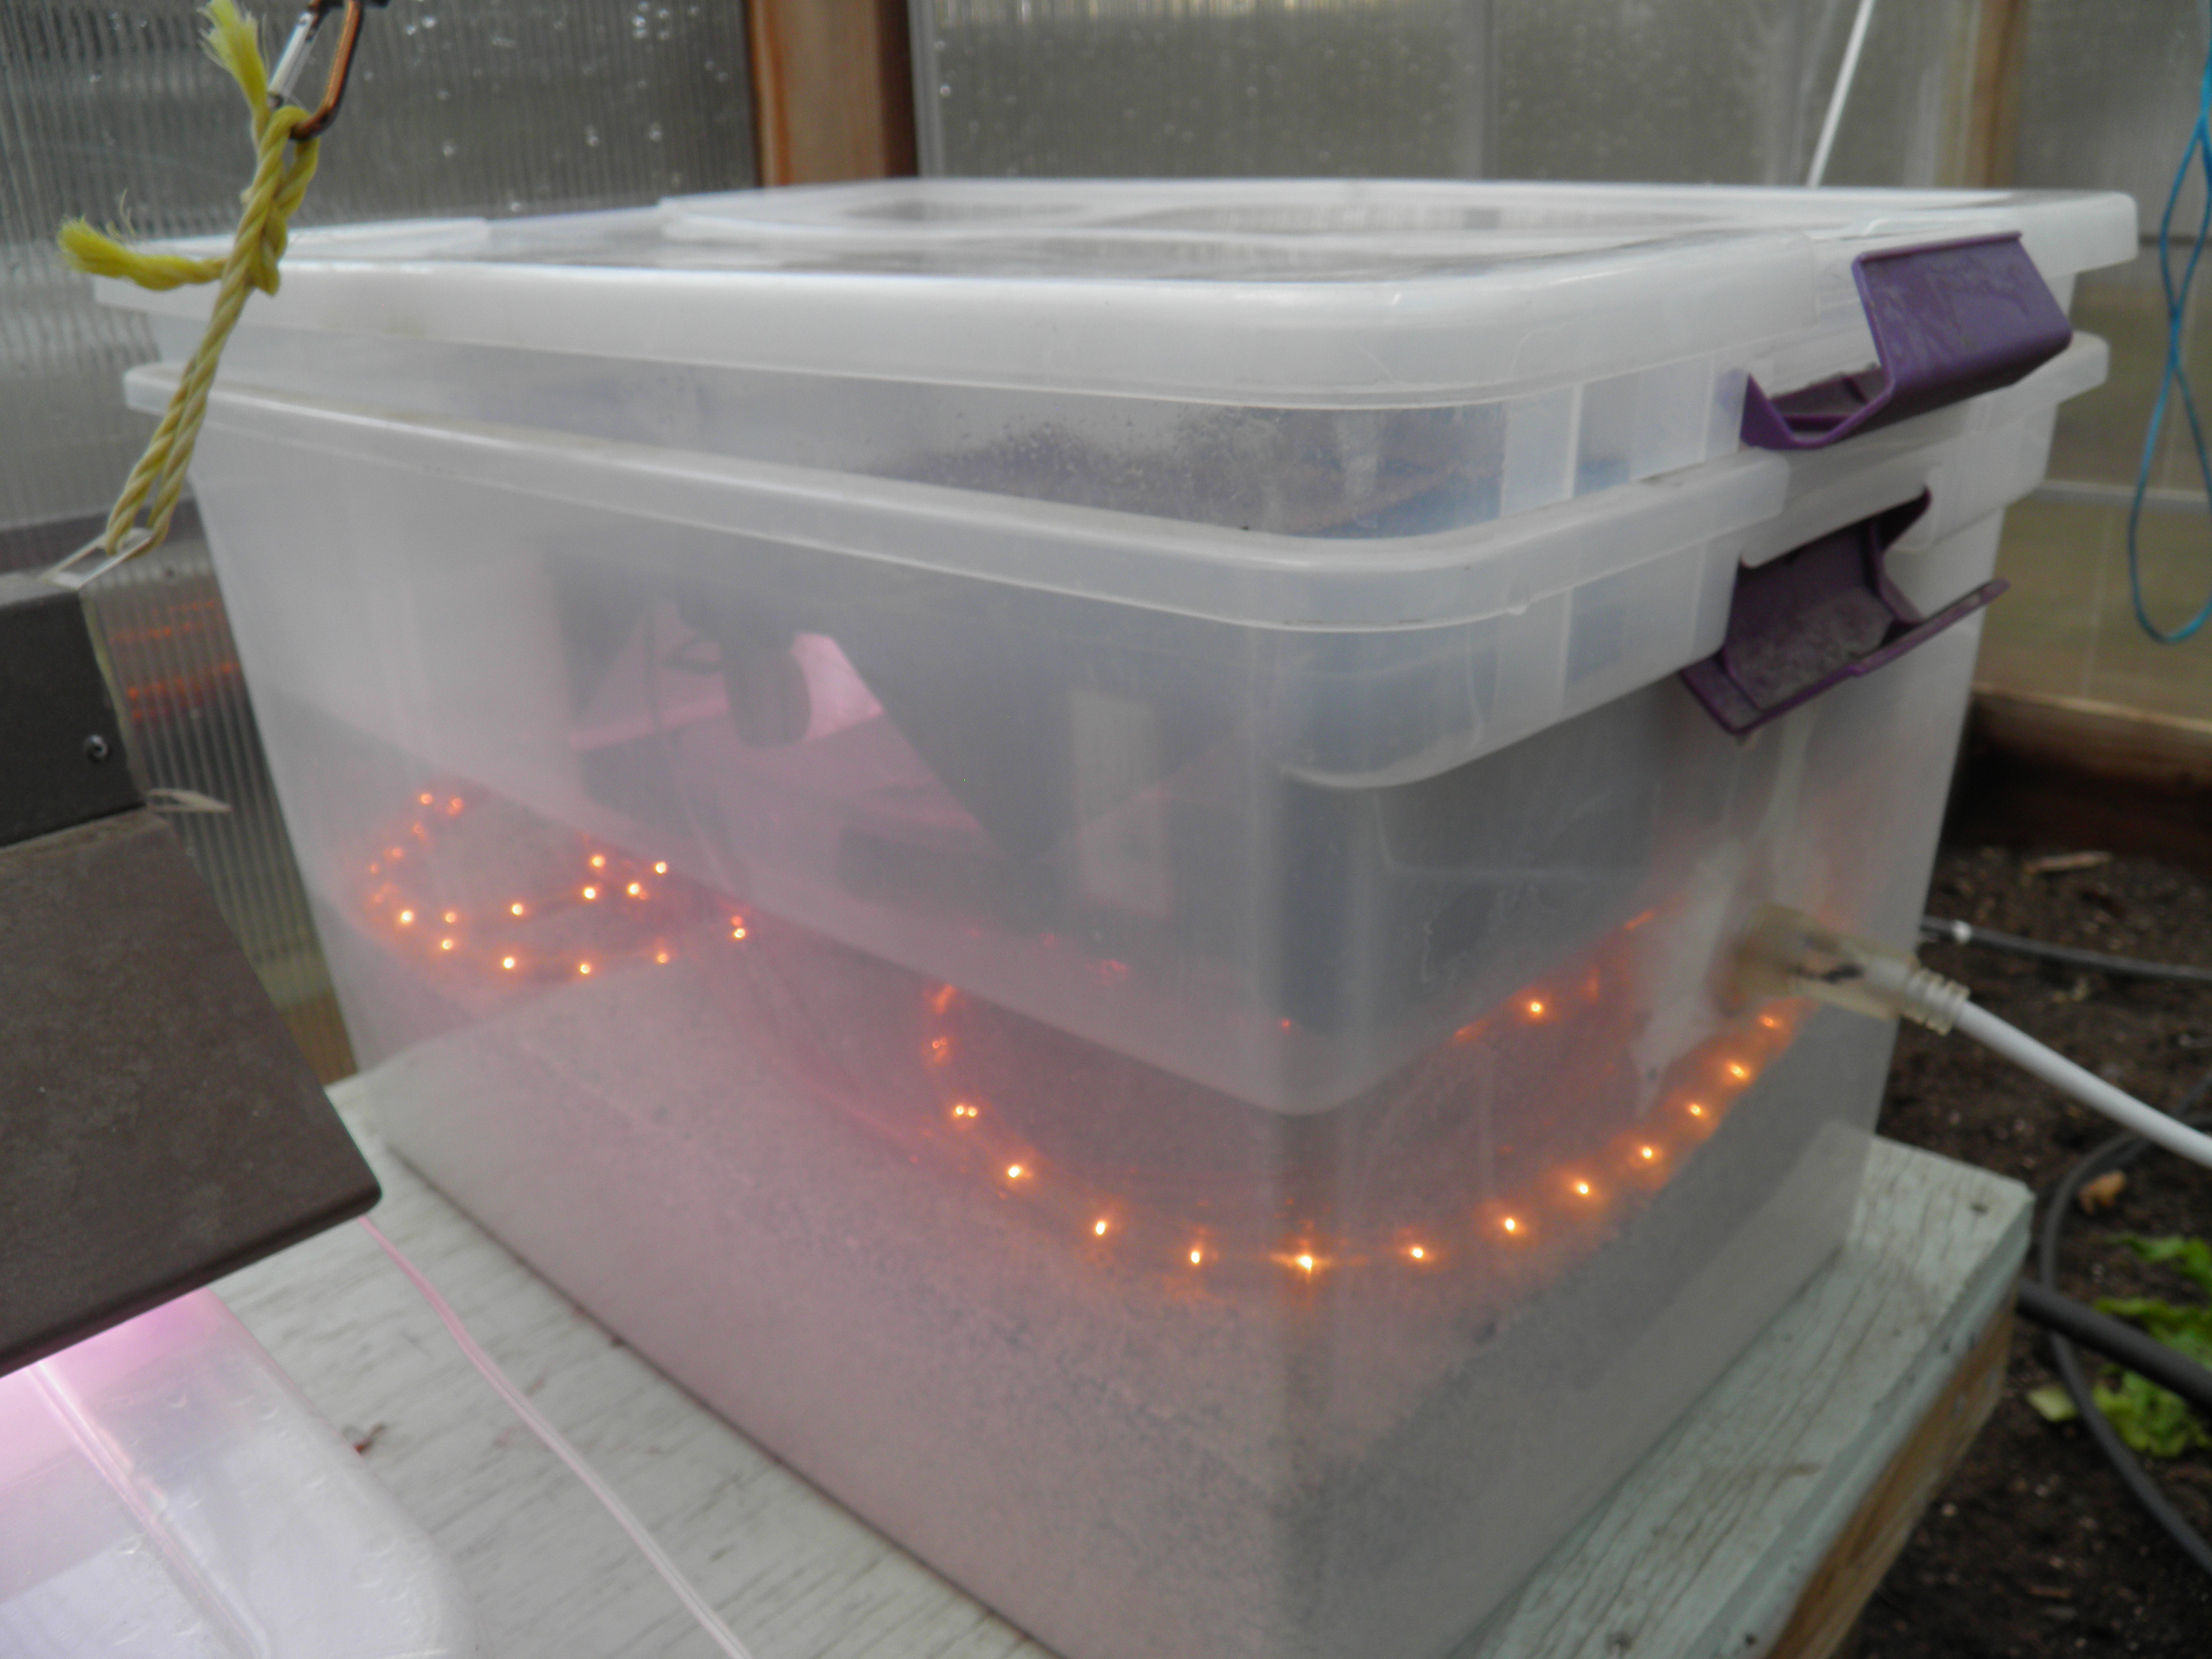
We plan to wire the greenhouse one day, but that hasn’t happened yet, and in the meantime, this works okay. The rope light heats the sand, which retains heat, and radiates heat to the shallower plastic tub placed above the heat box. This tub contains the seeds that have been planted into the soil-filled containers, and is covered with a lid to retain the heat. Seeds like peppers, eggplant, and tomatoes prefer bottom heat until their seeds leaves emerge from the soil. At that point, it’s time to put them under a grow light.
This system has worked beautifully for several years, but unfortunately, this year I noticed that my rope light had become somewhat brittle and discolored with heat and light, and several lights had burned out in various sections, so that the whole rope wasn’t producing as much heat as it has in previous years.
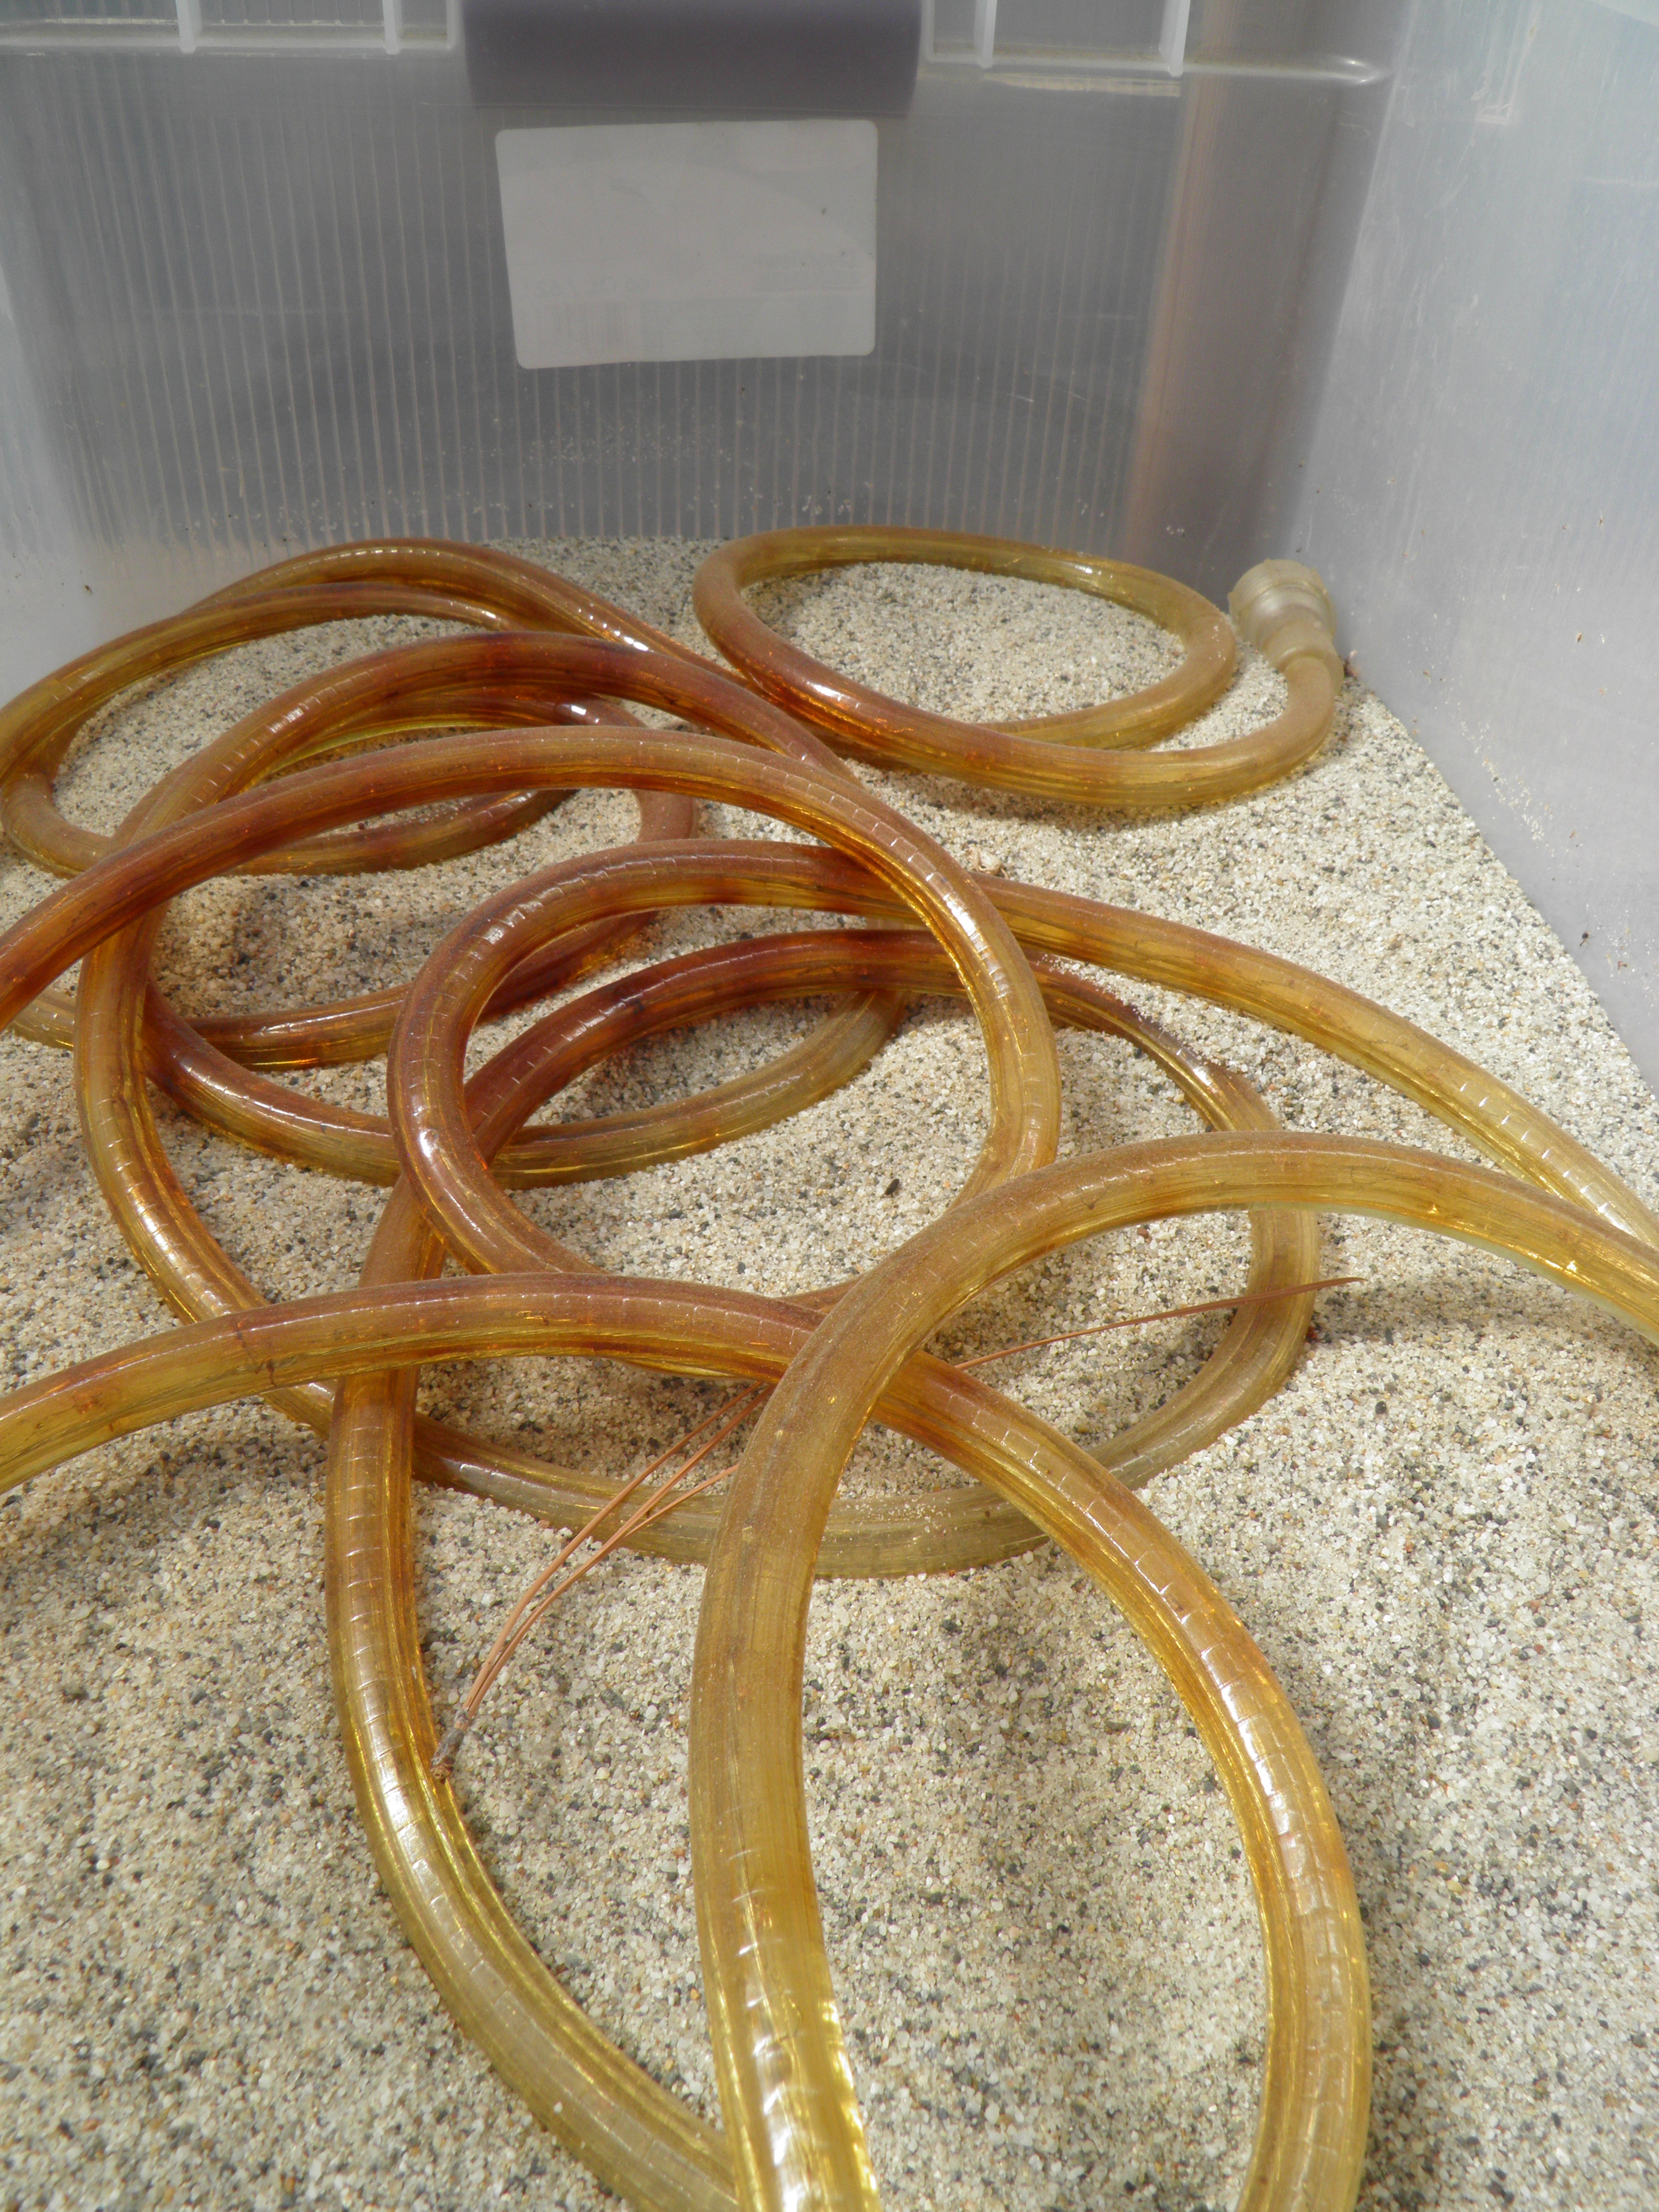
I bought a new rope light, but I had reservations about this one. This rope light contained LED lights, which don’t produce nearly as much heat as the old bulbs, and I wasn’t sure the 18 foot rope would heat my sand box up to the temperature preferred by peppers and other heat-loving seeds. Sure enough, it didn’t. Now, I’m scrambling to find an alternative source of heat for the sand box, and hoping that my peppers and eggplant didn’t get too chilled when I made the substitution last night. I’m thinking I may have to find an old, short string of Christmas lights to provide heat for the sandbox, at least for this spring, until I can figure something else out. Just when you have a good system down, it seems like new technology puts a kink in the works. That tells me I’m getting old!
(UPDATE: I just checked the heat box in the greenhouse, and the LED rope light has warmed up the sand and the sprouting box above beautifully! I guess it just took a day or so to heat up. What a relief!)
For growing on after the seeds have put up seed leaves, I have another plastic tub with a clear lid where the plants which have emerged sit under a grow light. On warm, sunny days, when the greenhouse heats up, I turn off the light, raise it out of the way (it’s tied off to small pulleys usually used for raising and lowering hanging plants for watering), and take off the lid. On cool, cloudy days, I leave the light on and the lid closed, although sometimes I crack it a bit to allow excess moisture to evaporate. The light stays on all night and the lid stays closed to keep the plants from freezing, as our temps typically stay in the low 30s at night through April, and we can get hard freezes into the first week of June.

This year, I started flower seeds early, and I put them under the light, since they don’t require bottom heat like the peppers and eggplants do. I have several species already sprouted, including marigolds, zinnias, and schizanthus, which will be moved to the lid on top of the heat box when the peppers and eggplant and tomatoes require the space in the light box. By that time, the greenhouse should be staying above freezing at night, and if not, I’ll use a heater.

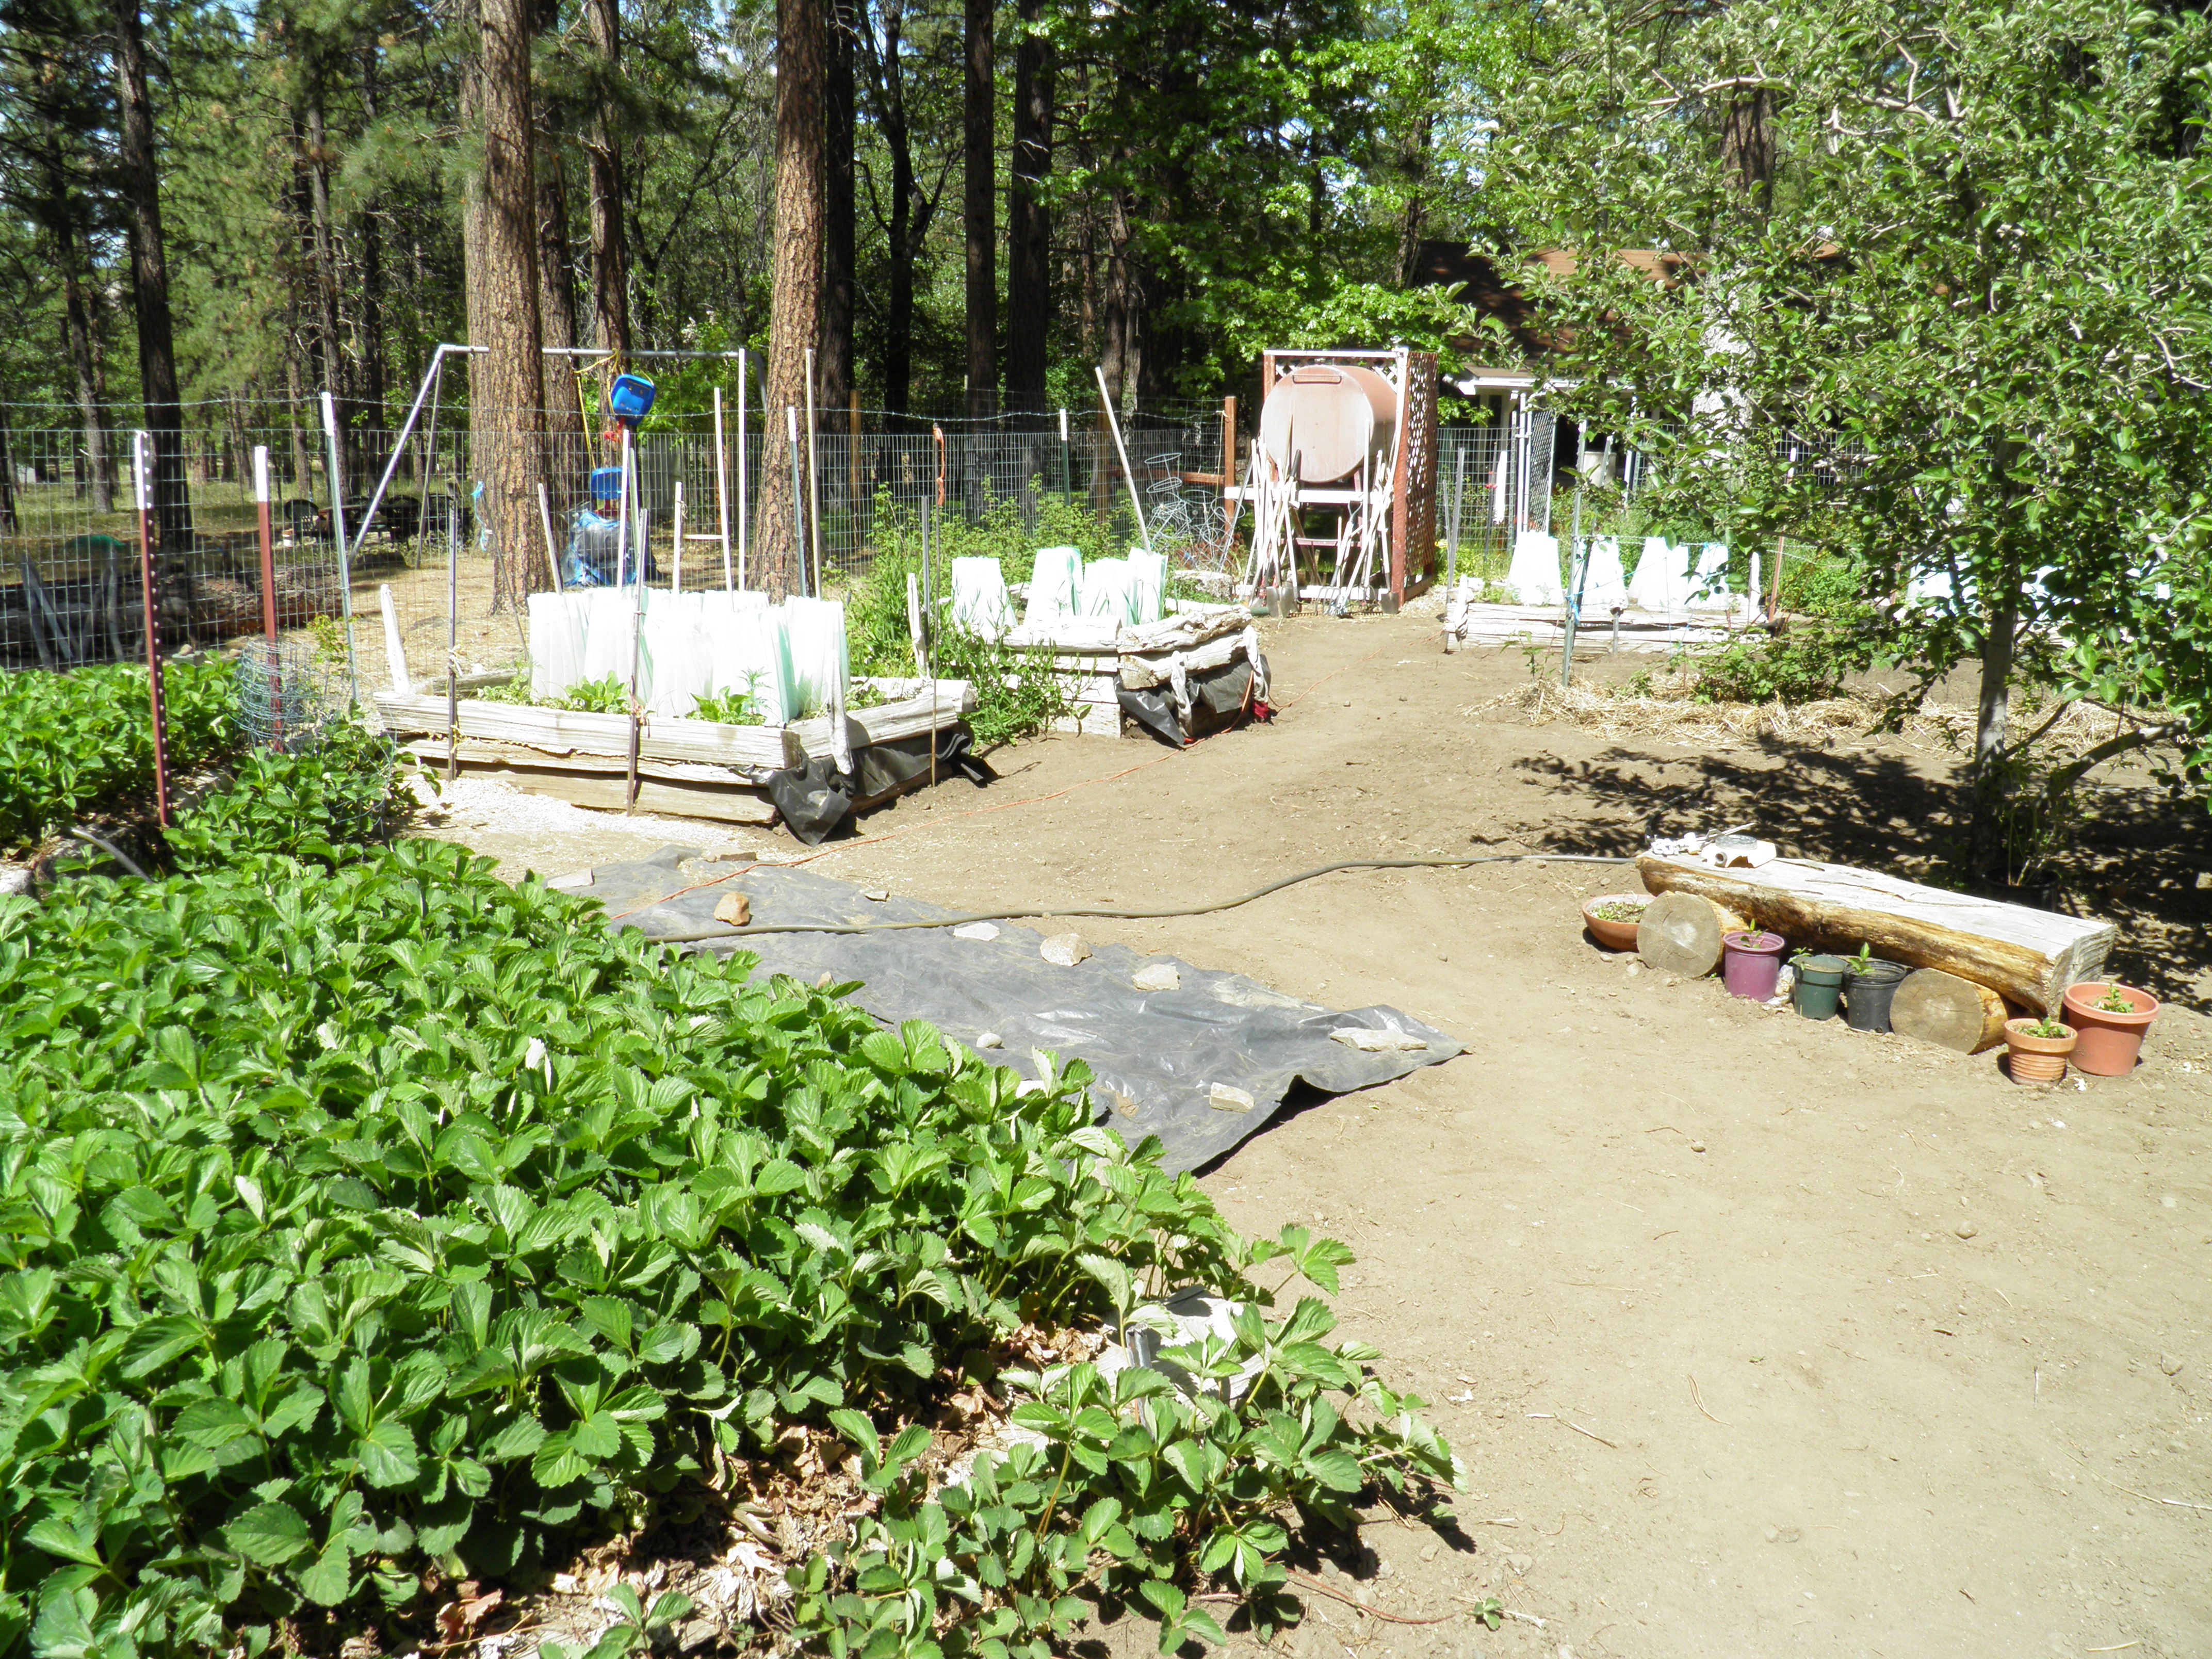
As the weather warms, and the greenhouse heats up, the soil in the planting beds and the gravel floor act as solar collectors. As the plants outgrow the light box, I prick them off and transplant them to larger containers. I put those containers into flats and move them to the planting beds (which are partially planted in spinach and lettuce) where the soil helps keep them warm though cold nights. Here’s a pic from a couple of years ago. This spring’s spinach has just sprouted. (I didn’t get it planted last fall because of my shoulder injury.)

If a really cold night threatens, I have a radiant, oil-filled heater that I put in the greenhouse and turn down to its lowest setting, about 55 degrees, just enough to keep the plants from freezing. By this time, they are beginning to harden off, and I’ll finish that process outside on sunny days before I plant out.
I’ve learned that I can extend my growing season by planting out my tender plants like peppers, tomatoes, squashes and melons, in late April or May under water-filled covers (Walls of Water is one brand name).
These act like mini-greenhouses, heating the soil and air around the plant and keeping the temps under the covers about 10 degrees warmer than the surrounding air, so even if the nighttime temperature dips down to 23 degrees, the plants won’t freeze under the covers. The covers can be tee-peed at the top on cold nights and opened up on warm days to allow air to circulate around the plant. I have to be careful about when I plant out, because if I do it too early, the plants will outgrow the protection of the covers, and what’s outside the cover can be killed back by a hard frost. I’ve lost tomato tops this way in the past when I’ve planted out in early April; although the covers keep the base of the plant from freezing, and the tops will grow back, it retards the plant’s blooming and fruiting stage. Also, most plants don’t like to be closed up inside the covers for too long. They can become diseased from too much moisture and warmth.
I’ve kept a garden log for several years, recording the dates I germinate seeds, plant them in containers in the greenhouse, harden them off or plant them outside under water-filled covers, so I know generally when I want to start and plant out various species. But there’s always a certain amount of guesswork, the necessity of updating equipment, and the occasional scramble to protect plants when a hard freeze threatens unexpectedly. That’s just part of gardening in challenging mountain conditions. It keeps me on my toes.

So jelly of your greenhouse! I will have to remember the cinnamon trick! And now that I have been sprouting seeds for eating I will have to try you method. Thanks!
I love my greenhouse. I want to start sprouting seeds for eating fresh again. I did it years ago, but it’s been a long, long time.
Pingback: It’s Time for Tomatoes! | Garden, Forest, Field
Pingback: Potting Up | Garden, Forest, Field