
This post is about potting up those seeds you started that are now needing larger homes. I use somewhat unorthodox containers for my potting up.
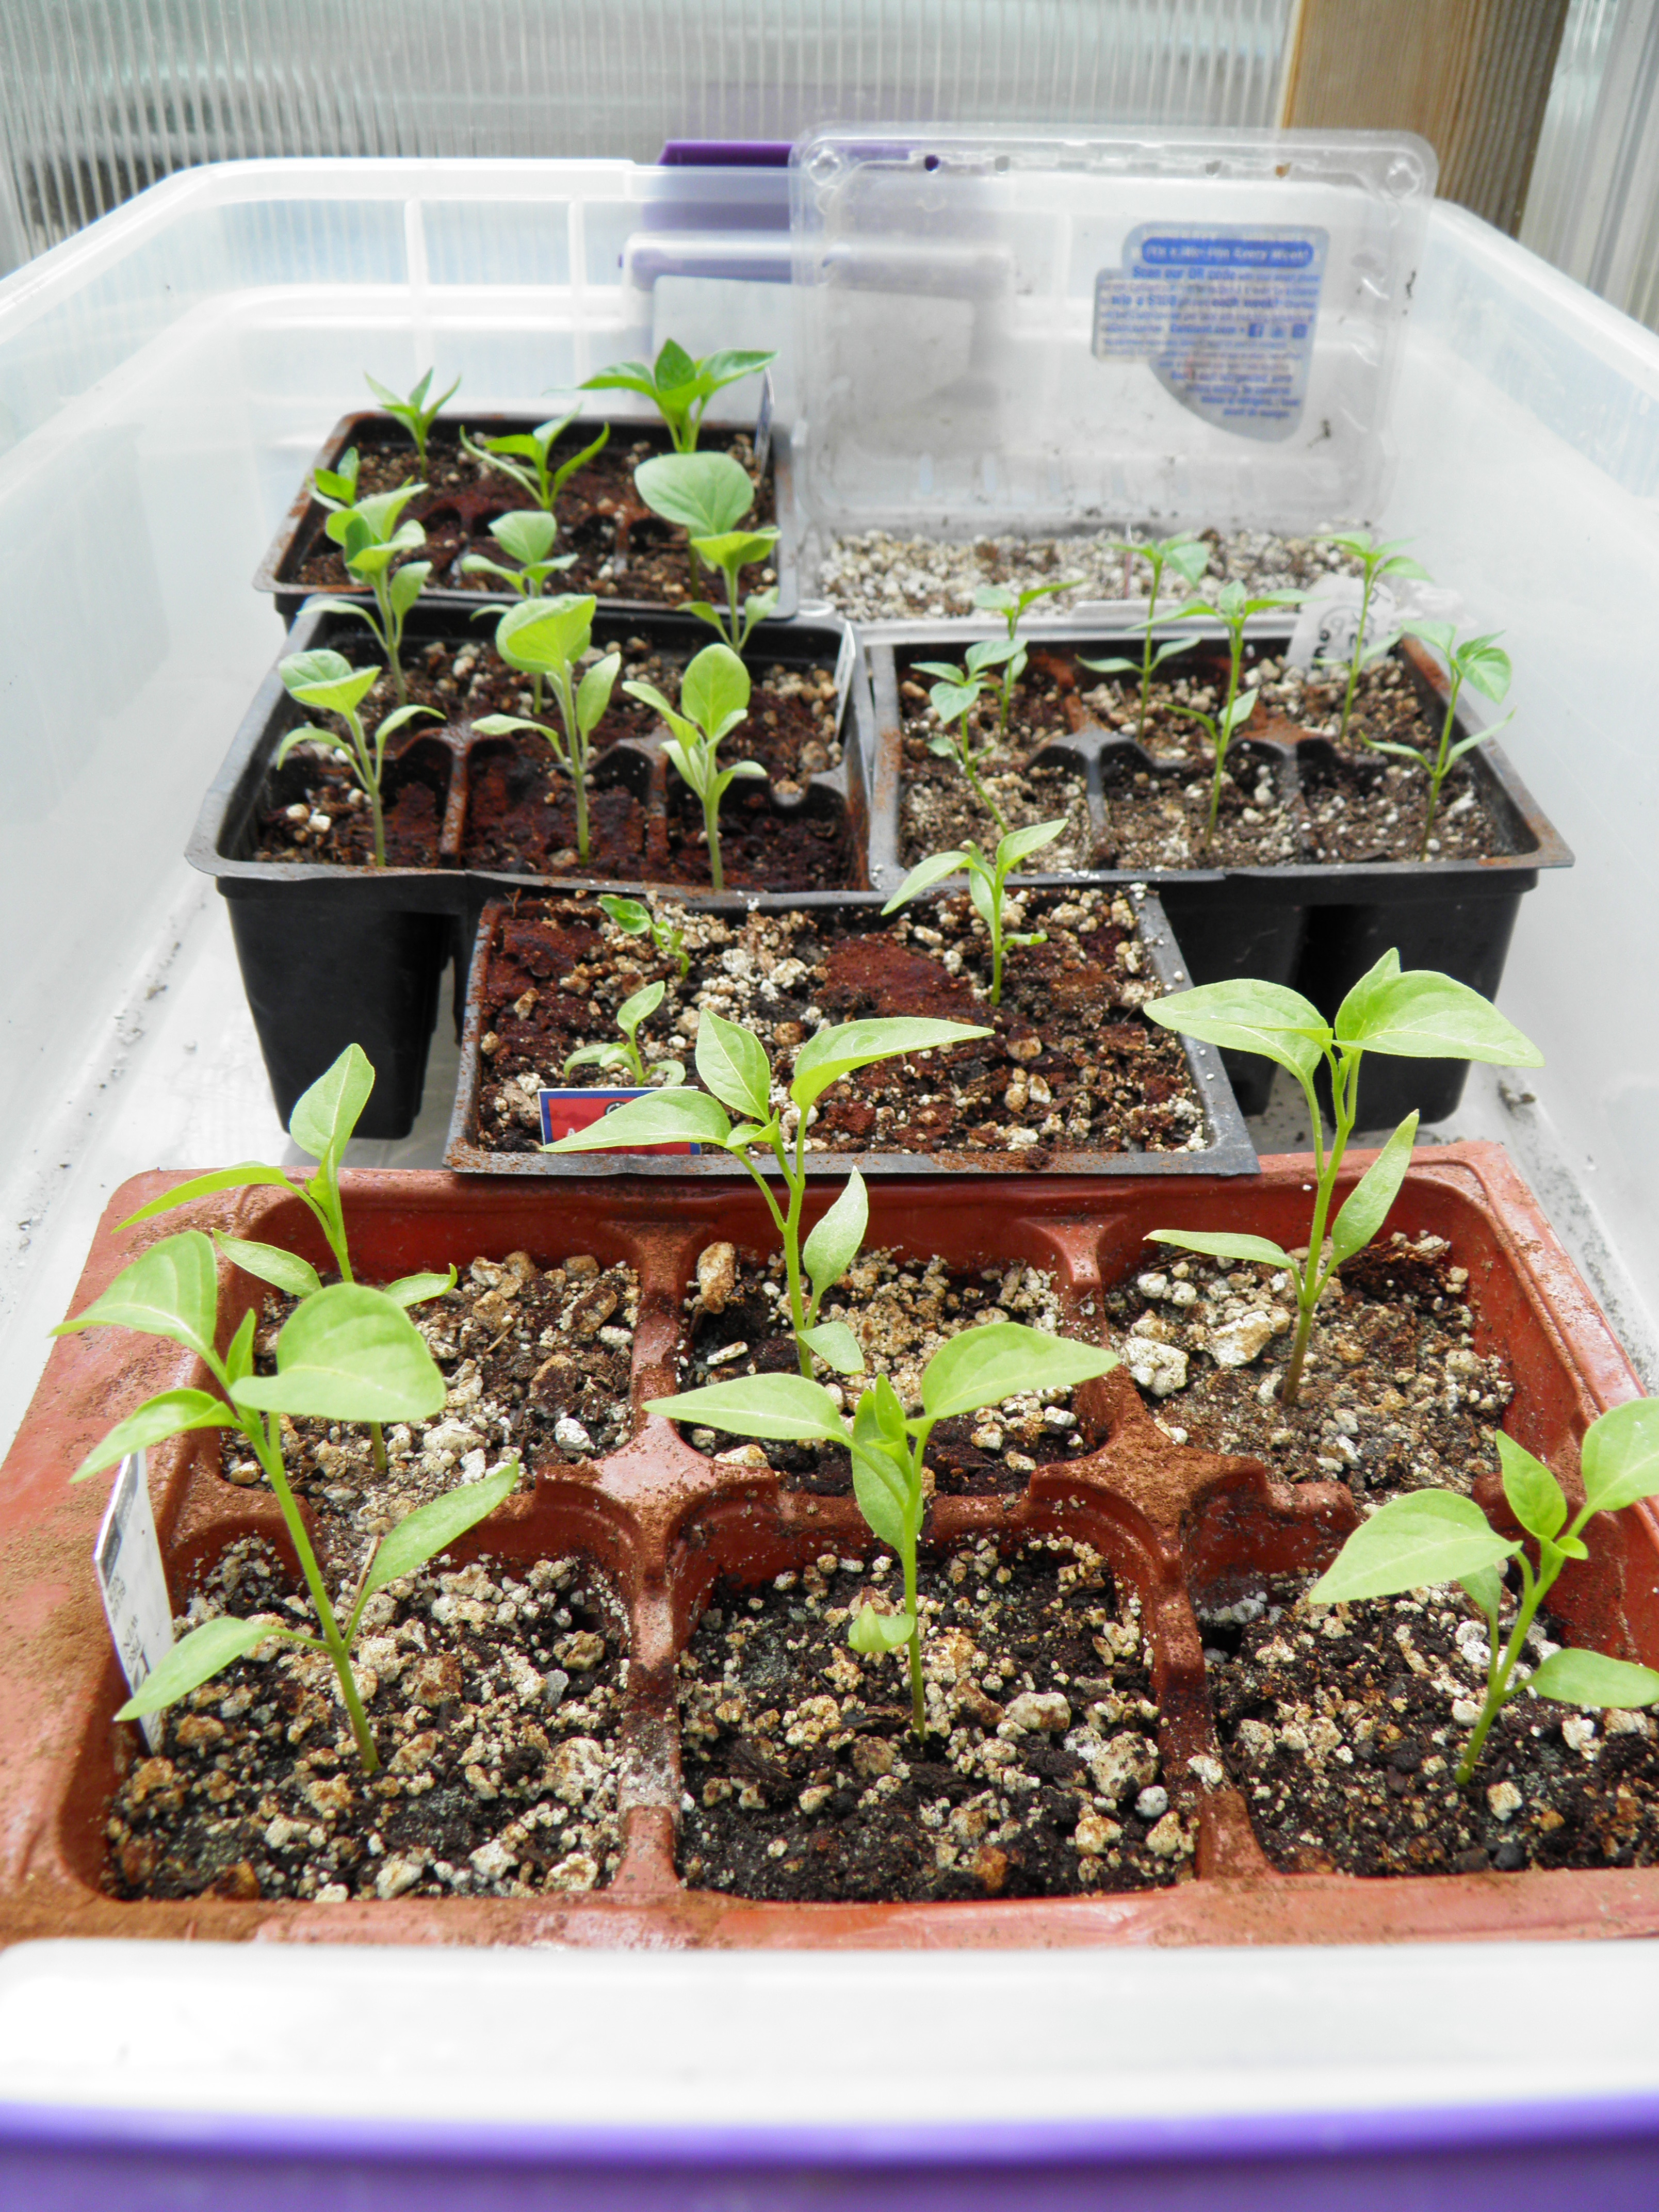
Awhile back, I wrote a post about my seed-starting procedure for peppers, eggplant, and tomatoes. The bell peppers and eggplant I started when that post was written are ready to go into the planter boxes in the greenhouse. I grow them in there because it’s the only way I can get their fruit to ripen. I just have to wait a little longer before I transplant them, until I know that I have the aphid-farming ants under control. I put out some sugar/borax mixture the other day, and haven’t seen an ant since. The ants themselves are not the problem; it’s the aphids they farm that suck the life out of the plants and prevent them from bearing as they should. I didn’t get a single eggplant last year and only a few stunted bell peppers because of the aphids.
The jalapenos and Serrano peppers will grow out in the garden, but it won’t be warm enough to set them out for at least a month, so they needed transplanting into larger containers. I also had a few tomato plants ready for transplanting.
I planted 57 germinated tomato seeds, but a freak accident killed most of them. One morning, just a few days after I’d put the sprouted tomato seeds in their containers of soil, I left home for physical therapy in town, and to do some errands afterwards. It was a cool, cloudy morning, so I left the greenhouse closed up and the rope light on in the heated sand box with the lid on. The tomato six-packs were in that box. The clouds cleared off early, and the temperature climbed. I came home in the late afternoon to find the greenhouse at 120 degrees (it may have been hotter, but the thermometer was topped out at 120). There’s no telling how hot it was in the heated sand box, but it was hot enough to kill about 5 out of every 6 germinated seeds. I discovered that when after two weeks, only one or two in each container had emerged. The lesson there, always at least crack the lid on the hot box during the day. That venting might have saved my seedlings.
I do tend to go overboard with tomatoes. I always say I will scale back, and then I discover a new heirloom variety, and before I know it, I’ve planted 50 or so seeds. I really intended to not grow so many this year, but . . . the inevitable happened. So I guess the overheated greenhouse was God’s way of rescuing me from too many tomatoes. I have a few of each variety I planted except San Marzano. Even after replanting, the San Marzanos didn’t germinate. That seed must be old. Good thing I saved some fresh from last year’s crop.
At any rate, a couple of days ago, I potted up 6 jalapenos and 6 Serrano peppers, and about a dozen tomatoes. For growing on, I use a rather unusual container. I plant my peppers and tomatoes in Styrofoam cups.
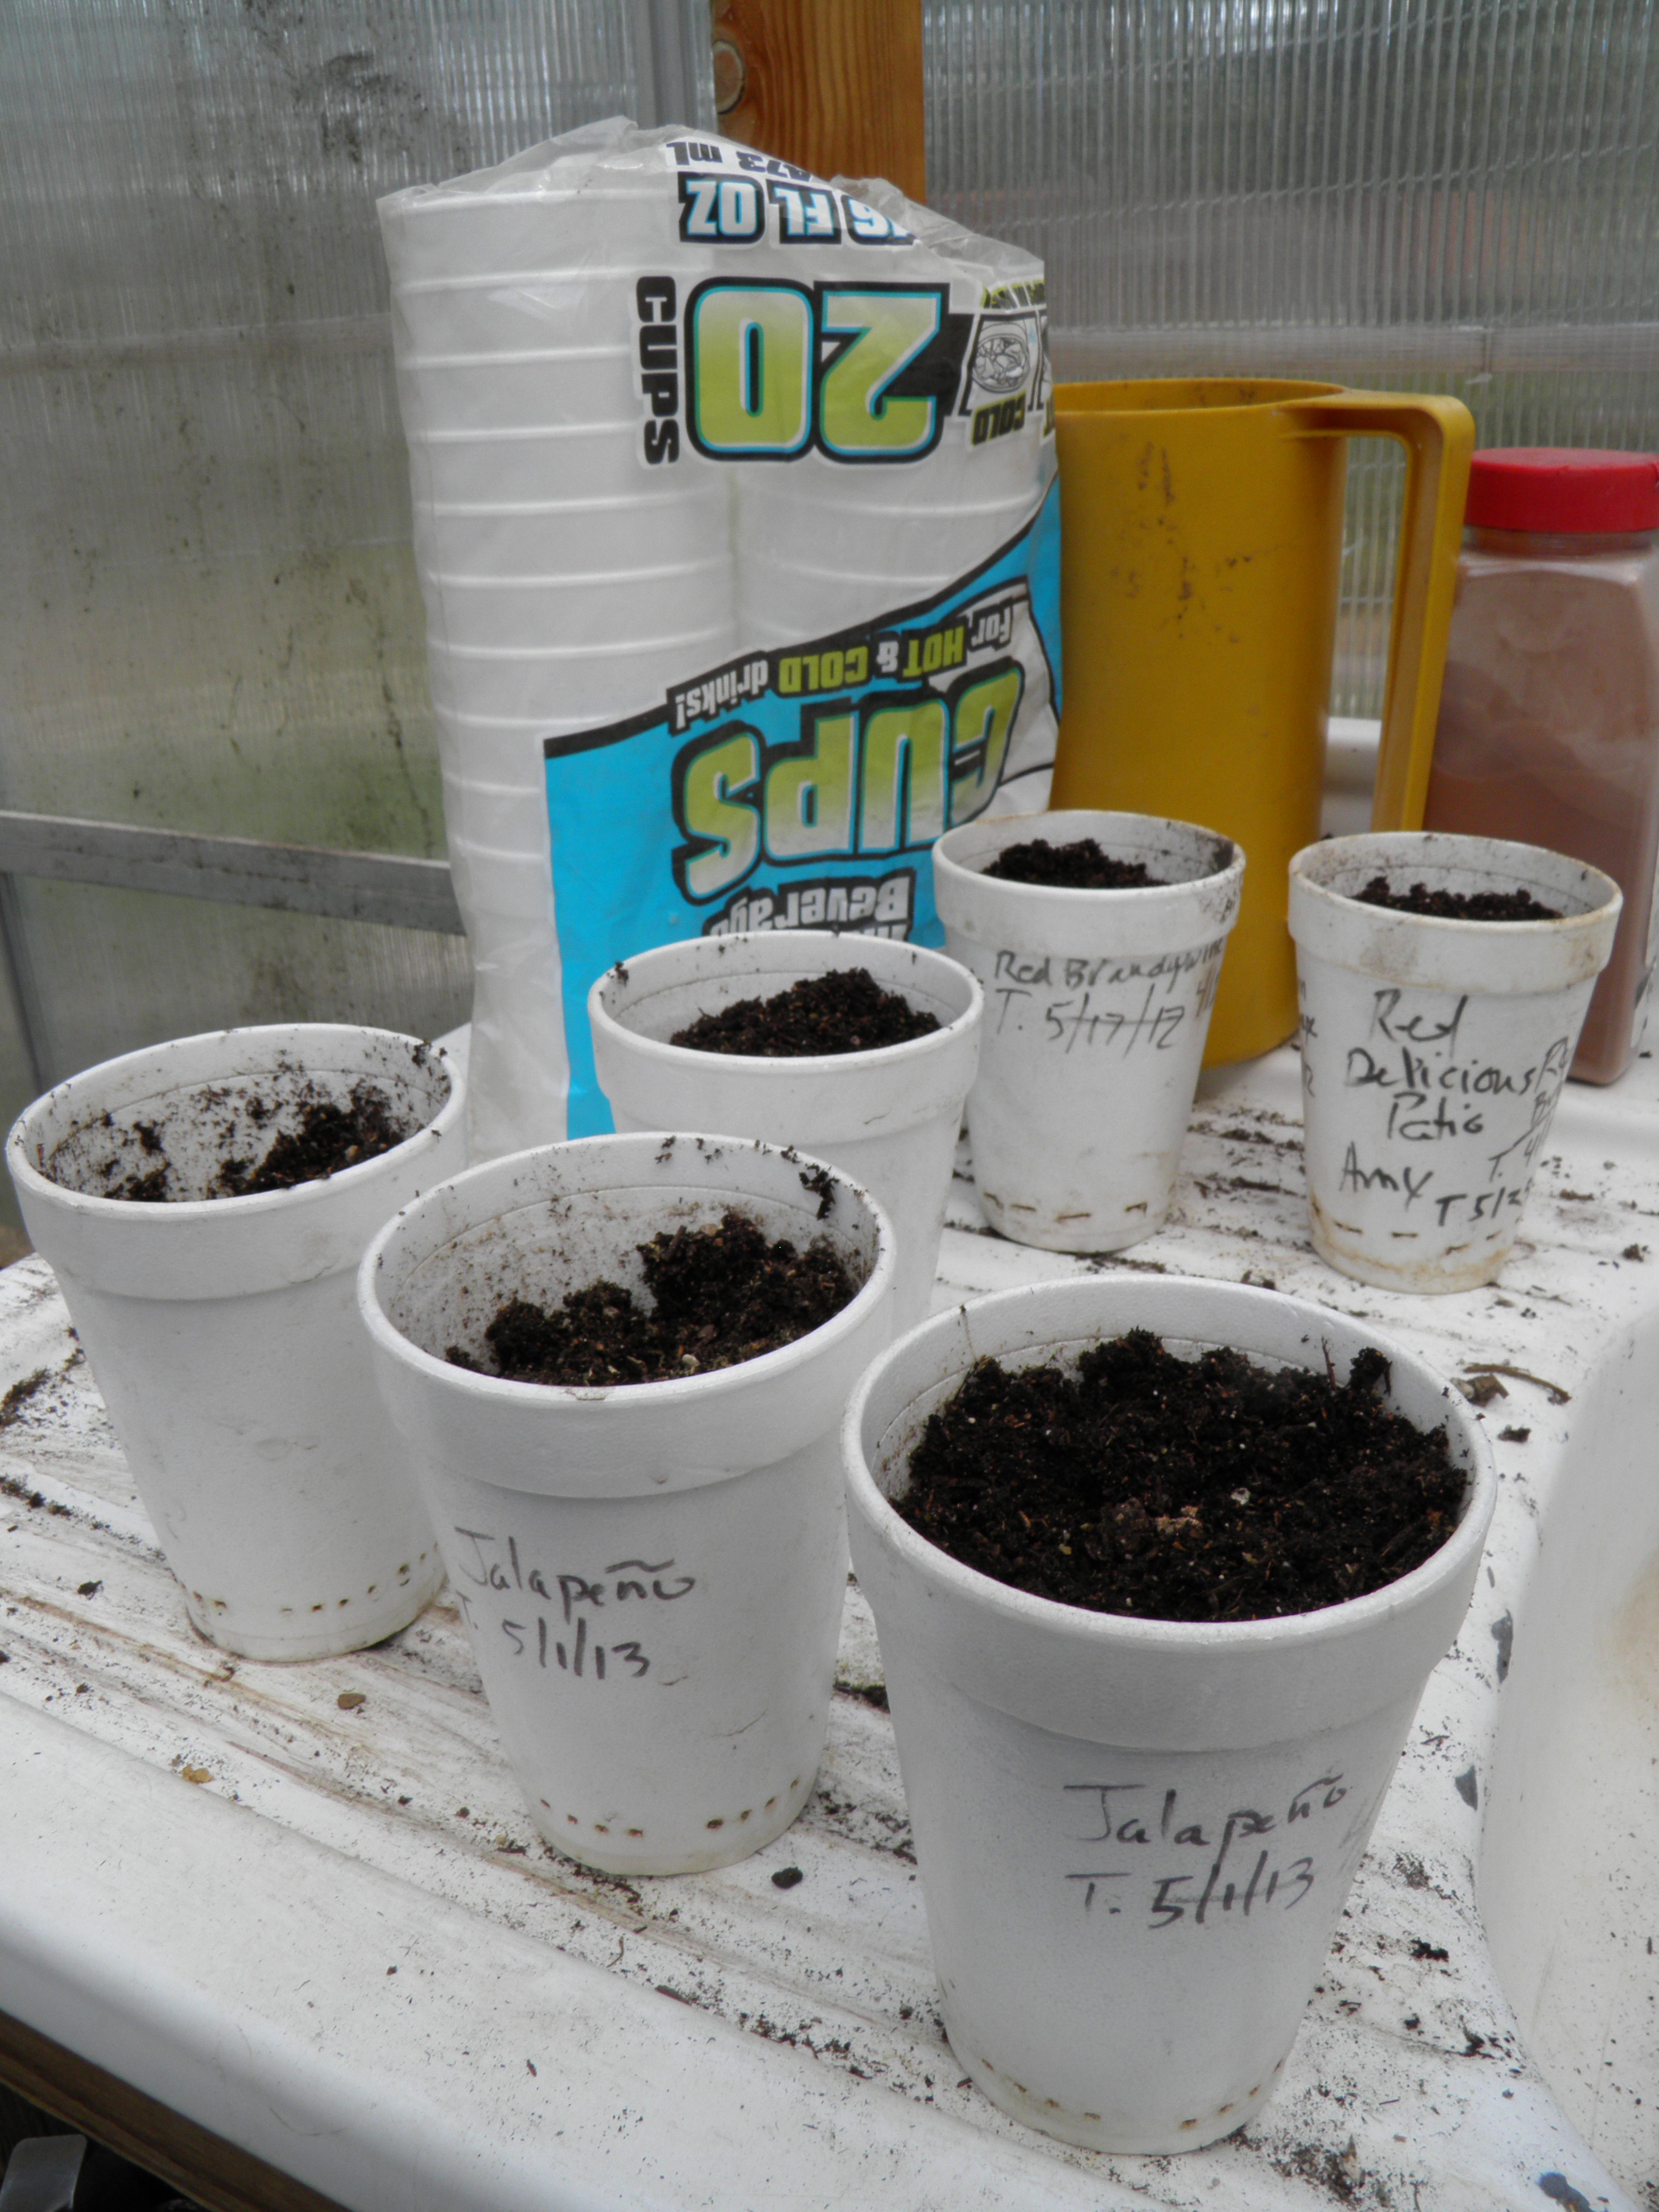
Now I can just hear some of the objections. “Styrofoam isn’t green!” “What about recycling?” To the first objection, I will say this. No, Styrofoam isn’t typically thought of as a green material because it doesn’t break down. And that’s precisely why I use Styrofoam cups for pots. They are durable, can be used over and over (my answer to the second objection), and are easy to use. I began using Styrofoam cups a few years ago, and I am still using the same cups I started with. I did have to open a new package the other day because I have given away or sold some of my plants over the years and haven’t gotten the cups back.
Here’s how it works. I take a sharp knife (or the blade of a scissors or a fork) and poke several holes in the bottom of a 16 oz. cup. I also poke a few holes around the base of the cup, about a half-inch from the bottom, to ensure good drainage. I use a Sharpie to mark the cup with the plant variety and transplant date, then I fill the cup with my moist soil mix, and use my thumb to create a nice well for the tomato or pepper seedling’s rootball to fill.

I use an old table fork to pry the seedling out of the six-pack cell and place it in the cup’s well. I press down firmly, and if it’s a tomato seedling, I add more soil to bring the soil level up to just below the seed leaves. Some people plant their tomato seedlings all the way up to the seed leaves in the first transplanting, but I don’t. The stem is still tender, and I want to give the seedling the chance to set its already-developed roots before it has to grow too many roots on its little stem. (When I plant the tomato in the garden, I’ll bury it down to the seed leaves.)
I do not deep-plant pepper seedlings. There’s some controversy about whether or not pepper stems grow roots like tomatoes, and whether or not it’s a good idea to deep-plant them. I don’t do it for one very simple reason. Peppers grow slowly. If you deep-plant a pepper seedling to grow roots on the stem, you are just delaying the fruiting process. I’ve never done it, and my hot peppers do very well outside in my short growing season. I’m afraid that trying to root pepper stems would seriously set back my pepper harvest. So I just transplant to the same soil level as the plant was in its original container.
After transplanting, I water the seedling to settle the soil and the plant’s roots into the soil, and then the tomato cups go into an aluminum foil roasting pan which sits on the warmed planting beds in the greenhouse until it’s time to start hardening off the plants prior to planting out. If we get a late freeze, I plug in the radiant oil heater and set the foil pans around it to keep them from freezing. The foil pans also reflect light and warmth on dark days, and they make it easy for me to move the plants in and out of the greenhouse for hardening-off.

The cups of transplanted peppers went back into the heated sand box. The rope light is now on a timer and only comes on at night. The lid stays off, and this gives the peppers enough warmth to be happy without making them wimpy. The eggplants and bell peppers went back under the light (along with a few tomatoes too small to transplant). The light is only on at night now as well (and also on a timer), until I’ve decided I’m ant-free and can plant them.
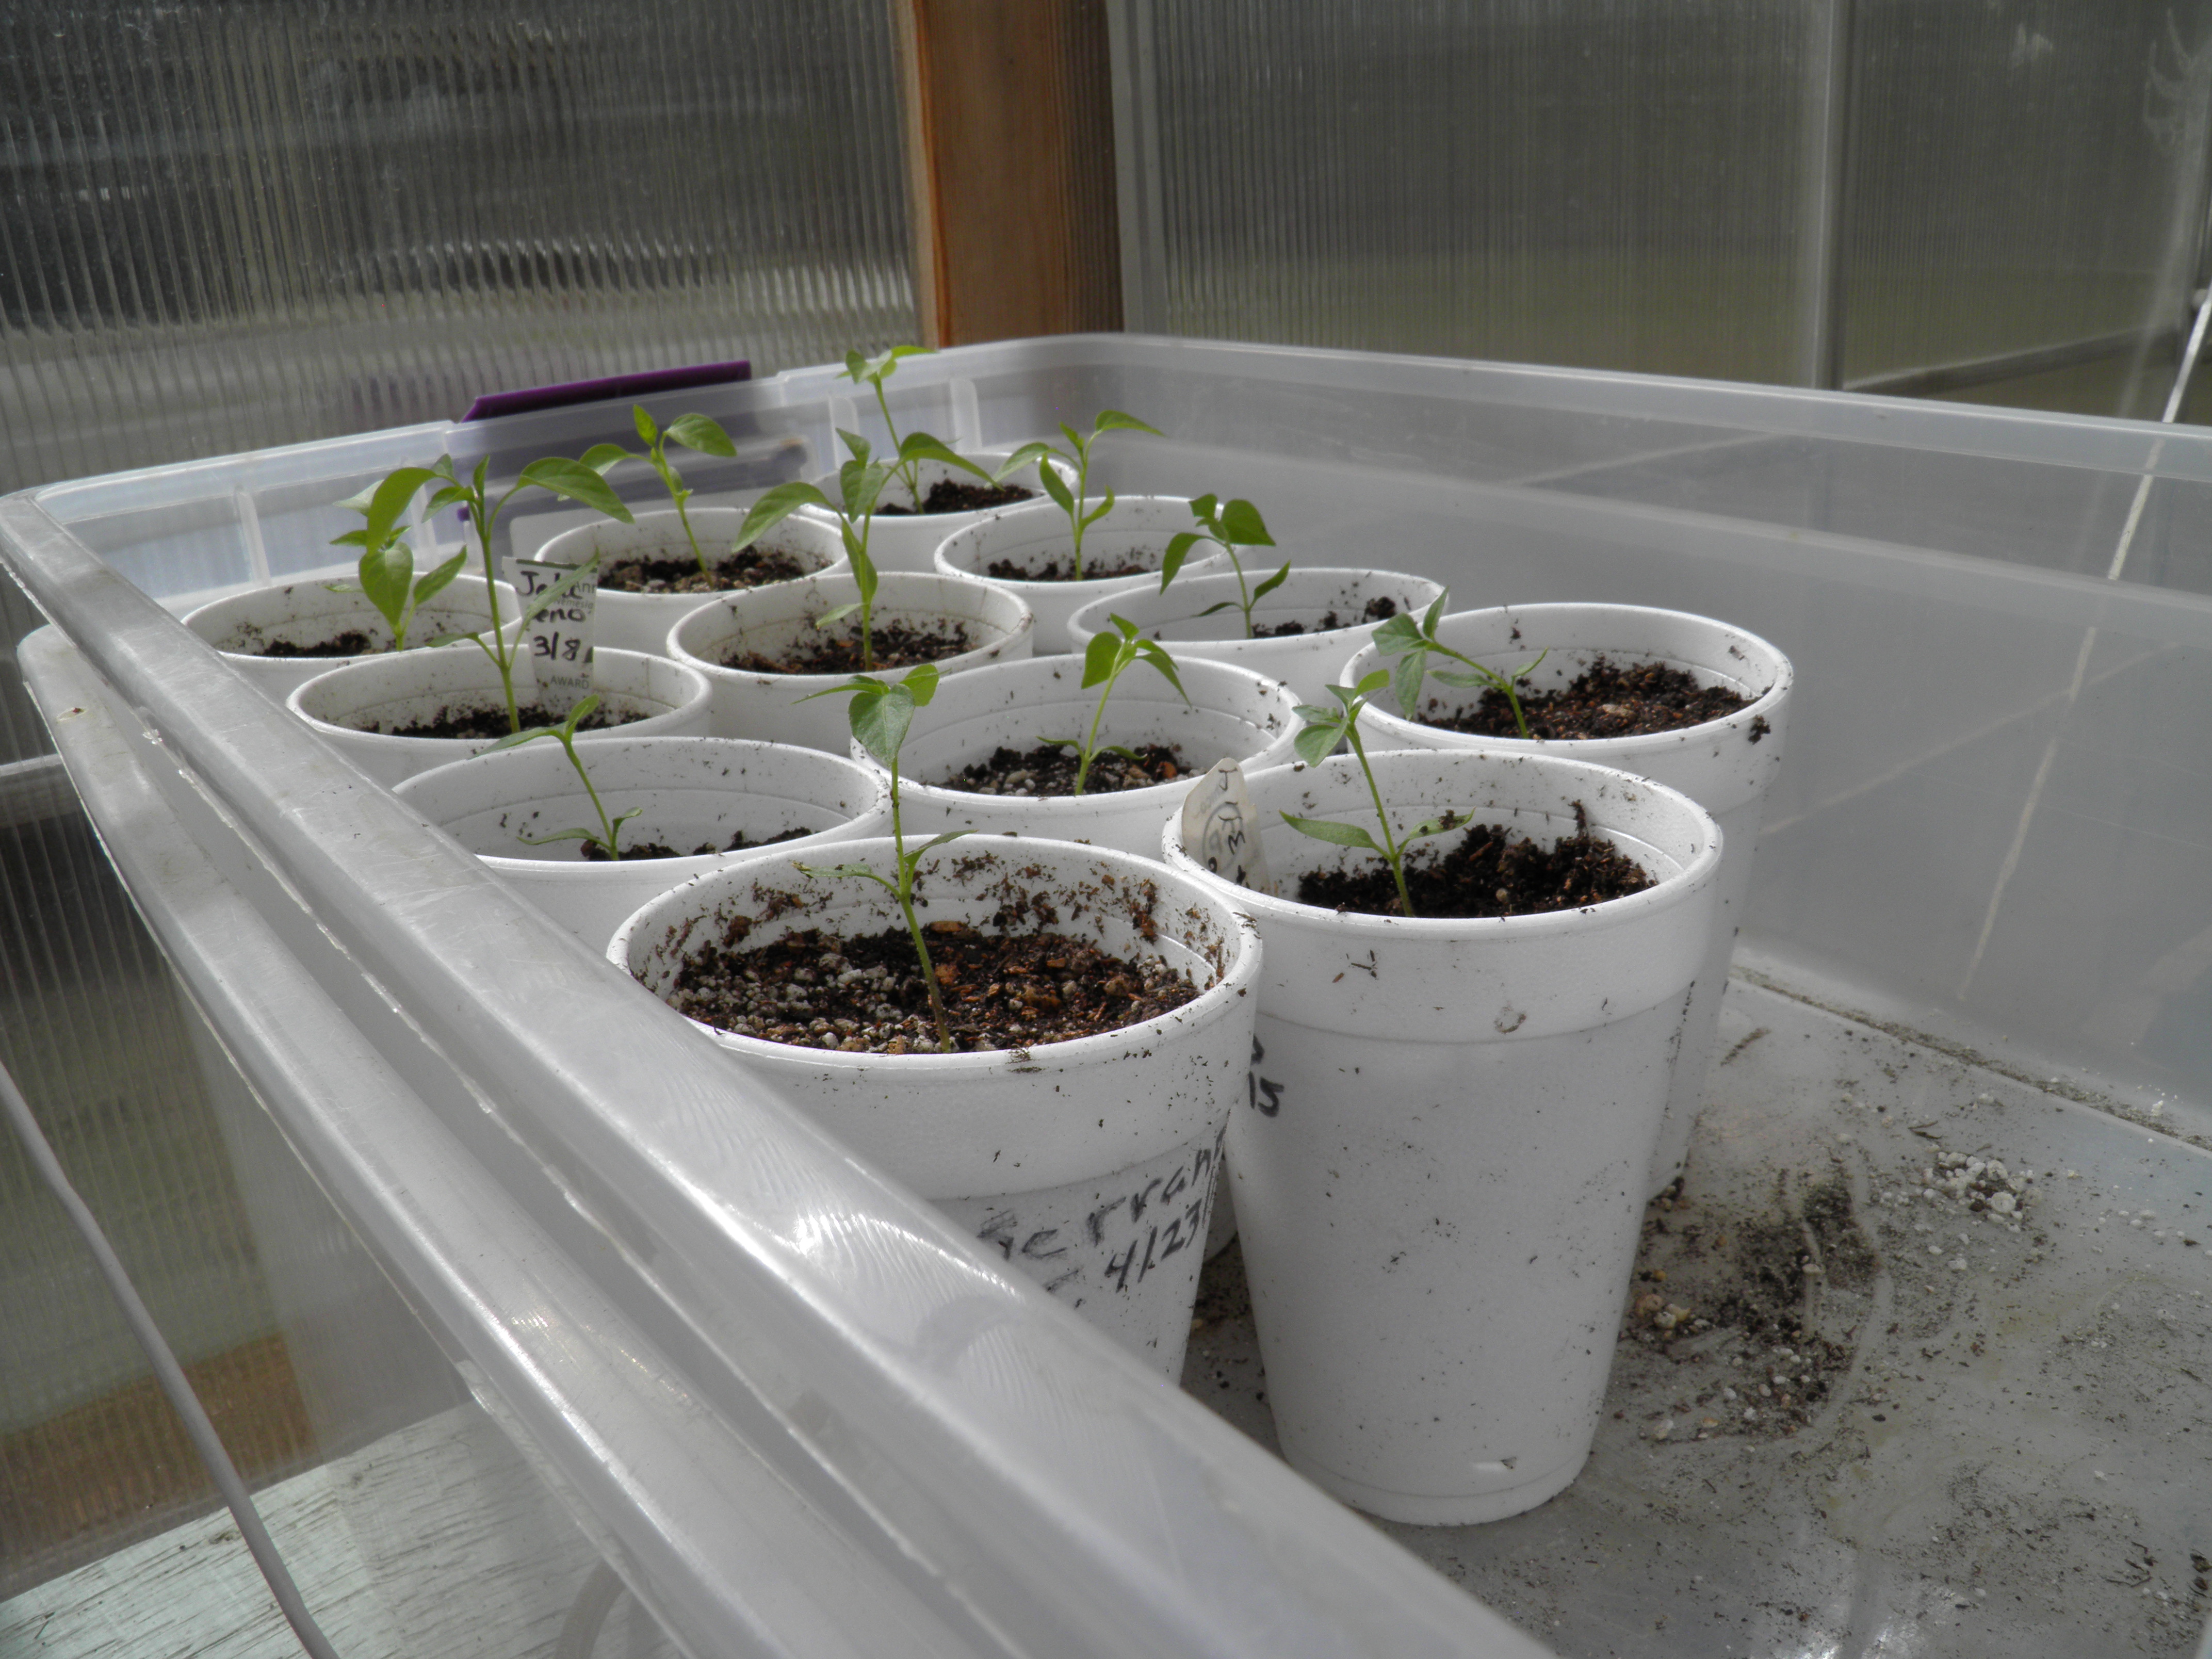

I use 16 oz. cups because they allow me to bury my tomato seedlings to just the right depth and allow for good root development. For peppers, which will stay in the greenhouse until June, the 16 oz. cup gives this slow grower plenty of root room as well. This size gives my plants enough room to grow for the next month or six weeks before I plant them out under cover. If your plants don’t need to stay in pots as long as mine do, you could use 8 oz. cups. And as I said before, the cups can be used over and over, so for me, they’re guilt-free. When it comes time to transplant the young tomato or pepper into the garden, the root ball slides easily and freely out of that Styrofoam cup. It’s slick inside, you see, and if you need to squeeze a bit or tap on the bottom to free up the plant (I usually don’t have to), the cup can stand up to the pressure. And then when it’s time to put the cups away after the plants are in the ground, you just nest them inside each other and put them back in the bag for easy storage.
I recycle or reuse just about everything. I save plastic six-, four-, and three-packs from flowers or other plants I might buy and use them over and over again in the greenhouse as my seedlings’ first homes. I bought both my Styrofoam cups and foil roasting pans at the Dollar Store, so my main cash outlay in the greenhouse is in good, organic bagged soil. I usually get mine at the local nursery, whatever brand they have on sale, because it is not cheap. And yes, I recycle it!
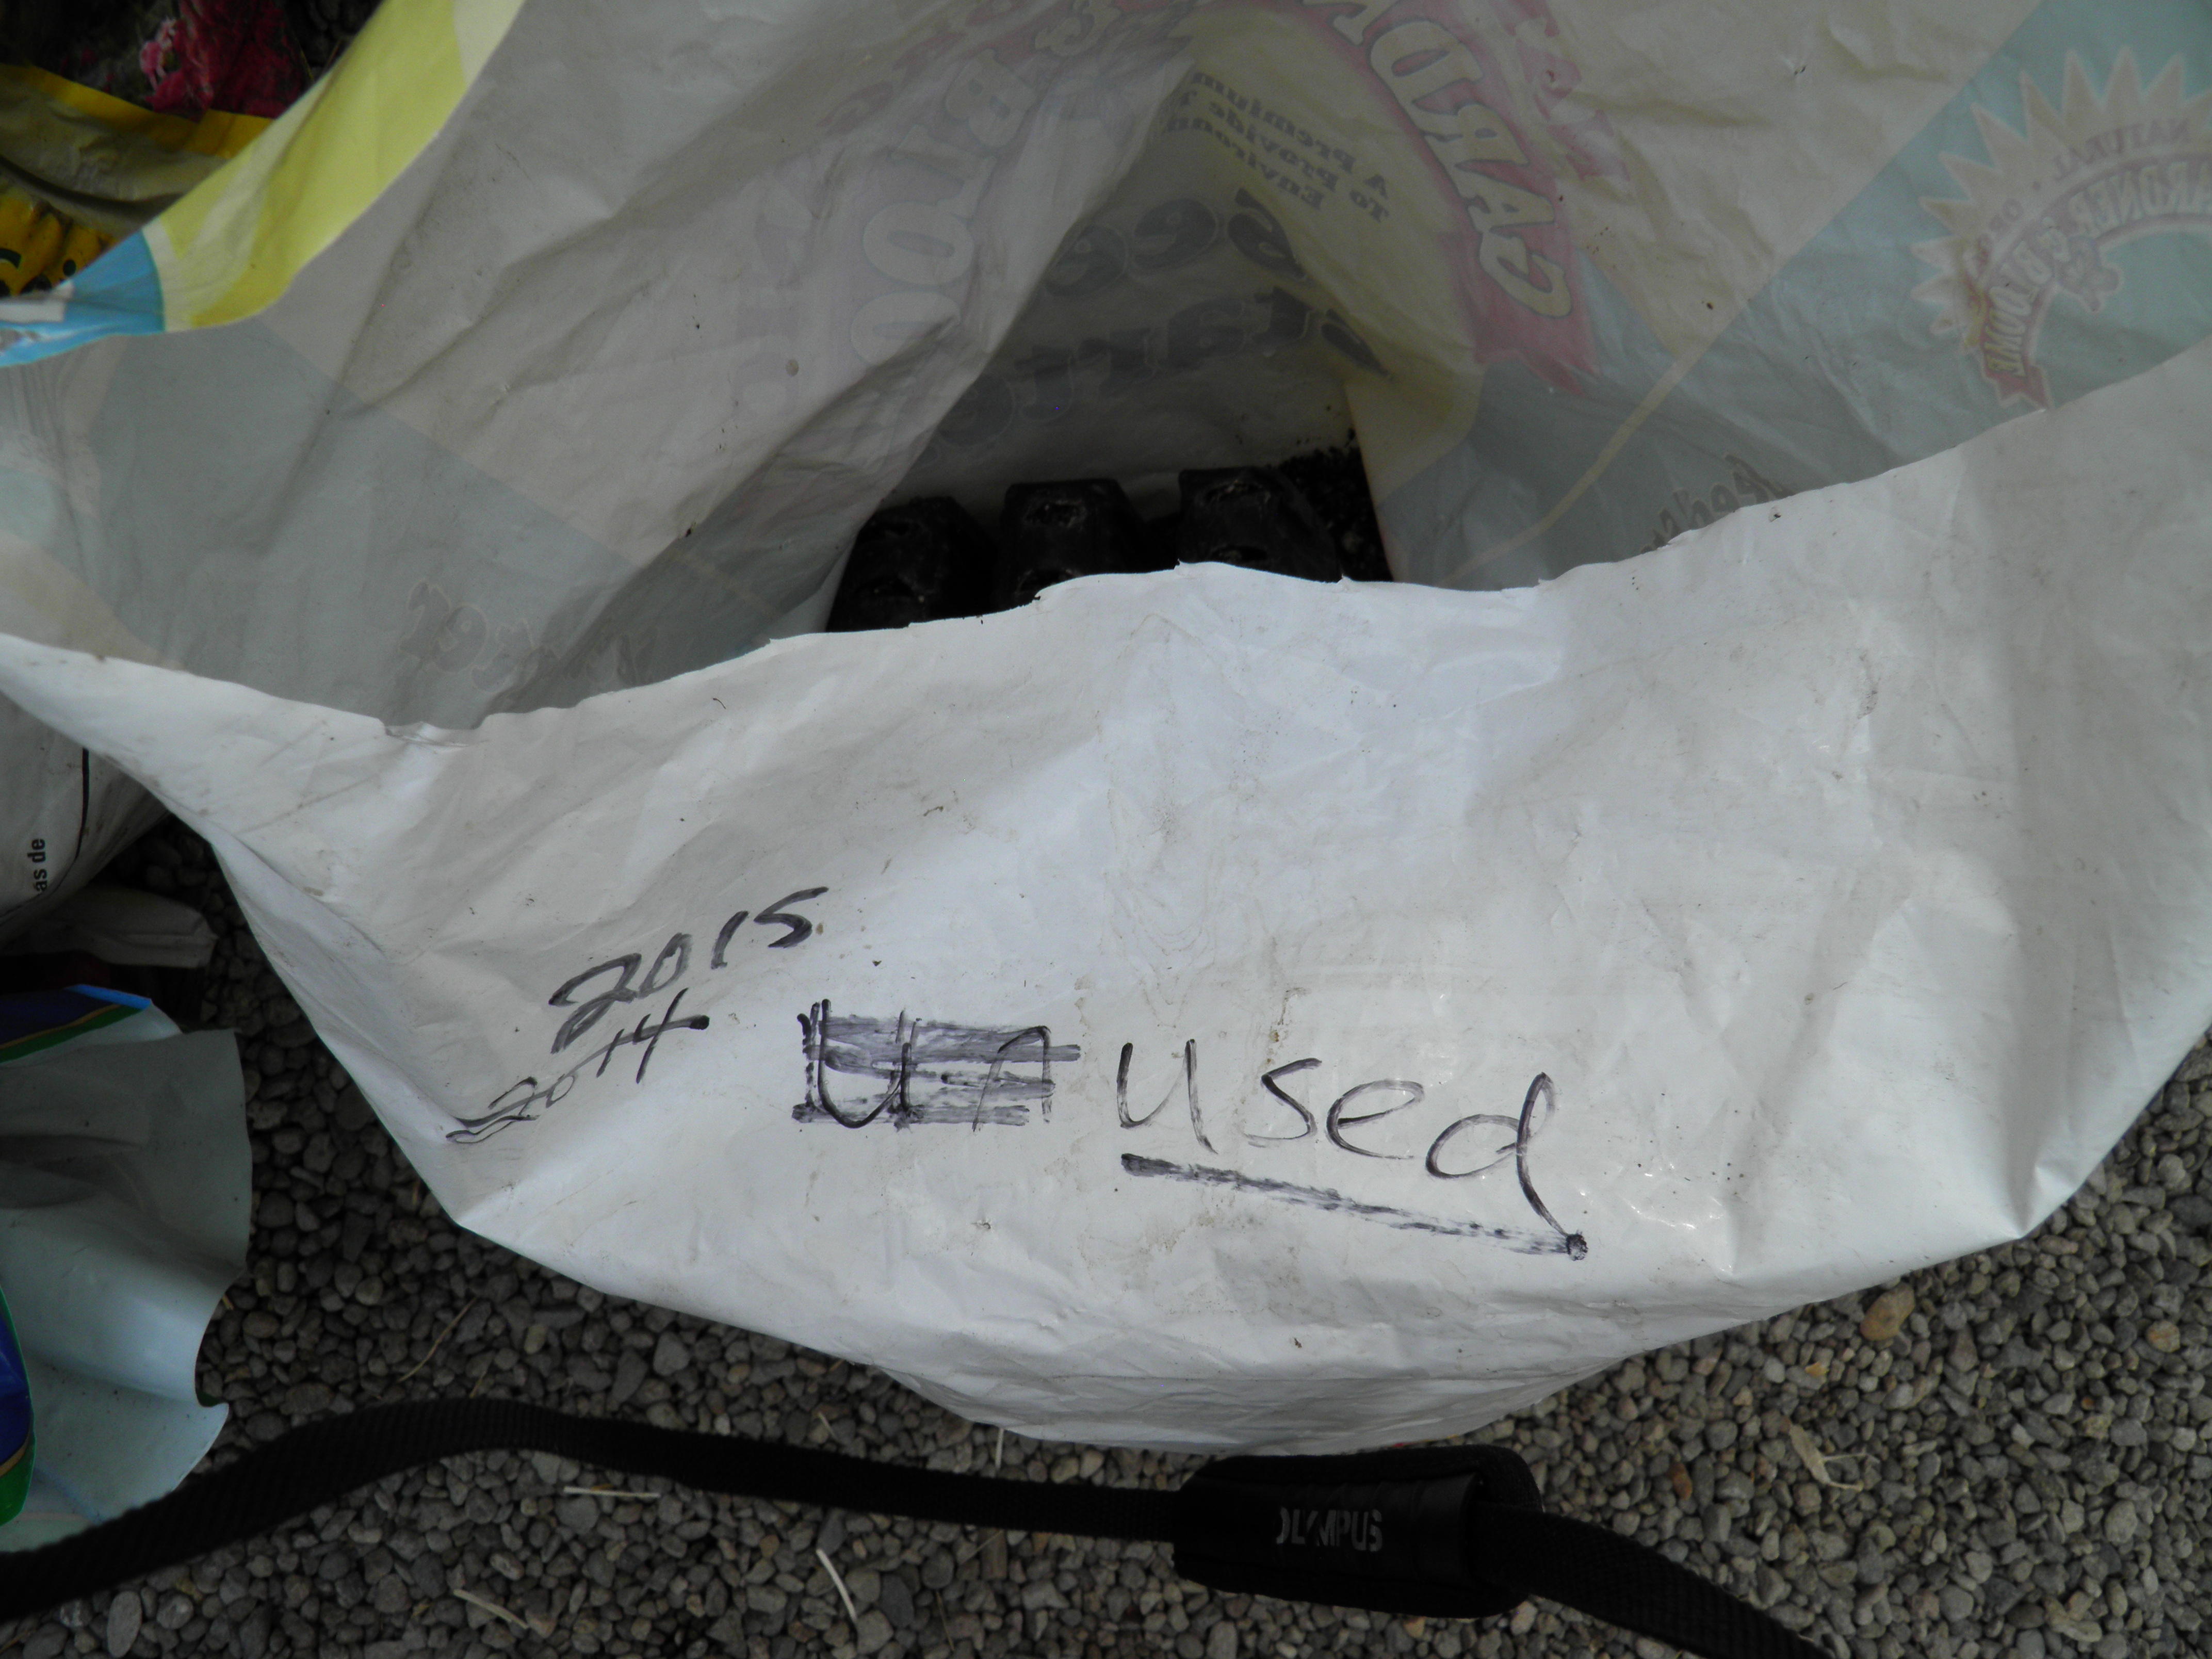
Any soil or starting medium left in the six packs is dumped into a labeled bag, and I use it the following year for starting my flower seeds. After the soil has been used for flowers, it’s dumped into the planting beds in the greenhouse or in the garden. I let the worms recharge it there.
I also potted up some petunias and marigolds that I started from seed a month ago. I love petunias, but since seed companies have decided to start pelleting the seed, I do not have good luck growing them. The pelleted seed just refuses to germinate for me. Out of 50 pelleted seeds, I might get 6 or 7 plants. I do know how to grow petunia seed that hasn’t been tampered with; you just have to cover it very lightly, barely scratching it in because it is smaller than fine salt. (Back in the day, 40 years ago, I started hundreds of petunias from unpelleted seed and grew them on in flats for planting in the flower beds of the Trees of Mystery, where I was the head gardener.)

Some years ago, I noticed that petunias would volunteer in my garden, so I started collecting seed from those volunteers and planting them in the greenhouse so I can have more and more and more petunias! After several generations, I now have petunias that are very hardy and smell incredible. (That’s my favorite thing about petunias—the scent.) I don’t have a lot of color variation. No reds or purples or ruffles or stripes, just plain trumpets in a pale pink, a deeper pink, a white, and a lavender, but I don’t care about the limited color selection. I care that I can grow petunias that smell heavenly, and I don’t have to mess around with that stupid pelleted seed.
I always plant lots of marigolds throughout my garden. They help to keep the tomato and cabbage worms away from those crops, and I just love their sunny colors. I get some volunteers every year, but not enough, so I gather seed each fall for the next year’s crop.
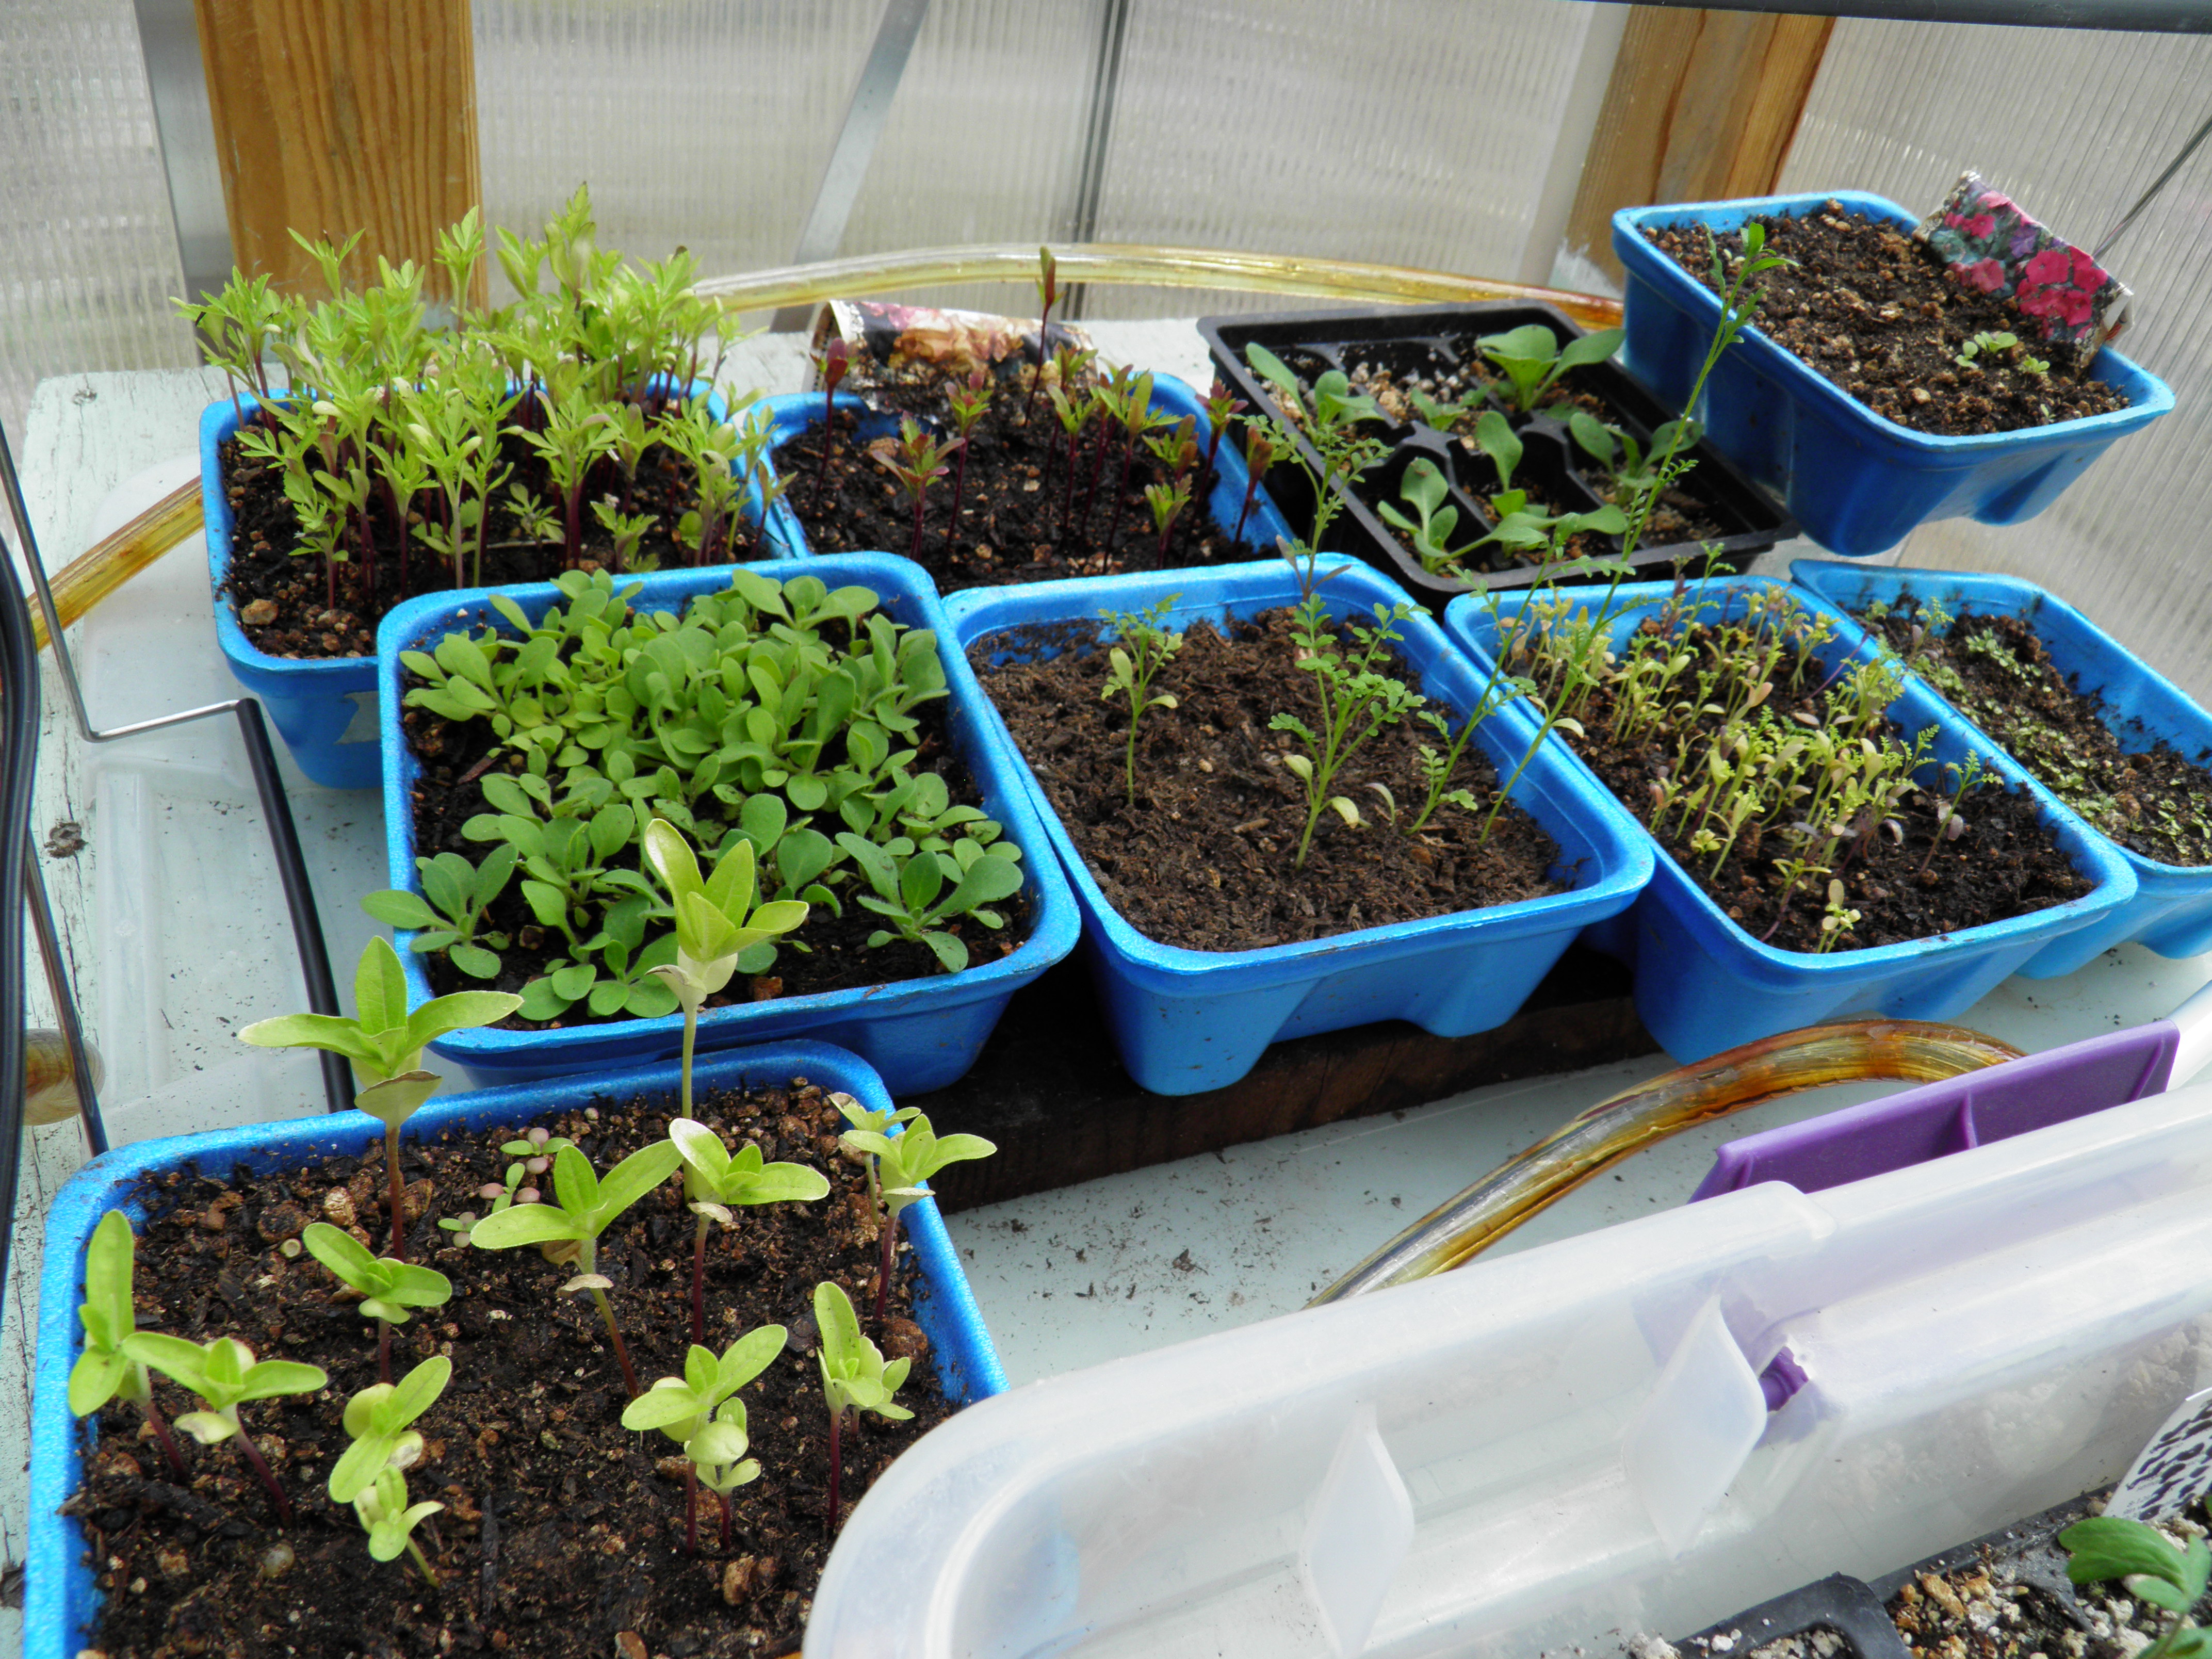
One last word about unorthodox containers. I will use just about anything as a seed-starting container in the greenhouse. The blue boxes in the picture below are Styrofoam mushroom boxes. I save them when I buy mushrooms, wash the boxes, poke holes in them for drainage just like the cups, and use them for starting flowers. I also save the plastic boxes that cherry tomatoes, or grapes, or blueberries are sometimes packaged in (there’s one in the picture above that’s about to receive some petunias), those plastic trays that hold grocery store sweet rolls (my husband buys those sometimes), and any other plastic thing that can be used like a flat, especially if it already has some kind of drainage holes in it. Then I fill the container with soil or starting medium and sow my seed like I would in a flat. When the plants are up and ready for pricking off, I may use a similar container and plant six to a mushroom or grape box.
If I need larger containers, say, gallon-size, and I’ve used up all my actual pots, metal or plastic coffee cans make good temporary pots. They just need some nail holes poked into them for drainage. For the plastic coffee cans, hold the nail head with pliers and heat the tip with a lighter, then poke it through the plastic. These can be used over and over again as well.
I’m going to leave you with two transplanting tips. 1) My favorite transplanting tool is a common table fork. I have several in the greenhouse. As I mentioned before, they are useful for prying a seedling out of its cell in a six-pack without damaging the root ball. They’re also useful for disentangling roots in a wad of seedlings from a “flat.” I use a fork to tease the plants and roots apart for transplanting. (They also make good weeders if they’re sturdy enough.)
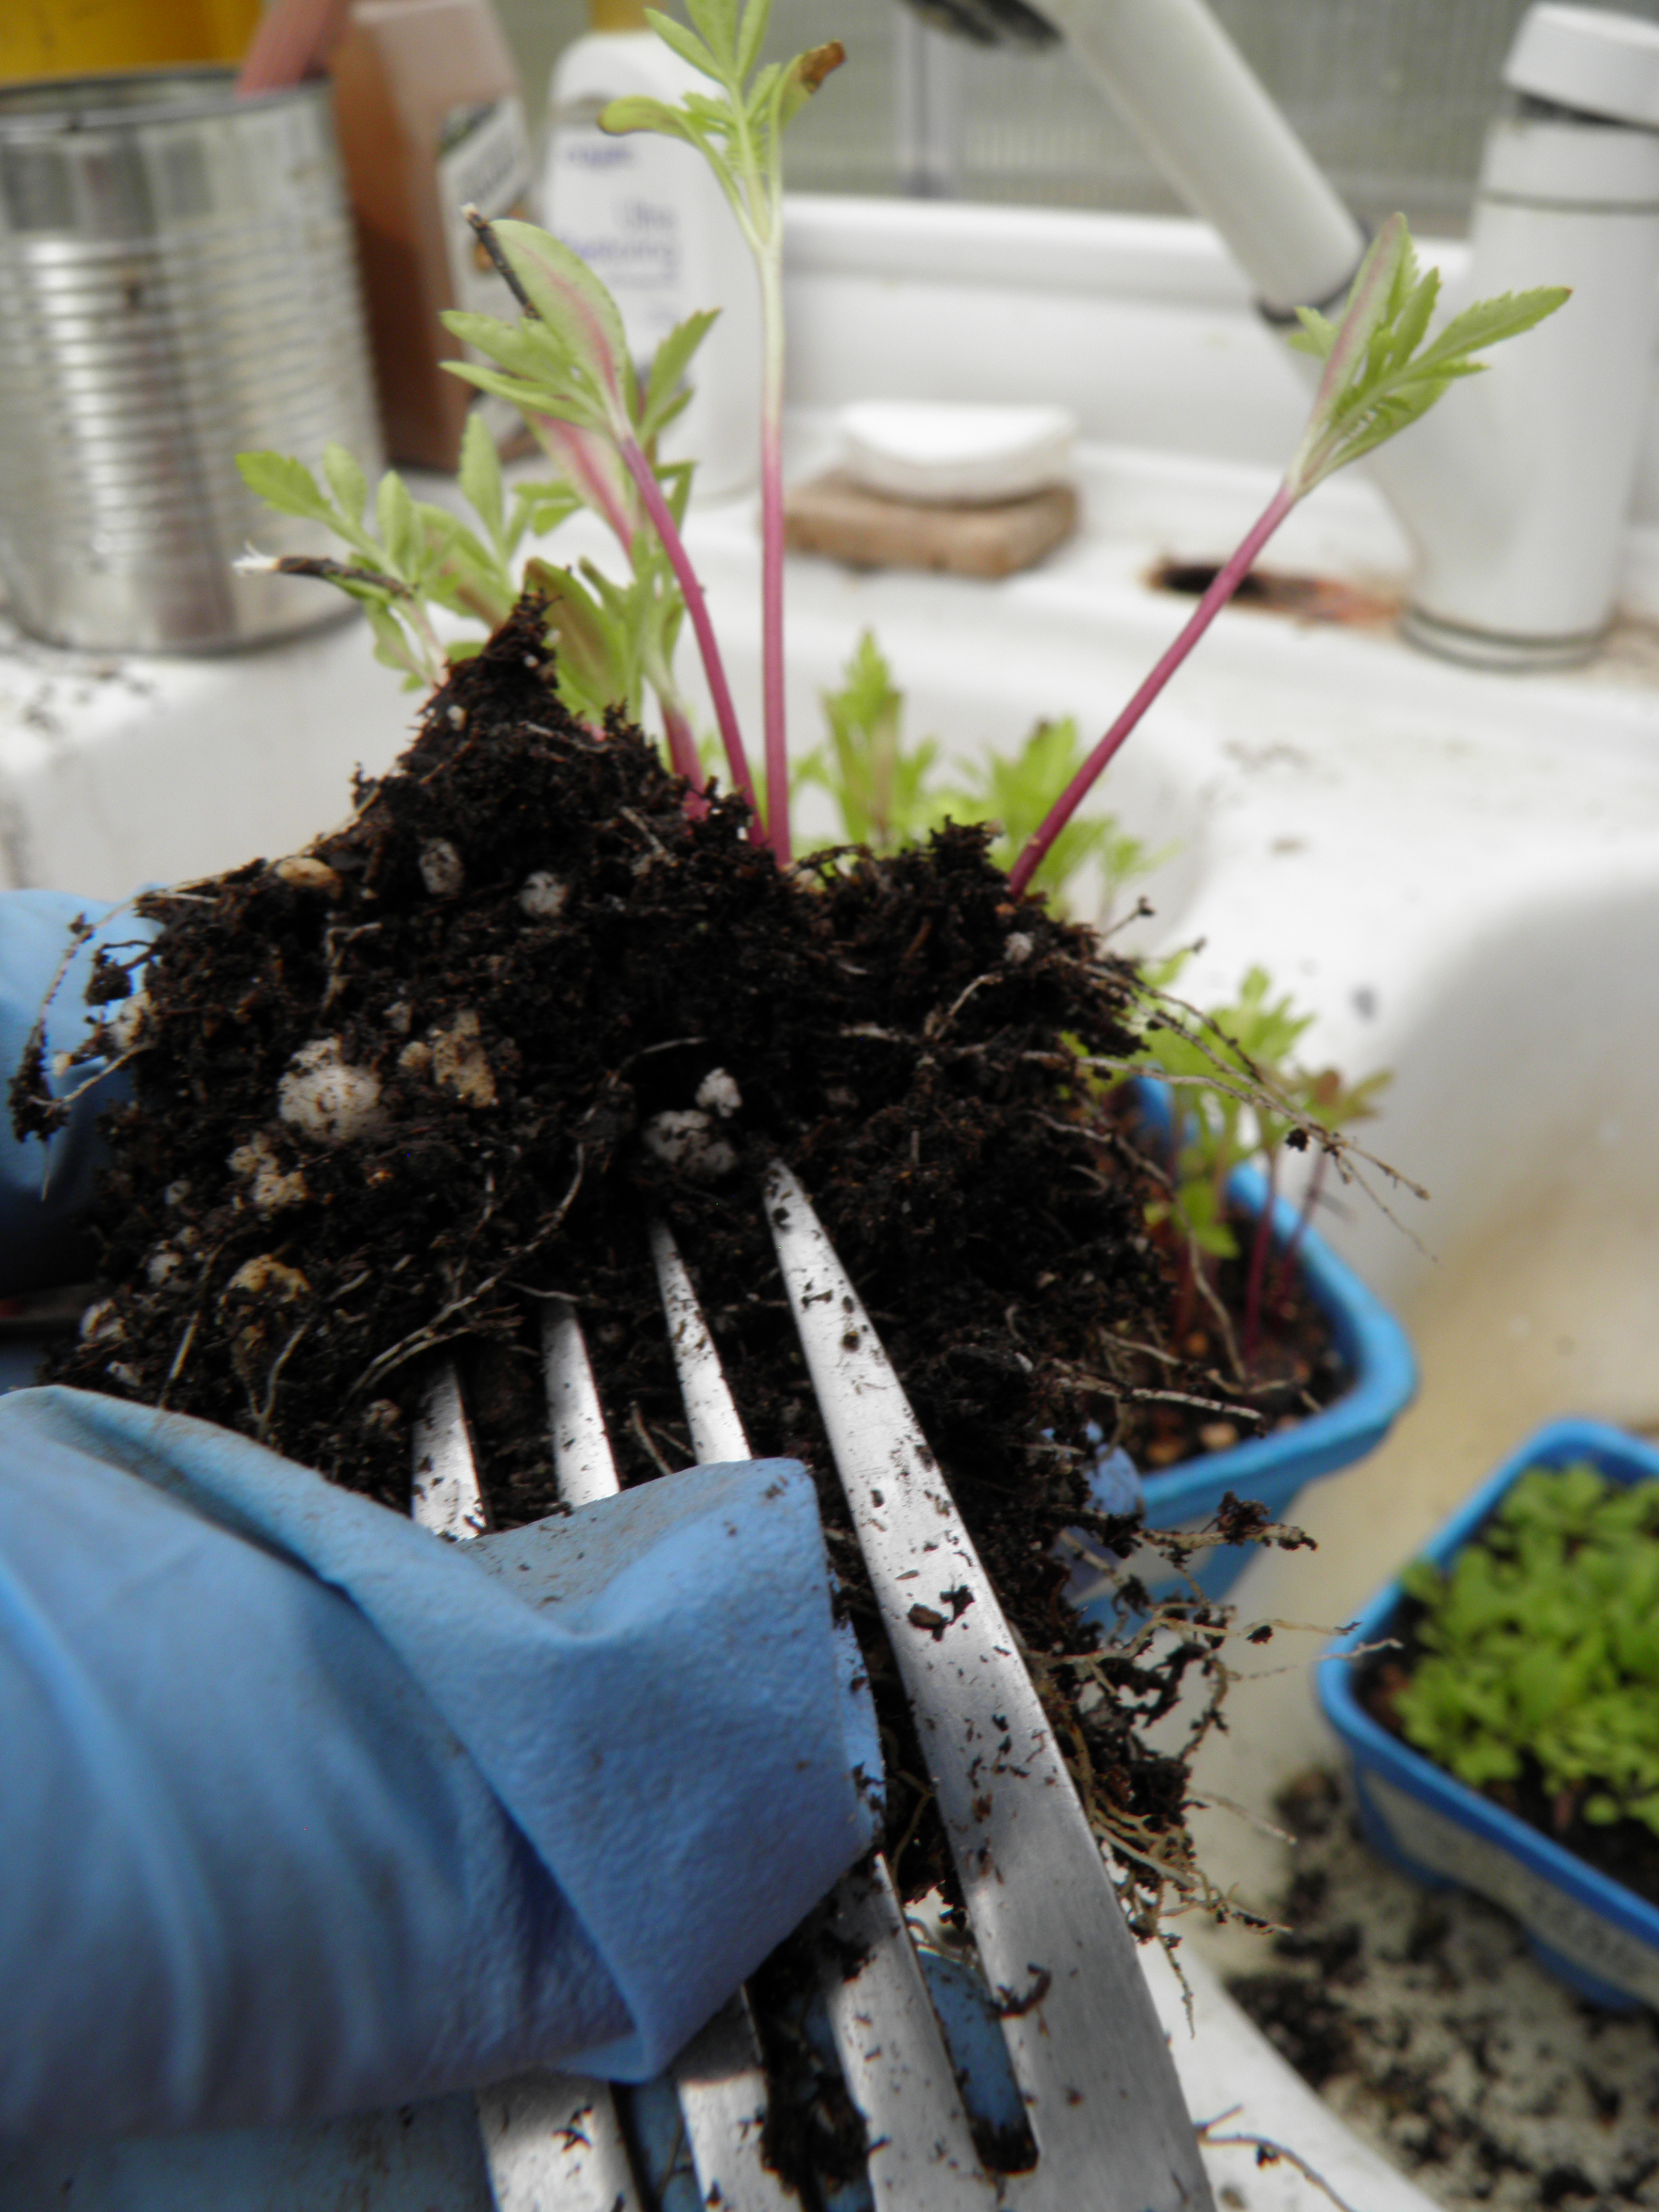
And 2) when you’re transplanting, always remember to handle seedlings by their leaves or roots, never by their stems. If you bruise the stem, you’ll likely lose the plant. The stem is the conduit from the roots to the leaves, the spine, if you will. Damage it, and your plant is toast. Bulky gloves are no good for transplanting, so if you have an owie on your finger (like I often do), use vinyl or nitrile gloves to protect your hands. It’s a lot easier to handle delicate seedlings with thin, surgical-type gloves. Oh, I guess that was a bonus, tip #3!

I use all manner of “pots” too! However I am getting a late start. I just planted some sprouted seeds a few days ago.
I use the clam shells from store bought berries for sprouting seeds all year long. I add sprouts to many meals for an extra nutrition boost.