Main dishes, Recipes

Green Turkey Burritos

Last year, I used my leftover Thanksgiving turkey in Green Turkey Enchiladas.  (For that recipe, follow the link to my post from last Thanksgiving, and as a bonus, there’s a delicious way in this previous post to use up leftover pumpkin pie.)

OLYMPUS DIGITAL CAMERA

This year, I decided to make Green Turkey Burritos.  Burritos are easier to freeze individually, and that was important this year.  I’m putting up meals in the freezer in preparation for shoulder surgery that’s going to put me out of commission for several weeks.

I’m using up my leftover turkey breast meat in these Green Turkey Burritos.  Green turkey anything might sound a little weird but these things are oh, so good.  If you made any green tomato salsa, this is an excellent way to use it and take care of your Thanksgiving leftovers.  You can also use a store-bought salsa verde in this recipe.

I make gluten-free tortillas for myself, and use store-bought flour tortillas for Dennis, and I make up a bag for each of us.  The burritos are wrapped in waxed paper, which doesn’t stick to the tortillas when frozen like plastic wrap sometimes does, but which must be removed before heating.  I write a note on the bag to this effect, because I don’t trust Dennis to remember if I just tell him!

OLYMPUS DIGITAL CAMERA   OLYMPUS DIGITAL CAMERA

Here’s the gluten-free tortilla recipe I use, followed by the Green Turkey filling recipe which can be used for individual burritos or a pan of enchiladas.  Follow the directions here, if you wish to make enchiladas.

Gluten Free Tortillas

(makes 6)

2 cups gluten-free all-purpose flour blend of choice (I use Bob’s Red Mill)
1 teaspoon xanthan gum
1½ teaspoons baking powder
1 teaspoon kosher salt
4 teaspoons vegetable shortening (or lard, if you have it)
½–1 cup warm water (about 100°F)

Place flour, xanthan gum, baking powder and salt in a food processor and mix well. Add 4 teaspoons shortening and pulse to combine. Pour in warm water a little at a time in a slow, steady stream, pulsing to combine until dough comes together in a ball.  I usually use about 1/2 cup of water.

With wet hands, divide dough into 6 pieces and roll into ball.  With rolling pin, roll each piece separately between two sheets of rice-flour dusted plastic wrap until about 1/8-inch thick and 8 inches wide.

Heat a large cast-iron or nonstick skillet. Peel plastic wrap off one side of tortilla, then flip the tortilla over your hand and peel off the other piece of plastic wrap. (You can reuse these for the rest of the tortillas.)  When the skillet is hot, place a raw tortilla flat in the skillet, one at a time. Cook until bubbles appear (about 30 seconds), then flip and cook another 30 seconds or until very lightly browned.  (Under-cooking a little is better than over-cooking, especially if you intend to roll them for burritos or enchiladas.)  Remove from pan and place on a plate, layering sheets of waxed paper between each tortilla. Continue until all tortillas are cooked.

For Green Turkey Burritos:

If using the gluten-free tortillas above, fill and roll while still warm and pliable.  If you wish, you may use 1 pkg. of store bought flour tortillas.  The recipe below fills 10-12 medium-sized tortillas, so I always make some burritos or enchiladas for me with the gluten-free tortillas and use the rest of the filling in flour tortillas for Dennis.

Green Turkey Burrito or Enchilada Filling

3 cups chopped turkey, light or dark meat or mixed

2 cups blended salsa verde (1 pint jar)

1 cup chopped onions

1 small can sliced black olives

2 cups shredded cheese (l like a mix of Monterey jack and pepper jack)

Mix all ingredients together.  Place a tortilla on a square of waxed paper.  Fill each tortilla with 3-4 tablespoons of meat/cheese filling.  Roll up like a burrito. (I don’t fold in the ends on the gluten-free tortillas because they just aren’t large enough or flexible enough).  Roll waxed paper around burrito, tucking in ends.  Place burritos in freezer bag and freeze.

To heat and serve, take burrito out of bag, unwrap waxed paper, and if microwaving, place on plate and heat in microwave under cover (you can use the waxed paper) for 2-3 minutes or until hot.  Sprinkle with a little more shredded cheese, if desired, and serve with sour cream, guacamole, or more salsa verde.

I prefer these heated in the oven.  Heat oven to 375, unwrap burrito, and place on heat-proof pie plate.  Sprinkle with shredded cheese and bake until burrito is hot through, and cheese is melted.  Serve with accompaniments as above.

One of these burritos alone makes a good lunch.  For dinner, serve with black beans squeezed with a lime wedge and a salad.


Standard
Desserts, Gluten-free, Recipes, Uncategorized

Thanksgiving Pies

Who’s baking pies today?  I am!  There are three old favorites, standards, I always make:  apple pie, pumpkin pie, and sour cream apple pie. I might make a new recipe (a chocolate pie) this year, and if it’s good, I’ll share it with you next week.

OLYMPUS DIGITAL CAMERA

For the apple pie, I use my home-grown, home-canned apple pie filling.  For the pumpkin pies, I use my home-grown, home-frozen pumpkin puree (recipe in this post below), and I do as my sister taught me–double the spices!  What a difference that makes in flavor.  For the sour cream apple pie, (which is the pie I absolutely must make for Thanksgiving, or else I’m in big trouble) I use some pie apples from the garden that I save in the fridge just for Thanksgiving.  Sometimes, I make my own sour cream for this pie, but this year, I’m using store bought.  For pie crust, I use a gluten-free crust made with Bob’s Red Mill Gluten-free baking flour which I developed a while back that is so good, nobody but me knows it’s gluten-free!  For these recipes and more, follow the links below:

Gluten-free Pie Crust

Sour Cream Apple Pie

Apple pie filling


Pumpkin Pie Recipe

(makes 1 pie)

2 eggs

1 cup pureed pumpkin

¾ cup sugar

½ teaspoon salt

1 teaspoon ground ginger

2 teaspoons cinnamon

1/4 teaspoon ground cloves

1 can evaporated milk (or 1 cup heavy cream)

Beat all ingredients together until smooth. Pour into unbaked 9-inch pie shell and bake at 425 for 15 minutes. Reduce heat to 350 and continue baking for 45 minutes or until knife inserted in center comes out clean.

Note: You may need to bake pie made with homemade roasted pumpkin a little longer because it is not quite as dense as canned pumpkin.  Canned pumpkin made be used in this recipe.

Happy pie baking!  Happy Thanksgiving!

Standard
Canning, Recipes

Italian Red Sauce

I’m working now to process the tomatoes I froze during the summer and the ones I box-ripened after the last fall picking. I’m making Italian Red Sauce. People know this sauce by different names. Italians call it marinara. It’s marketed in jars as pasta and pizza sauce. Many of us who lack Italian heritage just call it spaghetti sauce. It doesn’t matter what you call it. It matters that you make it. Here’s how, although this is more about a technique than a recipe. (Lots of parentheticals in this one.)

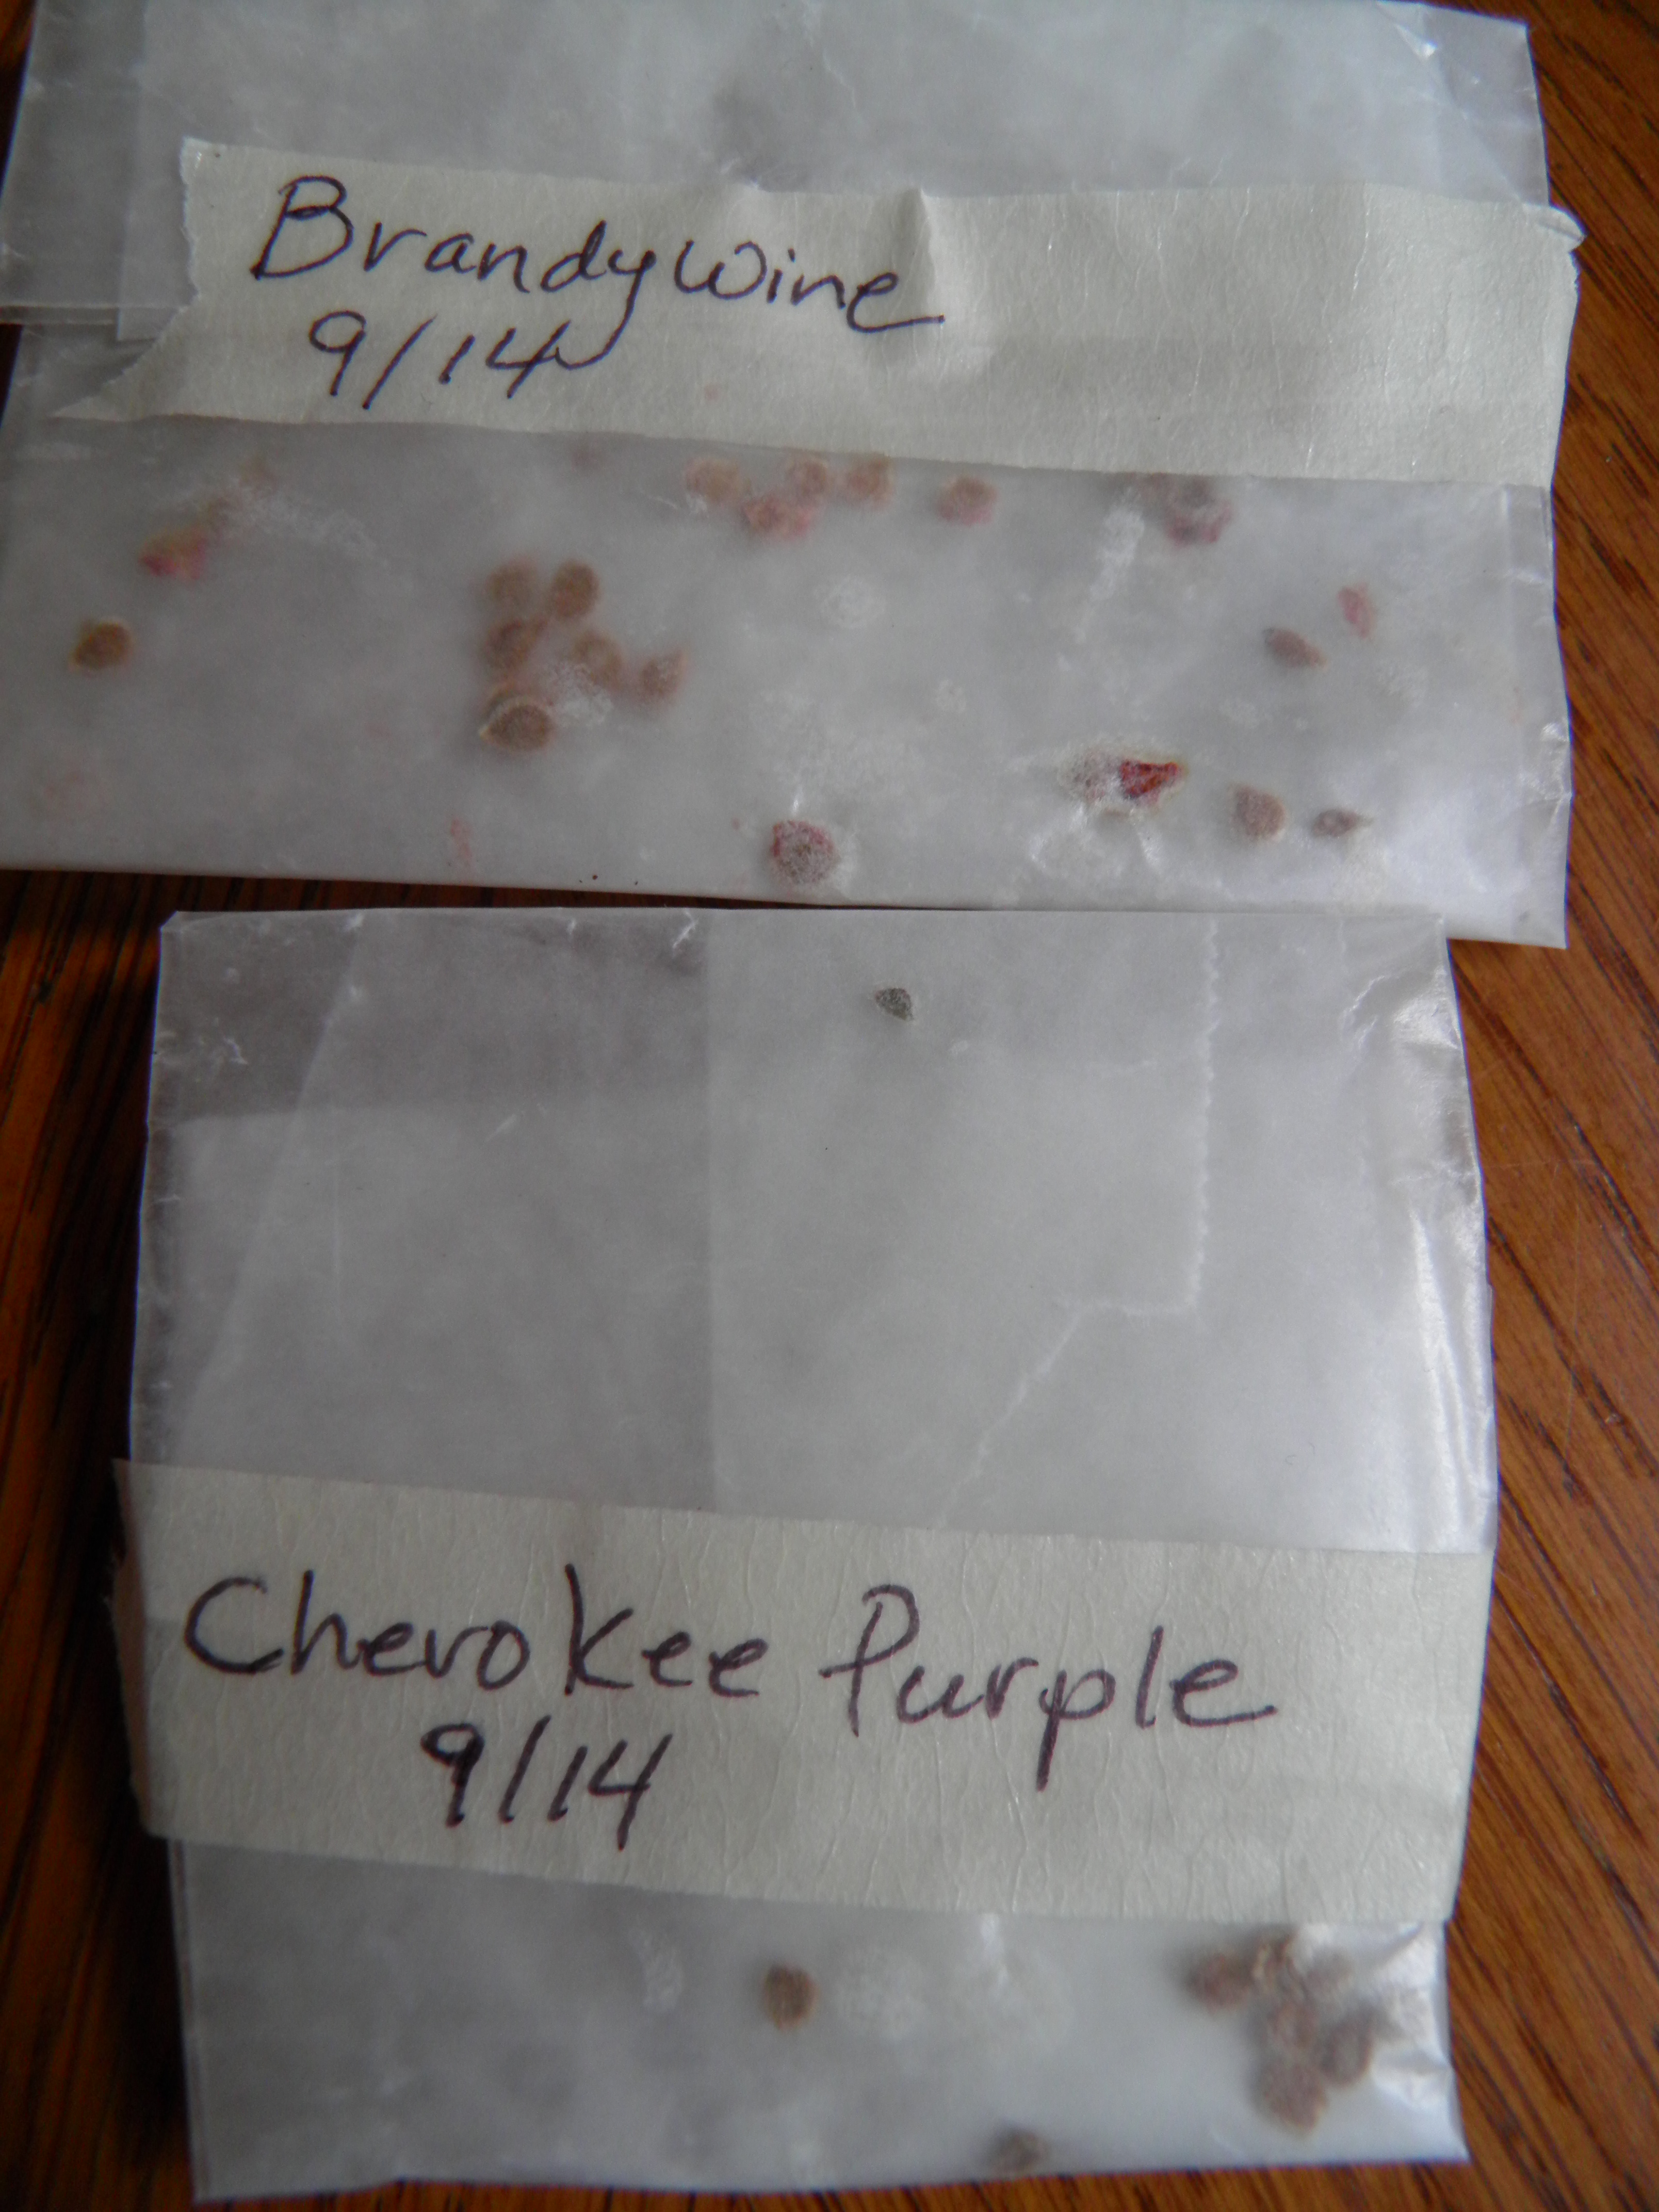
Marinara (or as I call it, Italian Red Sauce) is a tomato-based sauce that can indeed be used for all kinds of pasta dishes, pizzas, and dishes like Chicken Parmesan or Eggplant Parmesan. What else you put in your red sauce depends on what part of Italy you or your ancestors were from. Since no part of my heritage is Italian (mine is Irish, English, Dutch, Cherokee, and who knows what else), I am free to use whatever I like in my red sauce. And I like it all.

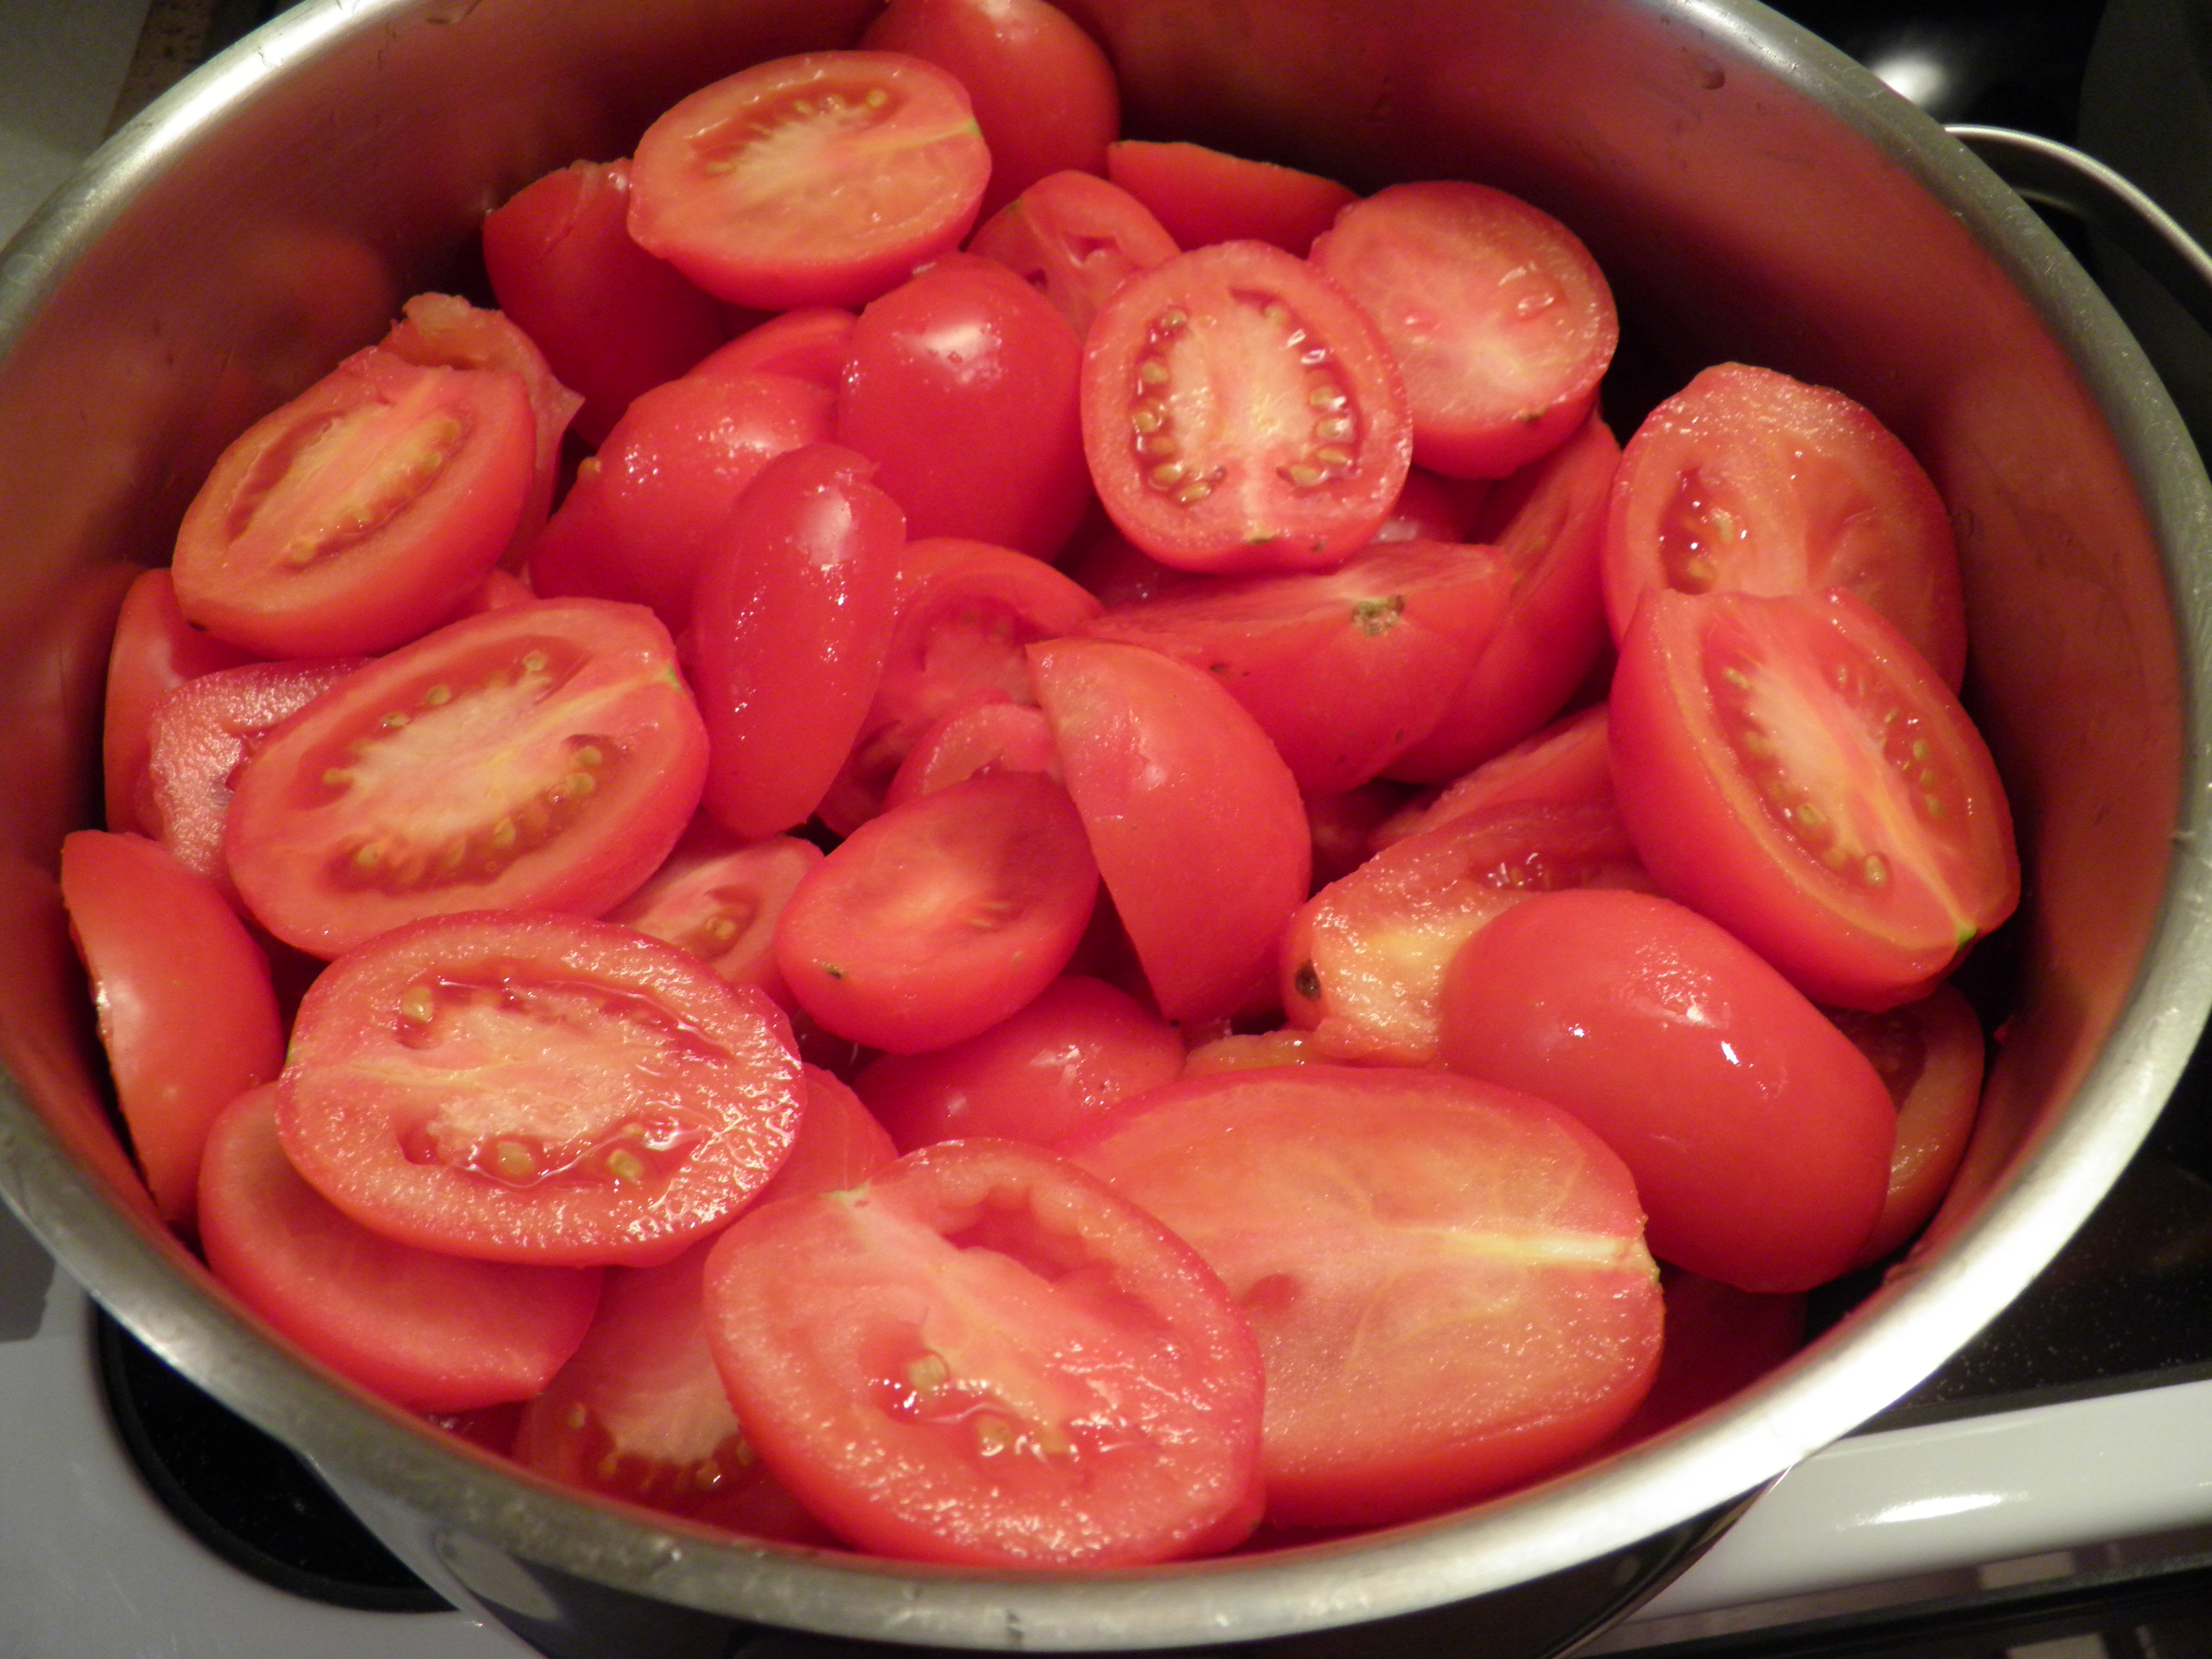
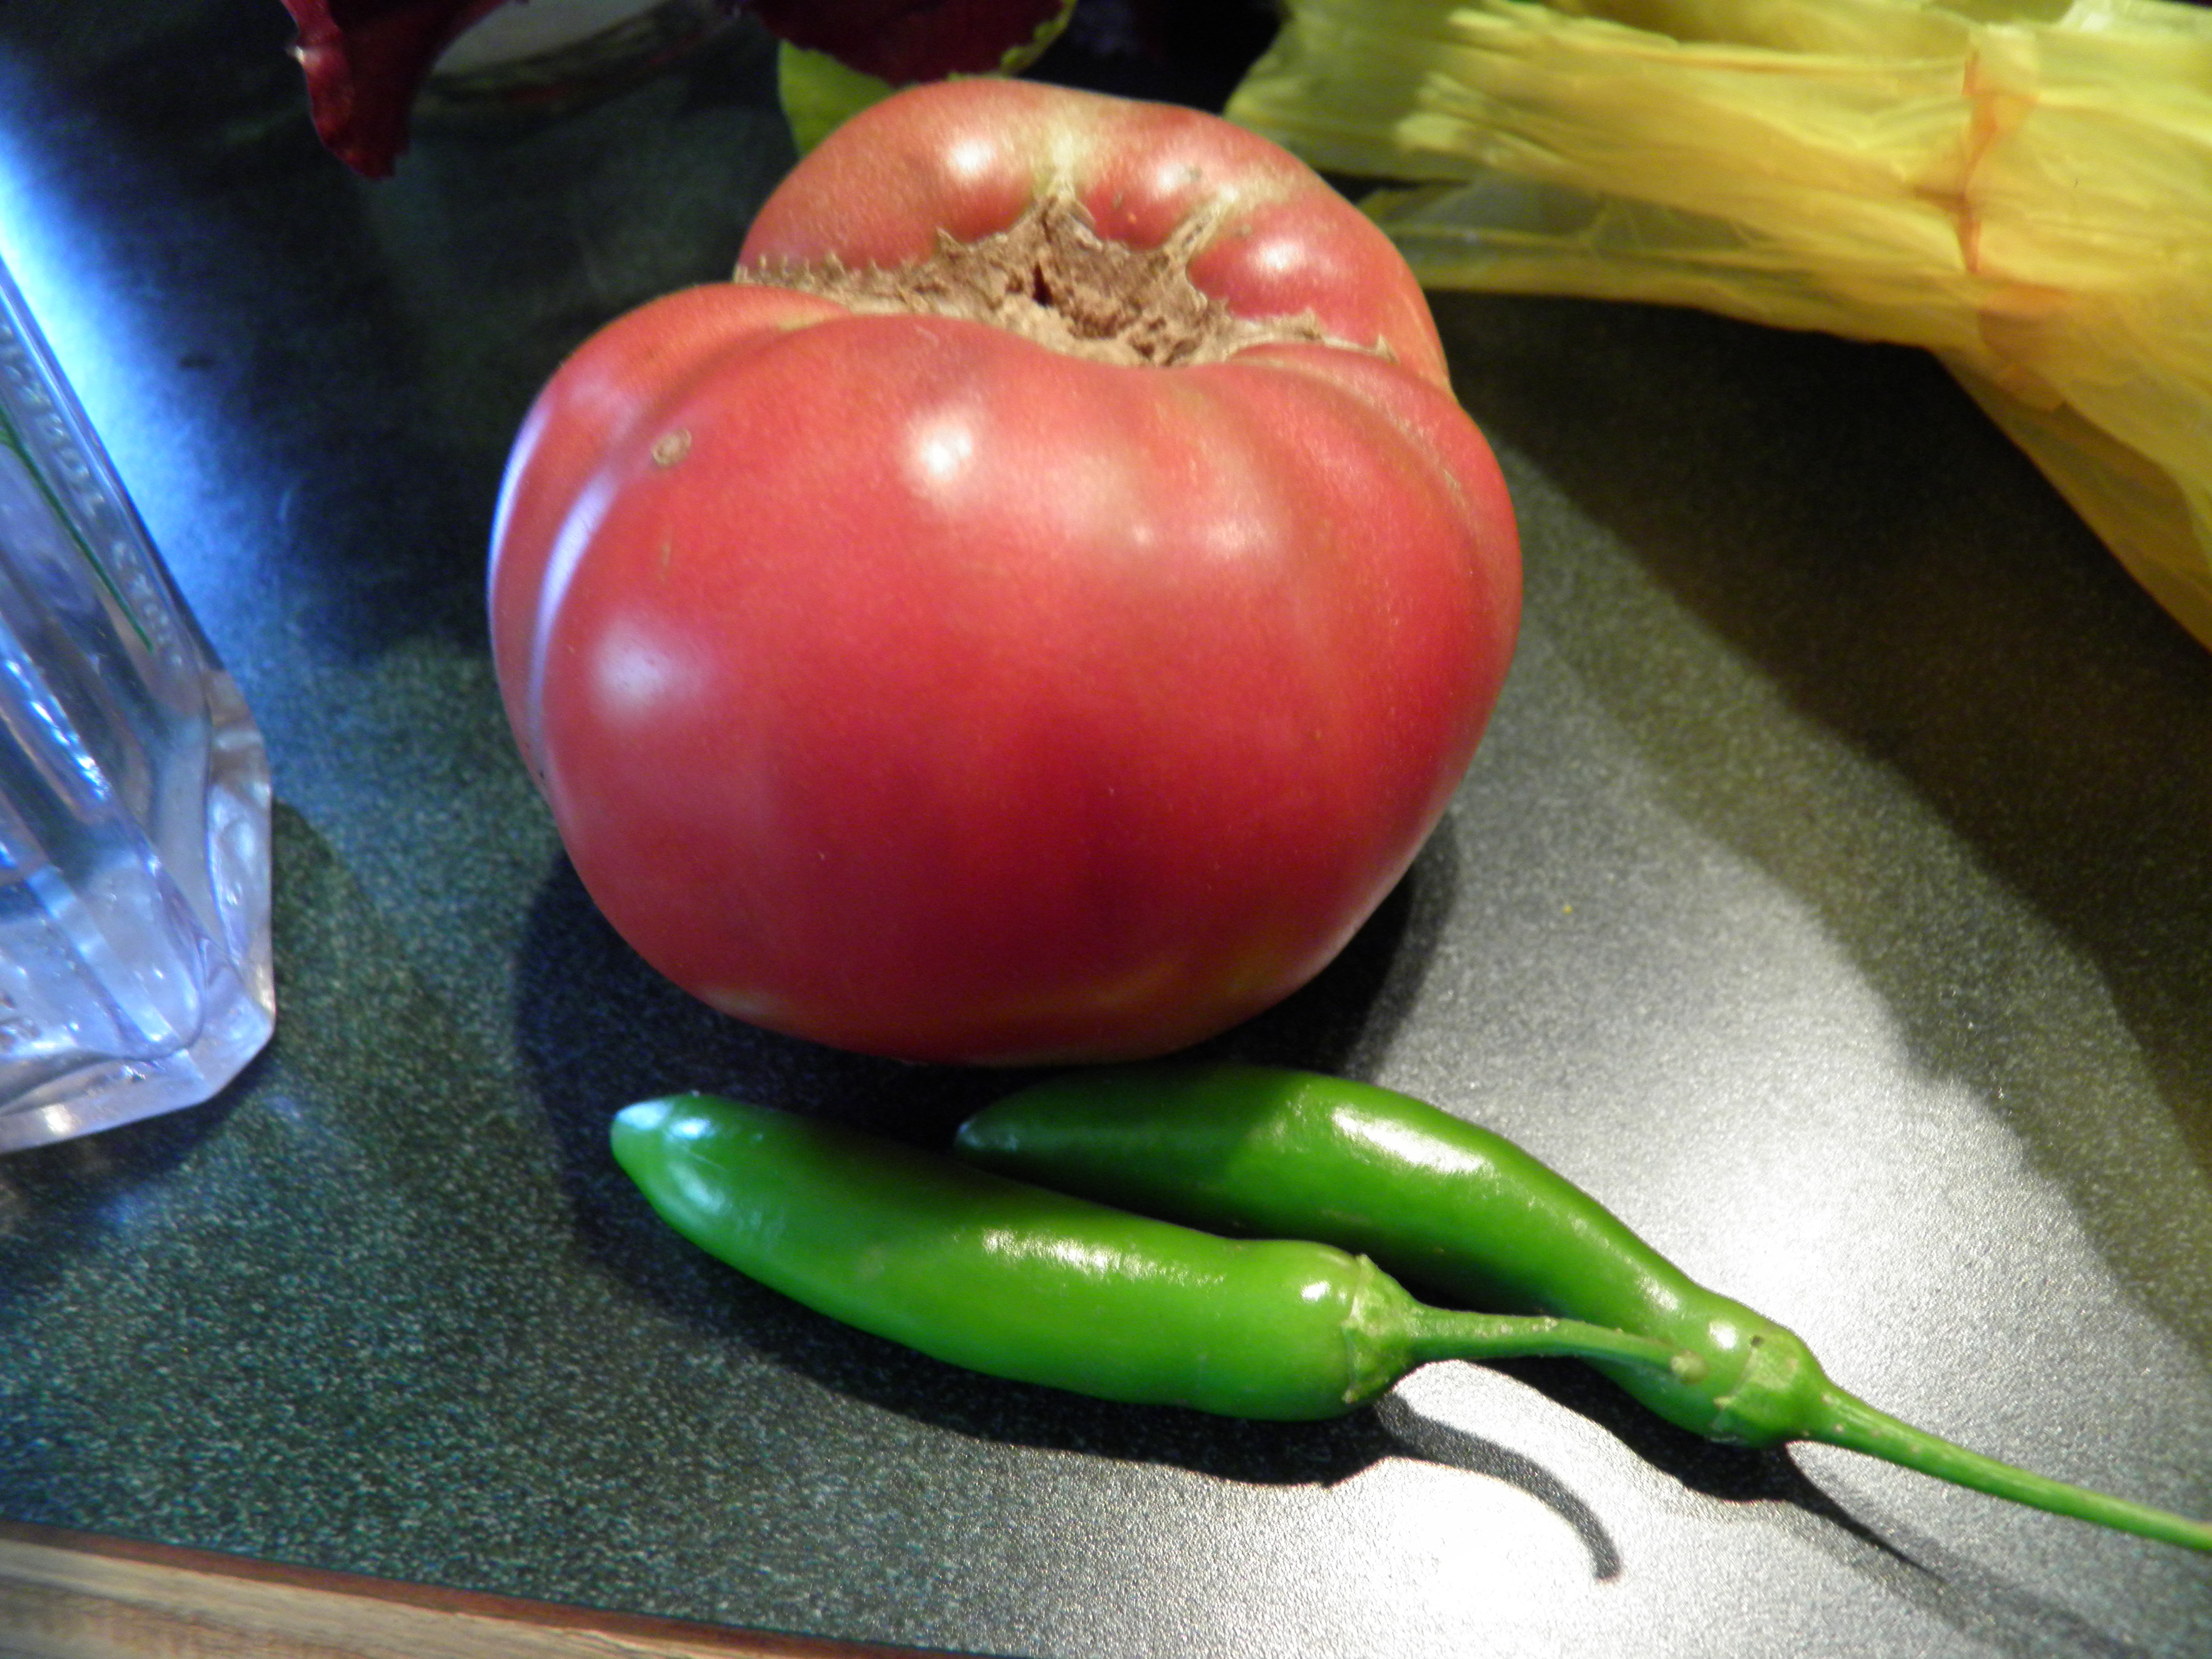
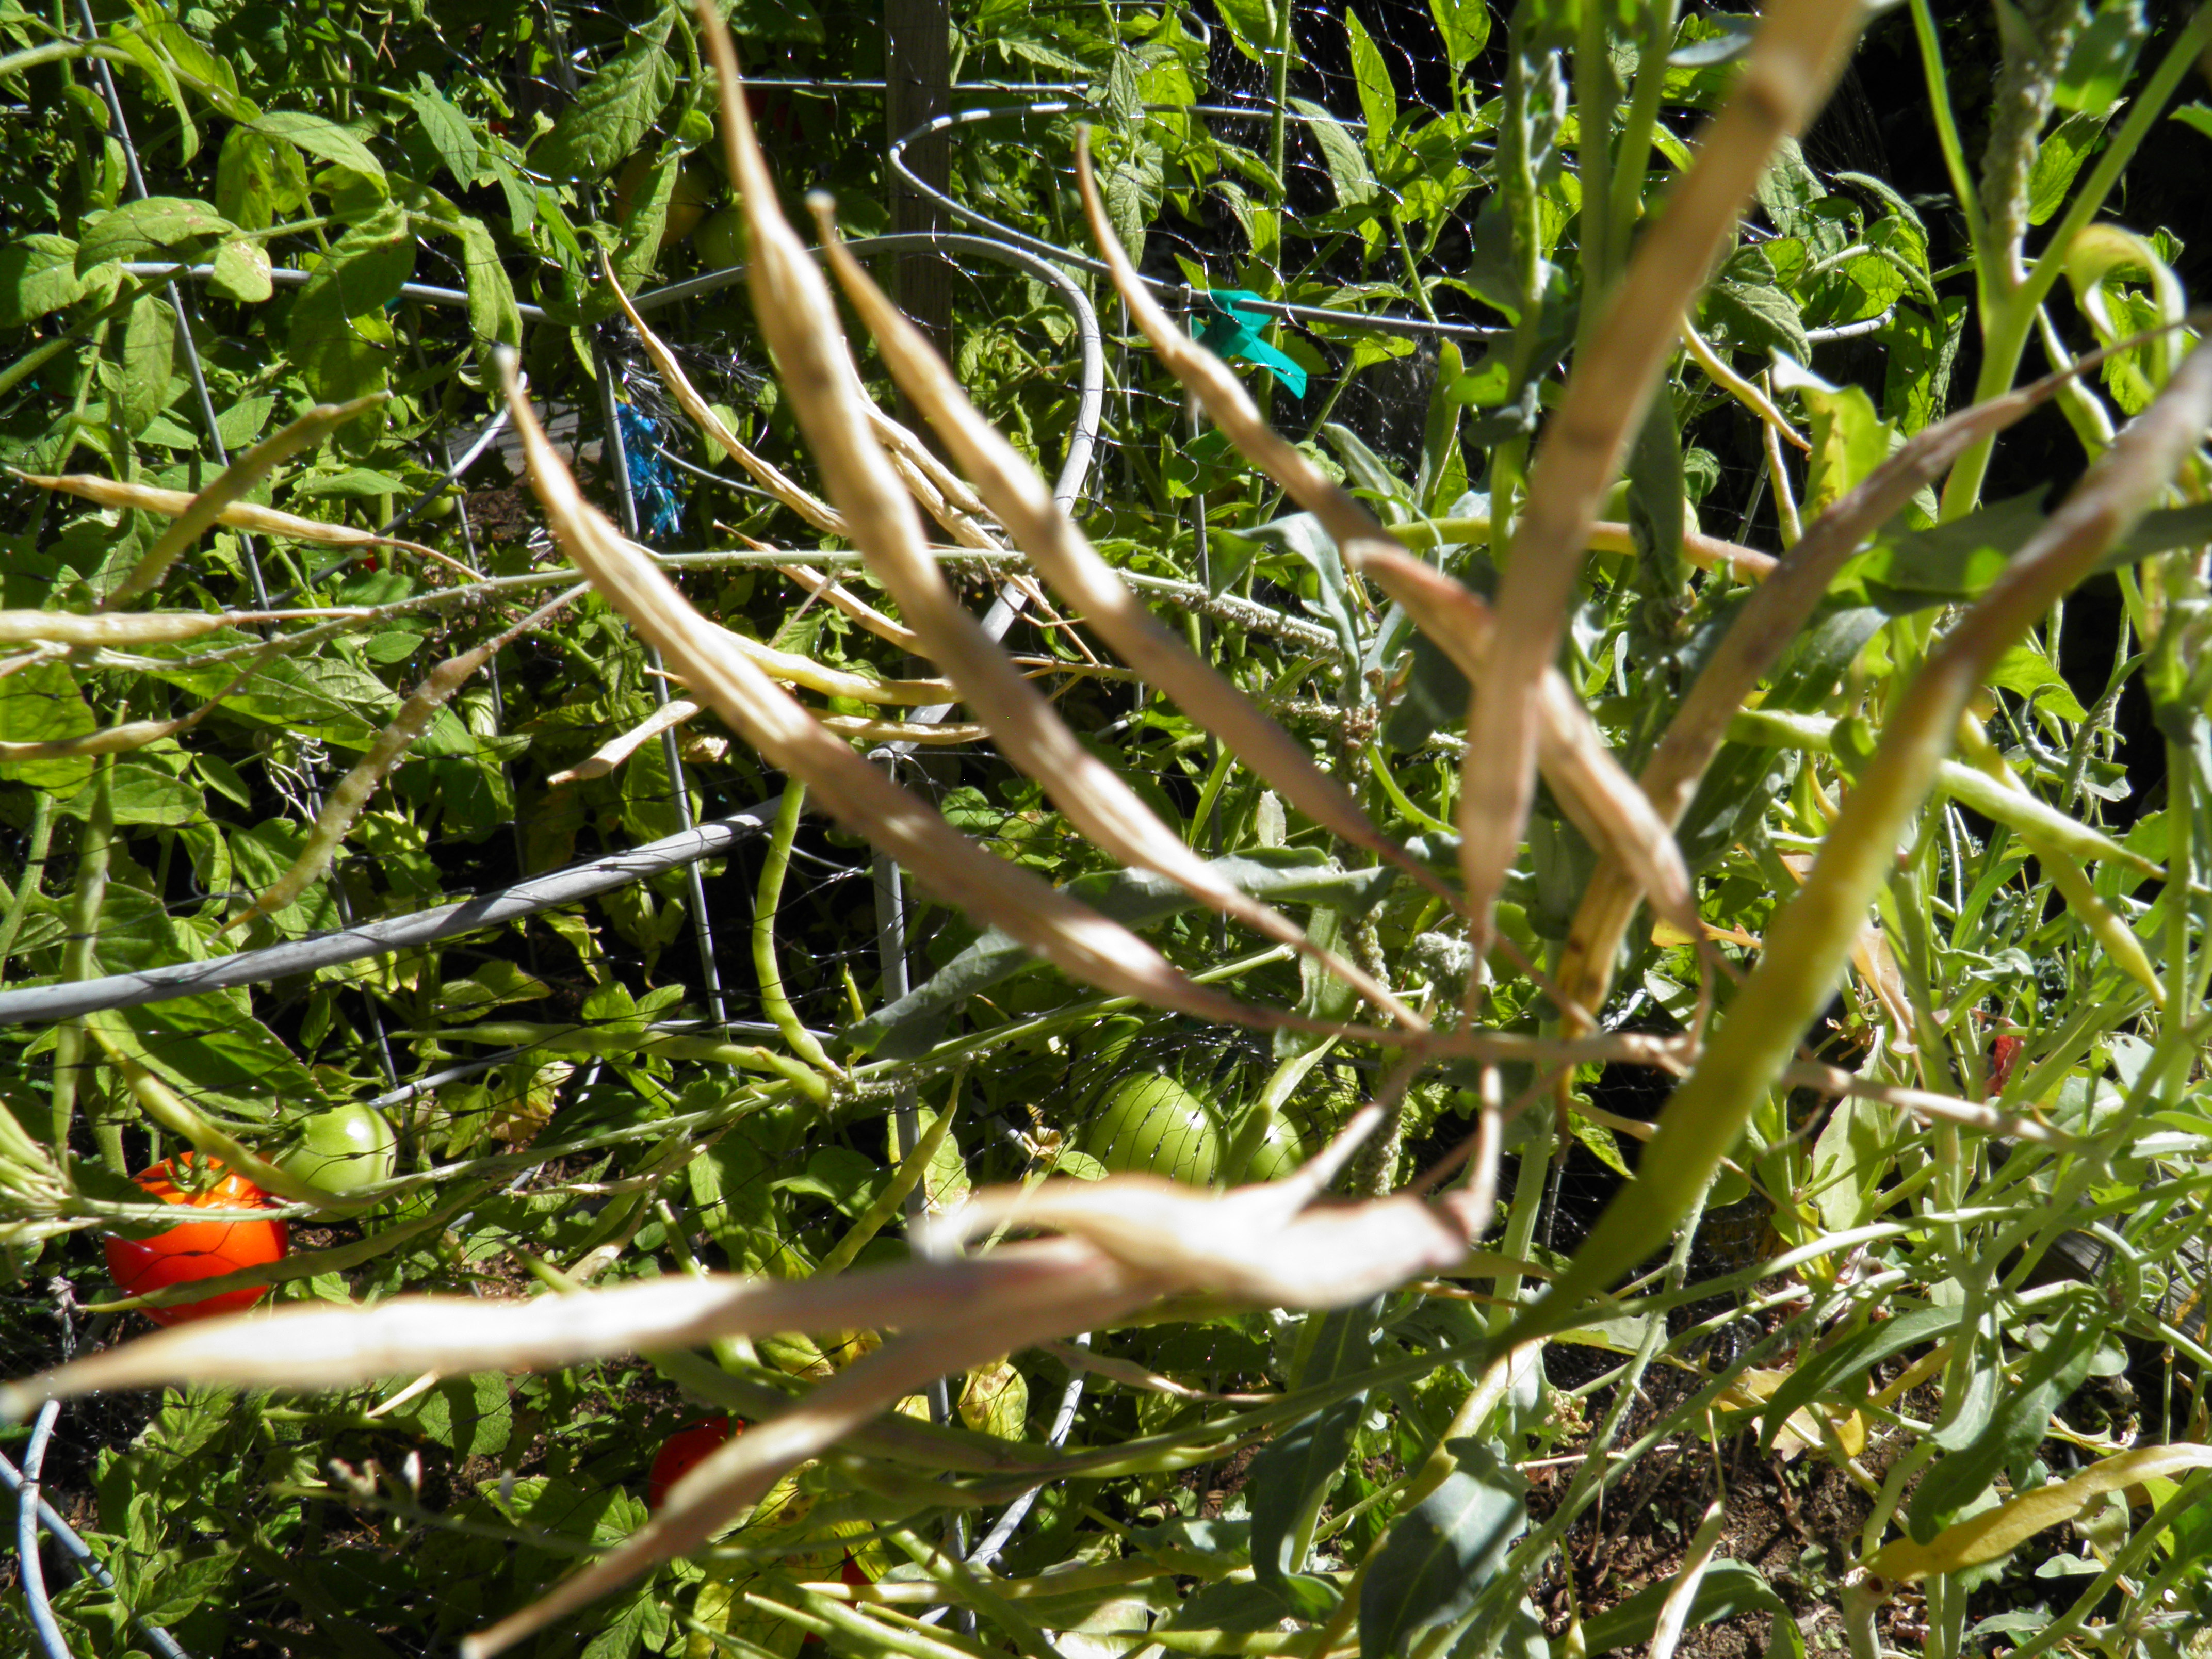
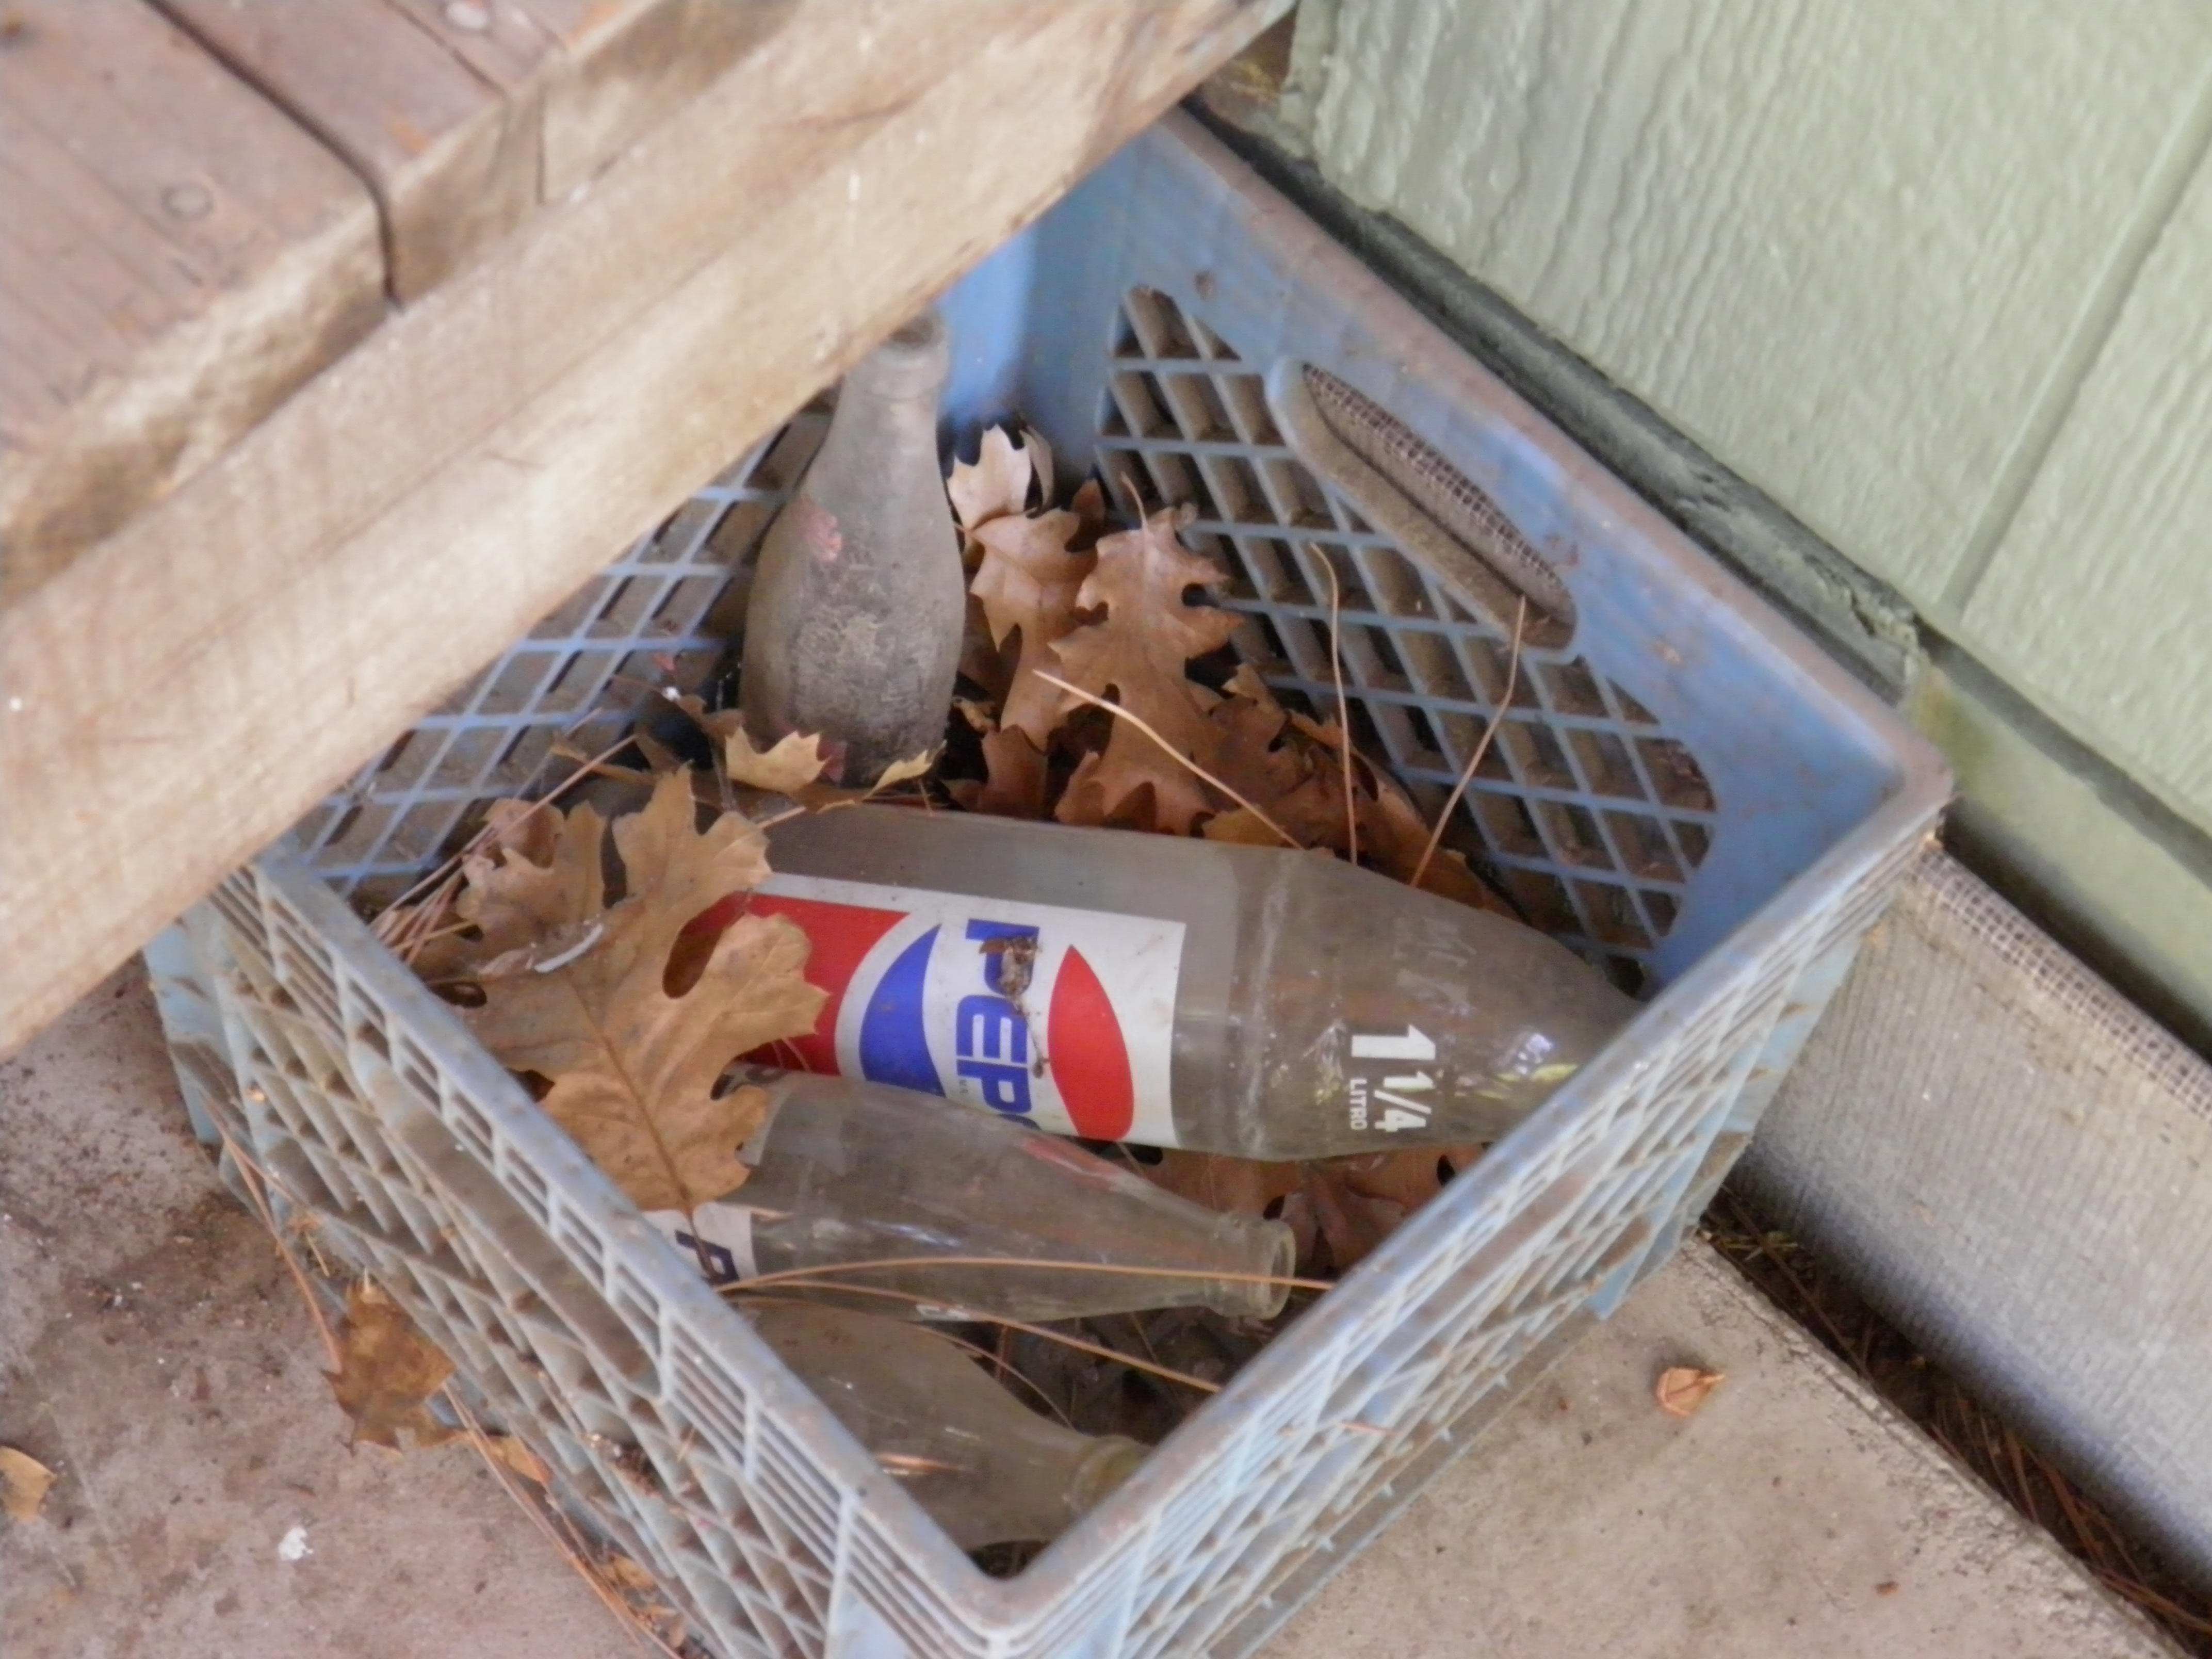
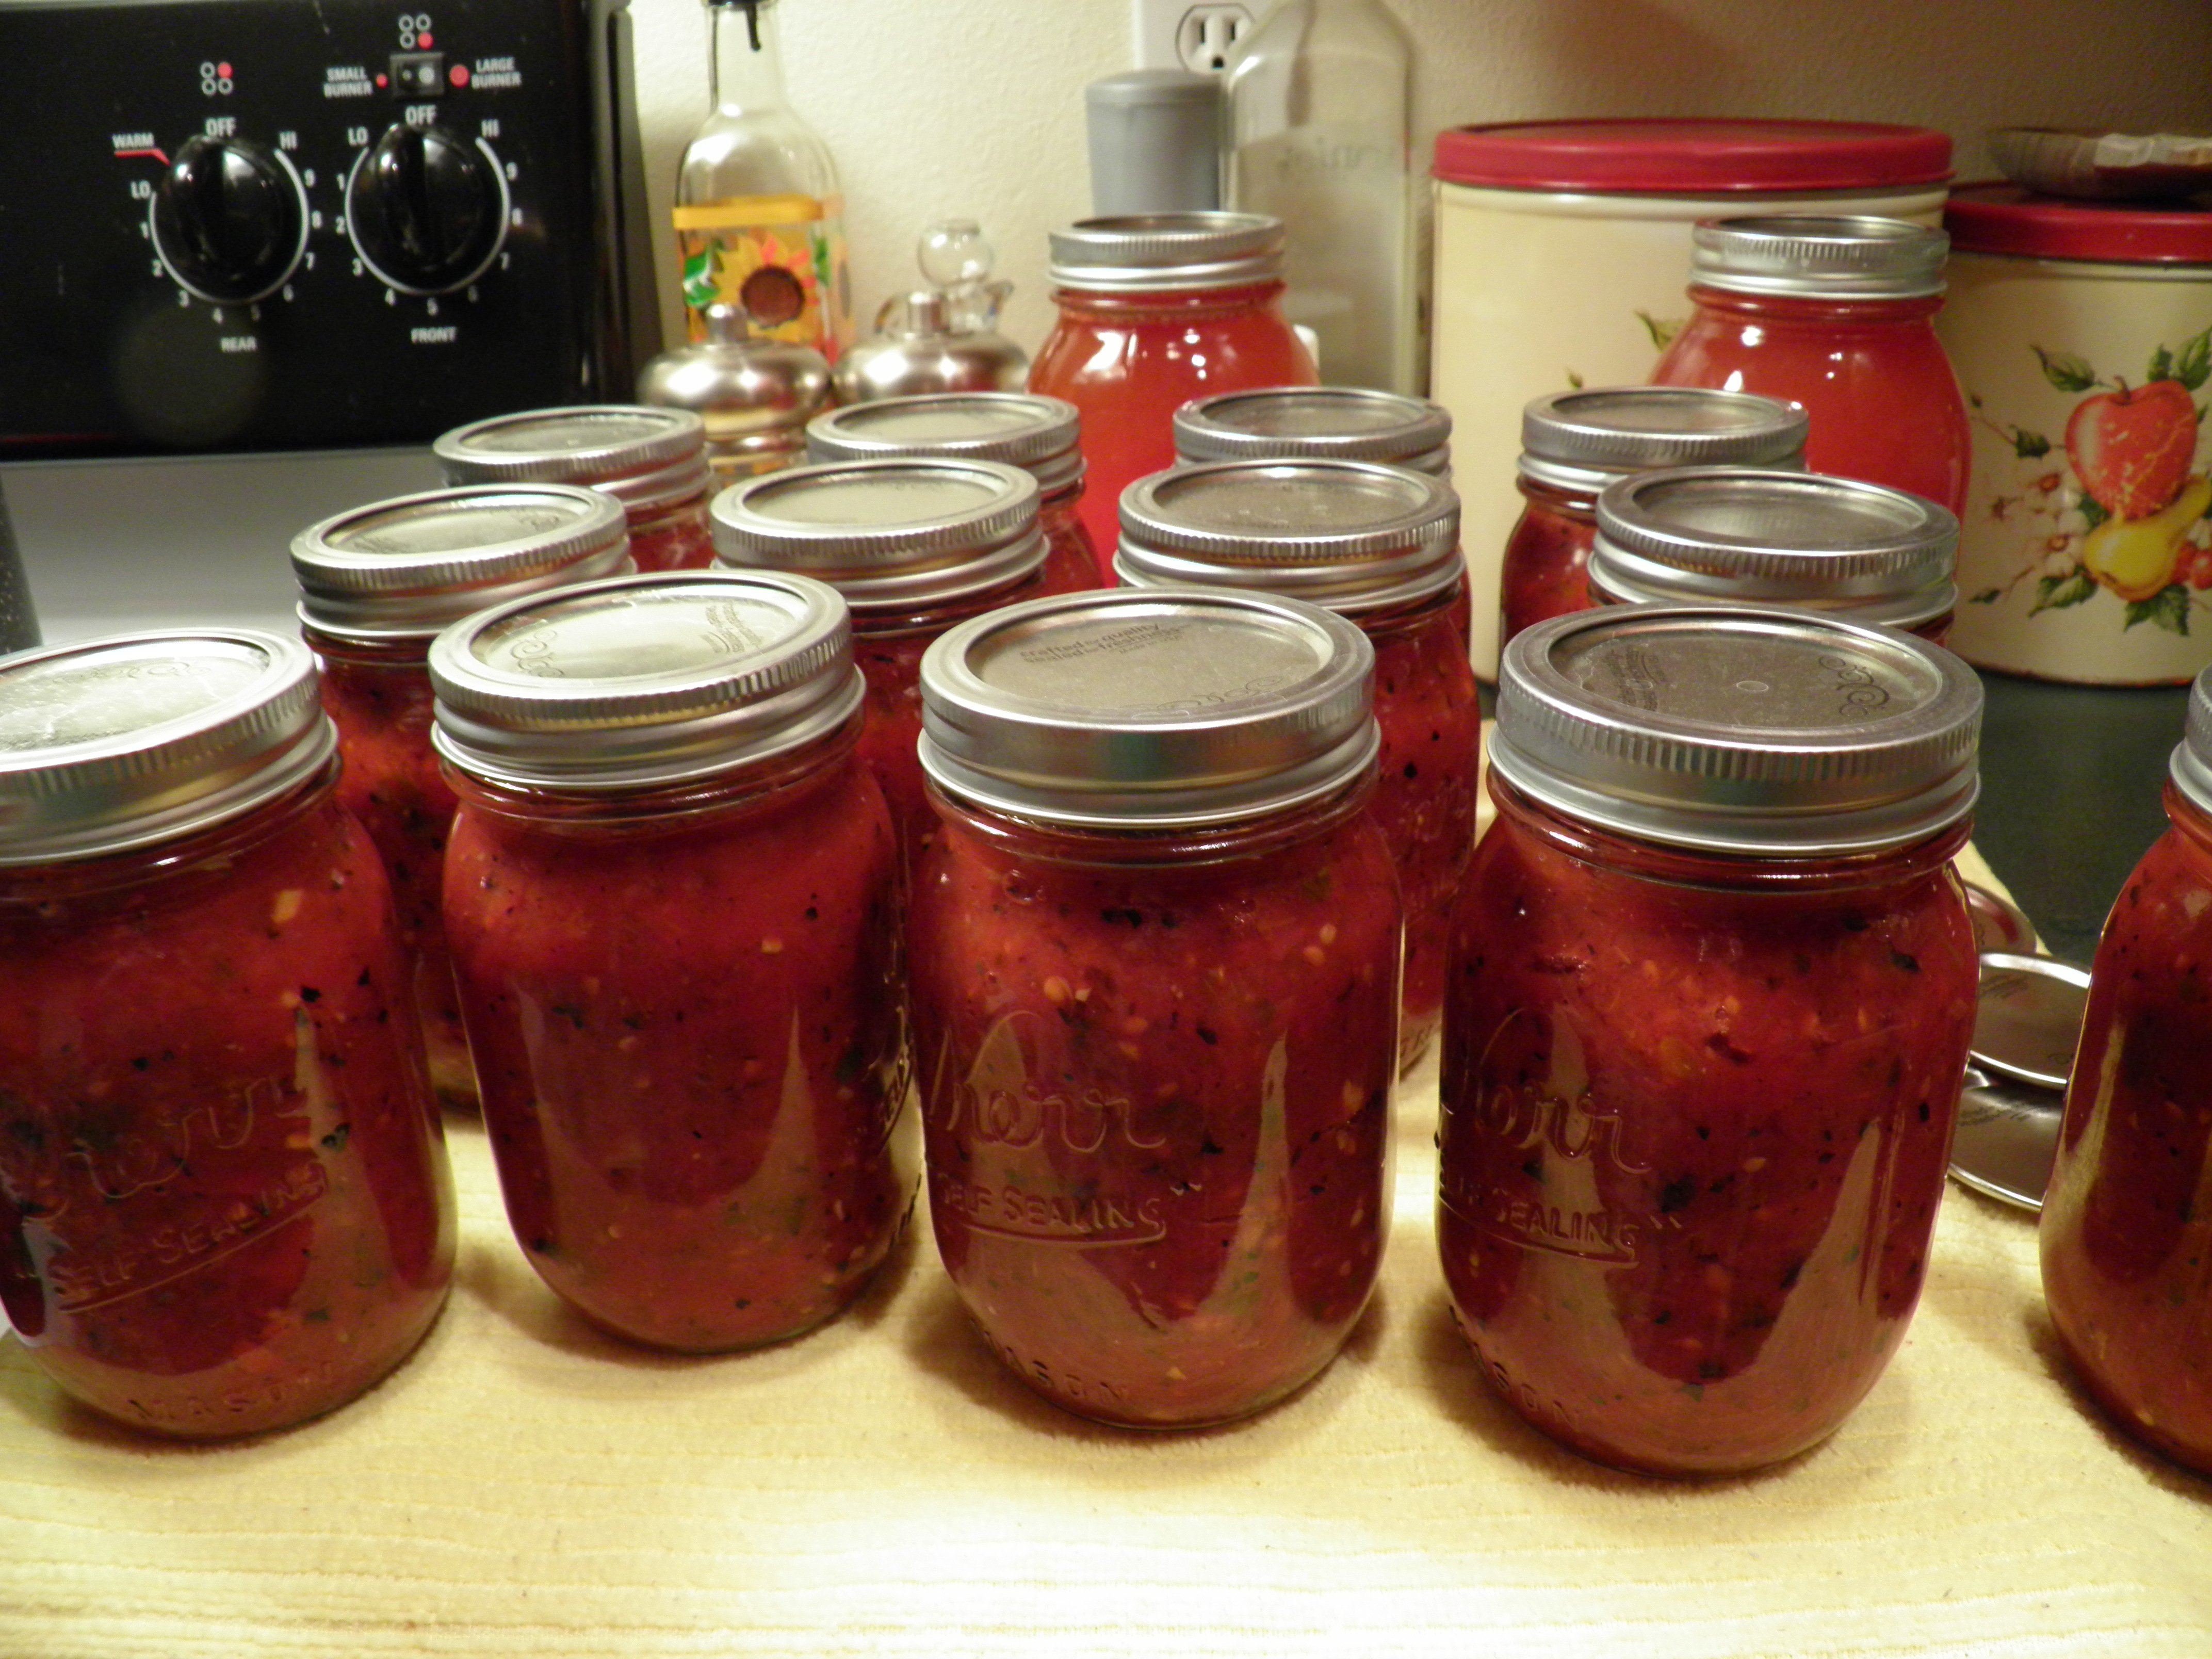
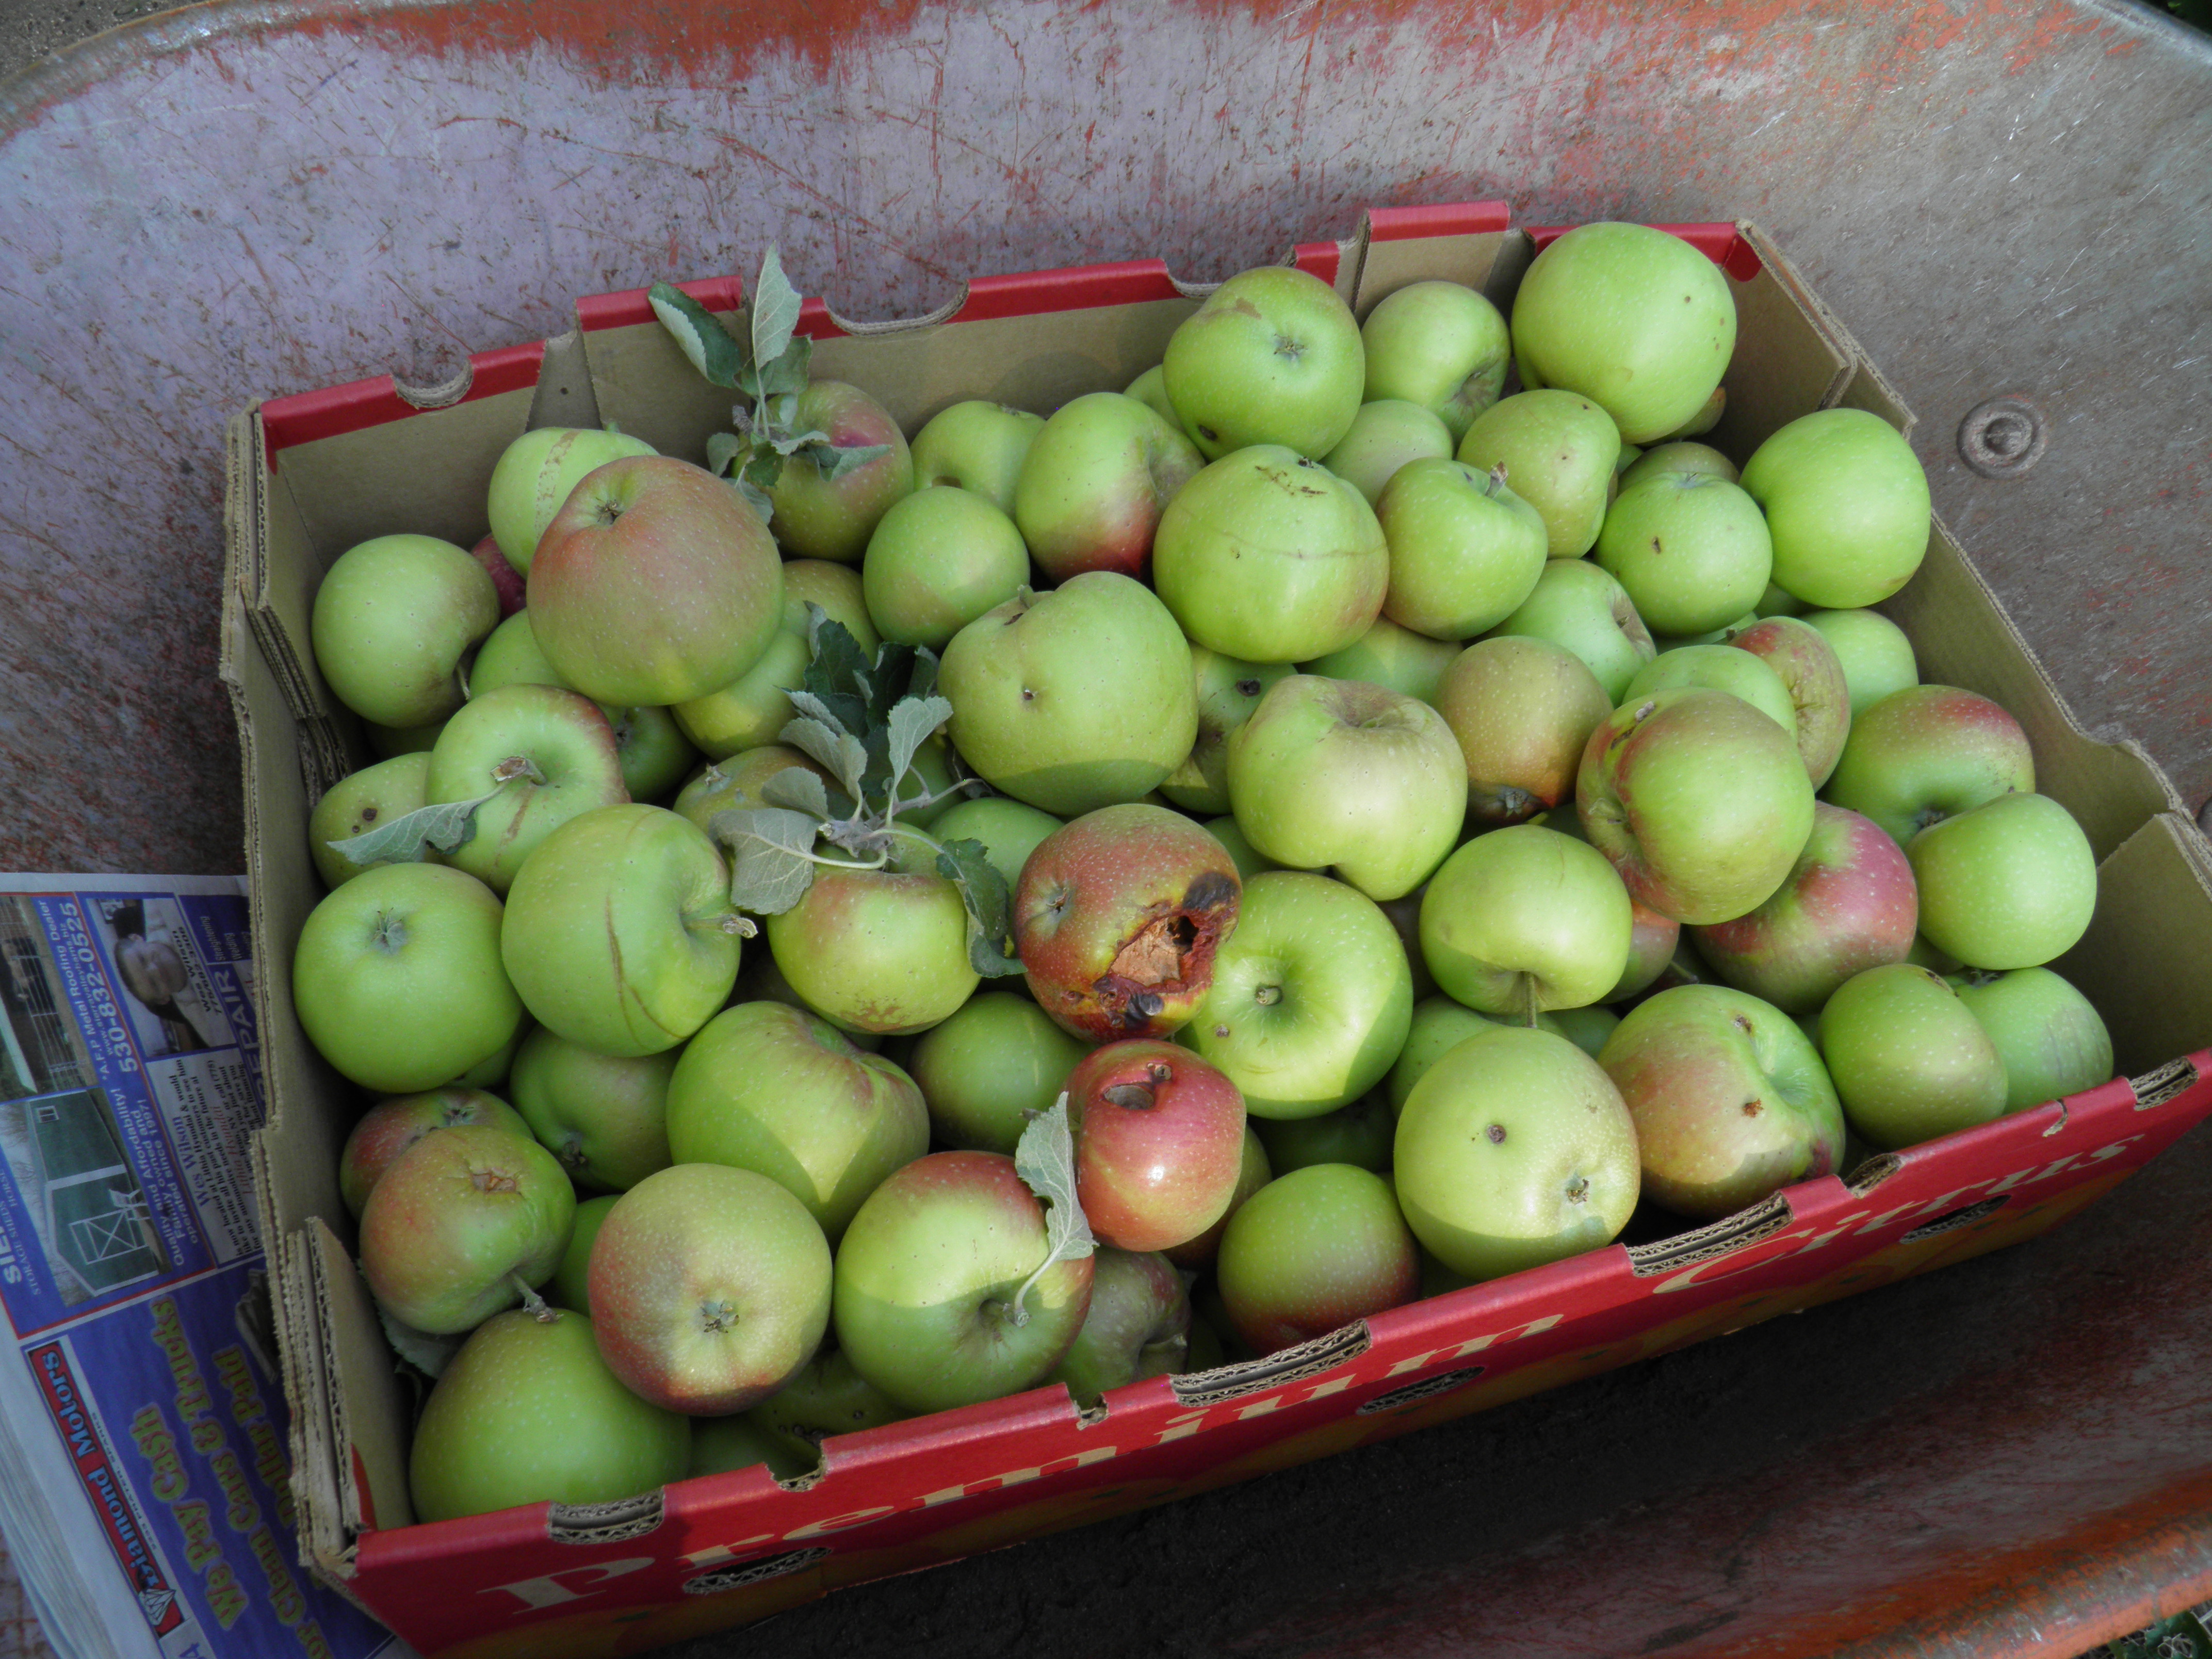
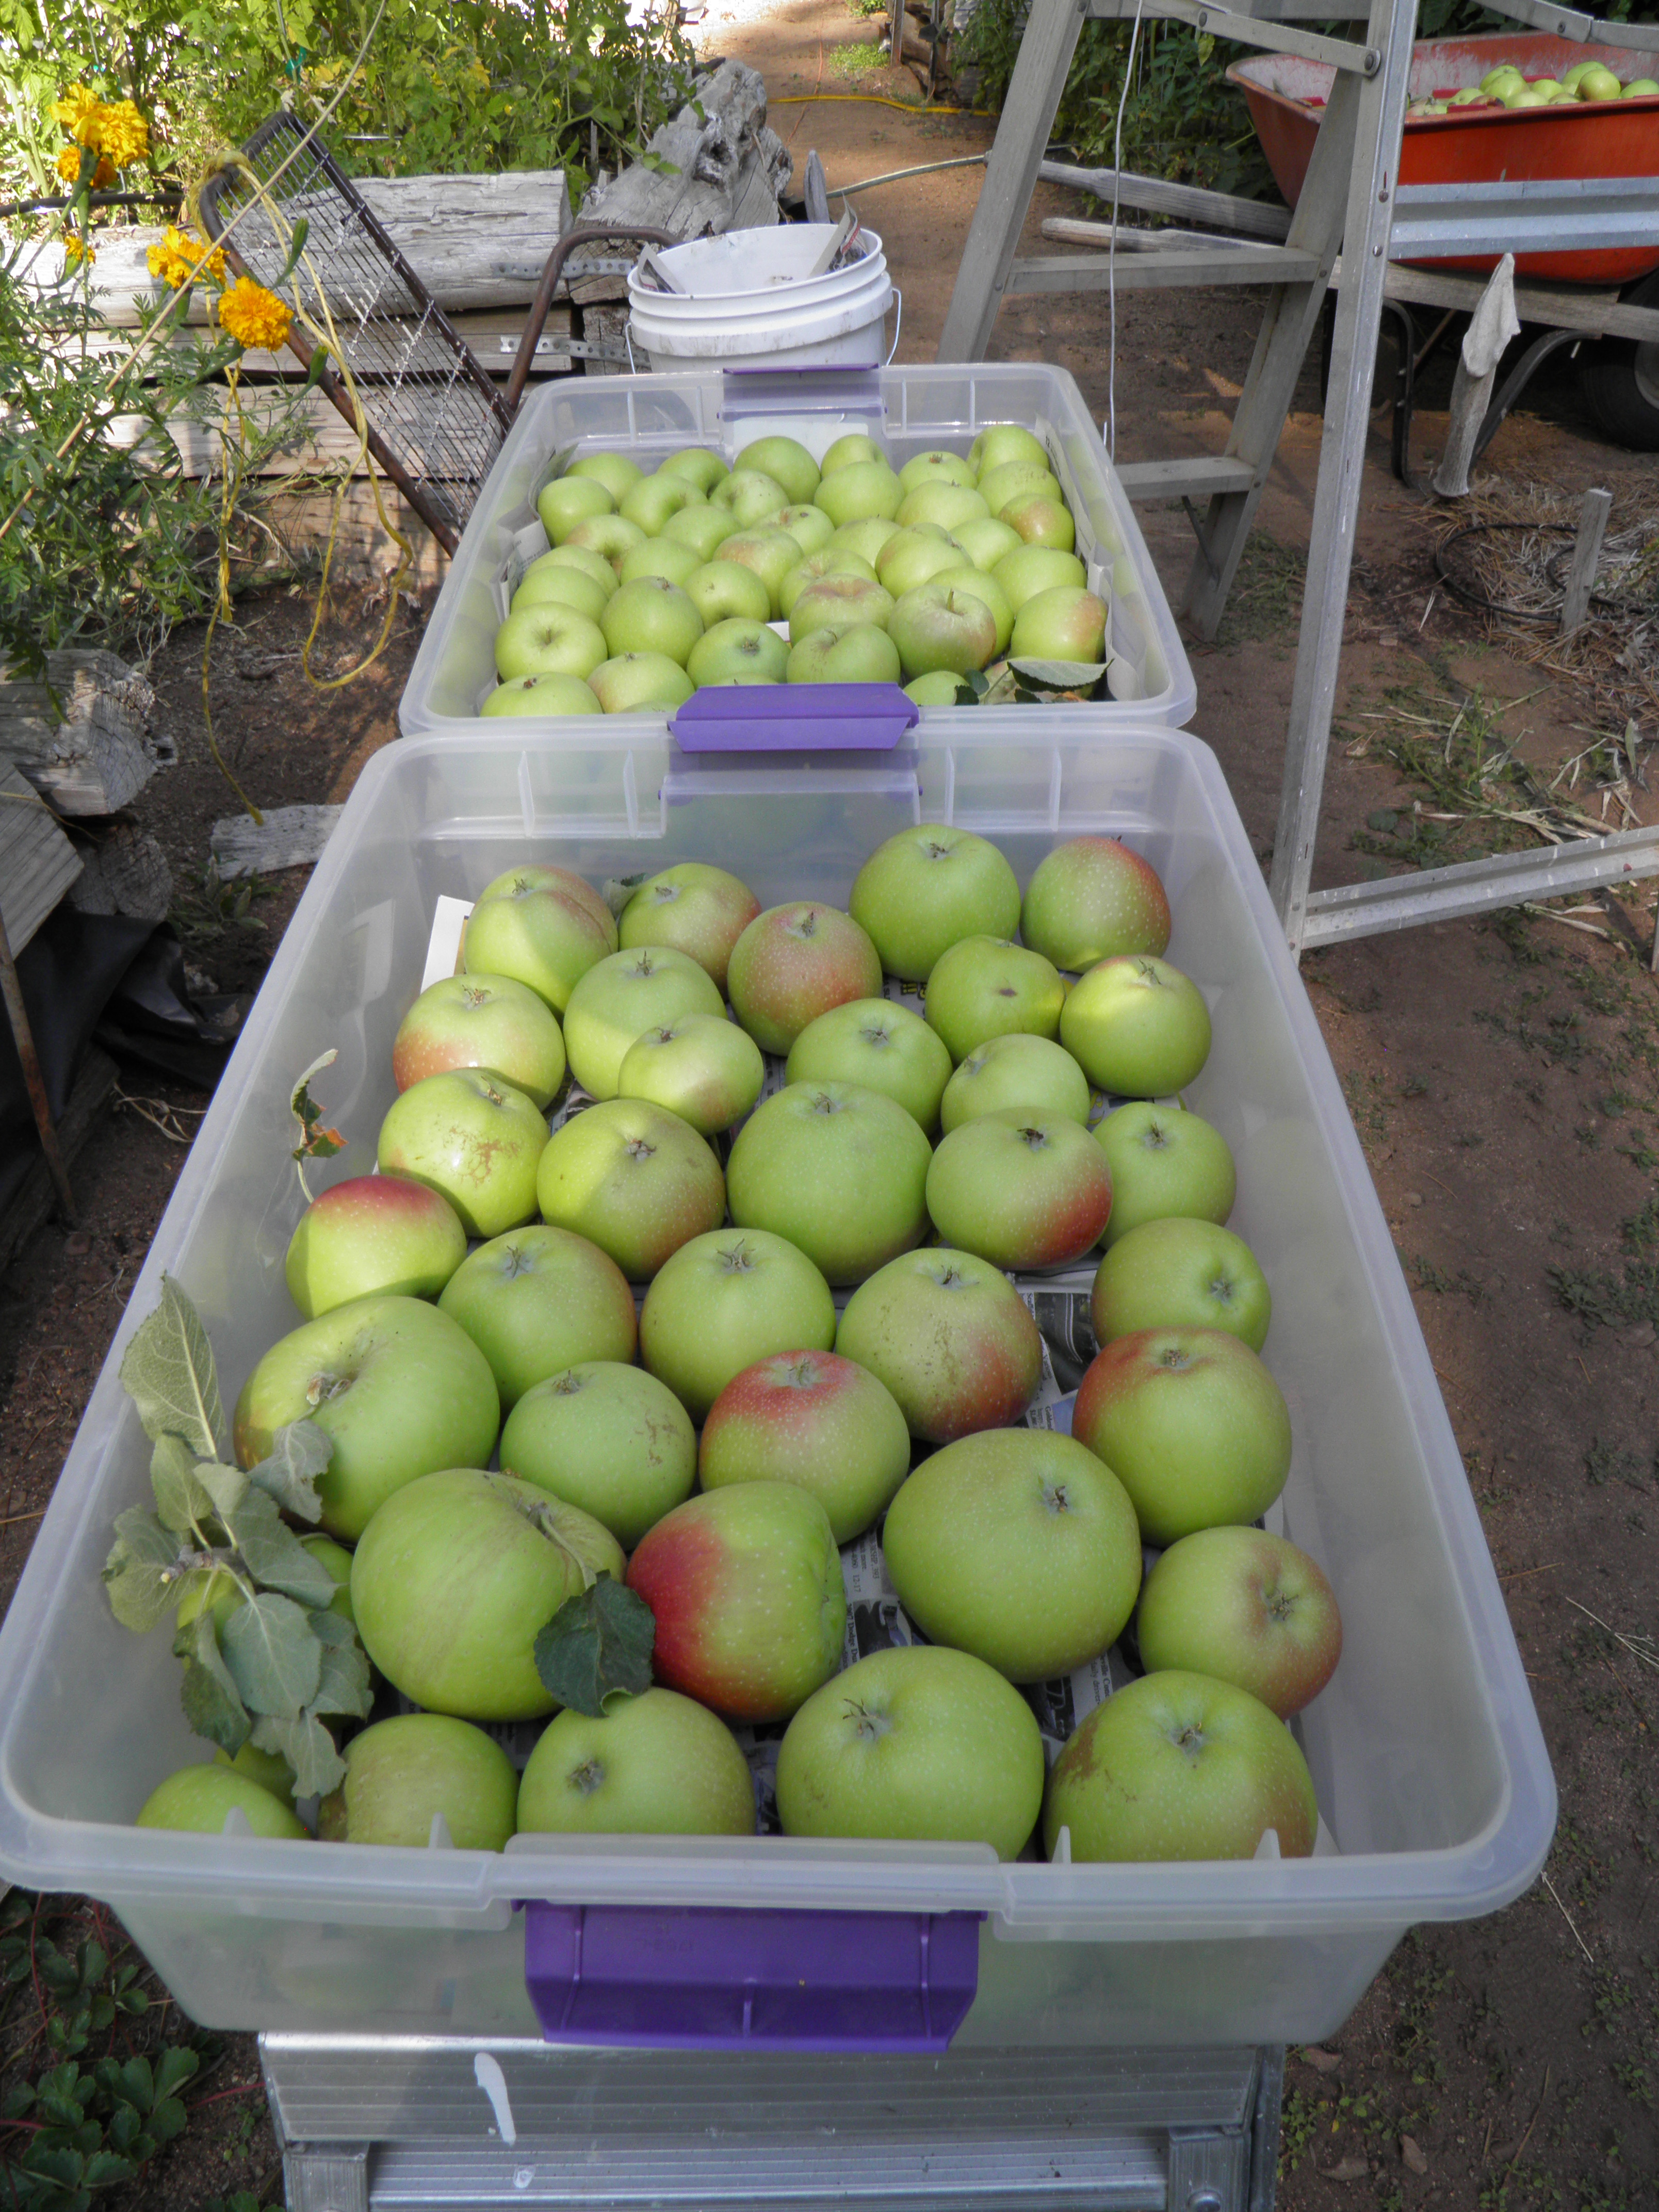
I use garlic, onions, dried basil and oregano (because I’m always making this in the winter time and don’t have any fresh herbs, except maybe parsley), dried or fresh parsley, red wine, and a little sugar if my box-ripened tomatoes seem to need it. I will sometimes make this sauce entirely of box-ripened tomatoes, or, if I’ve had a good tomato year and have frozen tomatoes as they’ve ripened on the vines, I’ll mix vine-ripened and box-ripened tomatoes. I’m adding a lot of flavor with the other ingredients, so even if I use only box-ripened tomatoes, I still get a good sauce.  These are the last of my box-ripened sauce tomatoes below.

OLYMPUS DIGITAL CAMERA

This sauce takes some time because it has to reduce. Tomatoes are mostly water, even sauce tomatoes (this year I grew Romas and San Marzanos for sauce, but I had so many heirlooms, they ended up in the sauce as well). And because I hate the way a big pot of tomato sauce spits all over the kitchen as it gets thick, I finish reducing my sauce in the oven. This oven-baking technique gives extra flavor to the tomatoes, which is a good thing if they are box-ripened. It’s the same method I use for reducing my apple butter, and it means that I have less clean-up and can walk away from the pot without worrying about scorching when it starts to get thick.

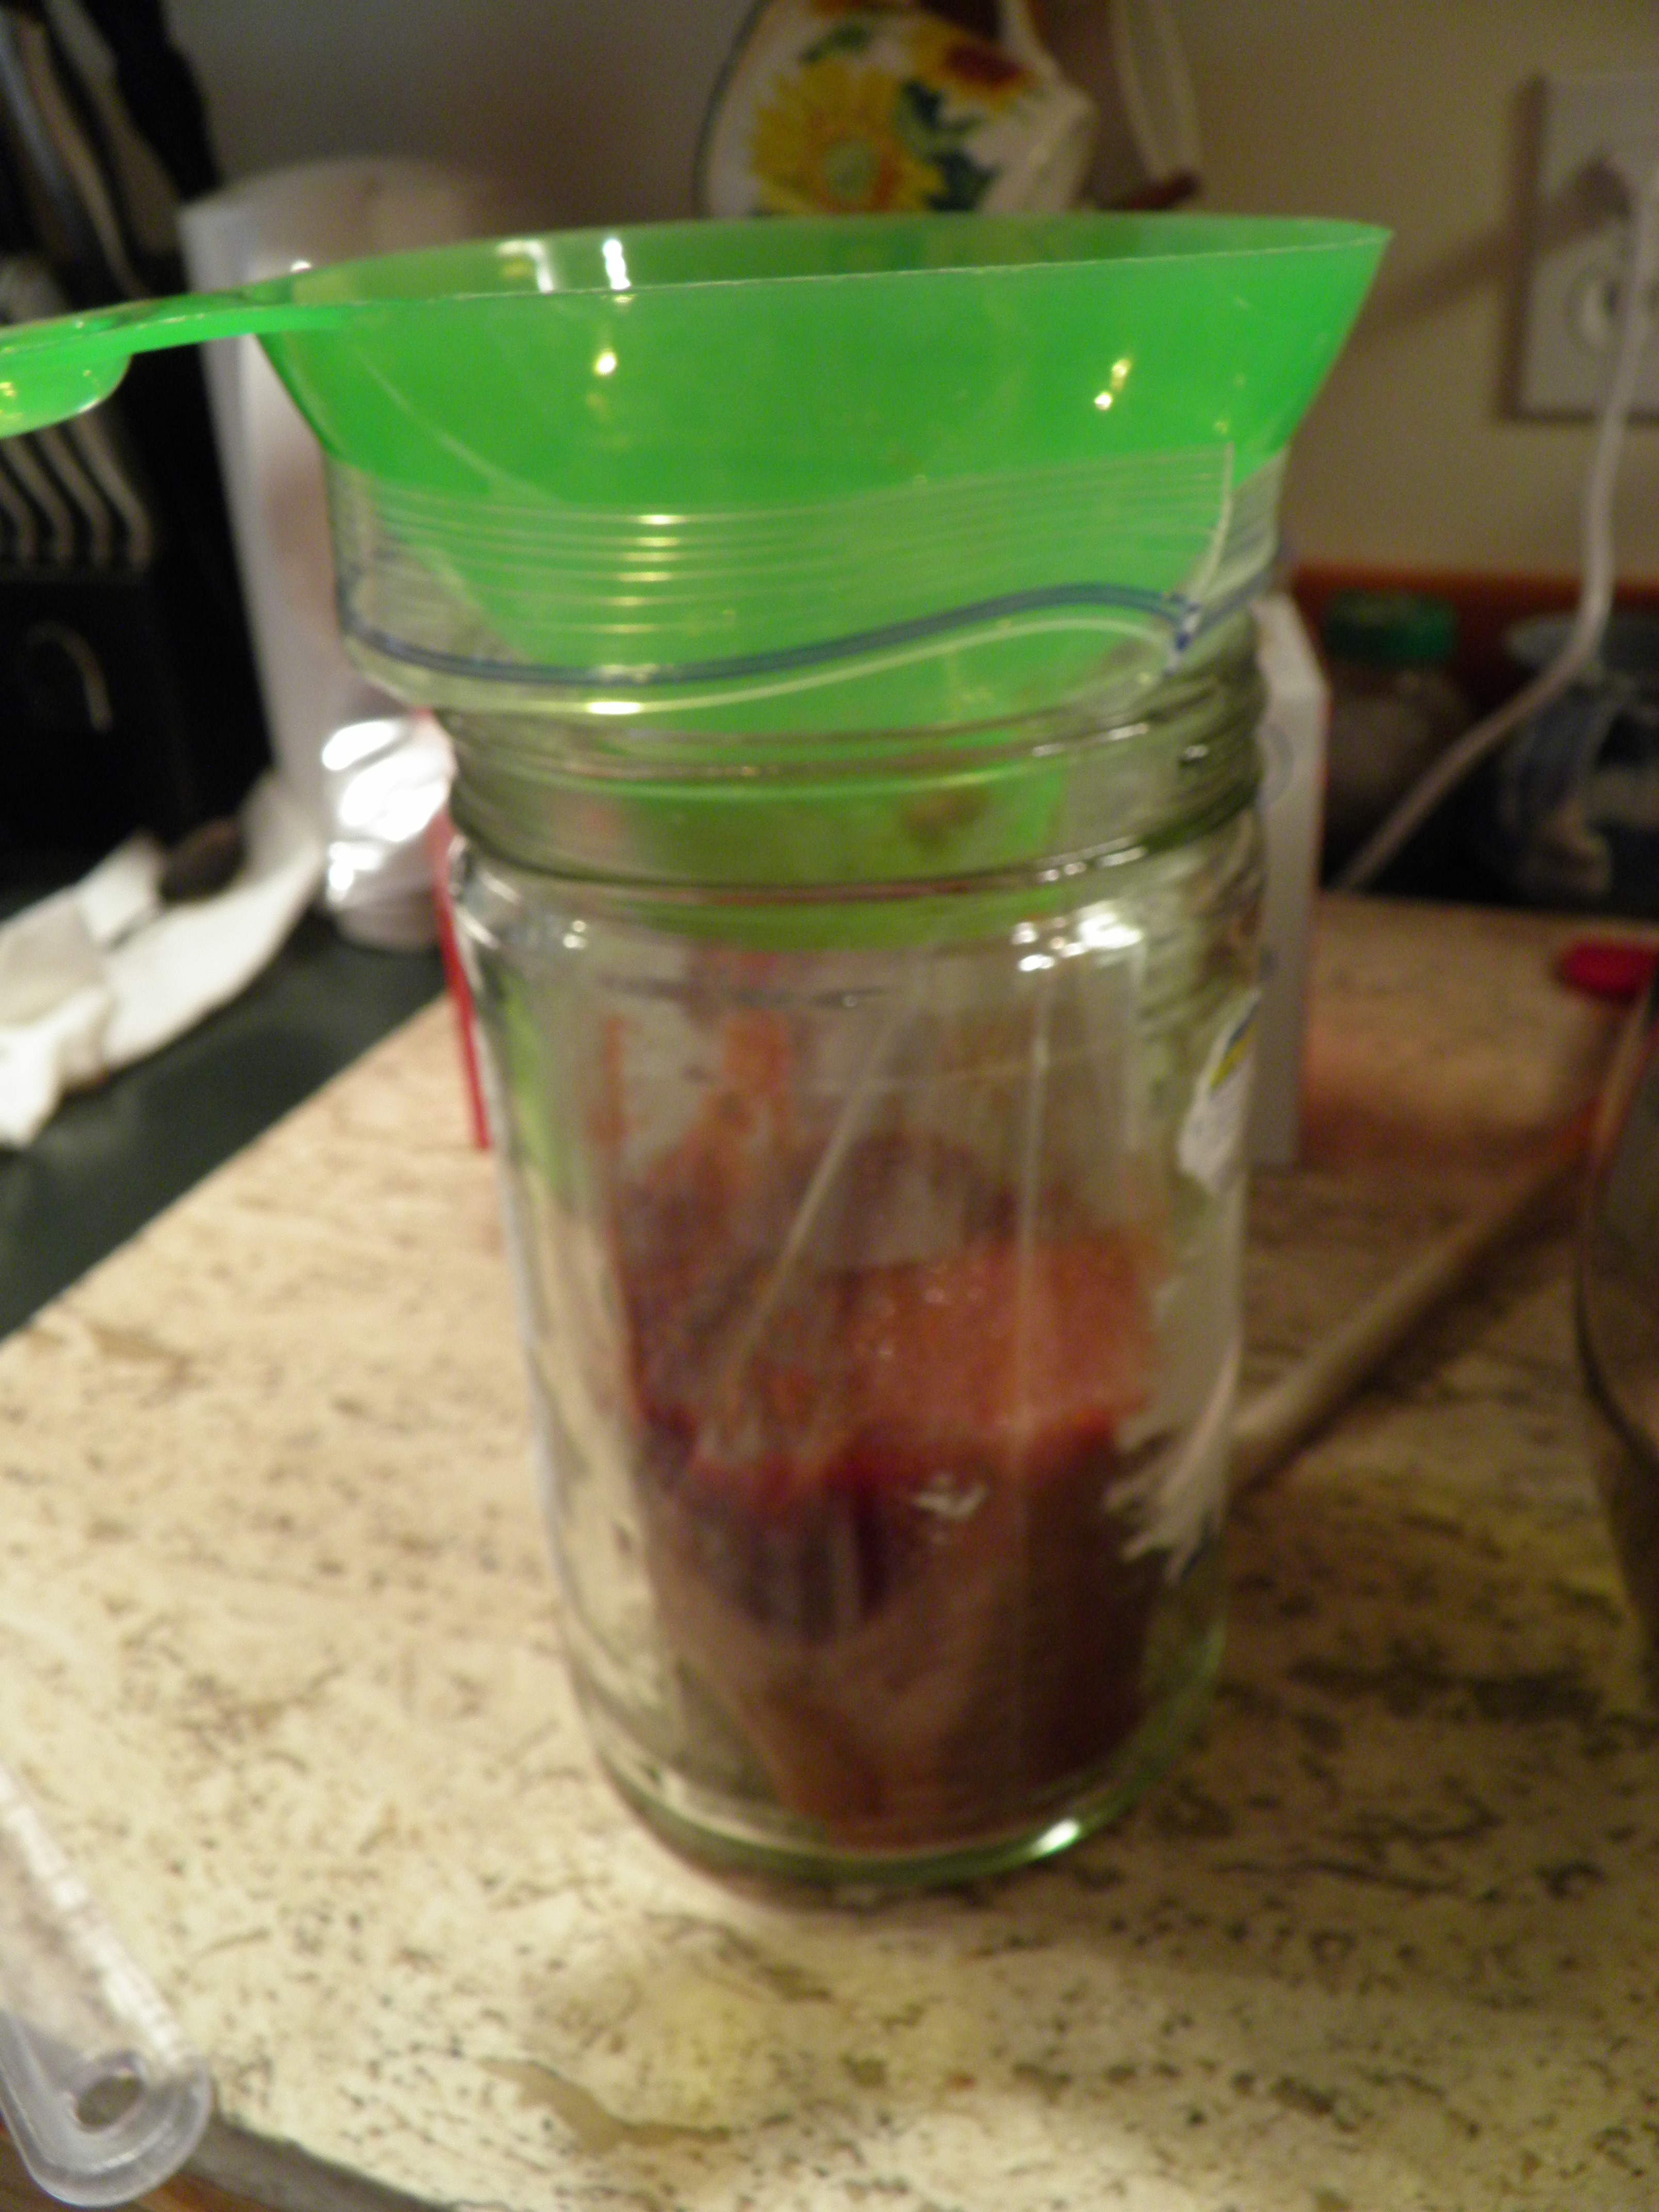
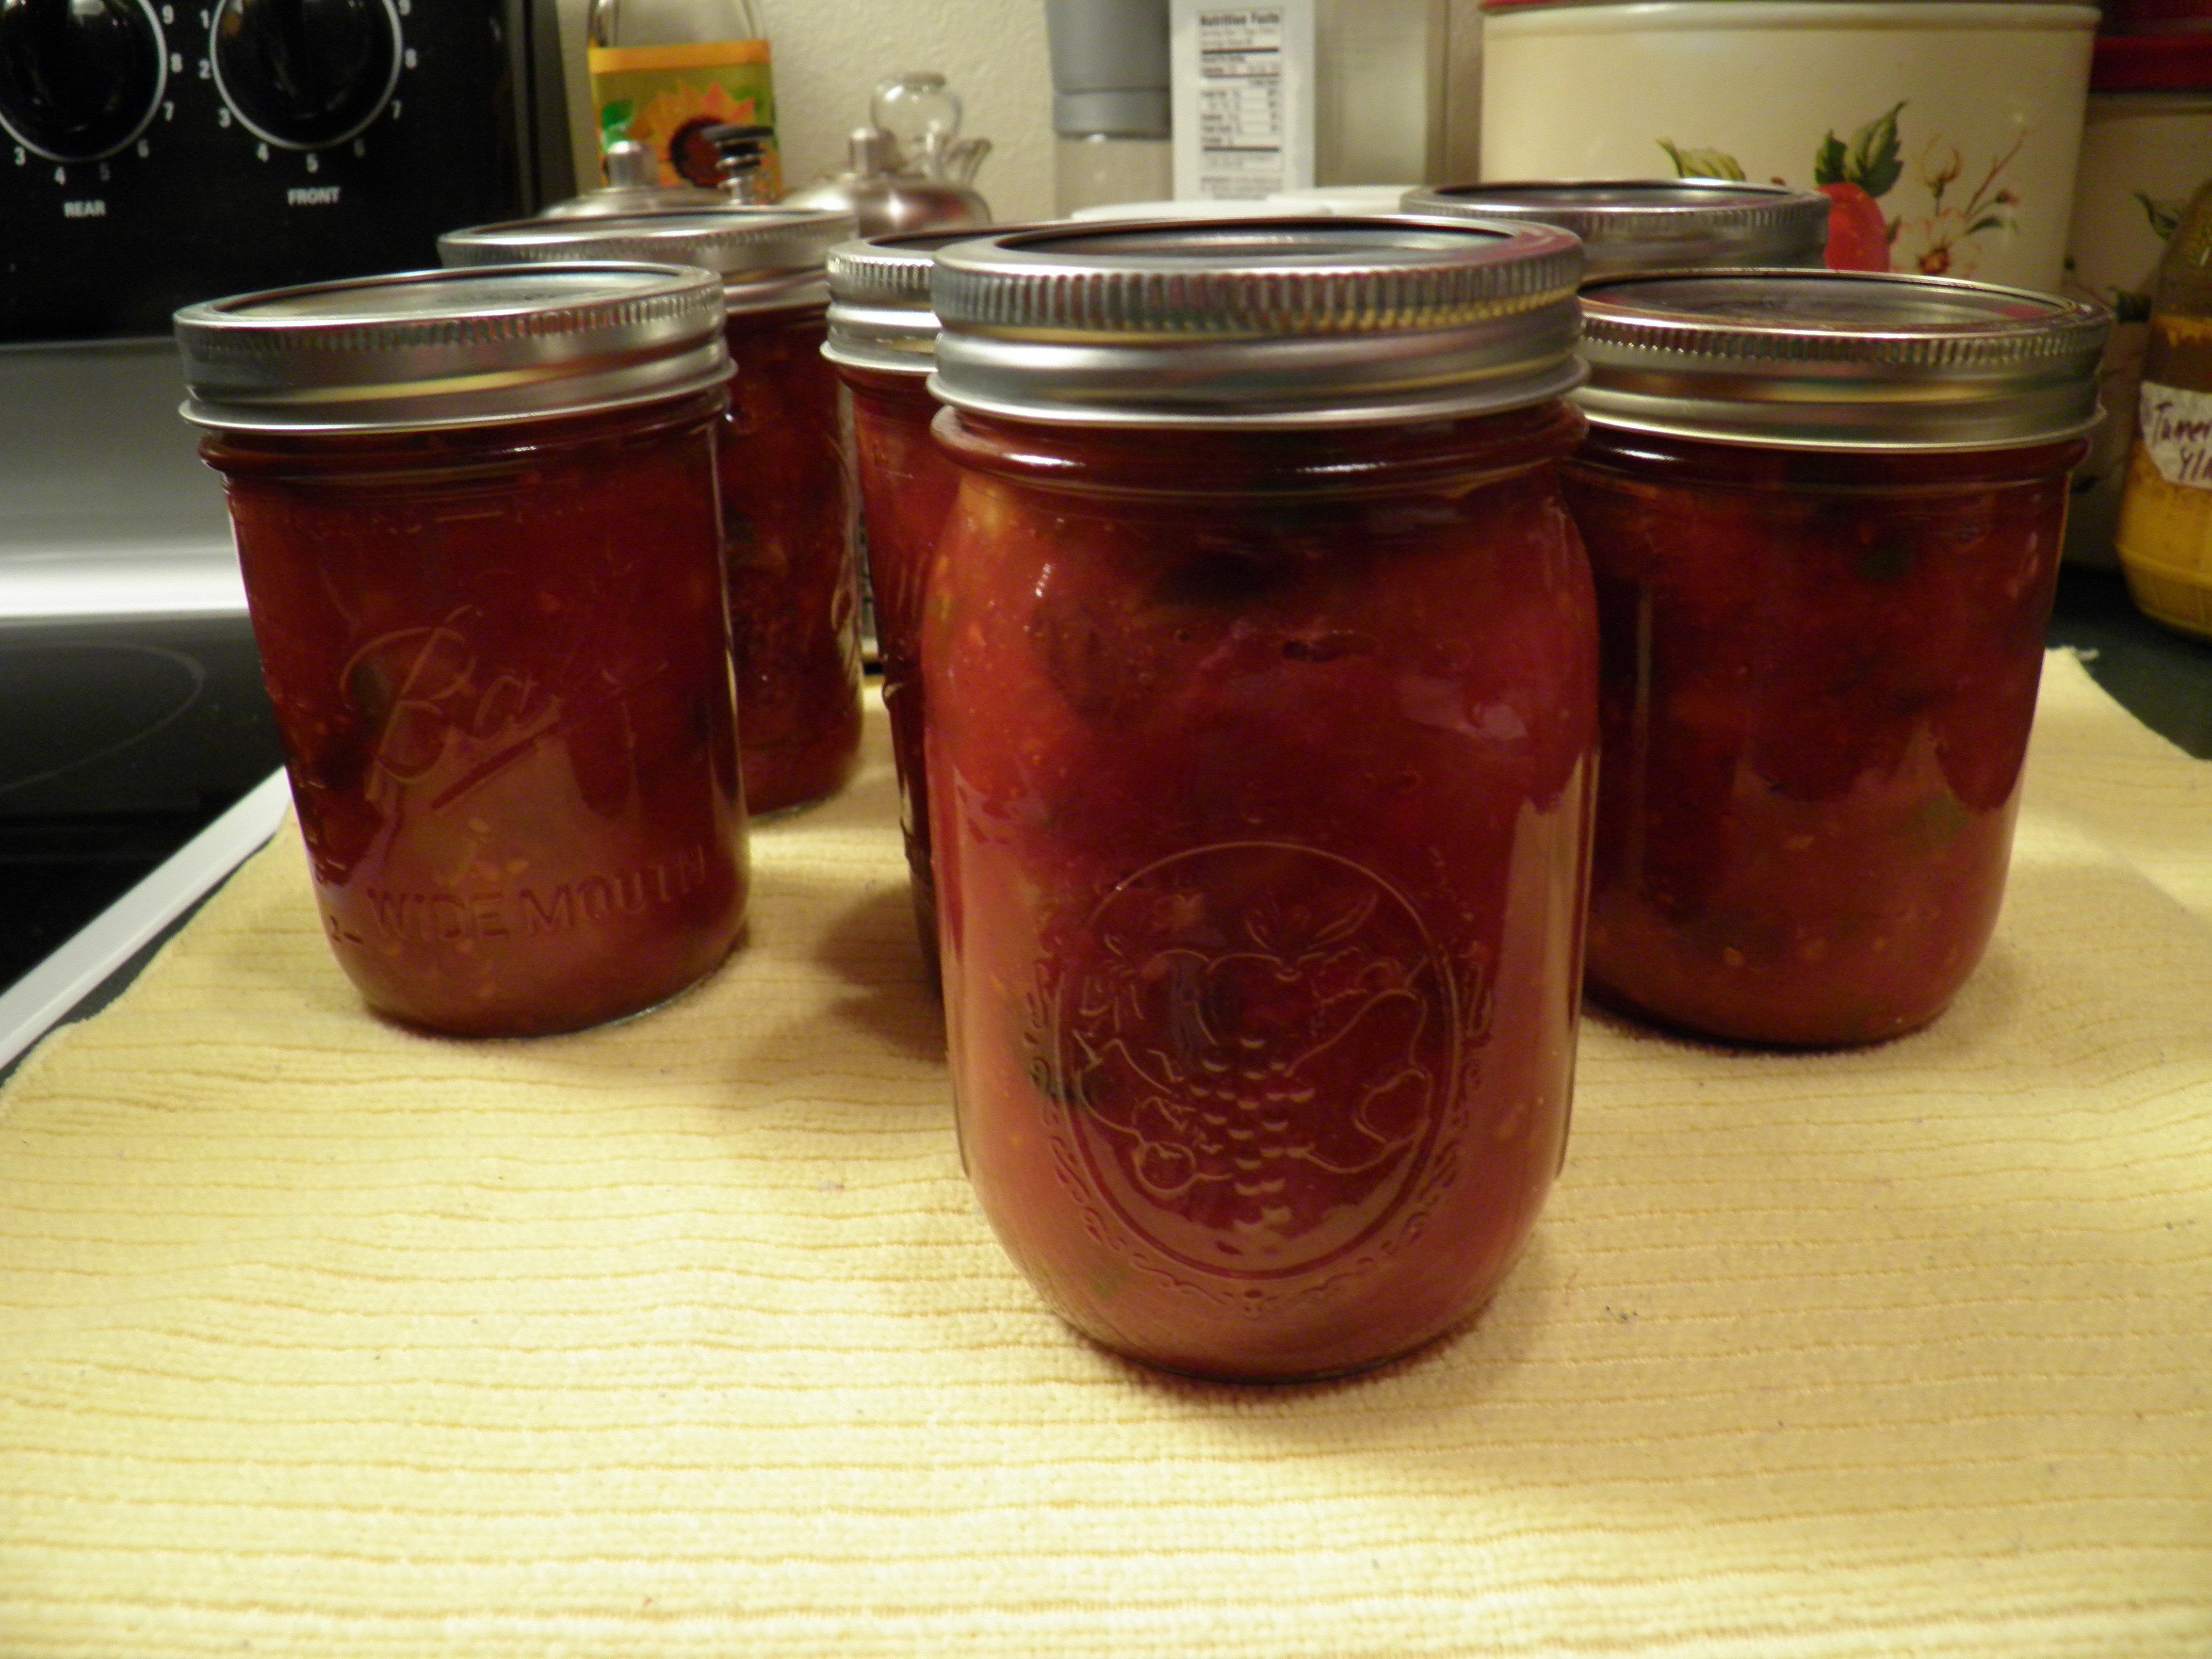
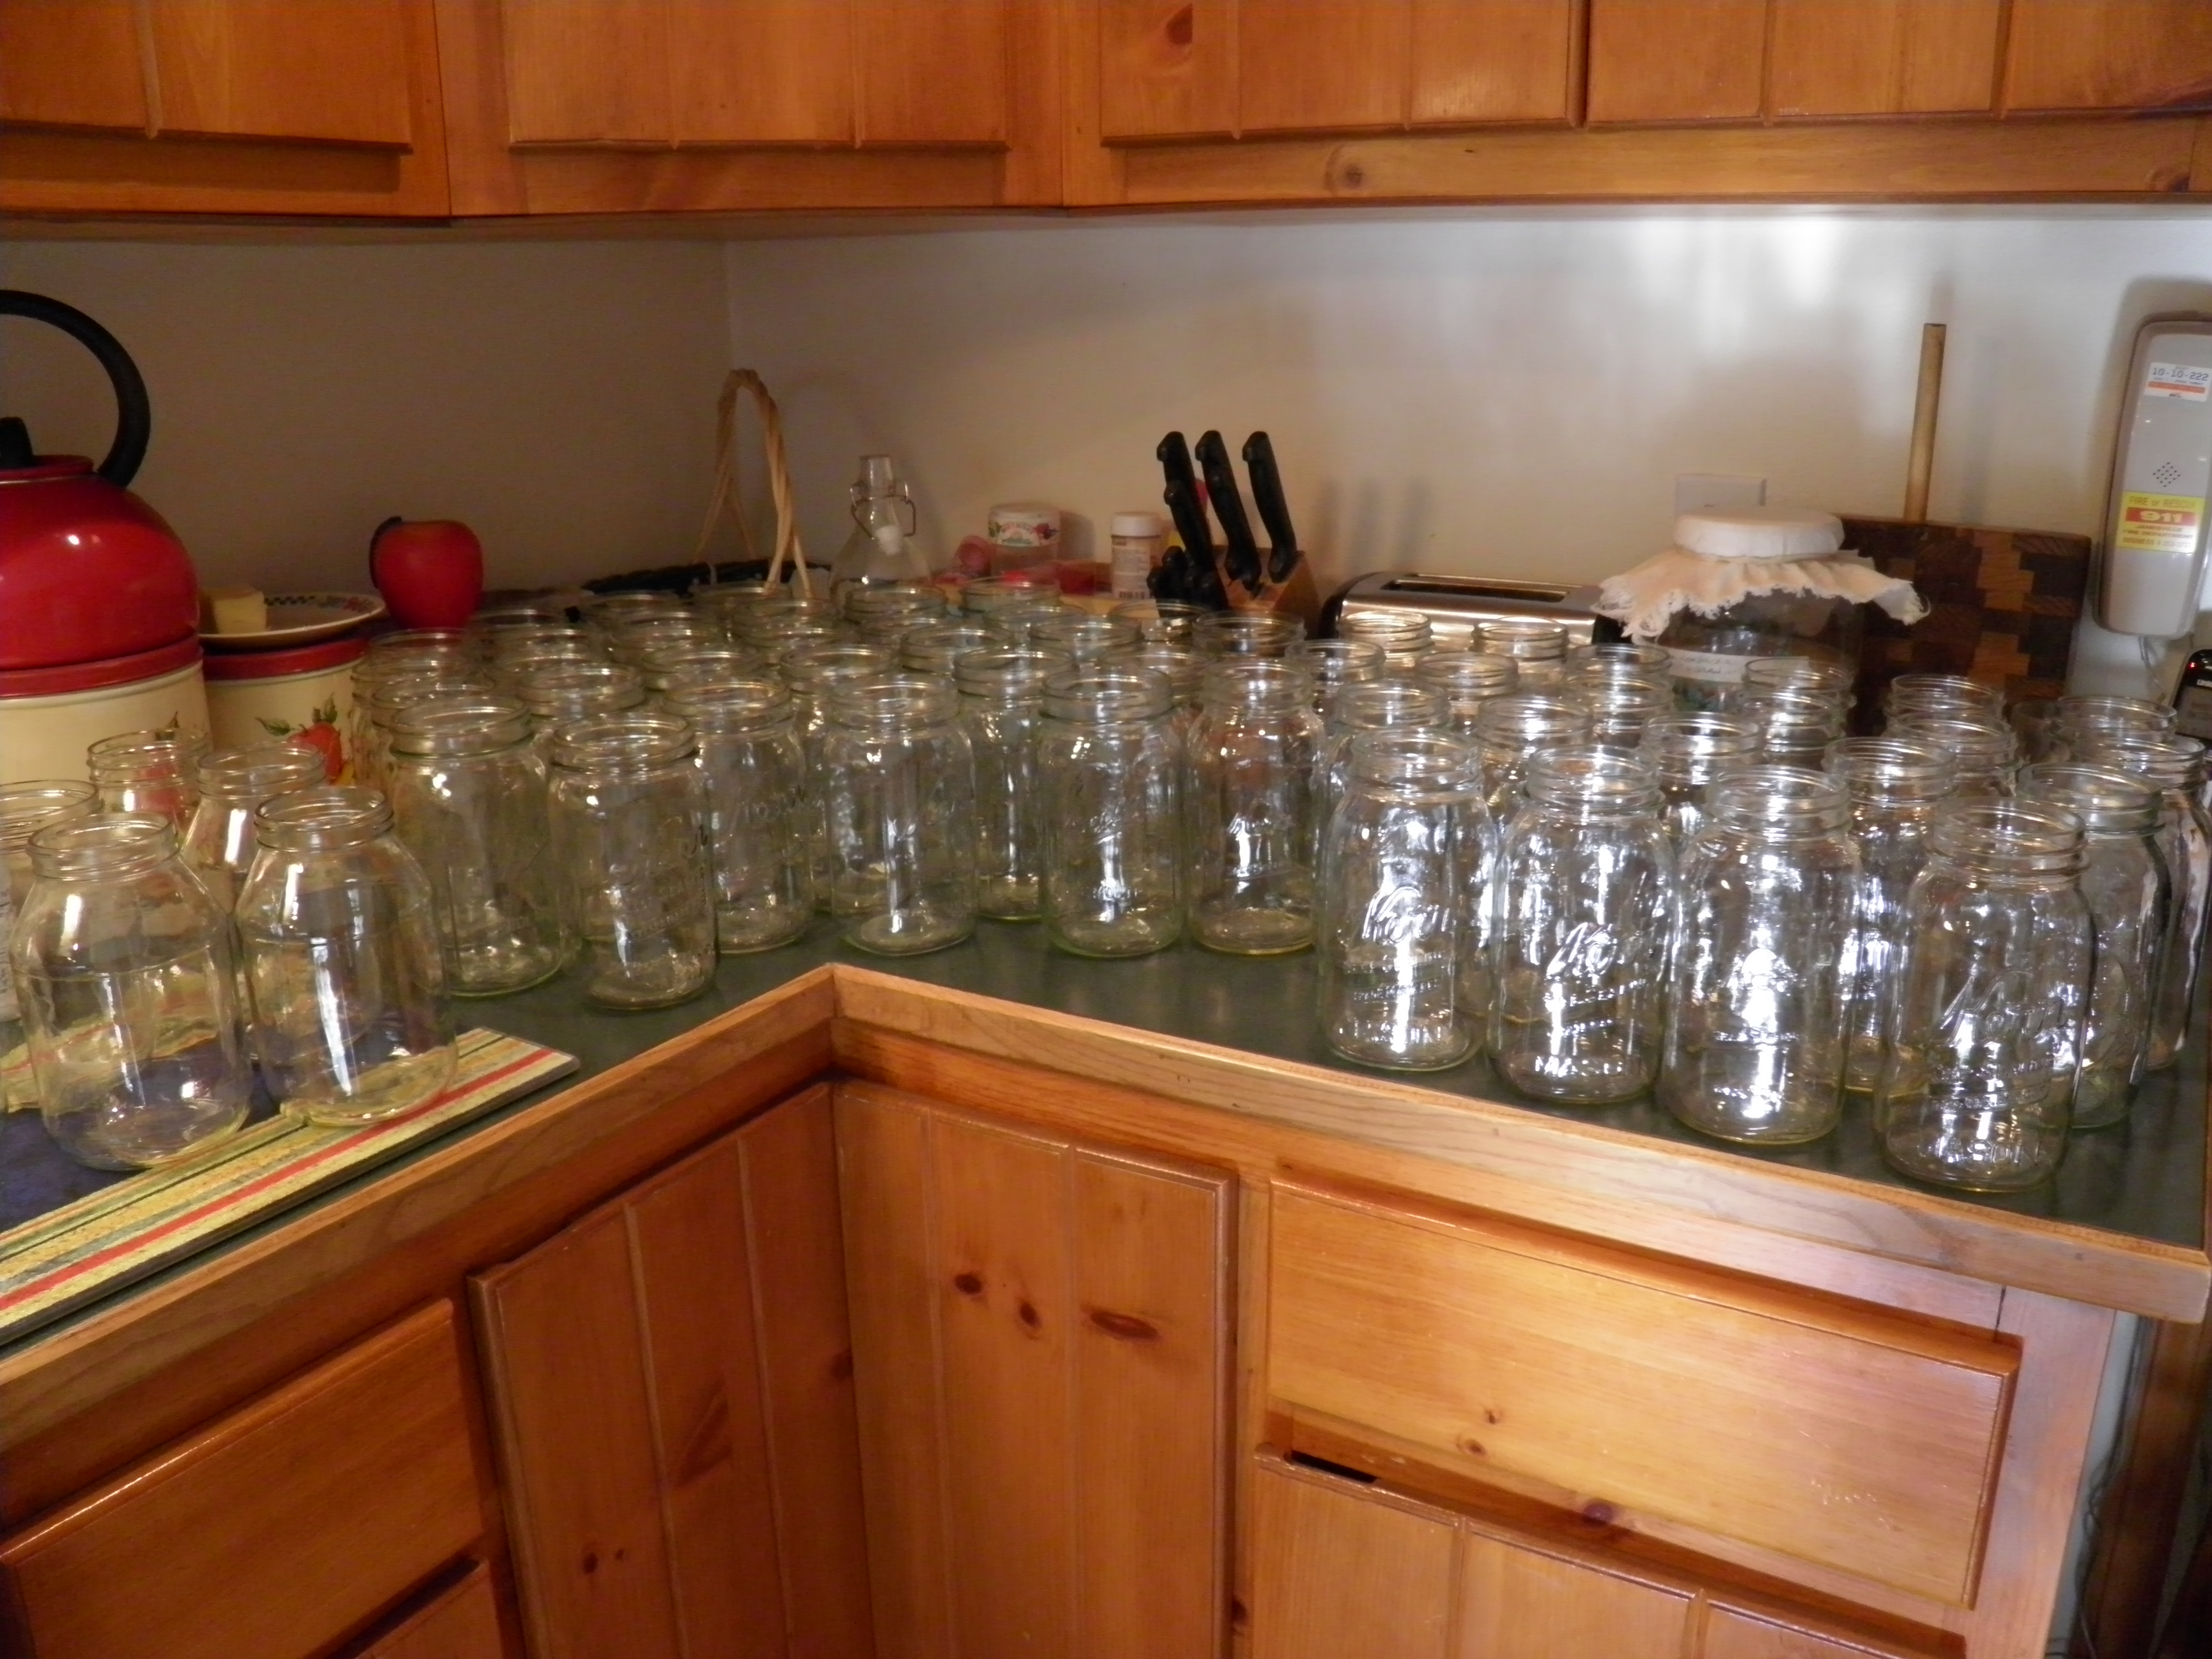
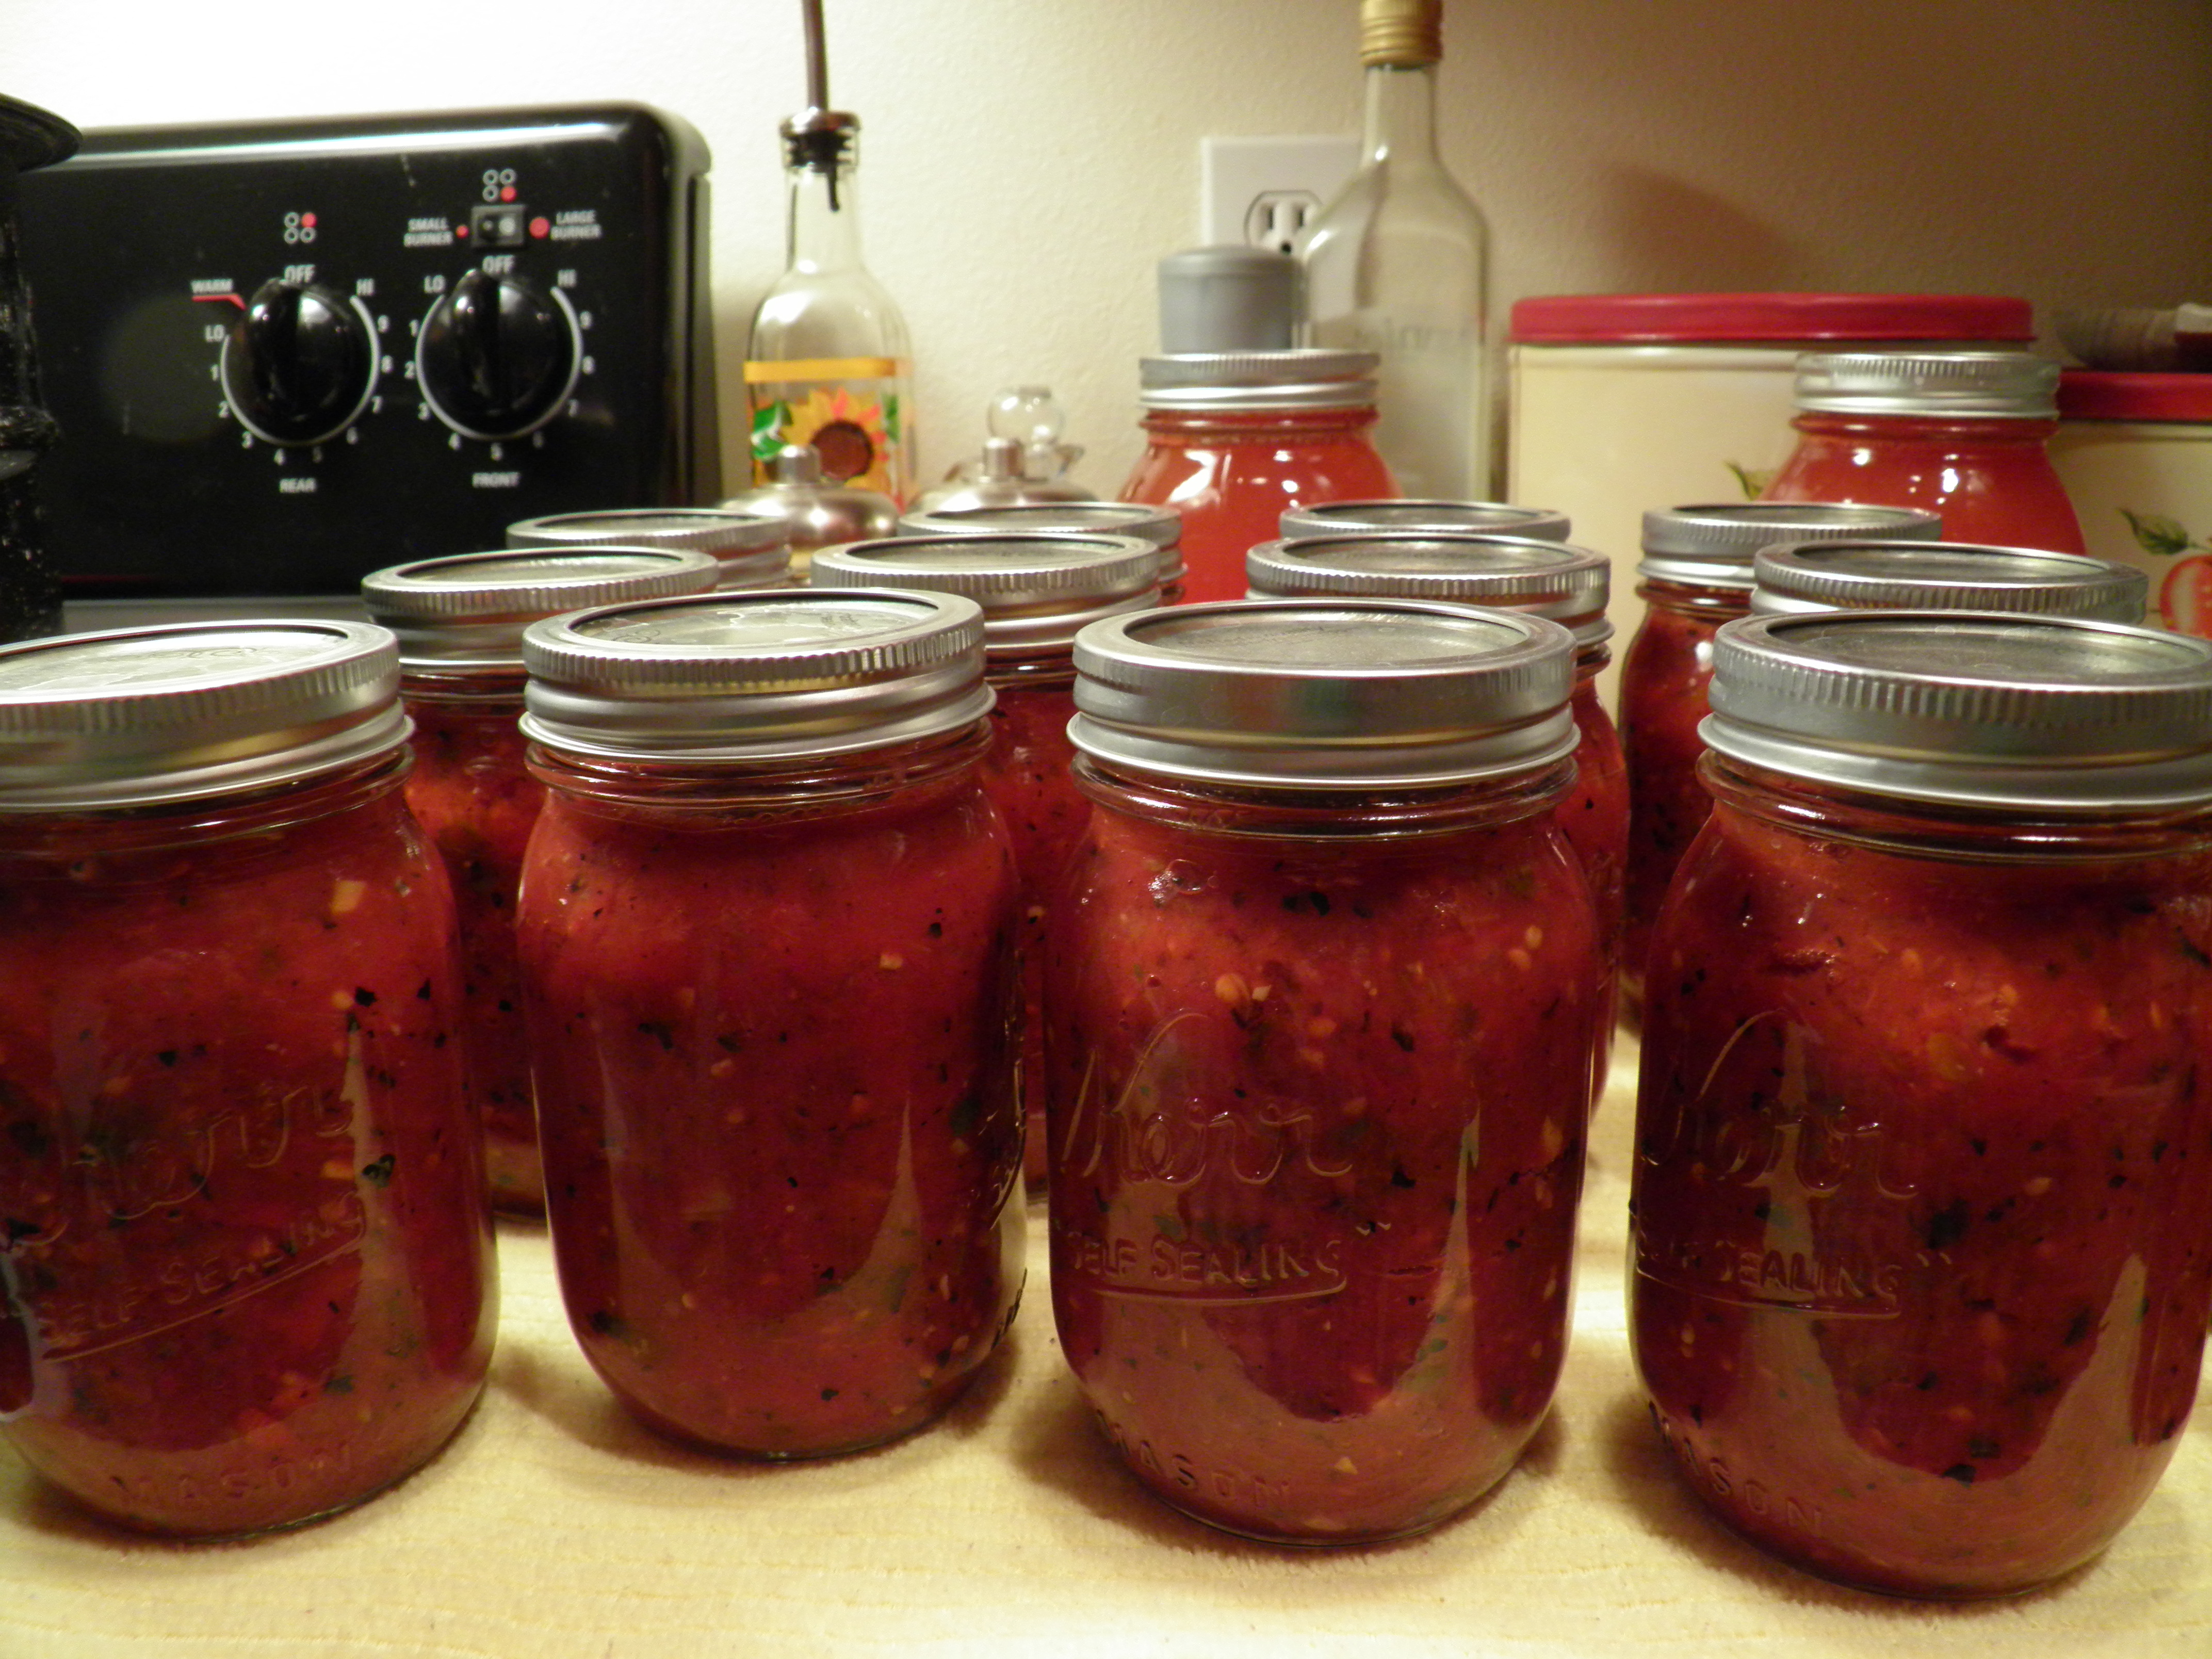
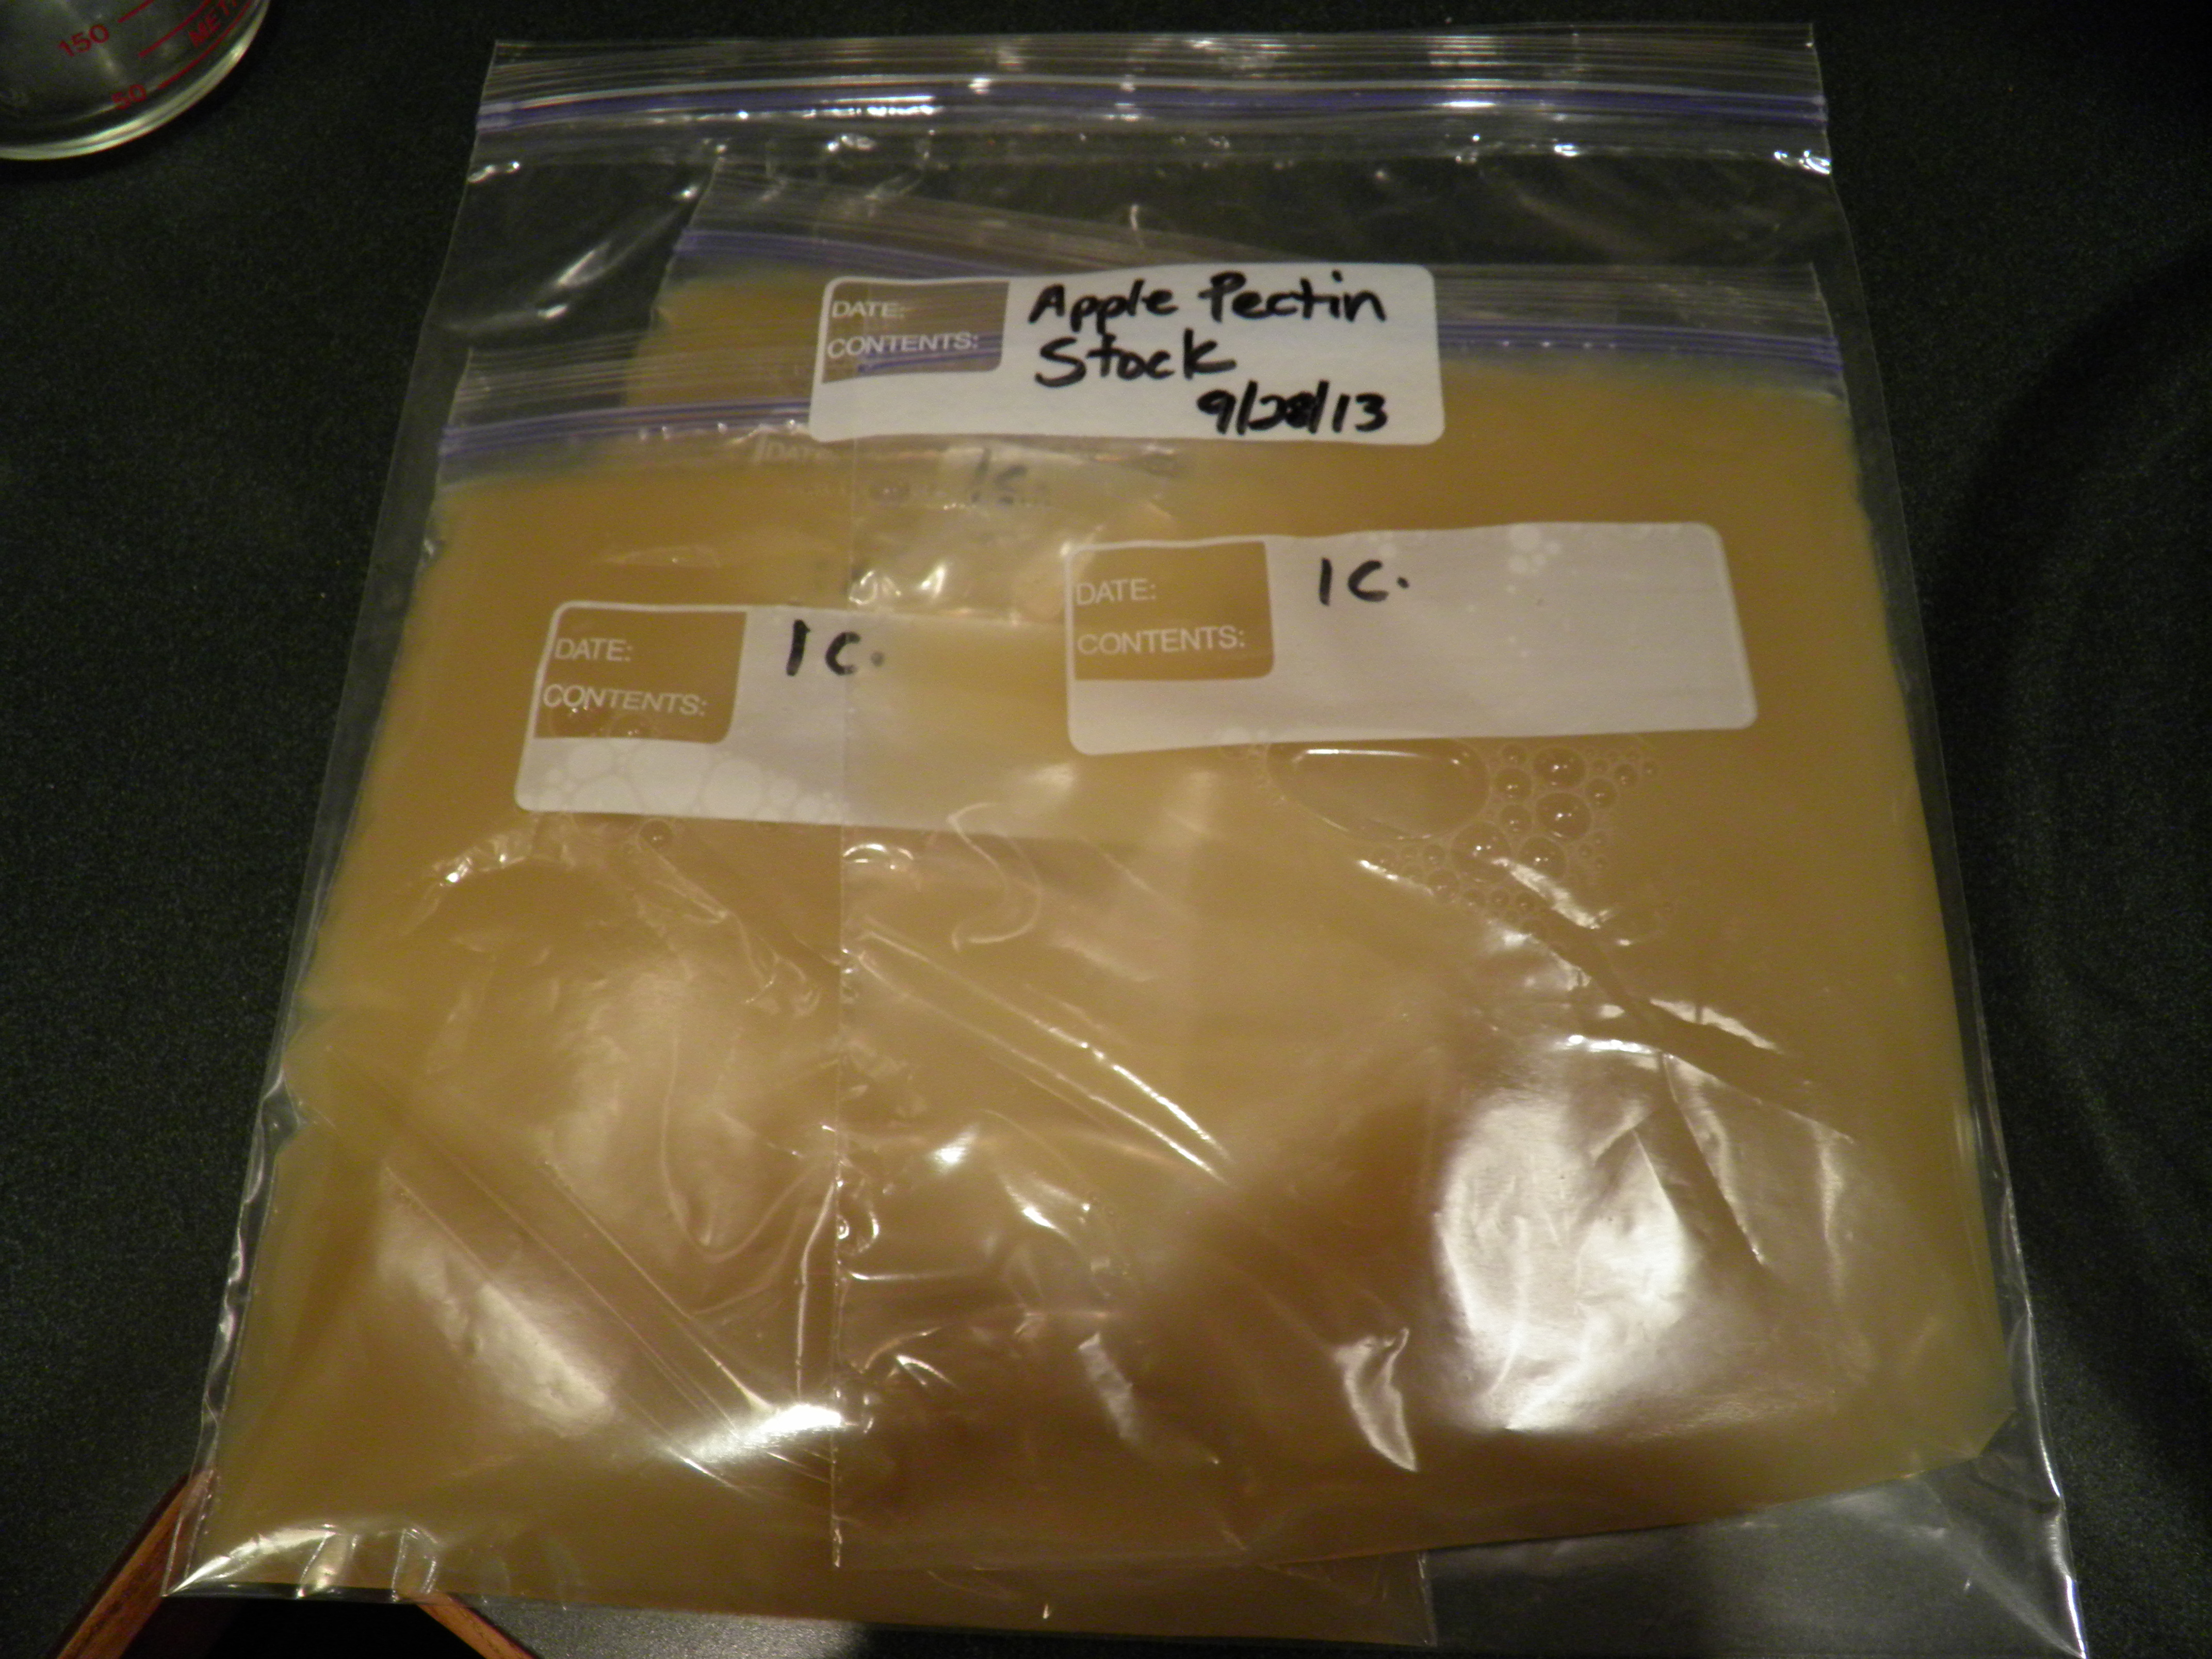
I’m tired by this time of year, and sick of canning, and I’m out of shelf space for full jars (boxes of applesauce, apple butter, green tomato relish, and green tomato marmalade—all the fall canning projects—are reposing under my bed). So I freeze my red sauce in quart freezer bags rather than canning it.  Below is a picture of my no-mess method for filling bags.  I put a quart freezer bag in a quart jar, then insert a canning funnel into the mouth of the jar, which holds the bag open.  This keeps whatever’s going inside the bag from getting all over the zipper closure.

OLYMPUS DIGITAL CAMERA

In the summer, I almost never get enough tomatoes at any one time for sauce-making. And I don’t want to be making sauce when it’s still 90 degrees outside. So I am thankful for my two big freezers. They allow me to freeze foods like blackberries and tomatoes as they ripen in the summer, and then I can deal with them in the fall and winter when it’s cold outside, and I don’t mind heating up the house with big, boiling pots or the oven, and when I don’t have other pressing tasks. In fact, the by-product of heat from preserving in the winter time is a bonus.

Freezing tomatoes whole is as easy as it gets in garden preservation. You just rinse them, let them drain, cut out any bad spots, core them if you wish, but you don’t have to, and pop them into a freezer bag. In a deep freezer, the little bit of moisture left on the tomato skins will ice-glaze them, and they will keep like that for months before you have to do something with them. They don’t stick together when they’re whole, so you can take out and thaw them one at a time to be added to dishes where you want a little tomato flavor, or you can thaw out the bags and process the tomatoes all at once. For me, this means making one big batch of sauce in the late fall or early winter. Then it’s done, and my freezer is less full and ready for the next adventure.

OLYMPUS DIGITAL CAMERA

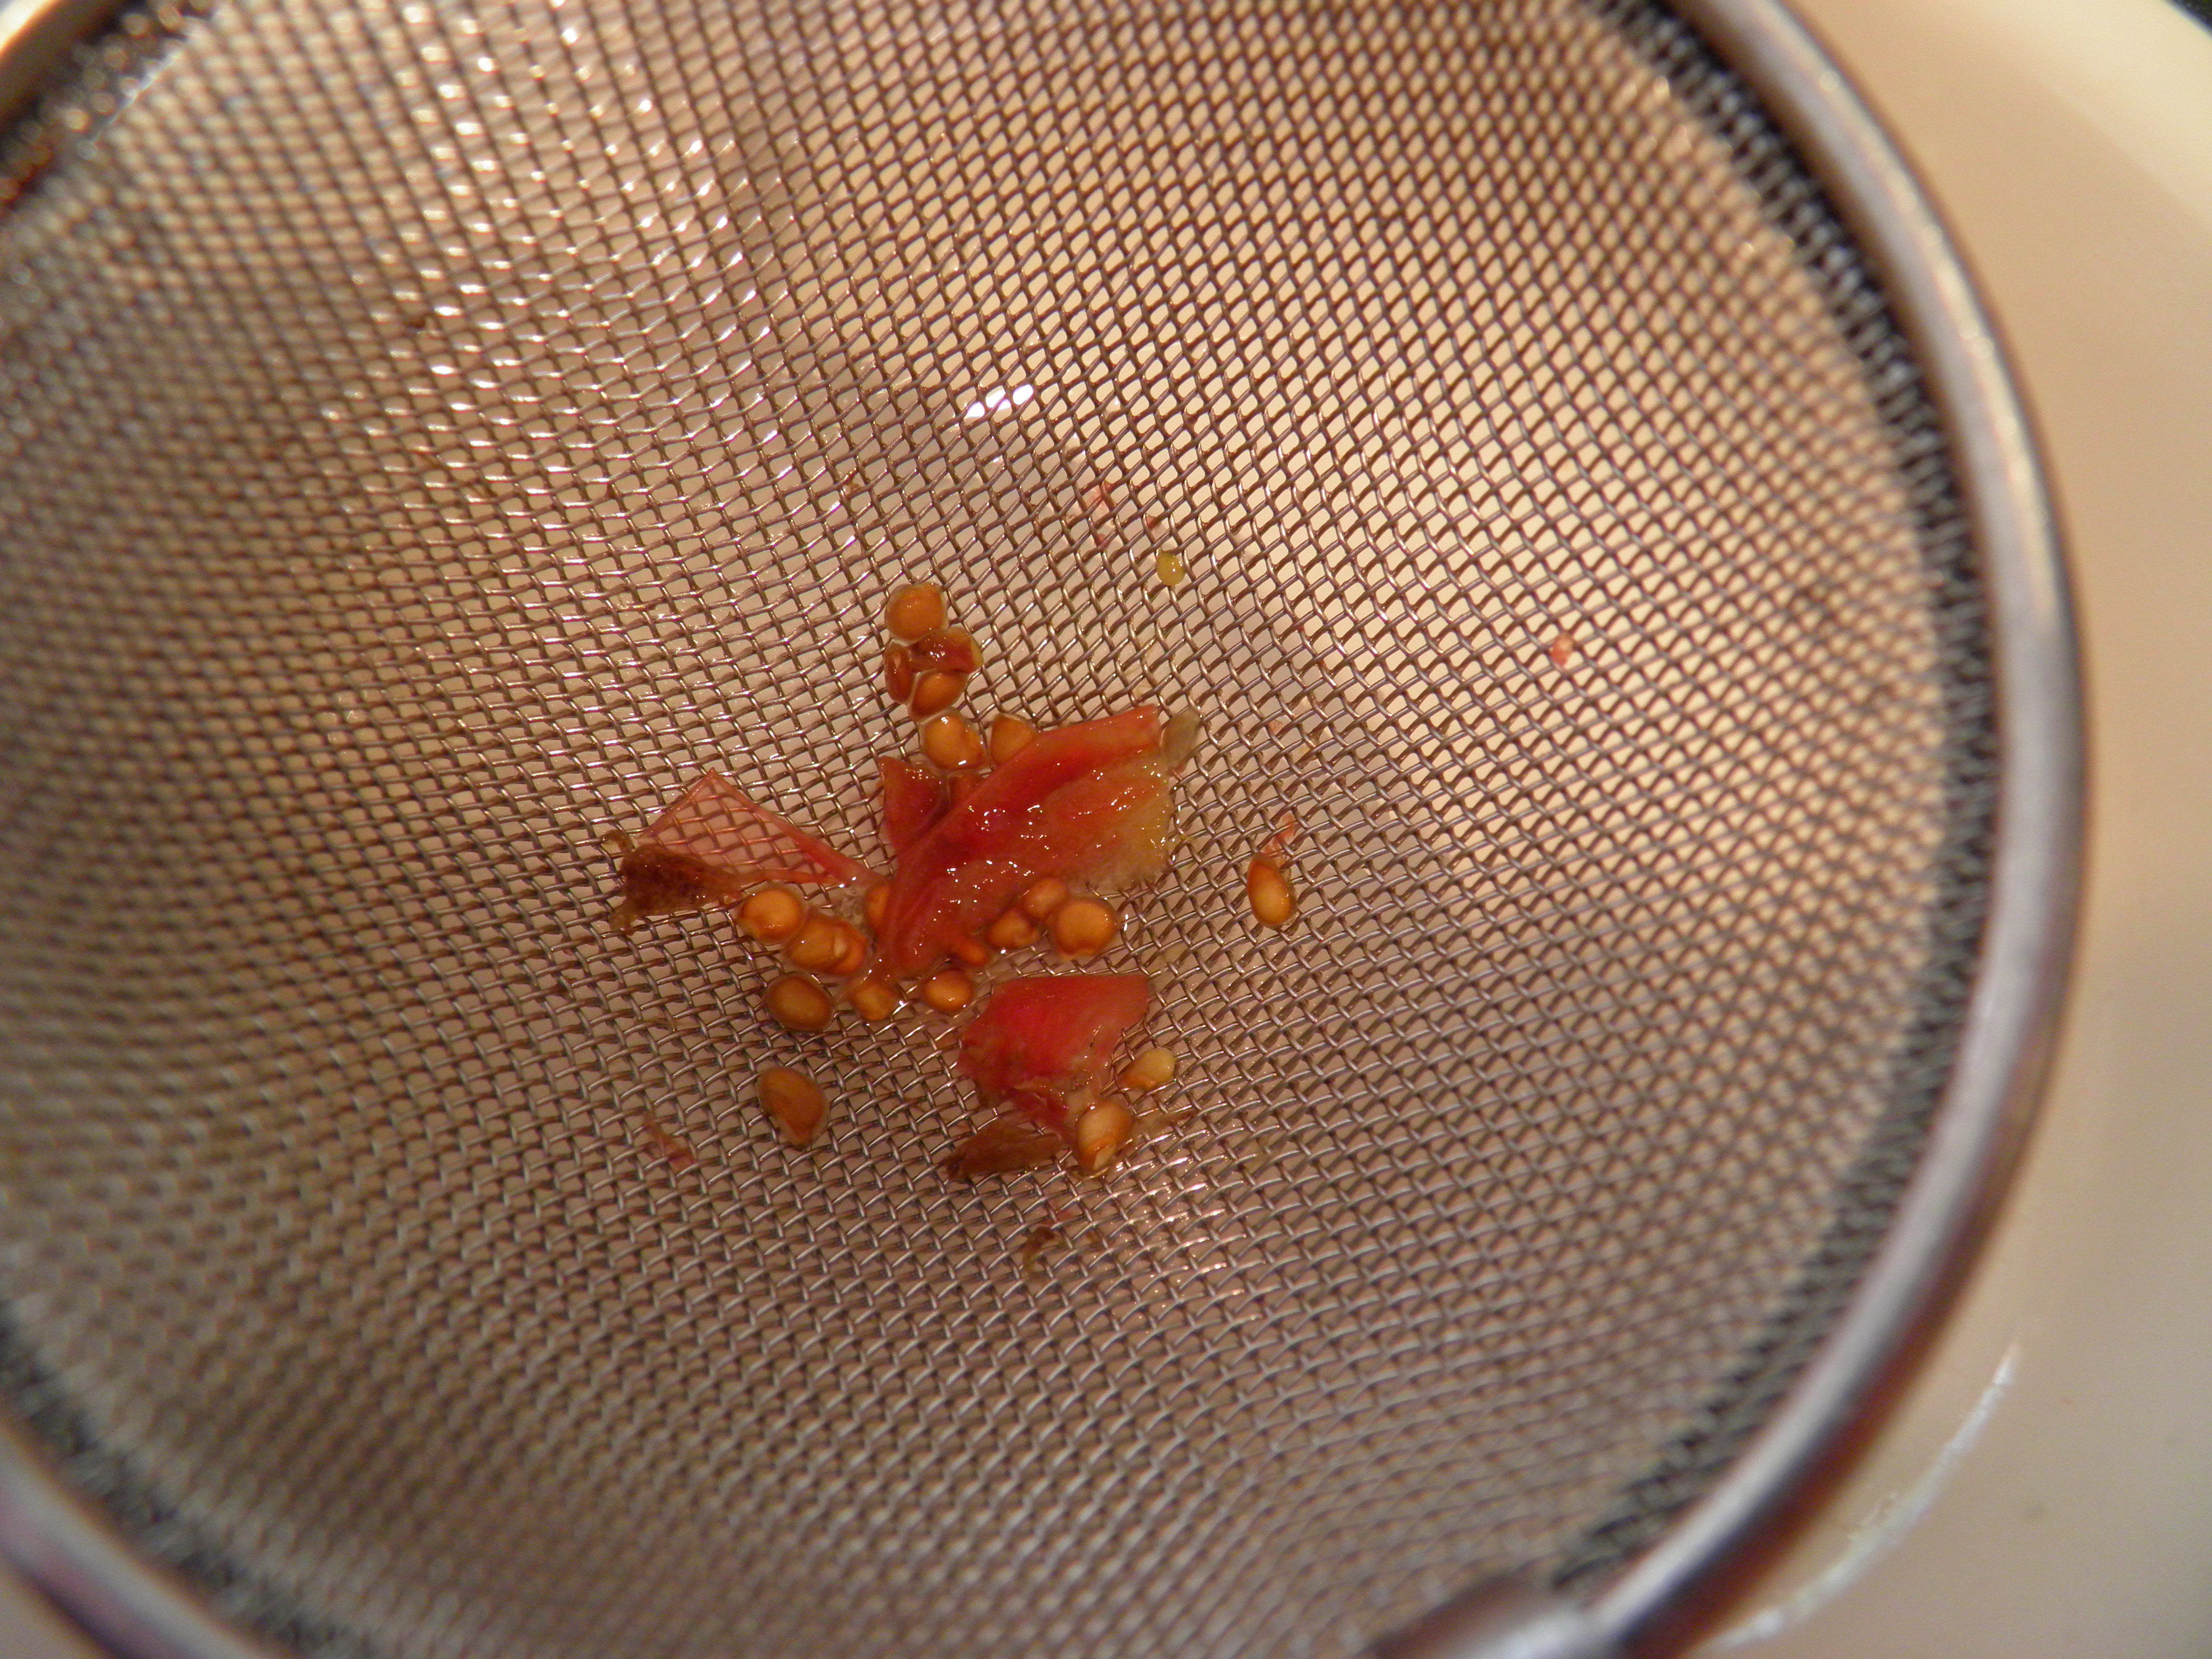
One side benefit to freezing tomatoes before cooking with them, I’ve discovered, is that when they thaw, the skins slip right off, and you can just pinch out the core with your fingers if you didn’t core them before freezing. If you don’t mind tomato seeds in your sauce, you can put the thawed, skinned, cored tomatoes in a big pot, get them started cooking and breaking down, and puree them with a stick blender. You can also puree them in batches in a counter-top blender. But I’m old-fashioned, and I like to get all the flavor I possibly can out of my tomatoes, so I cook them with the skins on until they are soft, and then run them through a chinois, or cone colander, to create a smooth texture and separate pulp from the skins and (most of) the seeds. If you have a Squeezo Strainer or a strainer attachment for a KitchenAid Stand Mixer, you might find that easier. For me, the chinois is easier to set up, take down, and clean up.

OLYMPUS DIGITAL CAMERA

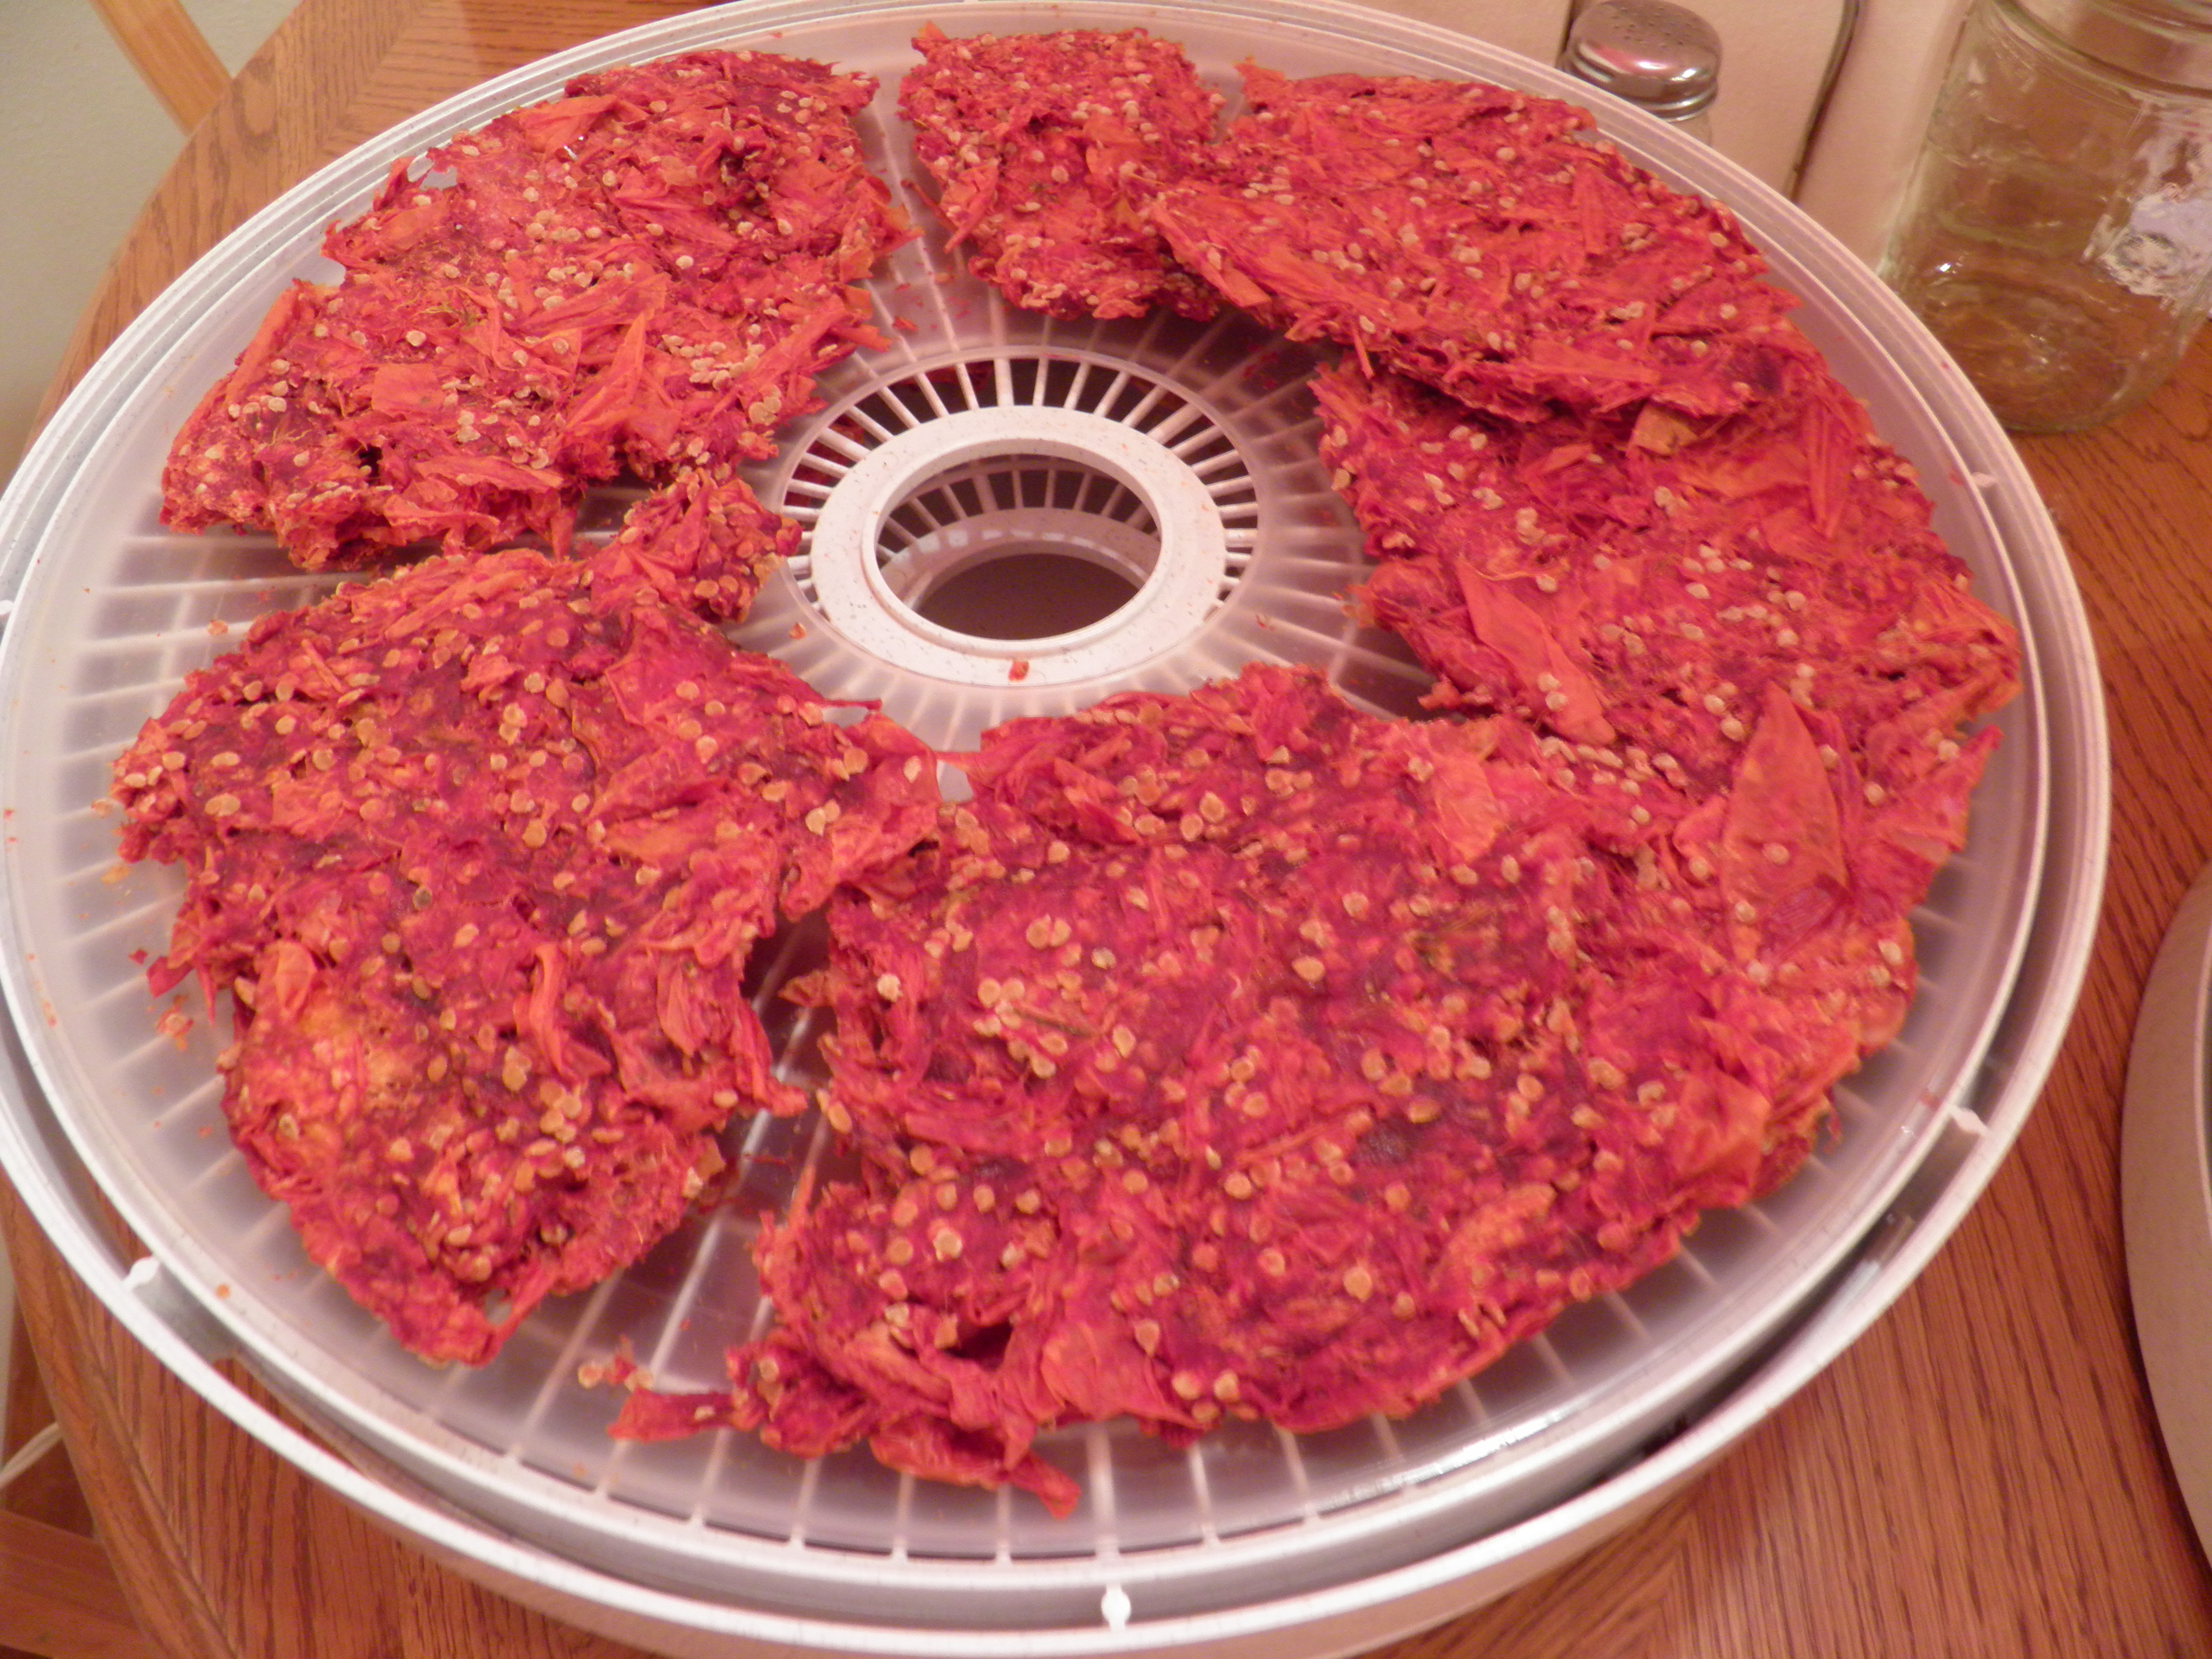
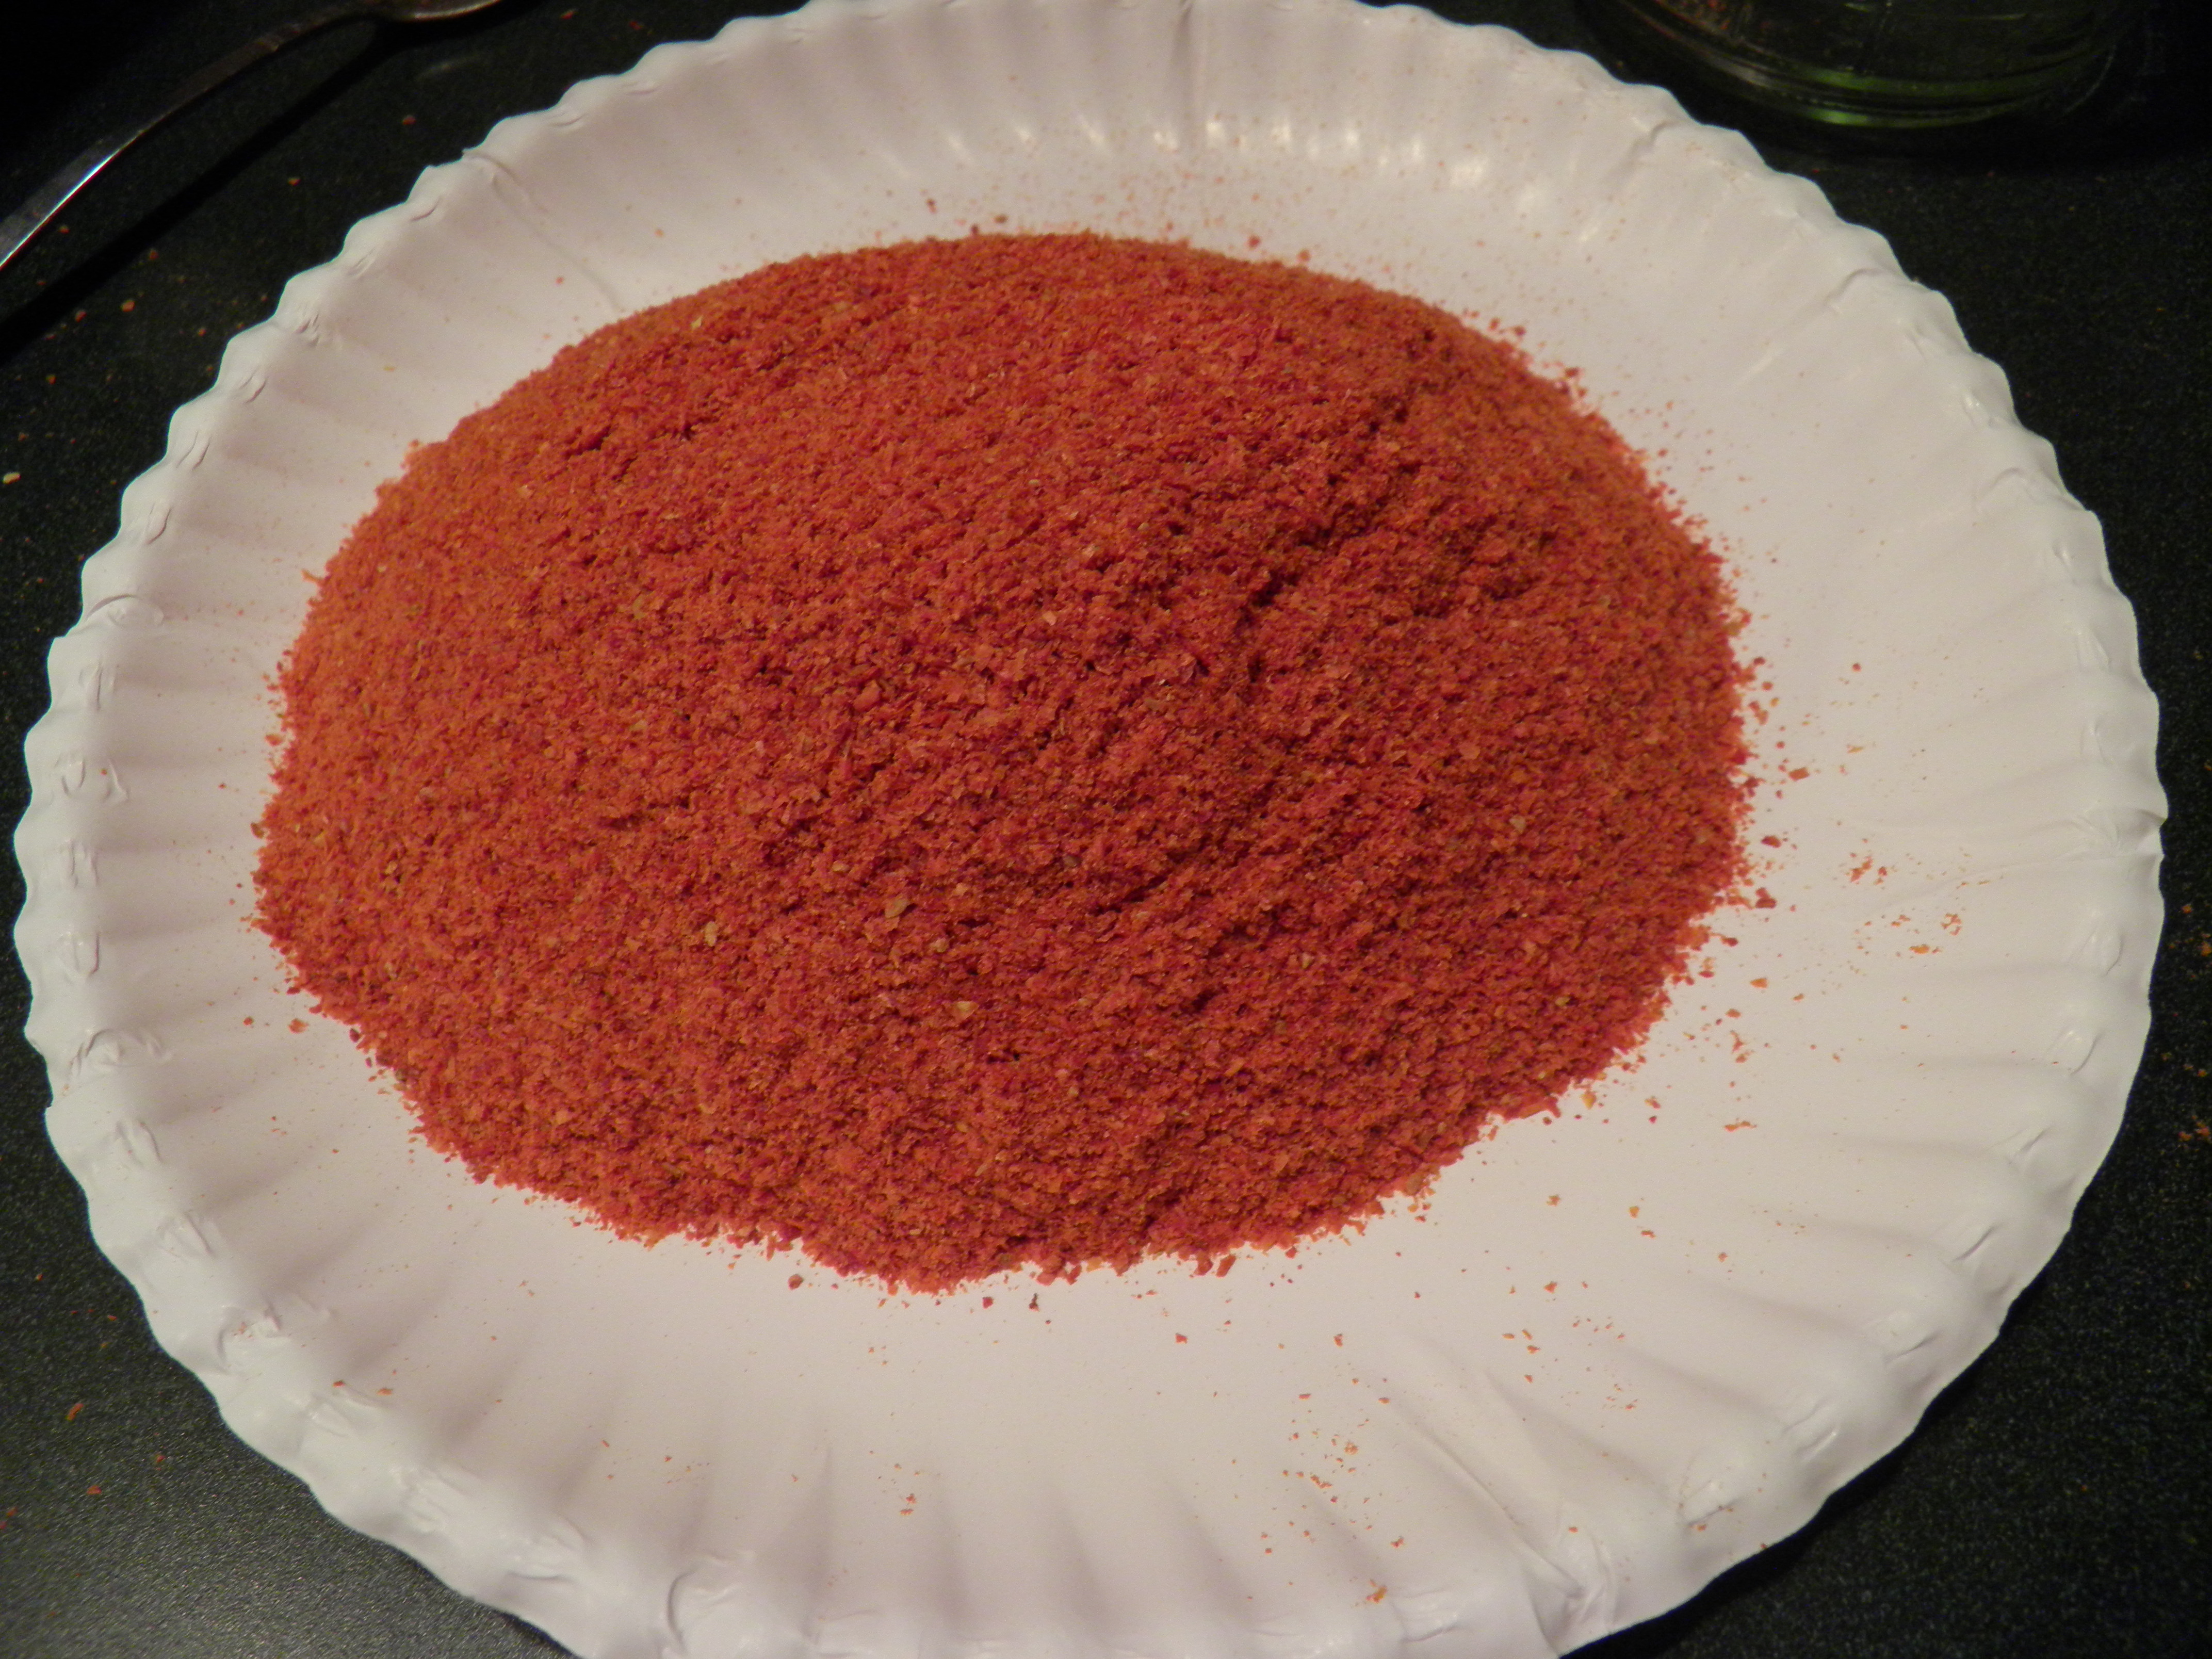
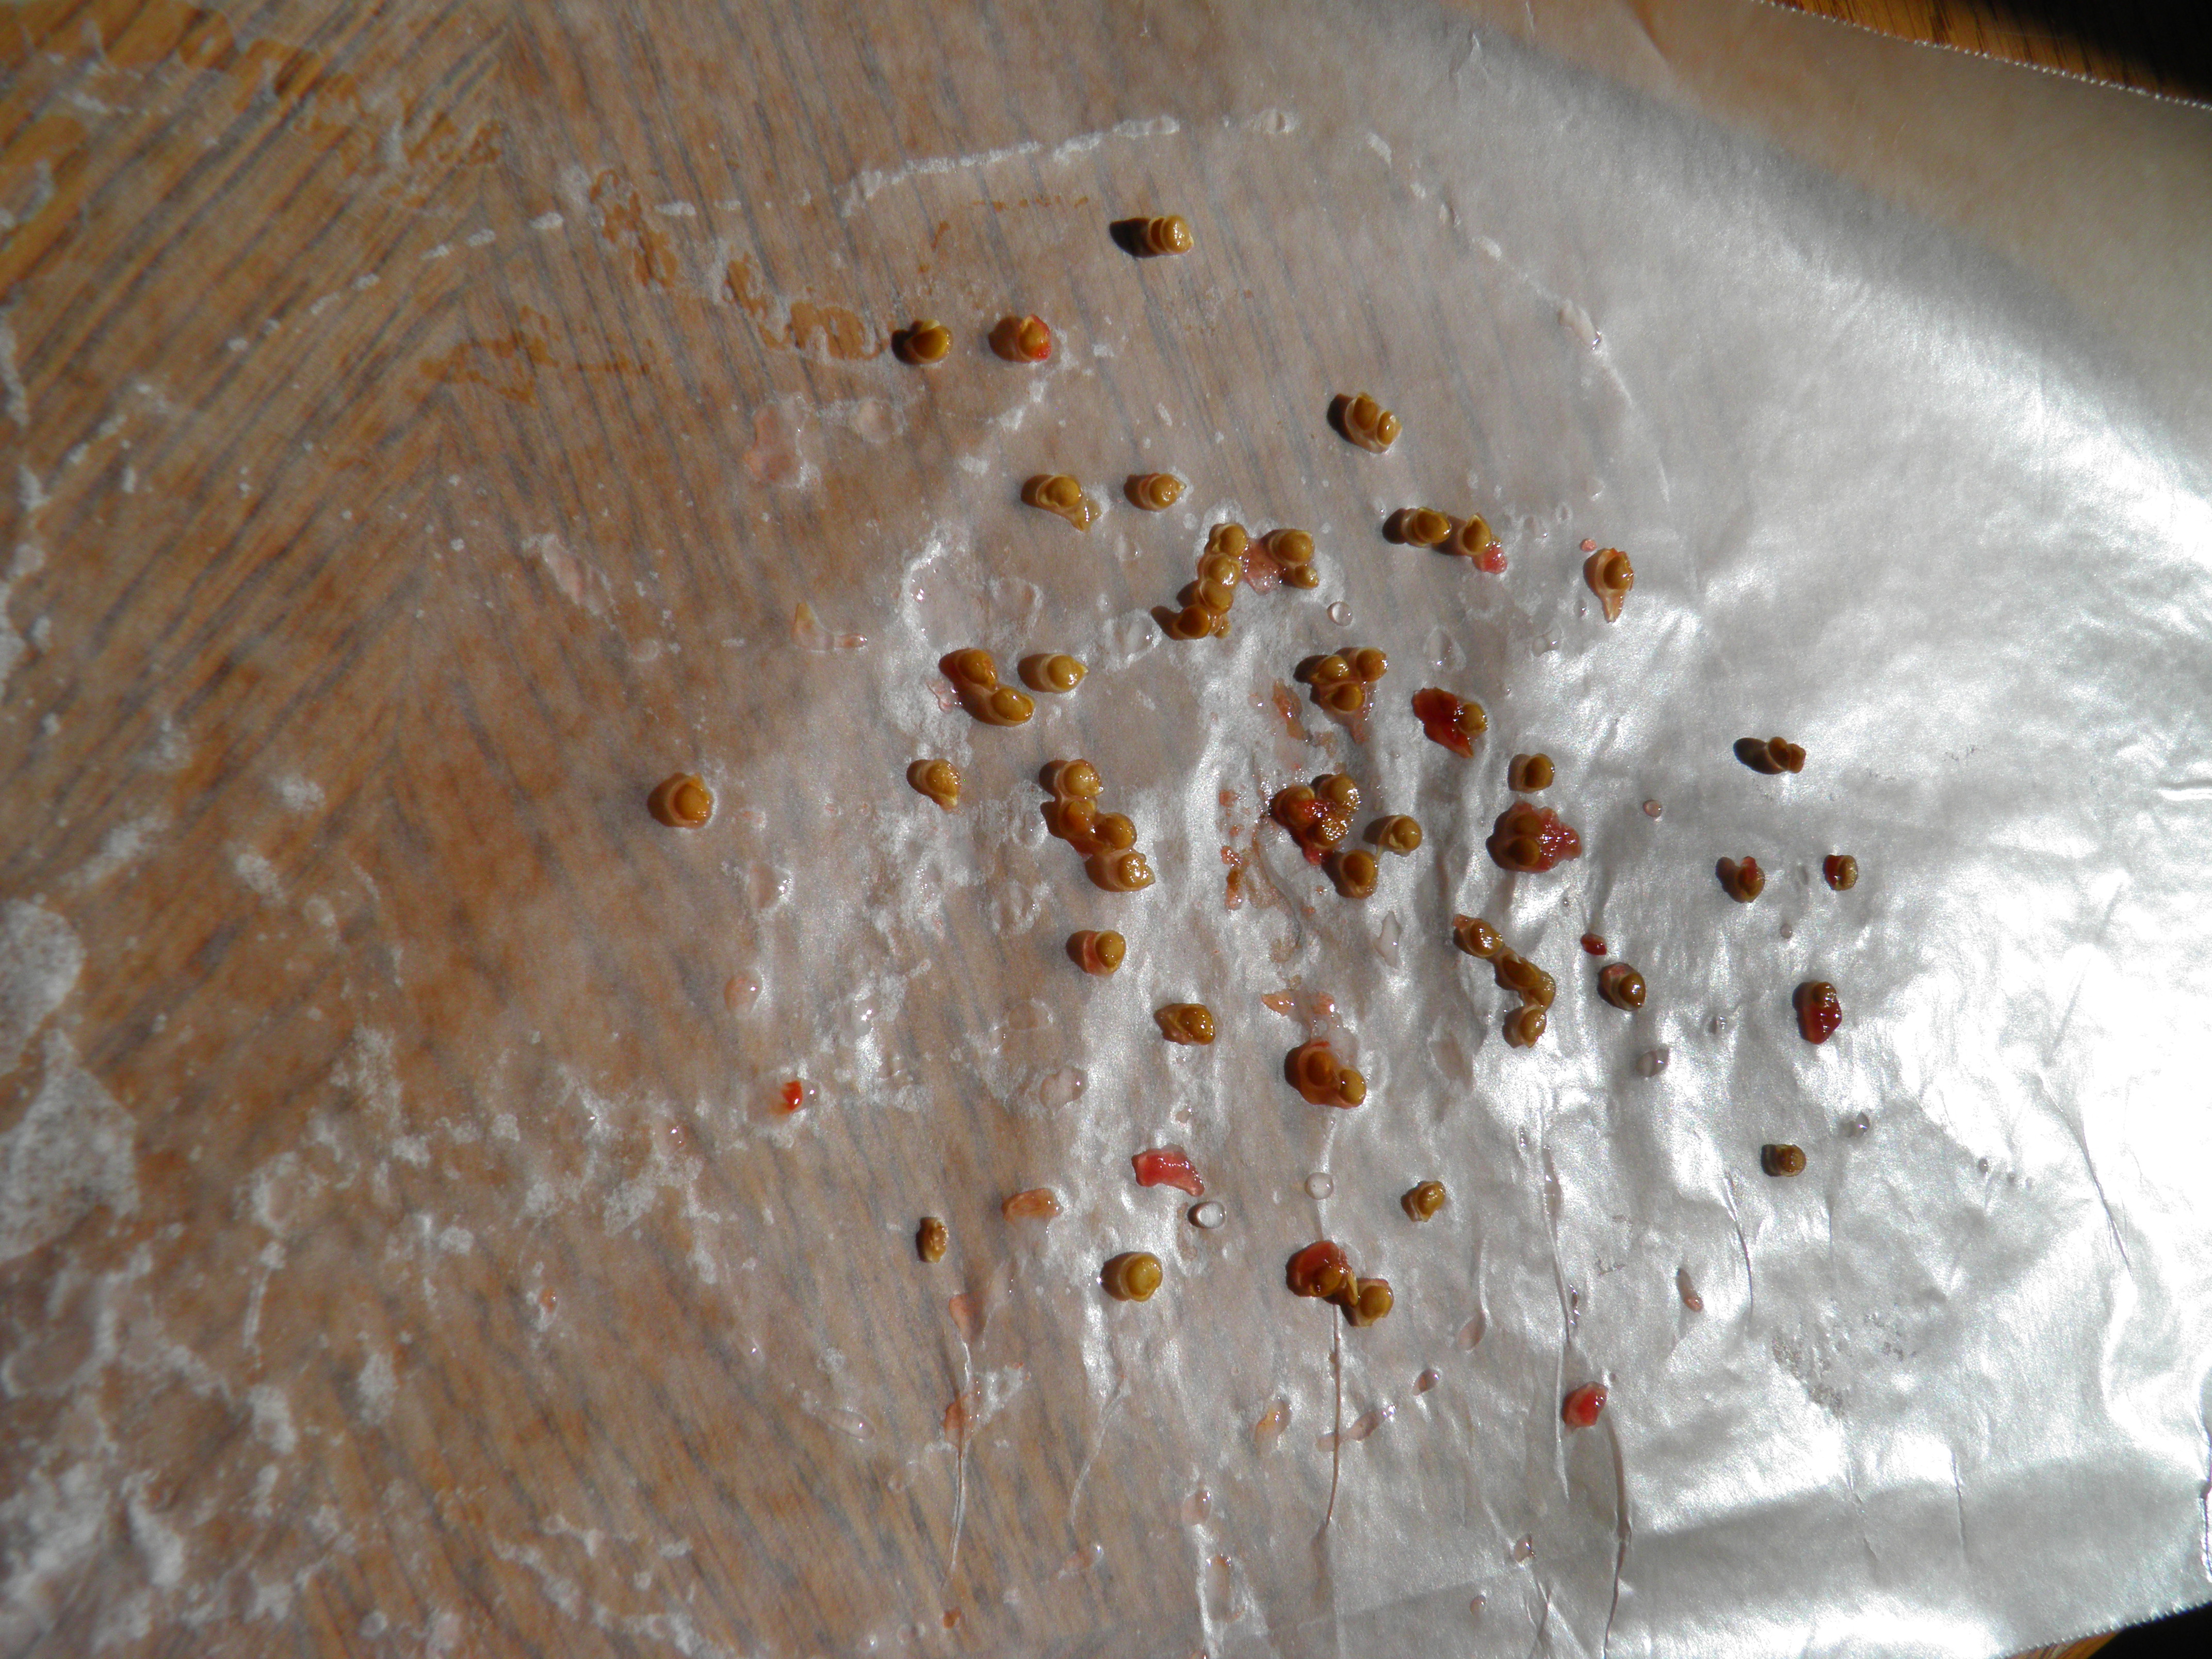
Don’t throw the skins and seeds away after straining! I save skins and seeds, and either spread them on parchment-lined cookie sheets and dry in the oven on low (170 degrees or lower) until crunchy, or spread them on the fruit leather trays in my dehydrator (set at about 135 degrees) and leave them until they’re very dry, and then grind them to powder in the blender. (More about how to use this flavor-packed powder in these posts: Dried Tomato Skin Rub and Pulled Pork, and Braised and Barbecued Pork Spareribs.) I don’t know about you, but I just don’t want to waste a single bit of those wonderful garden tomatoes.  This powder can also be added to soups and stews for an extra punch of flavor.

OLYMPUS DIGITAL CAMERA OLYMPUS DIGITAL CAMERA

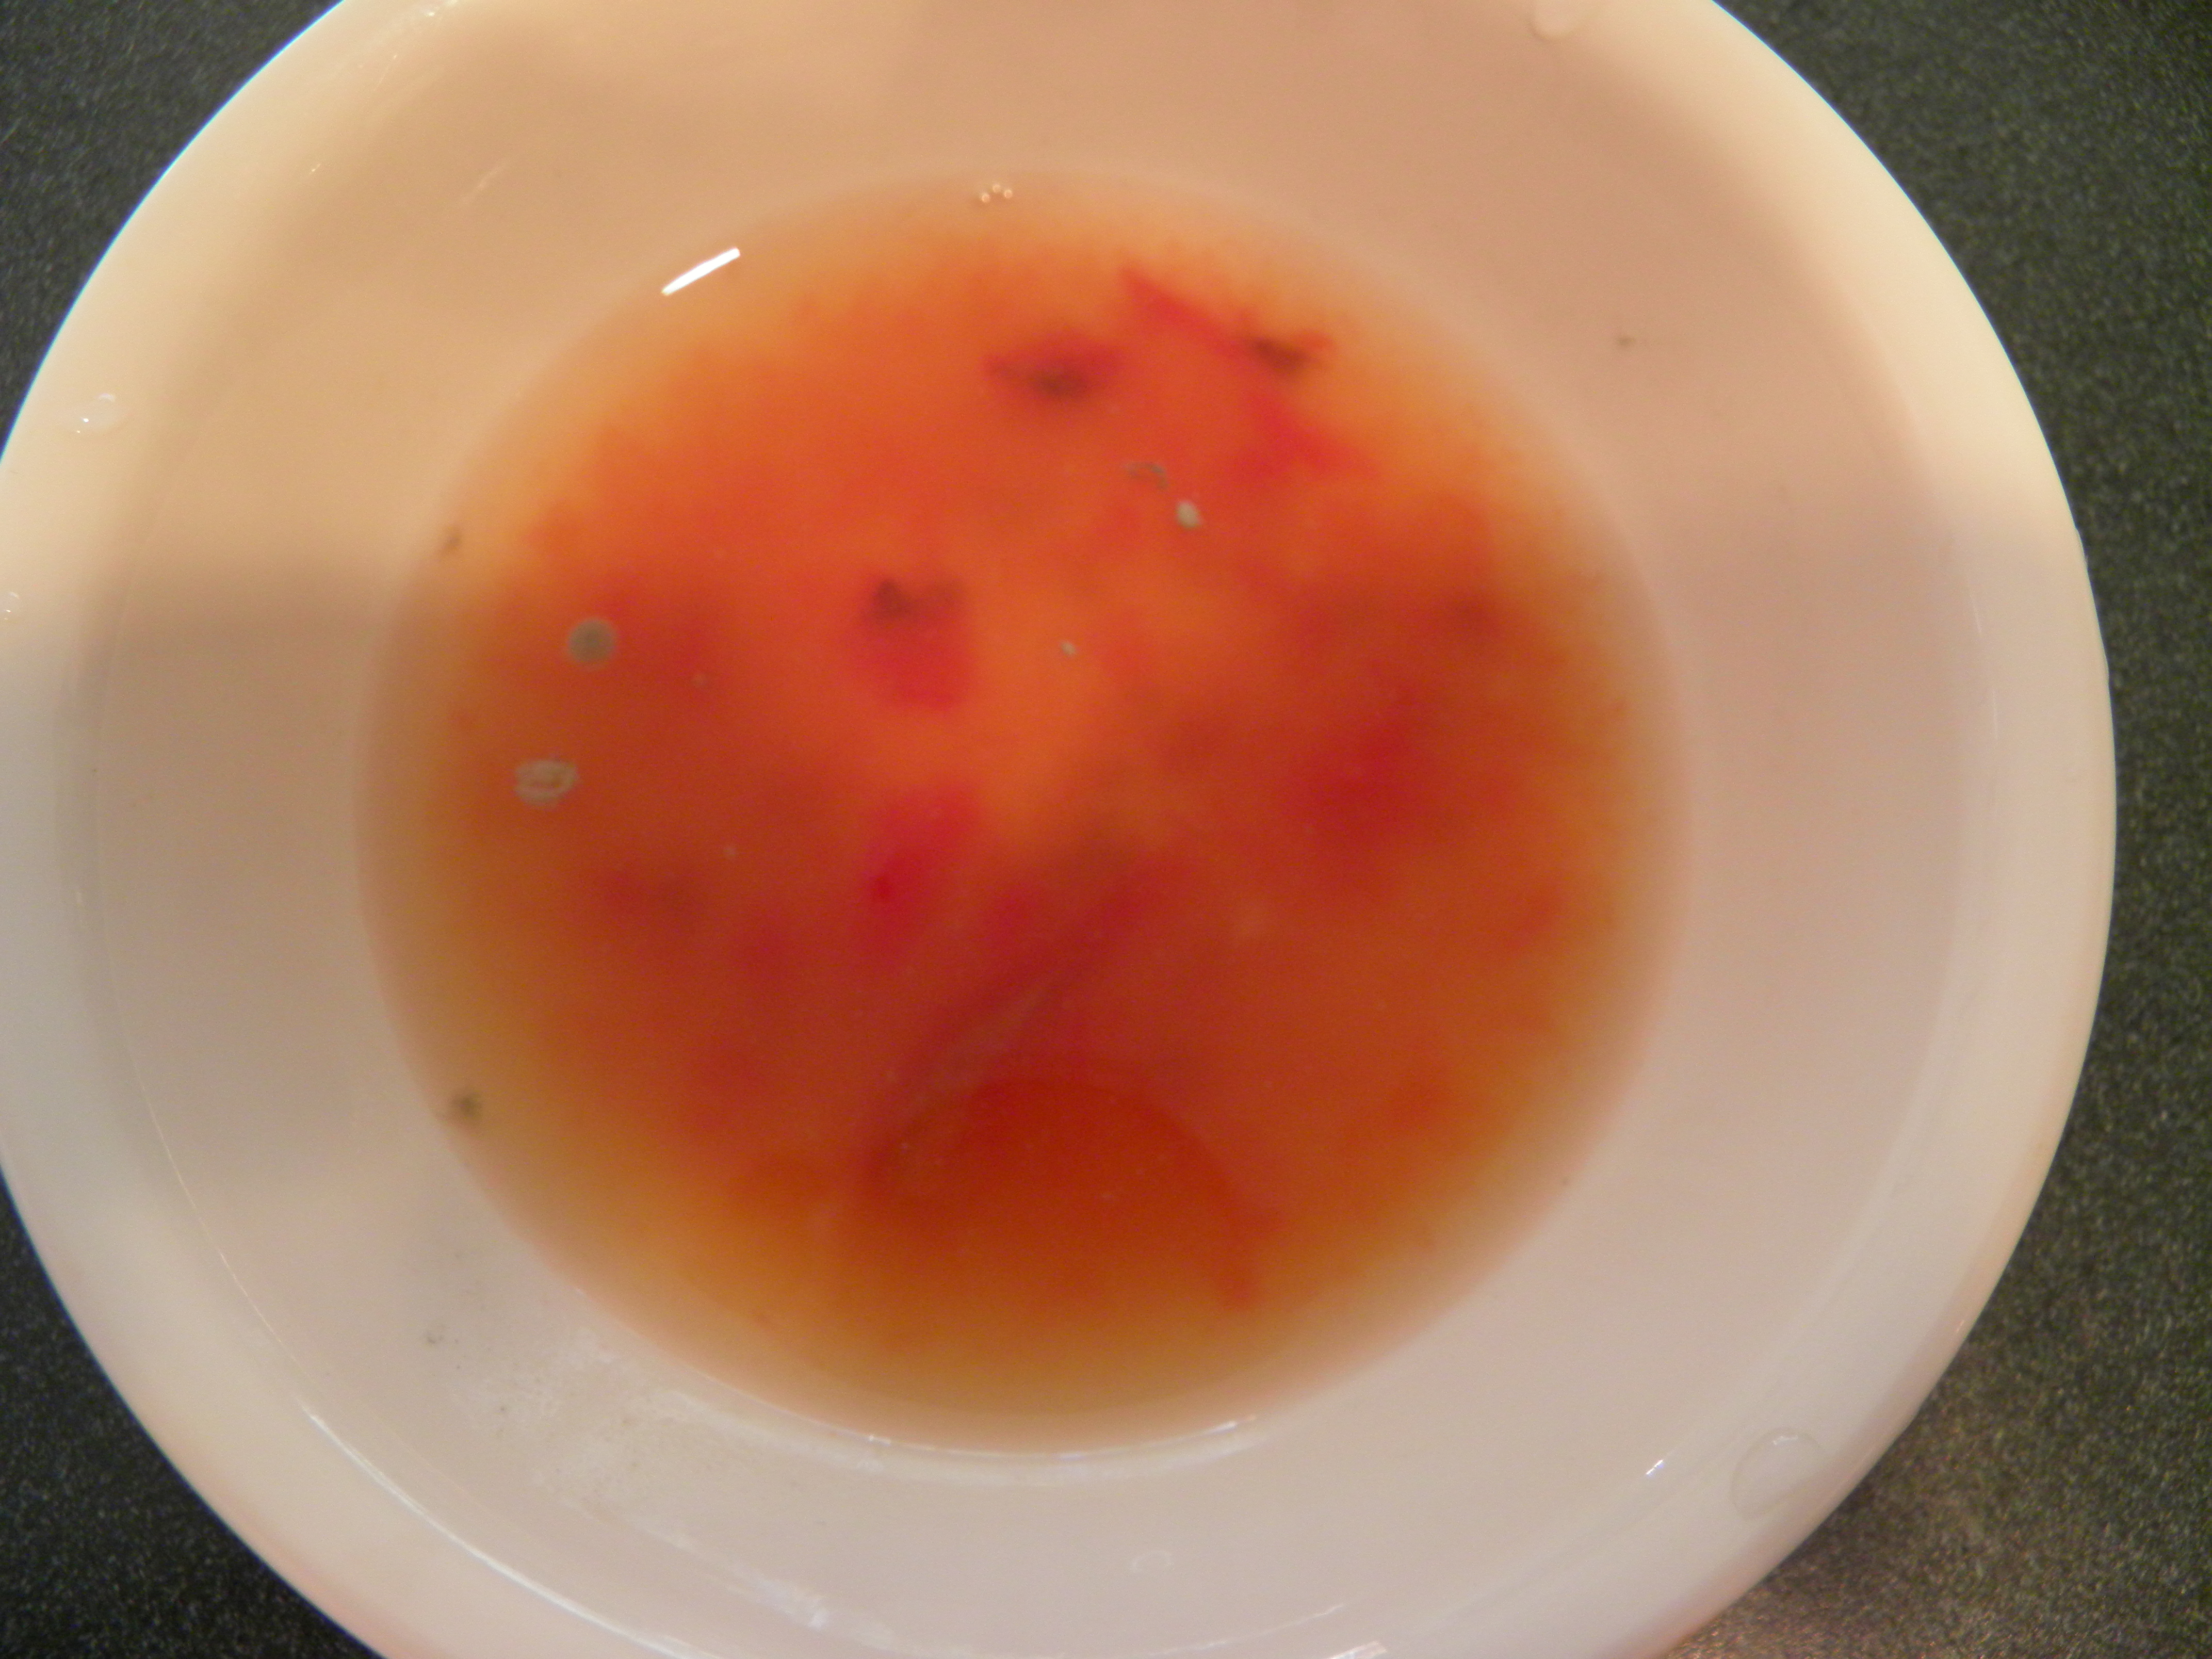
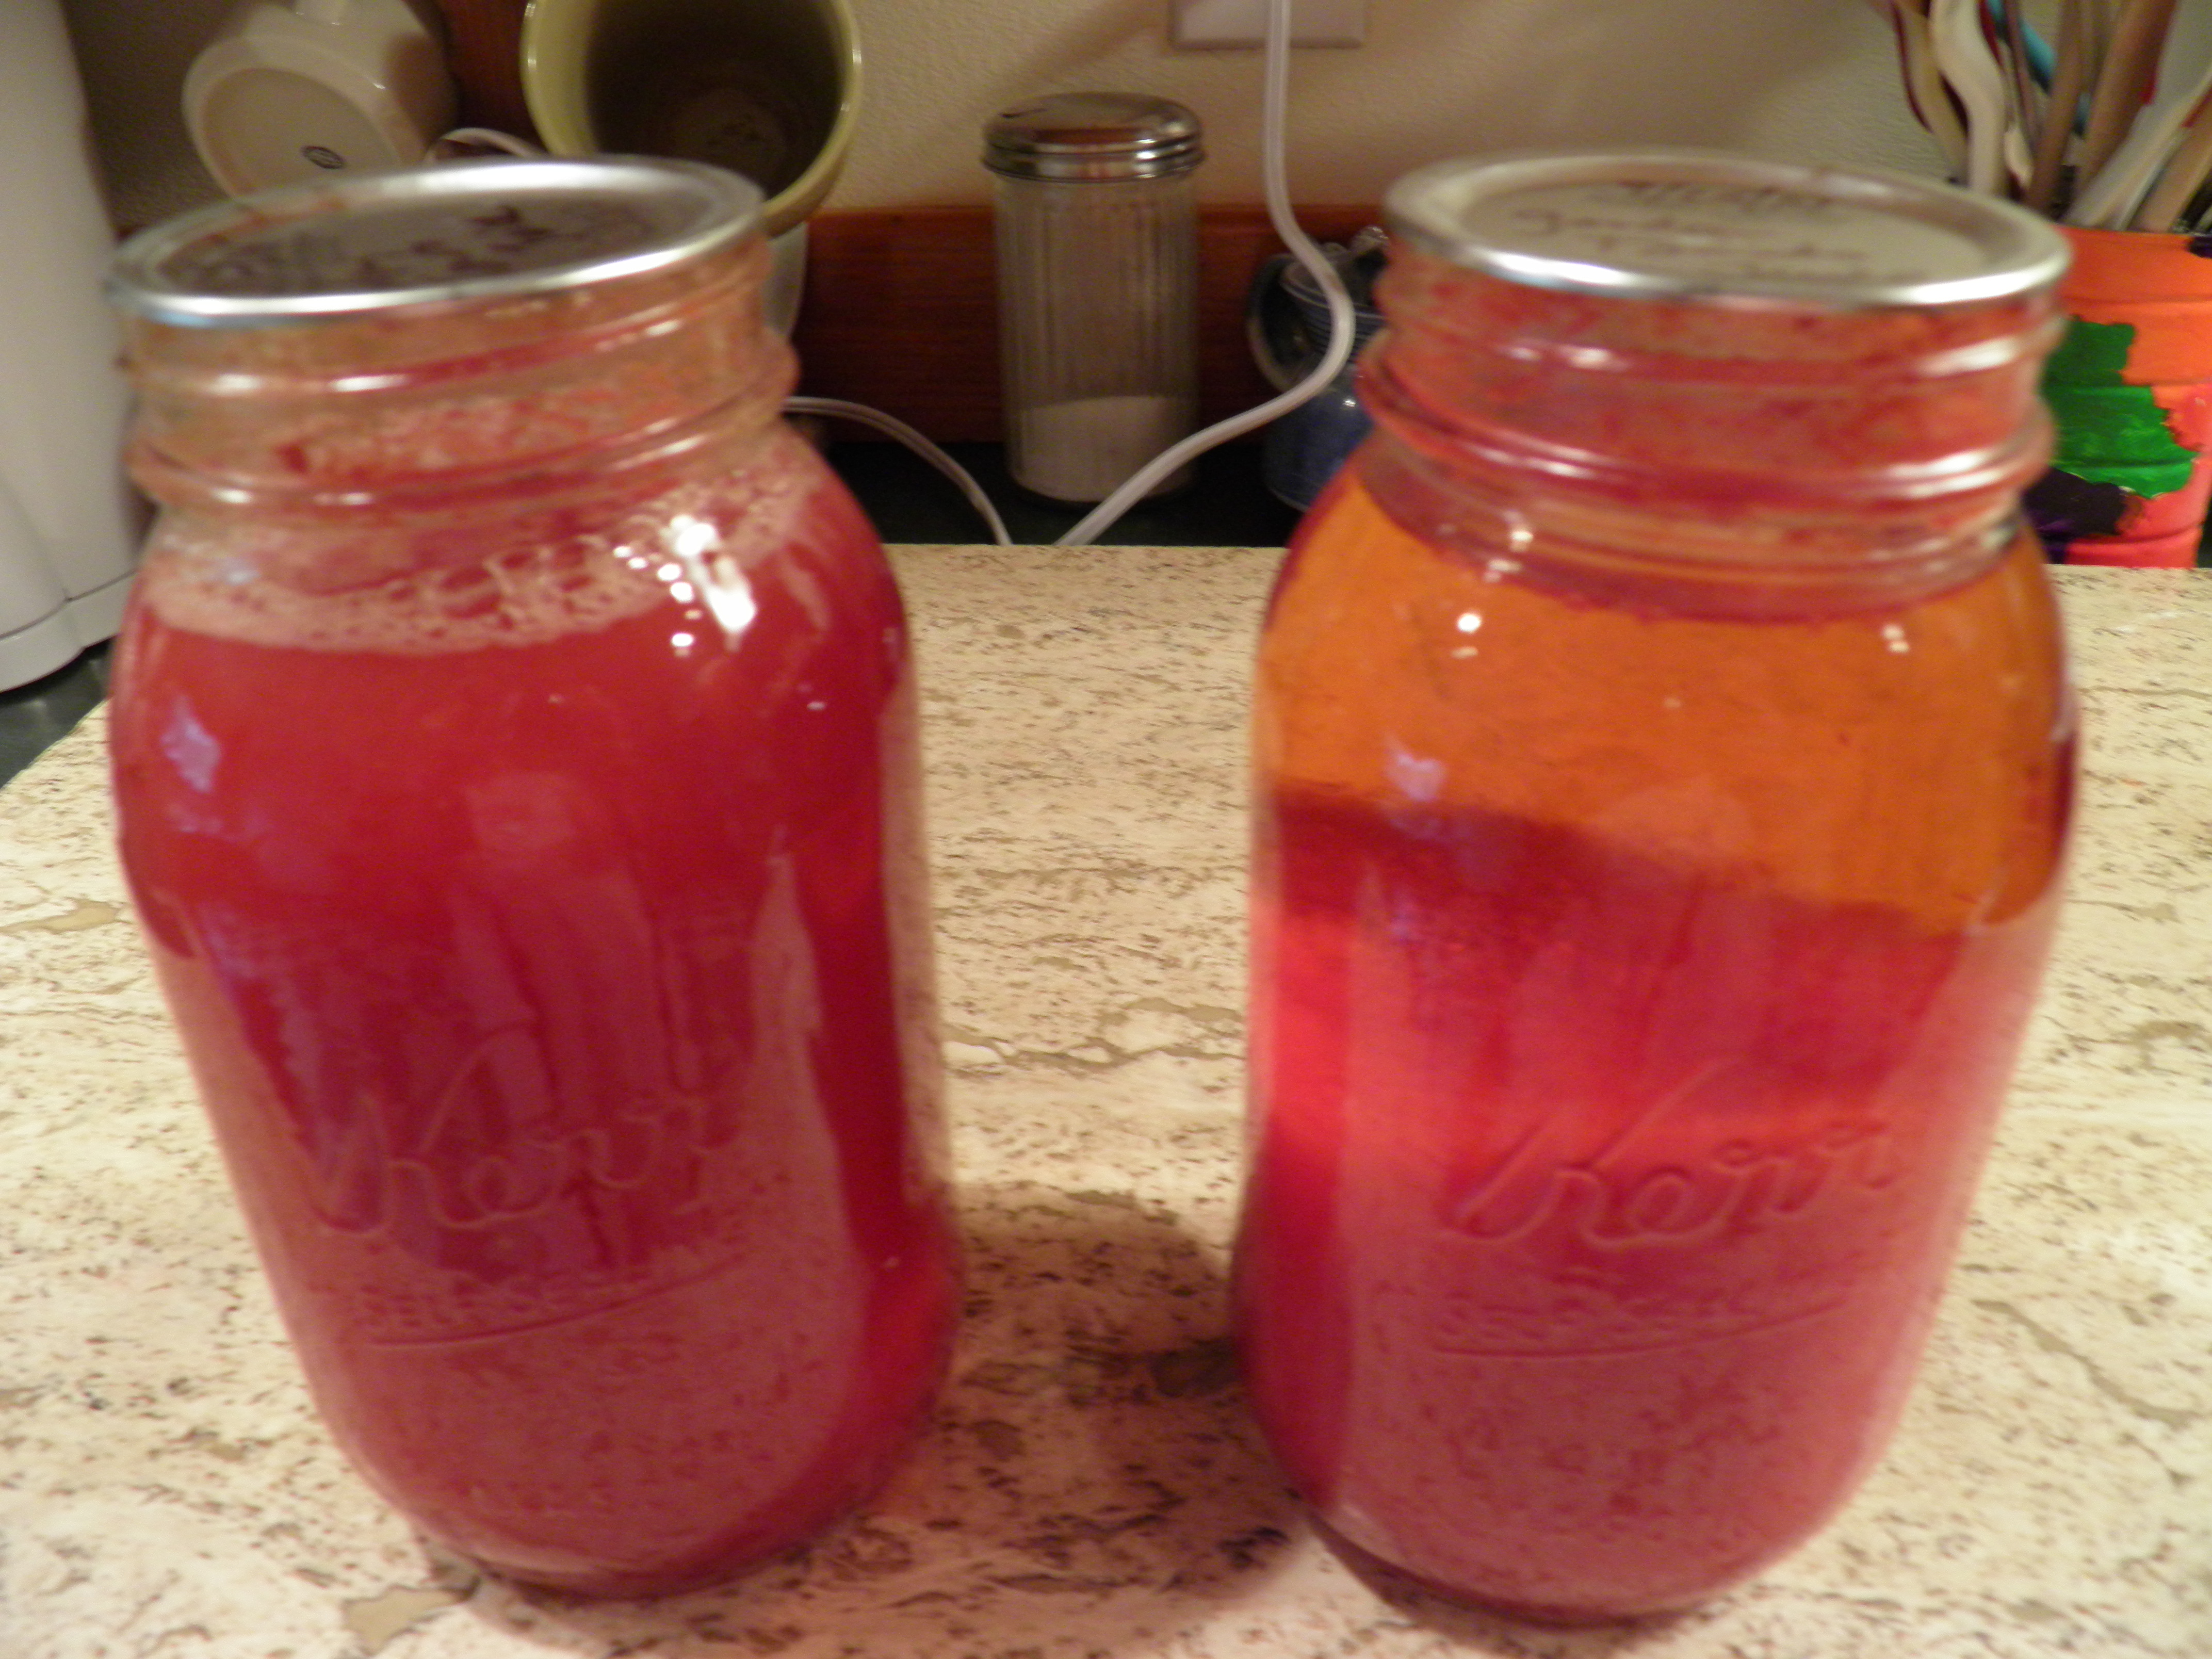
After pureeing or straining, what you will have is thin, watery, tomato juice with what seems like very little pulp. At this point, if you’re a tomato juice lover, you might not want to go any further! You might want to can your tomato juice in pints or quarts or make homemade V-8 juice and can that.

OLYMPUS DIGITAL CAMERA

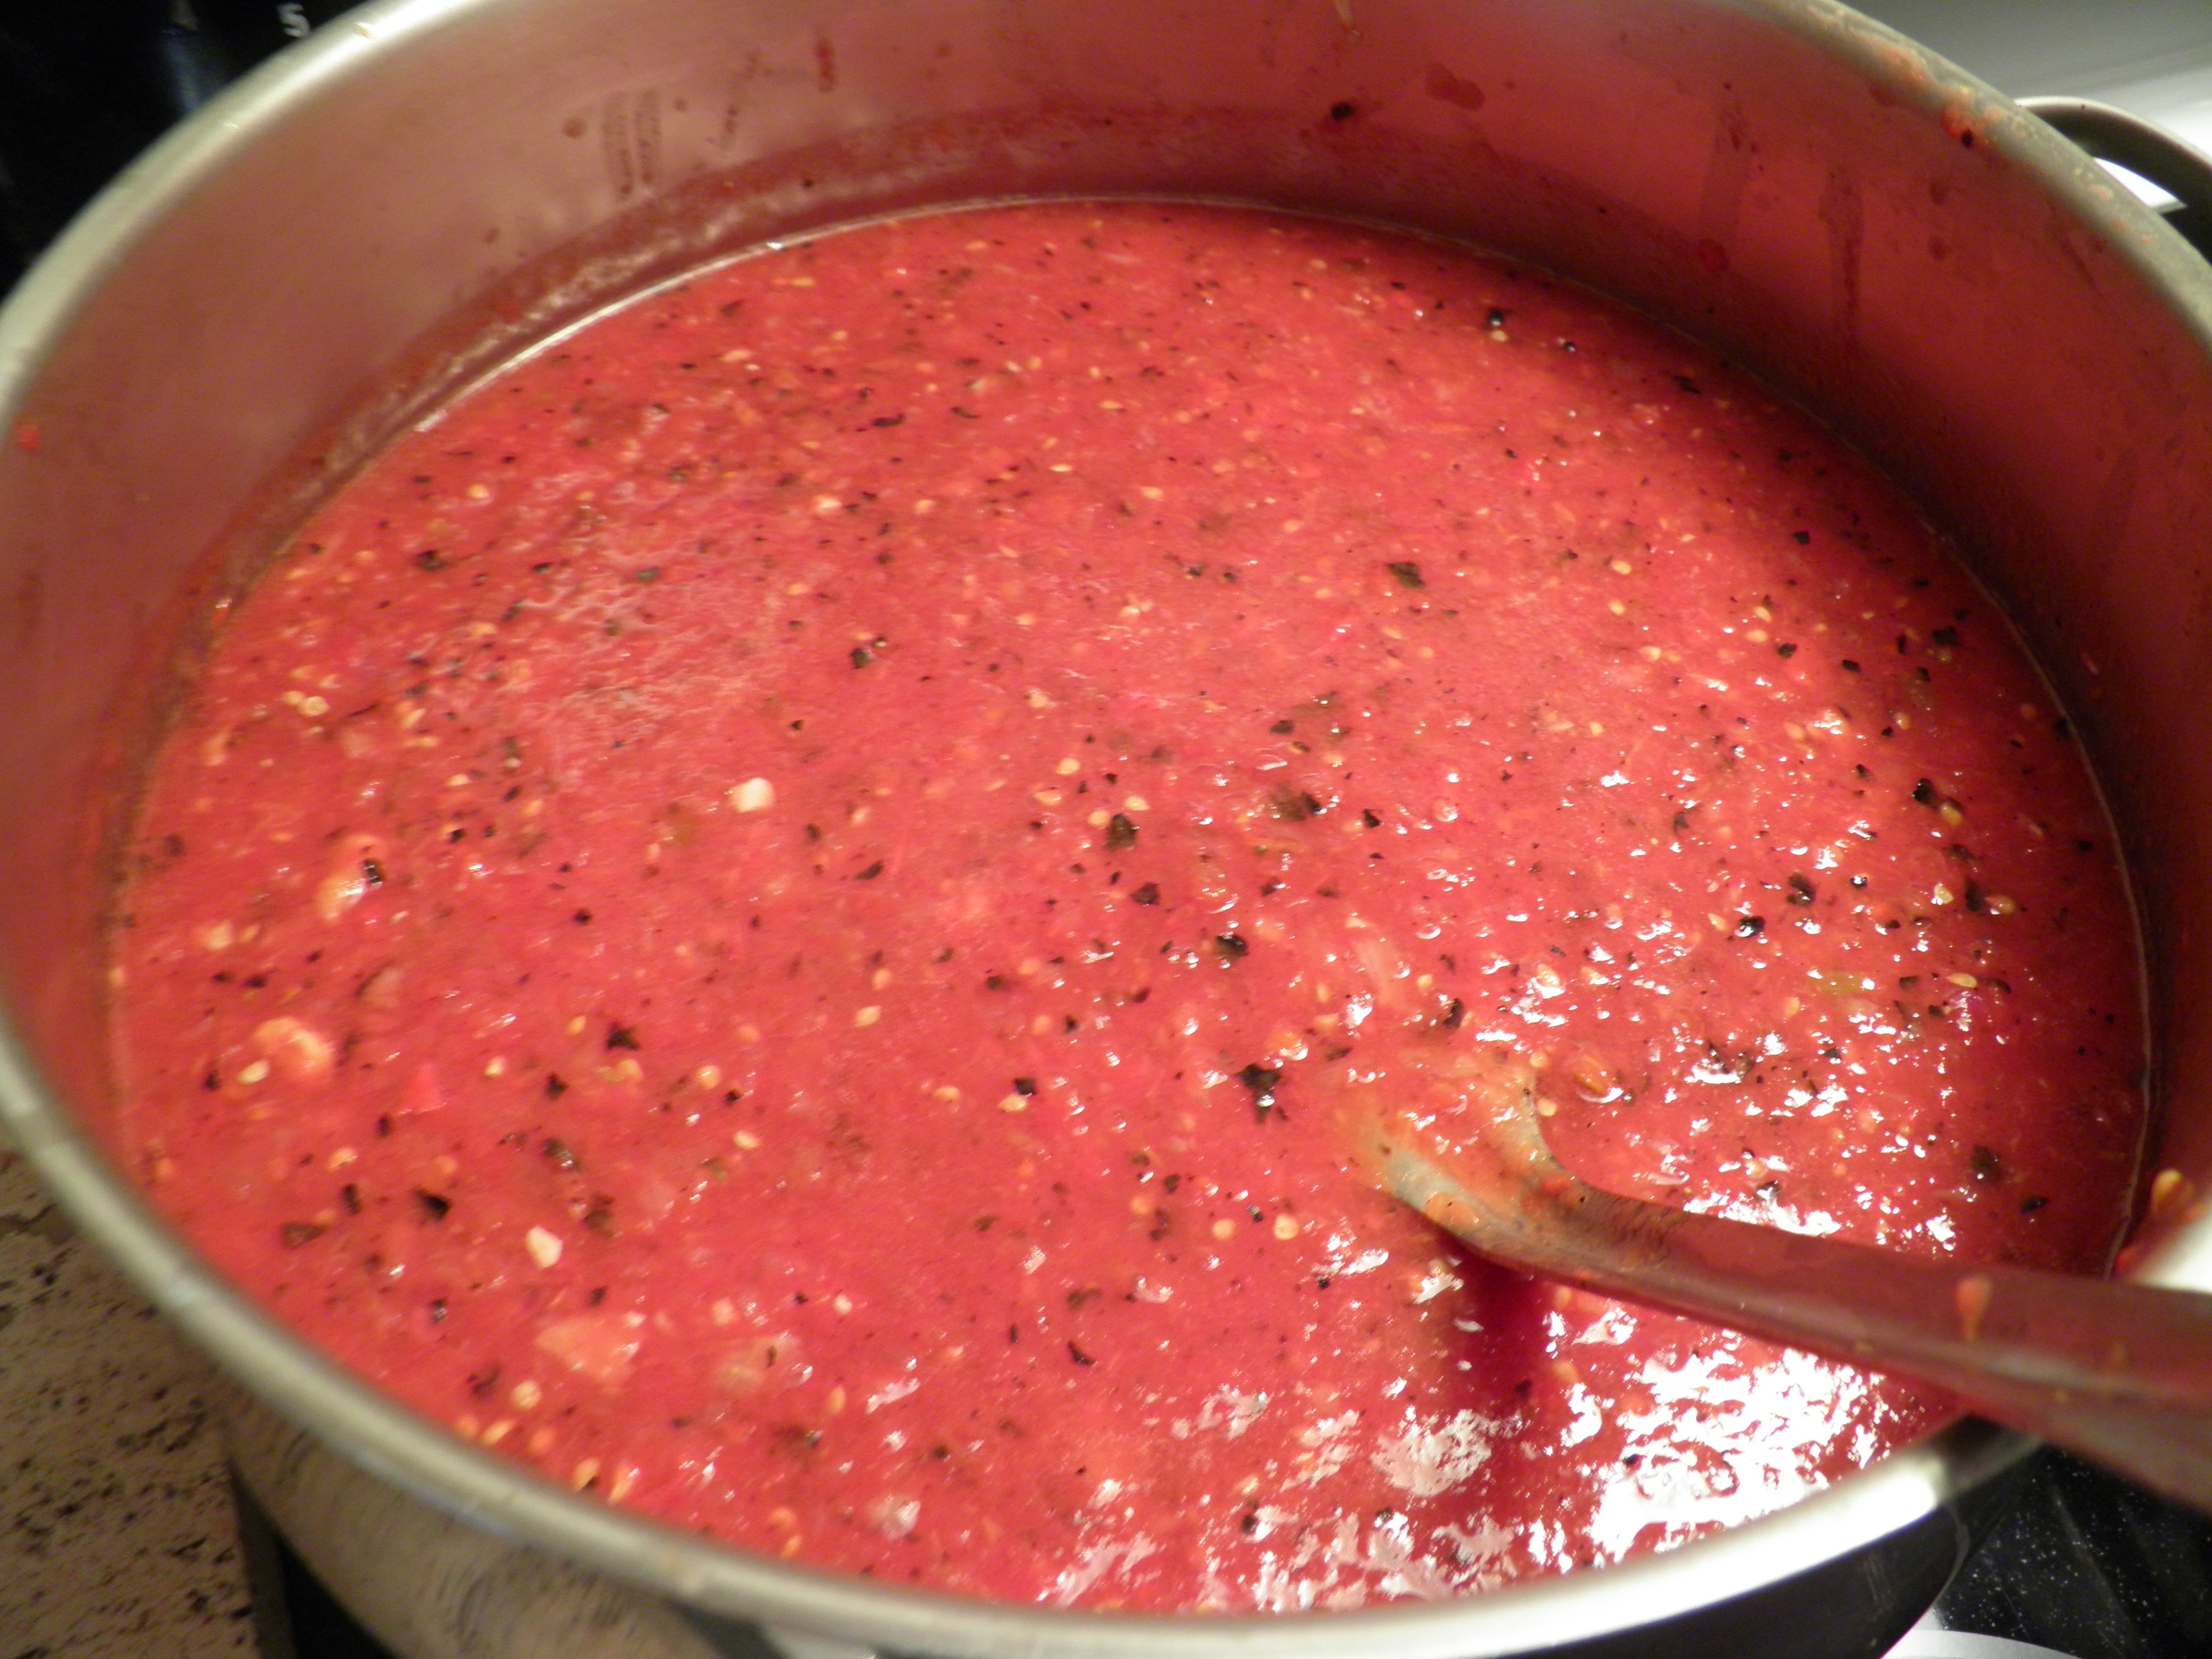
But if you’re still game for sauce, get your tomato juice into a heavy-bottomed, non-reactive pan and start boiling it to reduce it. It might seem like this stuff will never turn into sauce, but it just takes time and heat. Don’t fill your pot too full; you don’t want it to boil over and lose part of it after all the work thus far. Use more than one pot if you have to so you can boil it on high heat for a while. At first, there is so much liquid in the juice, it won’t stick and can be boiled on high, but keep an eye on it. After a while (and the time depends on how what variety of tomato and its water content as well the level of heat and the kind of pot you used—I like stainless steel), you’ll notice that your juice has reduced and is beginning to thicken into a sauce. I can give you a general guideline and tell you that you will have to reduce your juice in volume by about half to get to this point. And you’re not done yet!

OLYMPUS DIGITAL CAMERA

But persevere, because that juice is about to turn into sauce. And here’s where this technique (I won’t have the gall to call it a recipe!) can be intimidating if you’re the kind of person who has to have specific amounts to add to recipes. But if you are such a person, I say: free yourself from such restraints. Don’t be afraid to experiment. Add ingredients a little at a time, cook and taste, until you achieve something you like, that suits your tastes. You might not be a big fan of garlic, or oregano, like I am. If so, add small amounts of those things, tasting as you go, to get a sauce you like. Your taste buds are your most important tool in the kitchen. When you use them, you will not go wrong.

When the juice has reduced by about half and thickened somewhat, it’s time to add your aromatics and seasonings—the chopped onion, minced garlic, and whatever herbs you choose (oregano, basil, and parsley for me), as well as a little salt and pepper. As a general guideline, I will give you approximate measurements for my most recent batch of red sauce. If you’re good at math, you can cut them down if you wish.

OLYMPUS DIGITAL CAMERA

I started with 7 gallon bags of frozen tomatoes and 1 gallon of box-ripened tomatoes that hadn’t been frozen. That’s 8 gallons of tomatoes. (There’s no point in trying to make sauce with a gallon of tomatoes. You’ll only end up with a quart of sauce. It’s too much work for what you get out of it.)

I cooked those tomatoes down in their own juice (another benefit of using frozen tomatoes—no need to add any water to the pot to keep them from sticking). I had about 18 quarts of juice after straining, maybe a little more. I didn’t measure it, but I can guestimate from the size of my big pans. One is 12 quarts and was almost full. The other one holds 7 quarts and was almost full as well. (I needed three pots to cook down the tomatoes, but I got about two quarts of skins and seeds for the dehydrator after straining.)

To those 18 or so quarts of tomato juice, after it had reduced enough in two pots to transfer it all into the big, 12-quart stockpot so that it was nearly full (probably about 10 quarts of thickened juice/sauce), I added three onions and 1 full head of garlic (all chopped in the food processor), 1 cup of red wine (and not anything expensive either, no matter what they tell you on Food Network!), 2 teaspoons of kosher salt, 1 teaspoon of ground black pepper, 2 tablespoons of crushed dried oregano, 2 tablespoons of crushed dried basil, and 2 tablespoons of crushed dried parsley. (I had fresh parsley in the garden, but it was raining, and I didn’t feel like going out in the rain and then having to wash mud off the parsley.) After cooking a bit longer following these additions to meld the flavors (and by now the sauce is thick enough that the heat must be lowered to medium to keep it from sticking), I added two tablespoons of sugar. I almost always add a bit of sugar to my pasta sauces to mellow out the acidity of the tomatoes, whether I’m making sauce from scratch, making it with home-grown, home-canned tomatoes, or using diced tomatoes or tomato sauce out a can. The red wine also has a sweetening effect, but I like just a bit more sweetness, especially with box-ripened tomatoes.

Remember that as sauces reduce, flavors intensify. I don’t add salt or sugar to my red sauce until it has cooked down quite a bit. And then I add just enough to taste. I can always add salt or sugar as I’m cooking with the sauce, but I can’t take it out after I’ve put it in and reduced it.

When all this is boiling again (and starting to spit and stick to the bottom of the pan), then I put it in the oven, uncovered, at 300 to 325 degrees to reduce. (It was at this point during the sauce session on Saturday that Dennis took a look at it and said, “Oh, that looks like you could put it on spaghetti!” No kidding, honey. All I could do was laugh.)

OLYMPUS DIGITAL CAMERA

It may take several hours to finish reducing, so you can go on about your other business while the sauce cooks in the oven.

(You can finish reducing the sauce on the stovetop, but I did mention the spitting earlier, did I not? The sauce will reduce faster if cooked on medium to low heat on the stovetop, but it has to be stirred very frequently to prevent sticking. There is no way to prevent spitting. It will spit right through a grease screen; I’ve tried one, and it doesn’t make a bit of difference. And then you have to clean the walls or backsplash, adjacent countertops, and stovetop of all the spits of red tomato sauce. No, thank you.)

I stir the sauce about once an hour, scraping down the sides of the pan with a silicone spatula. After an hour of cook time in the oven, I taste the sauce. Does it need more herbs? I remind myself that as the sauce continues to reduce, the flavors of salt and pepper, herbs, onion, and garlic will continue to intensify, but if I think it needs more of anything, I add it now. I let it reduce some more and taste again. Does the sauce seem too acidic? If so, I add a little more sugar, and if I think the sauce seems bland, a little more salt and pepper.  (With this batch, I added 1/2 teaspoon more salt, 1/4 teaspoon pepper, and another 1/4 cup of sugar.) I continue reducing until I have a sauce that will stick to pasta. Not as thick as ketchup, but with some body. This may take several hours in the oven, and if it looks like it’s going to go late into the night, I just reduce the heat to 200 and let it sit in the oven all night. At that temperature, a big pot will be fine until morning.

OLYMPUS DIGITAL CAMERA

When the sauce is as thick as I want it (and thick enough for a wooden spoon to stand up in it is a good guideline), I do a final taste and seasoning, if needed, with salt, pepper, or sugar, cook for just a few minutes more to meld the flavors of anything I just added, and take the pot out of the oven to let the sauce cool down. I figure that I’ll end up with roughly a quarter of the volume of juice I started with, so if I started with 18 quarts of juice, I should get about 4 ½ to 5 quarts of sauce. That might not seem like much, but it’ll be the base of about 9 or 10 dishes that will give Dennis and me several meals from each dish.

The Italian Red Sauce doesn’t go in the freezer bags until it has cooled to room temperature. At that point, I usually bag it in two cup measures, put the bags flat on cookie sheets, and put them in the freezer. After they’ve frozen hard, I gather them into one or two gallon-sized storage bags so I can find the sauce in the freezer when I want it.

OLYMPUS DIGITAL CAMERA

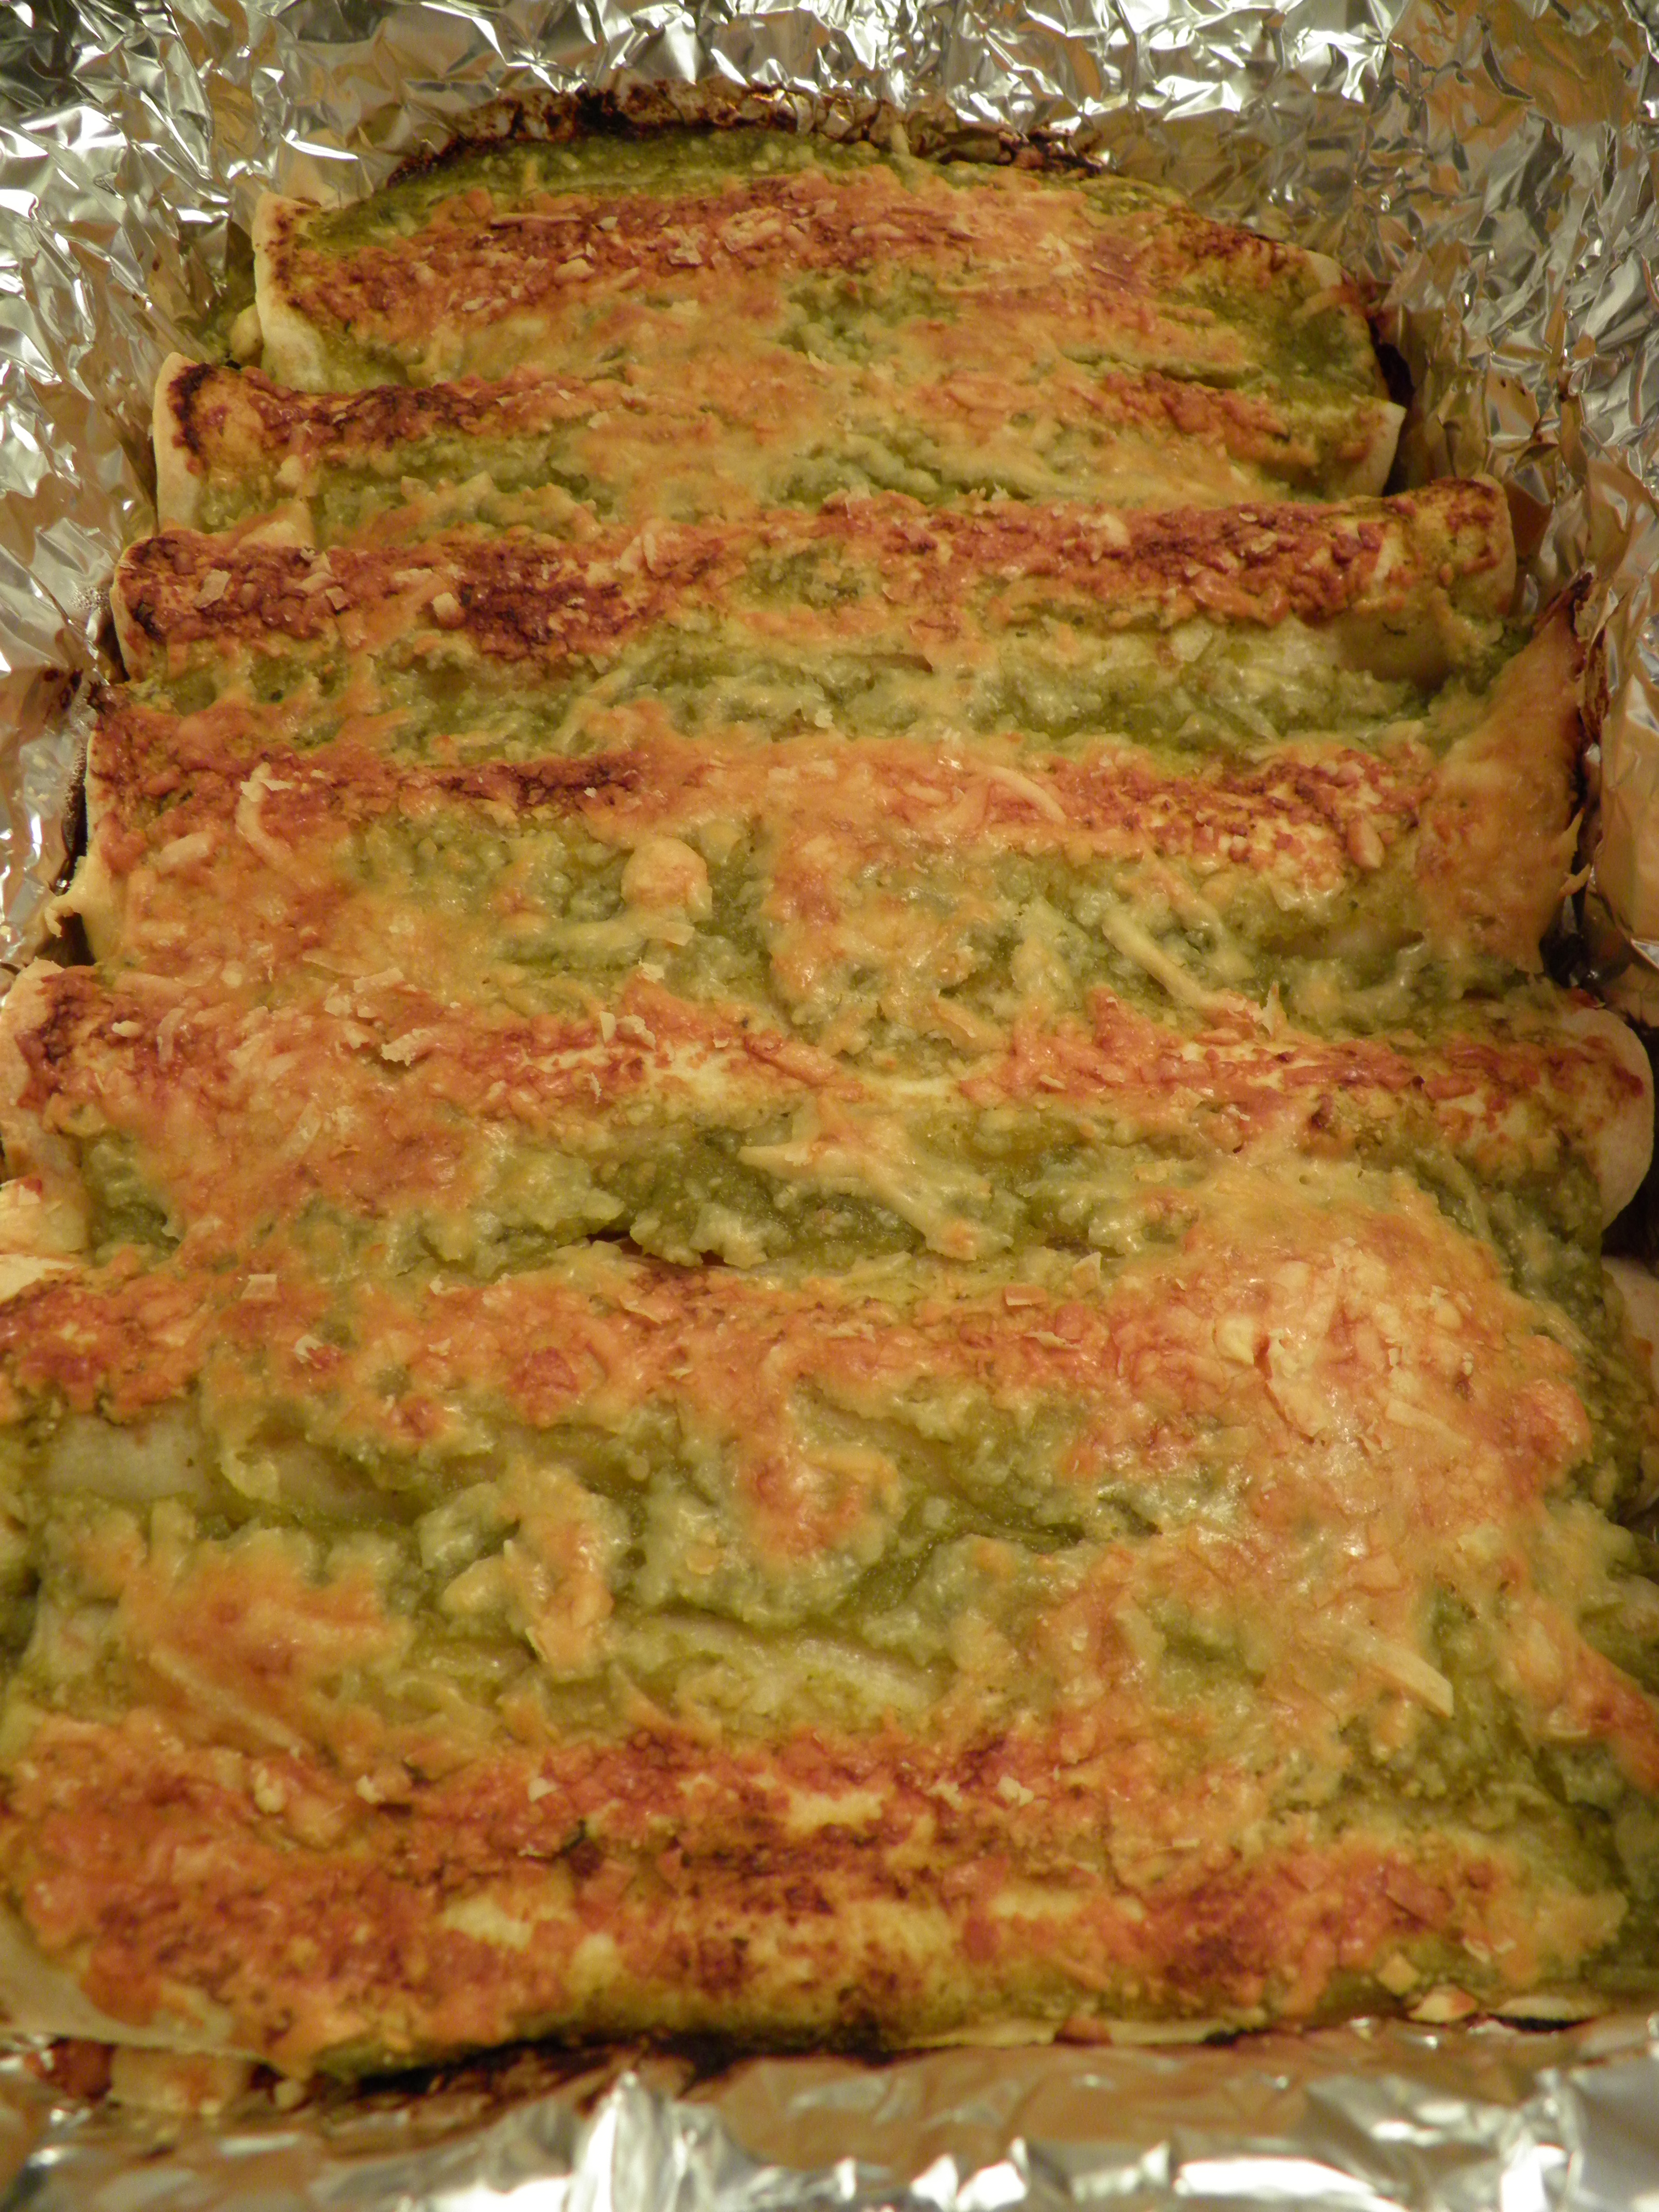
This Italian Red Sauce takes some doing, but it is well-worth it if you have the tomatoes. I love having my own, homemade red sauce (or marinara, if you prefer) hanging out in the freezer whenever I want to make an Italian-inspired dish. It can be tossed as is with any kind of cooked pasta for a vegetarian dish, be added to browned meat or meatballs for spaghetti, be reduced and thickened further for pizza, be used in my Gluten-free Eggplant Lasagna (with or without meat), or be added to a soup. It’s versatile and delicious, and it’s a good way to use up box-ripened tomatoes in the fall. When I have an abundance of tomatoes in the fall and have already canned up my Charred Salsa and Tomato-Apple Chutney, and don’t need any Red Hot Sauce, Italian Red Sauce is as good a way as any to use them up.

Postscript:  I got a late start on Saturday getting this sauce underway.  I wrote this post as the sauce was cooking.  By bedtime, the sauce wasn’t as reduced as I wanted it to be, so I turned the oven down to 200 degrees and went to bed.  All night, I dreamed about pizza, and I woke up thinking about pizza in the morning.  It was because of that sauce, perfuming the whole house while I slept.  The sauce had reduced enough by morning, so I set it on the counter to cool before I bagged it.  I had pizza on the brain, so I put most of the sauce in two-cup measures into the bags, but I decided to put some up for pizza too, so that went into sandwich bags in 1 cup measures. They’ll all be gathered into a recycled gallon bag after they’re frozen solid.  I got 6 bags of 2 cups each, and 3 bags of 1 cup each, marked for pizza.

OLYMPUS DIGITAL CAMERA

And I saved a cup to reduce a little further on the stove and made gluten-free pizza for dinner.

OLYMPUS DIGITAL CAMERA

Standard
Garden and Greenhouse

Last Harvest

Every year, I’m amazed, humbled, inspired, and blessed by the bounty of my garden. Especially this year because I was absent for a good portion of the growing season. As if nature knew I needed more garden time, our first frost held off until the first week of November. Up until two days ago, I had tomatoes still ripening, blooming, and setting fruit. I had green beans maturing long past the time they’d normally have frozen out. I had flowers blooming that usually by this time are nothing but blackened stems.

OLYMPUS DIGITAL CAMERA

My love for my garden isn’t only about what comes out of it and goes onto the shelves, or under them, although that’s important.

OLYMPUS DIGITAL CAMERA   OLYMPUS DIGITAL CAMERA   OLYMPUS DIGITAL CAMERA   OLYMPUS DIGITAL CAMERA

I needed the garden more than ever this year. It’s been a tough year, emotionally. There were moments this spring when I feared my only consolation for grief would be my God, my grandchildren, and my garden. Prayers were answered, and the worst grief averted. But such experiences take a heavy toll. The garden is always my solace.

My husband asked me recently if I really enjoy all the cooking I do. I’d spent the afternoon harvesting the last of the green tomatoes and a few ripe Sun Golds. They are so sweet, I call them tomato candy. I pulled some big carrots and the last of the beets. I also picked some flowers and parsley and volunteer lettuce and a few last beans in anticipation of the first killing frost. And then all that produce had to be washed and put away and some of it prepared for dinner. (We had fried green tomatoes with fried ocean white fish and roasted root vegetables—beets, carrots, potatoes, onions, and garlic in rosemary-infused olive oil—and a green tomato pie for dessert.) My answer to Dennis’s question was yes, of course, or I wouldn’t do it. I love cooking what I grow in the garden. It makes me feel accomplished and self-sufficient. It’s fun to decide what to have for dinner when you have such variety and freshness right outside the door (or on the pantry shelf). Although I must confess, I often don’t think about pairings when I’m deciding what to have for dinner. I’m usually thinking, what has to be used from the garden tonight before it spoils?

Two nights ago, temps finally dipped below freezing, so the garden will go to sleep for the winter, except for a few hardy herbs and some carrots still in the ground. And I’m ready for a rest too. Here are some pictures of the last of the harvest. The memory will have to hold me now until spring.

OLYMPUS DIGITAL CAMERA OLYMPUS DIGITAL CAMERA OLYMPUS DIGITAL CAMERA OLYMPUS DIGITAL CAMERA OLYMPUS DIGITAL CAMERA OLYMPUS DIGITAL CAMERA

Standard
Canning, condiment

Tomato-Apple Chutney

OLYMPUS DIGITAL CAMERA

I found this recipe some years ago in my old Ball Blue Book from 1981. I made it back then and haven’t made it since because it requires having apples and tomatoes at the same time. Yes, I could buy either apples or tomatoes, but I like using what’s in season in my garden. This year, I have lots of both apples and tomatoes at the same time, so I decided to make a batch of this slightly sweet but tangy condiment. I’ve played with the recipe to spice it up a bit, but I’ve been careful to maintain the same ratio of non-acid foods to acid foods and vinegar to maintain a proper balance for water-bath canning.

Tomato-Apple Chutney

2 ½ quarts peeled, cored, chopped, ripe tomatoes (about 15 large)* (see note below about peeling tomatoes)

1 quart cored, peeled, chopped apples (6-8 medium apples—use tart pie apples for more flavor)

2 cups chopped summer squash (tender-skinned yellow squash or zucchini) or cucumber, unpeeled, large seeds removed

1 ½ cups chopped onion

1 ½ cups chopped peppers (*mix of sweet red and hot peppers, see note below)

1 cup seedless raisins

1 clove garlic, crushed and minced

3 cups brown sugar

1 tablespoon ground ginger

1 teaspoon kosher or pickling salt

1 teaspoon ground cinnamon

3 cups apple cider vinegar, 5% acidity

Combine all ingredients in large kettle or pot. Bring to boil and cook uncovered, slowly, until thick, about 2 hours (longer if you have very juicy heirloom tomatoes, like I did). Stir frequently to prevent sticking. (Or use my oven cook method, which takes longer but avoids the need to stir as often—bake uncovered at 300 degrees until as thick as salsa; return to boiling on stove top before filling jars.) Pour boiling into hot, sterilized jars, leaving ¼ inch head space. Cap and process 10 minutes in boiling water bath, adjusting time if necessary according to altitude chart.

Notes: I really hate dunking tomatoes in boiling water and peeling them. It uses a lot of water, and there is an easier way which nets you more flavor and a nice by-product. I’ve talked about this method before in my post on Charred Salsa. Instead of scalding the tomatoes, cut them in half, cut out the cores, put them on a foil-covered cookie sheet, and stick them under the broiler until the skin blackens and loosens from the fruit.

OLYMPUS DIGITAL CAMERA

It’s easy then to remove the skins and set them aside on a parchment paper-covered cookie sheet. The skins go into the oven at 200 degrees for a couple of hours to dry, and then you can grind them to powder in a blender. The picture below was the first batch of dried tomato skin powder I ever made, a couple of years ago.

OLYMPUS DIGITAL CAMERA

See the following posts for ways to use dried tomato skin powder:  Dried Tomato Skin Rub and Pulled PorkBraised and Barbecued Pork Spareribs, Spicy Sausage and Lentil Soup, Bear and Mushroom Fricassee with Creamy Polenta.  (Don’t let the bear scare you–you can use other meats, and there is a list of possibles on the post.)  Dried tomato skin powder can also be used to punch up the flavor of sauces made with fall’s box-ripened tomatoes.  I’ll be sharing my recipe for red tomato sauce (for Italian dishes) made with box-ripened tomatoes in a future post, so save those tomato skins!

Now, back to the chutney. After the peel has been removed from the tomatoes, you can give them a quick buzz in the food processor to chop them (they pretty much puree, but that’s okay). This method of broiling and processing the tomatoes greatly speeds up the chutney-making.

Peppers: I use a mix of sweet red peppers and hot peppers. I use about 1 ¼ cups of sweet red bell peppers, and ¼ cup of hot peppers. If you want a spicier chutney, reduce the amount of sweet red peppers in proportion to the amount of hot peppers you add.  (For instance, use 1 cup chopped sweet red peppers and 1/2 cup chopped hot peppers.)  DO NOT EXCEED THE TOTAL AMOUNT OF 1 1/2 CUPS OF PEPPERS. If you do, your chutney may not be safe to can in a water-bath canner. If you want your chutney very spicy, use a hotter pepper, like a habanero, rather than a jalapeno. I used several ripe and green jalapenos and two ripe serrano peppers from my garden, chopped to equal ¼ cup. I seeded the peppers because I did not want the seeds in my chutney, but if you want a hotter product, leave in the seeds and membranes of the hot peppers. This is where much of the capsaican is stored in the pepper.  My chutney carries a nice warmth in the mouth, but it’s not going to make anybody spit it out and say, “That’s way too hot for me!”

It is very important not to exceed the amounts of any non-acid food in a recipe intended for water-bath canning. This includes the onions, squash or cucumbers, and garlic, as well as the peppers. I was very tempted to try using fresh ginger instead of dried ground ginger, but I did not want to inadvertently throw off the acid balance. Better safe than sorry. And it is delicious as is.

Tomato-apple chutney is excellent alongside roast pork, roast chicken or grilled chicken breast, or even a grilled steak. Try it as an appetizer, too, topping cream cheese on a cracker or crispy toast round.

OLYMPUS DIGITAL CAMERA

If you make some tomato-apple chutney, be sure to let me know what you pair with it.

Standard
Garden and Greenhouse

Saving Seeds

I am a seed saver. I pinch seed heads and pods when I go somewhere and see something I like (and nobody’s looking to object). I save gloriosa and Shasta daisy seeds and penstemon and Sweet William and asters.   I save my heirloom tomato seeds. And I save seeds like dill and coriander for the kitchen.

I use a lot of dill, and it doesn’t always do well in my garden. I usually have to get it in Reno, if I have to buy it, because it’s become hard to find in our small town. Some years, I have plenty of dill in the garden, and others, I don’t get any seedlings at all . So when I have a good crop, I save as many seeds as I can for the next year, so I don’t have to buy it, or at least, not as much.

The best way to save dill seeds is to put a large, paper grocery bag under the plant and clip the umbel directly into the bag. I do this when just a few of the seeds have turned brown and the rest are swollen but still green. Leave a long stem, and drop the umbel in upside down. The seeds will continue to ripen on the stem. Staple or paper clip the bag closed to keep out dust, and let it sit somewhere out of the way. When all the seeds are dry, pull out one stem at a time, breaking off the dry seeds into the paper bag. When all the seeds are off the stems, pour them into a colander or sieve to separate seeds from stem pieces. Then they go into jars (I have saved old dill seed jars from the grocery store), all ready for next year’s dilly beans or pickles. I always let some seeds drop to the ground for volunteer plants next year. I seem to have better luck letting the plants self-sow. The seeds know when to sprout in the spring.

OLYMPUS DIGITAL CAMERA  OLYMPUS DIGITAL CAMERA

I use the same harvesting method for coriander seeds. Coriander and cilantro are one and the same plant. When the plant is green, before it blooms, it’s called cilantro and is used in salsa and other Mexican dishes. Let it flower and go to seed, and you have coriander. These little round seeds roll around, so you have to be careful not to let any escape! It is easy to grind them yourself in a spice grinder or coffee grinder dedicated for spices. (I have one labeled “Not for coffee!” so my husband doesn’t use it by mistake.) I love ground coriander in lots of dishes, especially my pumpkin/winter squash soup. Freshly-ground coriander is wonderfully aromatic. So if your cilantro wants to bloom, let it. Then harvest the seeds.

OLYMPUS DIGITAL CAMERA  OLYMPUS DIGITAL CAMERA

This year, I let my kale go to seed. For some reason, I have a hard time getting kale to sprout from seed, and I don’t know if I’m planting too early or too late, or if the seed has not been fresh. I took care of that this year. I have a ton of seed, and I know it’s fresh. Some baby kale has already sprouted around the spent kale plants, so I’ll have kale until we get a hard freeze, and hopefully, more kale sprouting in the spring. I also intend to plant some in the greenhouse to get a jump on spring production. We do love our greens around here.

OLYMPUS DIGITAL CAMERA

OLYMPUS DIGITAL CAMERA

I also save heirloom tomato seeds for the next year’s plantings. Saving tomato seeds is easy, although it takes a week or so to complete the process. I do it late in summer or early in fall, when I’m harvesting ripe tomatoes for salsa or red hot sauce.

OLYMPUS DIGITAL CAMERA

There usually one tomato that’s gotten a bit over-ripe on me, so that’s the one I harvest seeds from. As I’m cutting up the tomato, I just use my knife to scrape out a dozen or so seeds, however many I want, into a small bowl. Then I cover the seeds with a couple of tablespoons of water, cover the bowl with plastic wrap, label the plastic wrap with the type of tomato and the date, and set the bowl aside for a few days and wait for it to ferment.

OLYMPUS DIGITAL CAMERA

Fermentation of the seeds takes a few days, but this kills off bad bacteria that could affect the seeds’ sprouting capabilities. It also helps kill off any diseases or viruses the tomato plant and fruit might have had. (Heirlooms are susceptible to various diseases that many hybrids were bred to be resistant to.) I wait for a little mold to appear in the bowl, and then I pour the seeds and liquid into a fine mesh strainer, rinse the seeds well, and dump the contents onto a piece of labeled waxed paper.

OLYMPUS DIGITAL CAMERA   OLYMPUS DIGITAL CAMERA

At this point, it’s easy to pick out any skin or flesh that might have adhered to the seeds when they were placed in the bowl.  Spread the seeds out so they’re not too clumped up and will dry faster.  I let the seeds dry for two or three days, until they pop right off the waxed paper when it’s jiggled.

OLYMPUS DIGITAL CAMERA

Then I fold the waxed paper containing the seeds into a tight packet, seal it with labeled masking tape, and put the packets into my seed jar. I have a plastic gallon jar that I put charcoal and/or silica packets into along with all the seeds I’m saving. This goes in a cool corner of the laundry room or out in one of the pump houses where it will stay cold but not freeze until I’m ready to plant in the spring.

OLYMPUS DIGITAL CAMERA

Saving heirloom seeds means I don’t have to worry about GMOs or not being able to find the seeds I want come spring. It also makes me just that little bit more independent, which I like.

I’ve been saving seeds and planting them with various results since I was a kid. I’ve grown peach trees from seeds that bore good fruit. This summer, I brought home a cherry pit from England, from a backyard cherry tree at one of the B & B’s where we stayed. Who knows, maybe my seed saving habits will net me a cherry tree for my orchard. We’ll see what spring brings.

Standard
Uncategorized

For Mama

There are no recipes in this post. This is the story of something that happened to me yesterday. I hope you’ll read it to the end.

If you follow this blog, you know Dennis and I, with some help from our kids, painted the exterior of our house this fall. It’s not completely done: there’s still some trim work and fascia and posts and beams on the porches as well as the doors to finish. We were interrupted by deer season and now have to go back at the painting before the weather turns. But I also have the fall harvest of the garden to take care of, the apples, the ripening tomatoes, the potatoes which haven’t all been dug yet, and when we get our first frost, the green tomatoes and the winter squash will have to be brought in. And I’m running low on pint jars.

When we were painting the spare room side of the house, I discovered some filthy, leaf-filled boxes under the back porch. “What’s in these?” I asked Dennis. “I don’t know,” he said. “Bottles, I think.” Bottles? Why would we have boxes of bottles, and what kind of bottles, under the back porch? I pulled one box out far enough to see what was in it, being wary of spiders and other nasty critters. Not bottles, jars. Jars! Canning jars!

OLYMPUS DIGITAL CAMERA

Now I have to backtrack a bit. I started canning with my mother when I was a kid. I canned with her until I left home, and after I got married and started my own family, I started canning again on my own. At one point, I was canning so much, Mama gave me some of her jars. With no kids left at home, she wasn’t canning as much as she once had. But when in the 90s I started traveling over 150 miles a day, two and three times a week, to classes at the University of Nevada, Reno, I stopped canning. I just couldn’t keep up with the garden, the kids, the classes, the commute, and the canning. Something had to give. It was the garden and the canning. For quite a few years, all I grew in my garden was herbs and a few tomatoes for eating fresh. Even after I finished my Master’s and started teaching, I didn’t do any canning. I was just too busy. All my jars were boxed up and stashed, I thought, in the shed.

During that period, when my kids were teenagers, we lost my beloved mother.  The picture below, taken when she was in her fifties, younger than I am now, is how I remember my mama.

OLYMPUS DIGITAL CAMERA

She’d been ill with dementia for some years before she died, and finally, she withered away. It was a very difficult time for all of us. My mama was a wonderful, loving presence in our lives, and losing her, slowly at first, then finally, was very painful. I think her loss was one thing that drew me back, gradually, to canning. Canning was a way of feeling closer to her. I started making jelly again, and pickles, and one thing led to another, until I was back in full swing after I retired a few years ago.

During my non-canning period, I remember my father asking me if I had any jars I wasn’t using. I said I did, and he could have them all, as at that time, I didn’t foresee canning in my future. He was canning a lot of salmon at that time and wanted wide-mouthed pints. I went into the old yellow shed and looked around. I found a few boxes of jars, some pints and quarts, but not nearly as many as I thought I should have. I looked and looked, enlisted Dennis’s help, and we couldn’t find any more jars. I gave Dad what I had and thought, well, I just didn’t have as many jars as I thought I had.

When I began to can again a few years ago, I had to start over collecting jars, buying them at Walmart and WinCo, looking for them at garage sales and thrift stores. I looked again in the sheds for the jars I thought I’d had years before. They weren’t there. I asked Dennis again if he’d seen them anywhere. No, he said. Well, that was that. I had to buy jars. Every year, I would run out of jars in August and have to buy more for the fall harvest. Finally, this year, a year in which a lot of travel meant I wouldn’t be doing nearly as much canning as I normally do, I didn’t run completely out of jars. But I didn’t have as many jars for the upcoming fall projects as I needed. I needed more pints for apple butter and applesauce, and more quarts for apple pie filling and tomatoes. (I have more than enough half-pint jelly jars, enough to set up shop!)

So yesterday, as I was putting cherry tomatoes in the dehydrator (more about this in another post) and thinking about the boxes of apples I still have to process, I thought I’d better wait on the apples and get those jars out from under the back porch. They were going to need a lot of cleaning before they’d be usable. But I needed jars and jars I had, dirty though they were.

Gloves on, cringing at spiders scuttling off into every direction, I pulled five boxes of jars out from under the steps. Yes, there was a milk crate with some Pepsi bottles in it. Dennis was partly right. I have no idea where those came from or why they were saved, because I don’t think they’re old enough to be worth anything, but I’ll have to check and see.

OLYMPUS DIGITAL CAMERA

The jars were stacked several layers deep in old beer boxes and topped with layers of oak leaves and spider webs and other icky things.

OLYMPUS DIGITAL CAMERA

I dragged each box out onto the lawn and over to a dry patch that always needs a little extra water. The hose was handy there, too. I flooded those boxes, hoping to drown all the black widows before I had to reach in and take out the jars. Ick. One by one, I pulled out the jars, filled them with water, and hosed down the outsides. They were filthy with decades of dirt. Several of them contained little dried tree frog carcasses which rehydrated into shades of their former selves after soaking in water. (Too bad my grandson, Bryce, wasn’t with me. He’d have loved that.) Big black beetles were in the jars too, and spiders, of course, dead ones with their legs all curled up around their bellies. Any live ones were long gone at this point.

OLYMPUS DIGITAL CAMERA   OLYMPUS DIGITAL CAMERA

After I got all the jars out of the boxes, I rinsed them well with the hose, then tipped them over to drain.

OLYMPUS DIGITAL CAMERA

Then I got a big plastic bag from the house, and filled it with a dozen jars at time to carry back to the sink. It took many trips and several sinkfuls of hot, soapy water before I had the dishwasher full of jars. After another bath in the dishwasher, turned to the hottest setting, the jars were clean. I ran two dishwasher loads of jars.

OLYMPUS DIGITAL CAMERA

These, surely, were the jars I’d searched for before. Why Dennis put them under the back porch and forgot about them is a mystery a long-married lady like me declines to probe. I wasn’t sure at first whether these were jars I’d bought myself years before or jars that Mama had given me, but they were jars. And I could feel Mama smiling at my shoulder.

All day, since my devotion time that morning, I’d felt Mama close to me. Some verses I’d read in my Bible that morning brought her vividly to mind. They were verses about suffering, and they’d made me think of what my son had said to my daughter not long ago, when they were talking about why their beloved grandmother had died not knowing who she was, or who we were. Joel said to Amy, “Maybe the Lord saved her from a worse death. She didn’t die in pain or shock or fear. She just slipped away.”

Everyone knows there are stages to grief. We know that it can take years to move from one stage to the next, and each of us has to move through these stages at his or her own pace, in our own time. Yesterday morning, I finally fully accepted the manner of Mama’s death. I accepted what had happened to Mama, and the Lord’s wisdom in it. When I did that, I stopped fearing that kind of death for myself. That fear has dogged me for over twenty years. And Mama was there, at my shoulder, smiling. She stayed there all day as I halved cherry tomatoes and cleaned those dirty jars. And she and her Lord reached out and touched me, tangibly.

The final tally on the jars was this: 30 wide-mouth quarts, 22 regular mouth quarts, 7 special quarts (none antique but some vintage, I believe), 9 half-pint jelly jars, 11 wide-mouth pints, 3 regular mouth pints, and several commercial jars, pickle and mayonnaise jars, which Mama used for homemade pickles and applesauce and jelly. In today’s money, that’s like sticking your hand into the pocket of your winter coat and pulling out a hundred dollar bill. But it was more than that, for among those assorted jars was one very special jar.

In one of the boxes, I found a Smuckers’ jelly jar, strawberry, with the label still intact, and on the lid was printed “Dorothy.” That was my mother’s name. It means, in either Latin or Greek, Gift of God. Her name was also marked on the label.

OLYMPUS DIGITAL CAMERA

One of my mother’s friends had set aside and given a jar of something homemade for her, marked with her name. It was a sign and symbol of how much she was loved, and how much she loved. And it was like my mother to save that jar, for she’d find a use for it. She’d fill it with something and give it back, or give it away to someone else. Because that’s who she was. She gave it to me because she taught me to use what others would throw away.

Her life was a testament to her faith. She has never stopped giving or loving because that is her gift. Dorothy, Gift of God. I thank God for the gift of you, Mama, and for all that you taught me and gave me. You are still doing both. And I have your jar to remind me, if ever I’m tempted to forget, just what sort of life you lived, and what your life meant. Your jar is a reminder that a life lived with faith and love keeps giving, even after death in this world. That jar with your name on it will never be empty.

OLYMPUS DIGITAL CAMERA


Standard
Canning, condiment, Recipes

Charred Salsa

OLYMPUS DIGITAL CAMERA

What would you say if I told you that you could make salsa without peeling peppers? To me, peeling peppers is the worst part of salsa making, and it’s avoidable. How, you ask? Well, it’s pretty simple. You just char them under the broiler. Then they don’t have to be peeled. They can be chopped in the food processor (do it with the other vegetables to avoid the sensation of being hit in the face with pepper spray when you open the top) without peeling.

In fact, if you want to make the best salsa you’ve ever canned, char everything. Yes, that’s right. Put all the vegetables under the broiler and char them all. I know, it sounds nuts, but it works.

The salsa recipe I use is from a book called Canning for a New Generation, by Liana Krissoff. I highly recommend the book because Krissoff’s recipes teach techniques that you can then use to create your own recipes.  I learned to make yogurt, apple pectin stock, and old-fashioned, lower-sugar jams and jellies from this book. And charred salsa. And oh my, that stuff rocks! I don’t feel right about copying the recipe here (as a writer, I respect copyrights), but I think sharing the technique is okay. And I just did. Char everything under the broiler for the best salsa you’ve ever canned.

Use your favorite salsa recipe for proportions, but instead of scalding and peeling tomatoes, or roasting and peeling them and the peppers, broil them. Yes, I know I’m repeating myself, but I also know that you’re going to take some convincing. I did, at first.

Core and cut tomatoes in halves and place them cut side down on a foil-lined cookie sheet. (The foil keeps the veggies from sticking when they release their natural sugars as they cook.)  Pop them under the broiler in your oven on the top rack. Let them sizzle until each tomato has a big circle of blackened skin on top. (Yes, I know it sounds insane, but it’s good, trust me!) Slide the tomatoes and juice into a bowl to cool while you work on the rest of the veggies.

OLYMPUS DIGITAL CAMERA   OLYMPUS DIGITAL CAMERA

Cut onions into quarters, put them on the foil-lined cookie sheets and under the broiler. Let them get blackened. Do the same thing with the garlic. (Now, I know this really sounds crazy, but again, trust me.) It’s best to put one thing at a time on the cookie sheets because obviously, garlic will not blacken at the same rate as onion.

OLYMPUS DIGITAL CAMERA

Now, for the beauty part, the peppers. As much as I hate peeling tomatoes, I really hate peeling hot peppers. In fact, I never do it. I never have to for salsa because I make charred salsa. (I know, if you’ve made a batch of salsa the traditional way already this year, I’m rubbing it in. Sorry.) I cut the peppers in half (I don’t seed mine because I like the heat, but go ahead and seed them if you wish—just wear gloves or be very, very careful) and place them cut side down on the foil-lined cookie sheet. Pop them under the broiler and let them get blackened.

OLYMPUS DIGITAL CAMERA

Watch out when you stick your head down to check them. You can get hit with a wave of released capsican as they’re cooking. After they’ve cooled, they release less of the stuff, even in the food processor. I use jalapenos and Serranos because I don’t like my salsa so hot I can’t eat it. This year, I had some ripe red peppers in the garden because I’m making salsa later than I usually do, and I love the mellow heat of ripe peppers. Usually, I’m stuck with green ones because that’s all I have.

All right, all the vegetables are broiled now, and are cooling. The tomatoes should be cool enough to handle, so dive in. If you want to drain off some juice to make sure your salsa is thick enough, now’s the time to do it. You can always add some juice back in later, and whatever juice is left over can be canned in pint jars with citric acid or lemon juice and salt, if you like, for 35 min. per pint. I did mine in quarts for 40 min.  I shook the jar on the left after it was cooled, before I took the picture.  It is normal for the juice to separate as in the jar on the right.

OLYMPUS DIGITAL CAMERA

Pull the skins off each tomato half. (They come off very easily.) Tear the charred skin away and put it in the food processor with the tomatoes. I know, you’re saying: WHAT? But yes, this is the point of broiling the tomatoes, so you can get the flavor of that blackened skin into the salsa. I don’t know why it’s so good, but it is. The blackened skin is crisp, not tough, and crumbles easily into little black flakes in the food processor. It actually makes the salsa look great in the jar and in a bowl when you open it. And I guarantee you that you will get rave reviews on this stuff when you open it. I do, every time. When my kids come to my house for a meal, one of the first things they ask is if I have any salsa left. I have to hide it, or I wouldn’t.  They’d take it all home with them.  They go through what I give them for Christmas and come back looking for more!

OLYMPUS DIGITAL CAMERA

Now, an interjection. Don’t throw away the rest of the tomato skins! Put the uncharred skins on a parchment-paper lined cookie sheet and into a 170–200 degree oven. Let them sit there until the skins are dry and leathery and no moisture remains. Then whiz them up in a blender for tomato skin powder, which can be used in various ways. See my previous post for a great pork rub made using powdered tomato skins.

OLYMPUS DIGITAL CAMERA

Back to the salsa. Working in batches, chop all the veggies in the food processor. I do it this way: several peppers, a handful of onions, a couple of cloves of garlic. Chop, chop; add the tomatoes and blackened tomato skins. Whiz, whiz. Dump in large pot. Start over and keep going until everything is in the large pot.

OLYMPUS DIGITAL CAMERA

Every salsa recipe I’ve ever seen adds acid (vinegar or lemon juice), salt, and sugar at this point, and then calls for a short cooking time before the salsa goes in the jars. The recipe I use calls for apple cider vinegar, which gives a nice flavor to the salsa, but I also add lime juice because to me, you can’t have salsa without lime. It just wouldn’t be right. I also add about ¼ cup of chopped cilantro per batch just before the boiling salsa goes in the jars for the same reason. Salsa without cilantro? No way. A friend of mine adds a pinch or so of cumin. I haven’t tried that, but I bet I’d like that smoky flavor. Maybe with the next batch.

Whatever recipe you use, always pay attention to ratios. Tomatoes are acidic, yes, but peppers, garlic, and onions are not. That’s why you have to add acid to make salsa safe for water-bath canning. Don’t add extra peppers if you want hotter salsa. Use hotter peppers. Don’t add more garlic or onions than your recipe calls for. And always add the recommended dose of acid in the form your recipe calls for. I use lime juice in addition to, not as a substitute for, the vinegar in my recipe. Extra acid won’t hurt, but you can’t skimp on it and be safe.

If you use vinegar, there’s something you should know. Boiling vinegar for an extended time can evaporate the acid in it, so if you are making a large batch of salsa, like I usually do, turn off the heat on the salsa pot and put a lid on it when the first batch of jars go into the canner for processing. Don’t let the salsa sit and simmer. When the processing time on the first batch is done and you are ready to remove the jars from the canner, turn the heat back on under the salsa pot, take off the lid, and bring it back to boiling before filling a fresh batch of jars. This will ensure that you don’t boil off your acid.

Having made salsa with broiled vegetables for several years now, I’m convinced this method produces the best-tasting salsa I’ve ever had, or made. I know it sounds crazy to put blackened tomato skins into the salsa, and right up until I tasted the salsa, I thought it was nuts, but one taste did it. Give blackening your veggies a try; I bet you’ll agree with me. And the bonus? You don’t have to skin any peppers!

Standard
Canning, Desserts, Garden and Greenhouse, Gluten-free, Recipes

Apple Time

OLYMPUS DIGITAL CAMERA

The house painting project has taken so much time, there’s been no time for blogging.

OLYMPUS DIGITAL CAMERA

However, I did pick apples today.   My apples are falling!  I would have loved to have left them on the tree a little longer, but between wind, squirrels, raccoons, and birds, they had to be picked. I have the tree about 2/3rds of the way stripped and will finish tomorrow with my grandson’s help. I have nicknamed him Farm Boy, because he does love to garden. And I love to have his help.

If you are picking apples now, when they are still not quite ripe, here are some tricks and tips I’ve learned.

* Twist the apple clockwise (or to the right) to get it to release either from the stem or from the branch. Twisting rather than pulling does far less damage to your tree.

*Sort the apples as you pick them. I pick into a two gallon bucket (because that’s all I can lift when it’s full) and after I’ve filled the bucket, I sort them into separate boxes: a box for any wormy apples, any that have hit the ground, any that have been bird-pecked, and any oddly-shaped apples that won’t go through the peeler cleanly; and a box for “perfect apples,” those that are not bruised or wormy or bird-damaged. This is important because the old adage that one bad apple can spoil the whole barrel really is true. When I sort as I pick, I know which apples need to be processed first, and which ones can sit for a while and sweeten up a bit more.  The pic below is of the damaged apples.  These won’t sit long.  I’ll be turning them into apple butter next week.

OLYMPUS DIGITAL CAMERA

*Store the apples that are going to sit for a while in no more than two layers, with plenty of newspaper in between layers to absorb moisture and cushion the fruit. Don’t stack boxes of apples on top of each other unless you can do it without bruising them.

OLYMPUS DIGITAL CAMERA

*Store the apples in the coolest place you can find where mice, squirrels, etc., will not damage them. This can be difficult sometimes. Right now, the only place I have to store my apples is our pump house, and since the temps are heating up again, they will not hold long. Cooler is better, if possible.

I process my bruised, damaged apples first because they will go bad much faster than the perfect apples. I make applesauce and apple butter with those apples. For my apple butter recipe, click on the link above.

OLYMPUS DIGITAL CAMERA  OLYMPUS DIGITAL CAMERA

With the perfect apples, I usually make pie filling and dehydrated apples with cinnamon for the grandkids (and even my kids still ask for them!), but this year, it’ll just be dehydrated apples. I have plenty of pie filling left from last year, both canned and frozen. (For the recipe for canned apple pie filling, see below.)

For dehydrated apples, we use a hand-cranked peeler/slicer/corer machine (Dennis always helps me with this part). After slicing the rings in half, I drop the apples into acidulated water (lemon juice or Fruit Fresh added to water) to prevent browning, and I place them on the dehydrator trays and sprinkle them with cinnamon. You can’t keep them from turning brown, and the cinnamon helps disguise the brownness and gives them wonderful flavor. My kids have always loved these, and now my grandkids do too. Just the other day, my daughter was at my house, foraging in the pantry, and came across a bag of my dried apples. She ate half the bag and wanted to take the other half home with her!

OLYMPUS DIGITAL CAMERA

And don’t throw out the peels and cores–make apple scrap vinegar  or apple pectin stock with them.  Click on the link for the how-to.

OLYMPUS DIGITAL CAMERA   OLYMPUS DIGITAL CAMERA   OLYMPUS DIGITAL CAMERA

I usually make up gallon bags of pie filling for the freezer. I just use the apple pie recipe out of the Betty Crocker cookbook, and mix up the filling in a bowl (apples, flour or cornstarch—and you can use brown rice flour for this if you are gluten-free, sugar, lemon juice, a pinch of salt, cinnamon and whatever other spices you like).

But last year, a friend, Suzanne Lepowski, shared a canned apple pie filling recipe with me which I altered because I don’t can with cornstarch or Clear Jel (unsafe with the former and too expensive with the latter), and it worked perfectly. One quart jar isn’t enough for a 9-inch pie, but works fine with an 8-inch pie. If you want to make 9-inch pies, can both quarts and pints. One of each will fill a 9- or 10-inch pie pan. All you have to do is add a couple of tablespoons of cornstarch, or ¼ cup flour, or brown rice flour if you’re gluten-free, to the contents of the jar, and then put it in your unbaked pastry shell. The apples are tender, and the pie is delicious. Thanks, Suzanne!

OLYMPUS DIGITAL CAMERA

Canned apple pie filling (no thickener)

6 pounds apples (About 20-25 medium apples:  amounts to about 5 qts. cored, peeled, sliced.  This will make about 3 quart jars of pie filling.)

Ball Fruit Fresh (or several tablespoons of lemon juice)

2 cups sugar

1 1/2 teaspoons cinnamon

1/4 teaspoon nutmeg (and I add 1/2 teaspoon allspice because I like it in my pie filling)

2 tablespoons lemon juice

Wash, peel, core, and slice apples.  Add apples to water with Fruit Fresh according to directions on Fruit Fresh jar, or add several tablespoons of lemon juice to a large bowl of water. Combine sugar and spices in large pan. Rinse and drain apples.   Stir apples into sugar and spice mixture. Let stand until juices begin to flow, about 30 minutes. Stir in 2 tablespoons of lemon juice. Cook over medium heat until boiling.  Cook for 5 minutes.

Ladle into hot, sterilized quart or pint jars, leaving 1 inch head space, place lid and cap, and process for 20 minutes in a boiling water bath canner, adjusting for altitude according to altitude chart.

I hope you are able to leave your apples on the tree long enough to let them be kissed by frost.  It makes them sweeter.  But if, like me, you are working with apples now, I hope you enjoy these recipes.  We do.

Standard
Garden and Greenhouse, Recipes

Freezing Green Beans

I’ve been canning green beans from the garden for the past couple of weeks, but the production has slowed down now that days are getting shorter, and I haven’t been getting quite as many beans at one time. I don’t like to haul the pressure canner out for anything less than a full load, so these lesser harvests go in the freezer. I was preparing beans for the freezer on Monday, and it occurred to me that many people may not know how easy it is to freeze green beans at home. You don’t need any special equipment, like a canner, so if you’re not up to making such an investment in dollars, energy, or time, freezing is the way to put up those lovely, fresh green beans, either from your garden or the farmer’s market or produce stand. So, here’s a step-by-step guide to freezing green beans.

First, the only equipment you’ll need are things you almost certainly already have in your kitchen. You need:

A large pot, stainless steel or enamel or porcelain-coated is best (just don’t use an old, peeling, Teflon-coated pan!)

3 colanders or strainers (at least one should be metal/heat resistant)

A large bowl to hold one colander

Plastic zipper freezer bags (or a food saver system) and an indelible marker

At the market, or picking from a farm or your own garden, choose fresh, crisp beans. Any tough, limp, or overgrown beans should be set aside. (If you’re making soup or stew, you can put them in it; otherwise, I put them into the compost bucket or over the fence for the deer.) In the picture below, you can see three beans on the right that are too big for either freezing or canning. If this were an heirloom variety, I’d have left them on the bush to make seed, but they aren’t, so I didn’t. On the counter is my shocking bowl and colander.

OLYMPUS DIGITAL CAMERA

If the beans are straight from the garden and are warm, it’s best to wash them thoroughly in cold water, drain them, and let them chill in the fridge overnight before processing. This helps crisp the beans. Always wash beans thoroughly because any dirt or organic garden debris can lead to spoilage, even when frozen.

Washing: I clean my sink, fill it with cold water, dump in the beans, swish them around, and then let any dirt settle to the bottom before scooping the beans into a colander. I rinse the beans again in the colander, then drain them. As I’m cutting off the stem ends, I pick off any debris, like spent blossoms, that might still be stuck to the beans.

Trimming: The stem ends of the beans must be trimmed before blanching. I used to do this with my mother by hand, sitting beside her on the porch steps, snapping the ends off the beans so she could can or freeze them. Now, I use a knife because I like smooth end cuts. I do not cut off the blossom end curls unless they are hard, and they aren’t hard unless the beans are too big. And you shouldn’t try to freeze over-large beans anyway. I leave my beans whole otherwise. To my way of thinking, cutting the beans means allowing more nutrients out into the blanching and shocking waters, but they can be cut into two- or three-inch pieces, if desired.

Blanching: The next step in preparing the beans is blanching. Blanching is a pre-cooking process that kills bacteria which can cause spoilage. Put a large pot of water that will hold a metal colander on to boil. (I use my 6 qt. soup pot.)

Next, fill the large bowl halfway with ice, and place the second colander in it. Fill with cold water, leaving a couple of inches headroom for the ice to melt. This is your shocking bowl.

Place the third colander in the sink. This is the draining colander, and this is where I use my plastic colander. The other two are metal. You can get away with using only two colanders, using the same one for blanching and shocking, but your shocking water will heat up a lot faster and your blanching water will cool down between batches, and you’ll drip more water around your kitchen. Three colanders or strainers make the process faster and easier.

When the water in the large pot is boiling, place as many washed and trimmed green beans as can be submerged under the boiling water in the colander. I cover the pot until it comes back to a boil, but I begin timing as soon as the beans hit the boiling water. The blanching period is 3 minutes. Use a timer! Under-blanched beans will not be as tender and flavorful as those blanched properly, and may freezer-burn more rapidly. Over-blanched beans will be mushy and less flavorful.

OLYMPUS DIGITAL CAMERA

When the beans have been in the boiling water for 3 minutes, carefully remove the colander from the pot, allow the hot water to drain for a few seconds, and dump the beans into the shocking colander in the ice water bath.

Shocking: The ice water bath stops the cooking process and ensures that the beans will stay bright green when frozen. The beans can stay in the shocking bowl for about the same length of time as they were in the blanching pot, but no longer. You don’t want them to get water-logged, and you have to get them out of the shocking bowl before the next batch is ready.

I usually dump another load of beans in the blanching colander immediately, then watch the timer. When there’s about 30 seconds left on the timer, I lift the shocking colander full of blanched beans out of the water, let it drain a few seconds, use the big pot lid like a shield to keep from dripping water over the kitchen floor, and dump the beans into the draining colander in the sink. They should be ice-cold, and they can sit there and drain while you finish up several more batches before bagging.

OLYMPUS DIGITAL CAMERA

Bagging: All that’s left to do after the beans have been blanched and shocked and drained is bag and tag. I have a food saver system, but honestly, I find it more trouble than it’s worth for small batches of vegetables. I use zipper freezer bags, and I wash and reuse these for storage bags when I’ve only put vegetables in them. I always write product type and the date on the bag, having learned that when I don’t, I’m liable to find something in the freezer that is either unrecognizable or of unknown age. I usually make up some bags with enough beans for one serving each for Dennis and me, and some bags with more beans for family dinners or guests. That’s another nice thing about freezing. After you have the beans blanched and shocked and drained, you can bag them up in whatever quantities suit your needs.  Be sure to press all the air you can out of a zipper bag before you zip it up.

OLYMPUS DIGITAL CAMERA

If you are working with a large amount of beans, you might need to add more boiling water to your blanching pot. I keep my electric tea kettle full and simmering for this purpose. You might also need to pour some water out of the shocking bowl and add more ice. Check the temperature of the water in the bowl after about 3 batches. Add more ice if it is not really cold. The water needs to be very cold to shock the blanched beans.

That’s all there is to freezing green beans. They are delicious and a fast and easy vegetable to prepare when dinner preparations are rushed. You can boil an inch or so of salted water in a pot, pop these beans in frozen, put on the lid, and when the water comes back to the boil, they’re done. All they need is a bit of butter. Or, you can thaw and drain them and saute them with olive oil and garlic. They’ll stay bright and beautiful because of the blanching process. Give that old favorite, Green Beans Amandine a try, which can be made with either fresh or frozen beans. Your frozen green beans can be added to soups or stews, as well.

I think the best thing about freezing beans, as opposed to canning them, is that you can work in small batches. So go out and get yourself a few pounds of green beans and try putting them up yourself. It’s easier than you might think, and your reward will be a beautiful, green vegetable, low-calorie and full of fiber, on your dinner plate this winter.

Standard