
I’ve been canning green beans from the garden for the past couple of weeks, but the production has slowed down now that days are getting shorter, and I haven’t been getting quite as many beans at one time. I don’t like to haul the pressure canner out for anything less than a full load, so these lesser harvests go in the freezer. I was preparing beans for the freezer on Monday, and it occurred to me that many people may not know how easy it is to freeze green beans at home. You don’t need any special equipment, like a canner, so if you’re not up to making such an investment in dollars, energy, or time, freezing is the way to put up those lovely, fresh green beans, either from your garden or the farmer’s market or produce stand. So, here’s a step-by-step guide to freezing green beans.
First, the only equipment you’ll need are things you almost certainly already have in your kitchen. You need:
A large pot, stainless steel or enamel or porcelain-coated is best (just don’t use an old, peeling, Teflon-coated pan!)
3 colanders or strainers (at least one should be metal/heat resistant)
A large bowl to hold one colander
Plastic zipper freezer bags (or a food saver system) and an indelible marker
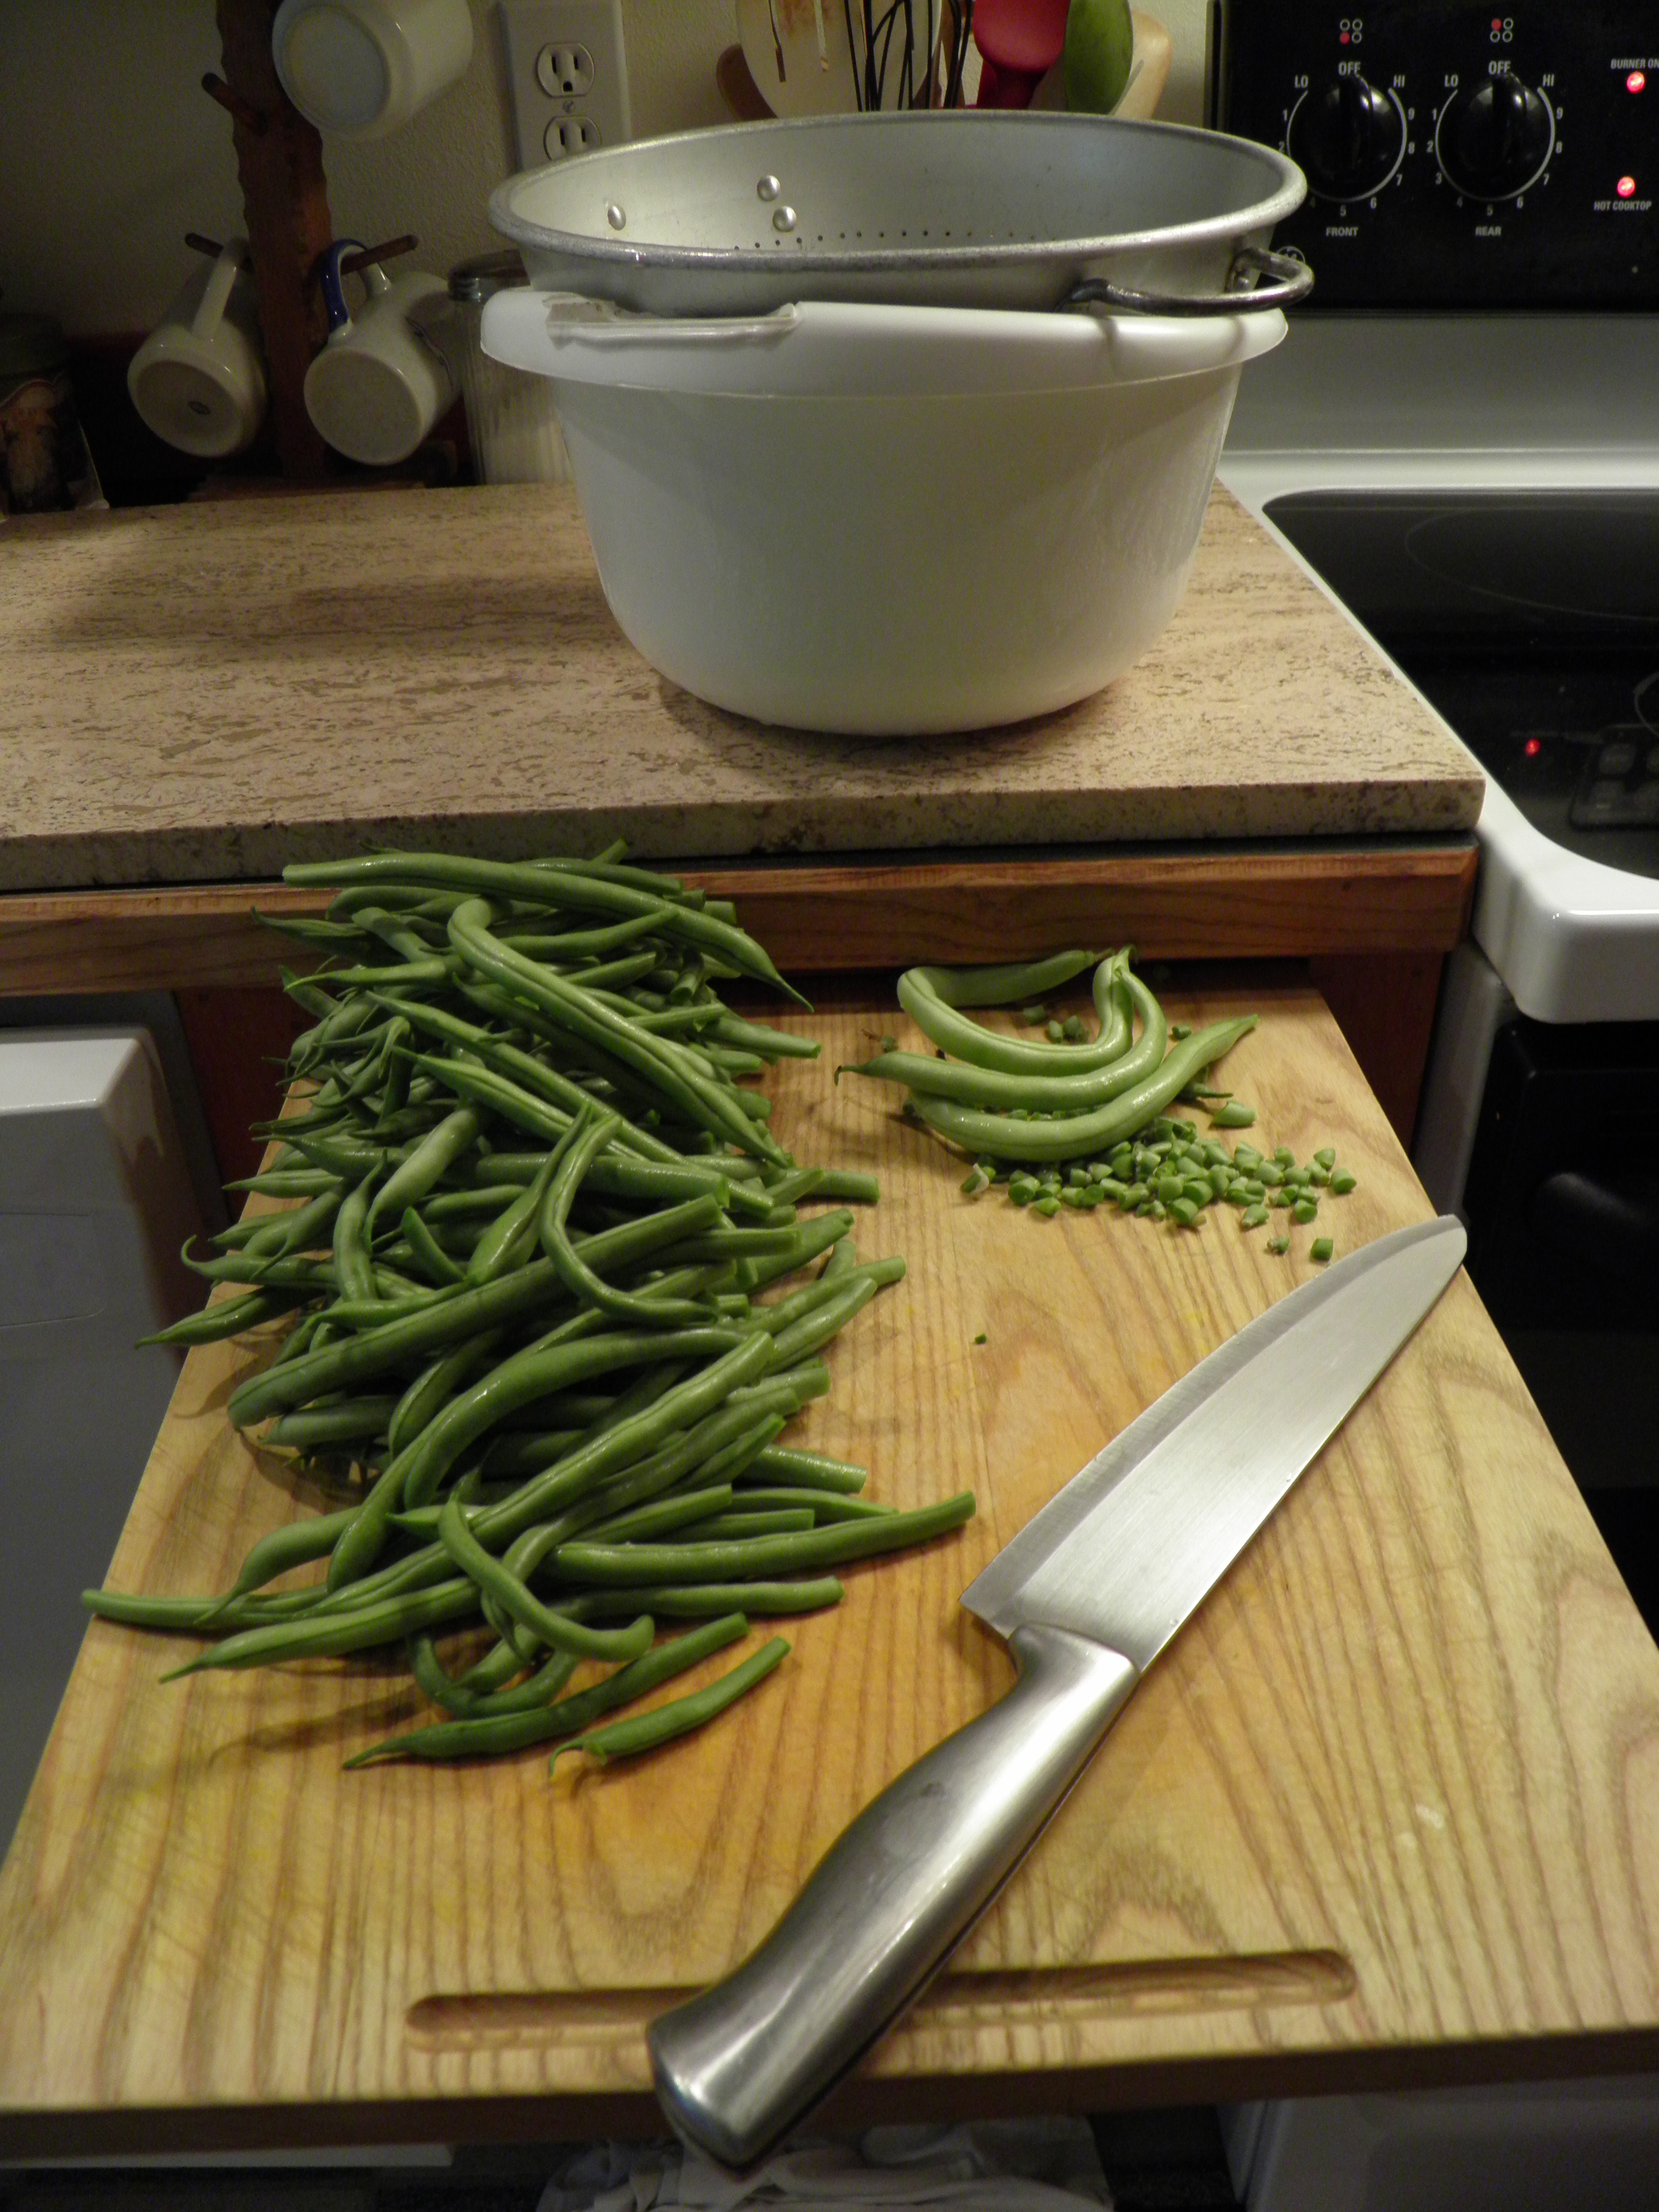
At the market, or picking from a farm or your own garden, choose fresh, crisp beans. Any tough, limp, or overgrown beans should be set aside. (If you’re making soup or stew, you can put them in it; otherwise, I put them into the compost bucket or over the fence for the deer.) In the picture below, you can see three beans on the right that are too big for either freezing or canning. If this were an heirloom variety, I’d have left them on the bush to make seed, but they aren’t, so I didn’t. On the counter is my shocking bowl and colander.
If the beans are straight from the garden and are warm, it’s best to wash them thoroughly in cold water, drain them, and let them chill in the fridge overnight before processing. This helps crisp the beans. Always wash beans thoroughly because any dirt or organic garden debris can lead to spoilage, even when frozen.
Washing: I clean my sink, fill it with cold water, dump in the beans, swish them around, and then let any dirt settle to the bottom before scooping the beans into a colander. I rinse the beans again in the colander, then drain them. As I’m cutting off the stem ends, I pick off any debris, like spent blossoms, that might still be stuck to the beans.
Trimming: The stem ends of the beans must be trimmed before blanching. I used to do this with my mother by hand, sitting beside her on the porch steps, snapping the ends off the beans so she could can or freeze them. Now, I use a knife because I like smooth end cuts. I do not cut off the blossom end curls unless they are hard, and they aren’t hard unless the beans are too big. And you shouldn’t try to freeze over-large beans anyway. I leave my beans whole otherwise. To my way of thinking, cutting the beans means allowing more nutrients out into the blanching and shocking waters, but they can be cut into two- or three-inch pieces, if desired.
Blanching: The next step in preparing the beans is blanching. Blanching is a pre-cooking process that kills bacteria which can cause spoilage. Put a large pot of water that will hold a metal colander on to boil. (I use my 6 qt. soup pot.)
Next, fill the large bowl halfway with ice, and place the second colander in it. Fill with cold water, leaving a couple of inches headroom for the ice to melt. This is your shocking bowl.
Place the third colander in the sink. This is the draining colander, and this is where I use my plastic colander. The other two are metal. You can get away with using only two colanders, using the same one for blanching and shocking, but your shocking water will heat up a lot faster and your blanching water will cool down between batches, and you’ll drip more water around your kitchen. Three colanders or strainers make the process faster and easier.
When the water in the large pot is boiling, place as many washed and trimmed green beans as can be submerged under the boiling water in the colander. I cover the pot until it comes back to a boil, but I begin timing as soon as the beans hit the boiling water. The blanching period is 3 minutes. Use a timer! Under-blanched beans will not be as tender and flavorful as those blanched properly, and may freezer-burn more rapidly. Over-blanched beans will be mushy and less flavorful.

When the beans have been in the boiling water for 3 minutes, carefully remove the colander from the pot, allow the hot water to drain for a few seconds, and dump the beans into the shocking colander in the ice water bath.
Shocking: The ice water bath stops the cooking process and ensures that the beans will stay bright green when frozen. The beans can stay in the shocking bowl for about the same length of time as they were in the blanching pot, but no longer. You don’t want them to get water-logged, and you have to get them out of the shocking bowl before the next batch is ready.
I usually dump another load of beans in the blanching colander immediately, then watch the timer. When there’s about 30 seconds left on the timer, I lift the shocking colander full of blanched beans out of the water, let it drain a few seconds, use the big pot lid like a shield to keep from dripping water over the kitchen floor, and dump the beans into the draining colander in the sink. They should be ice-cold, and they can sit there and drain while you finish up several more batches before bagging.

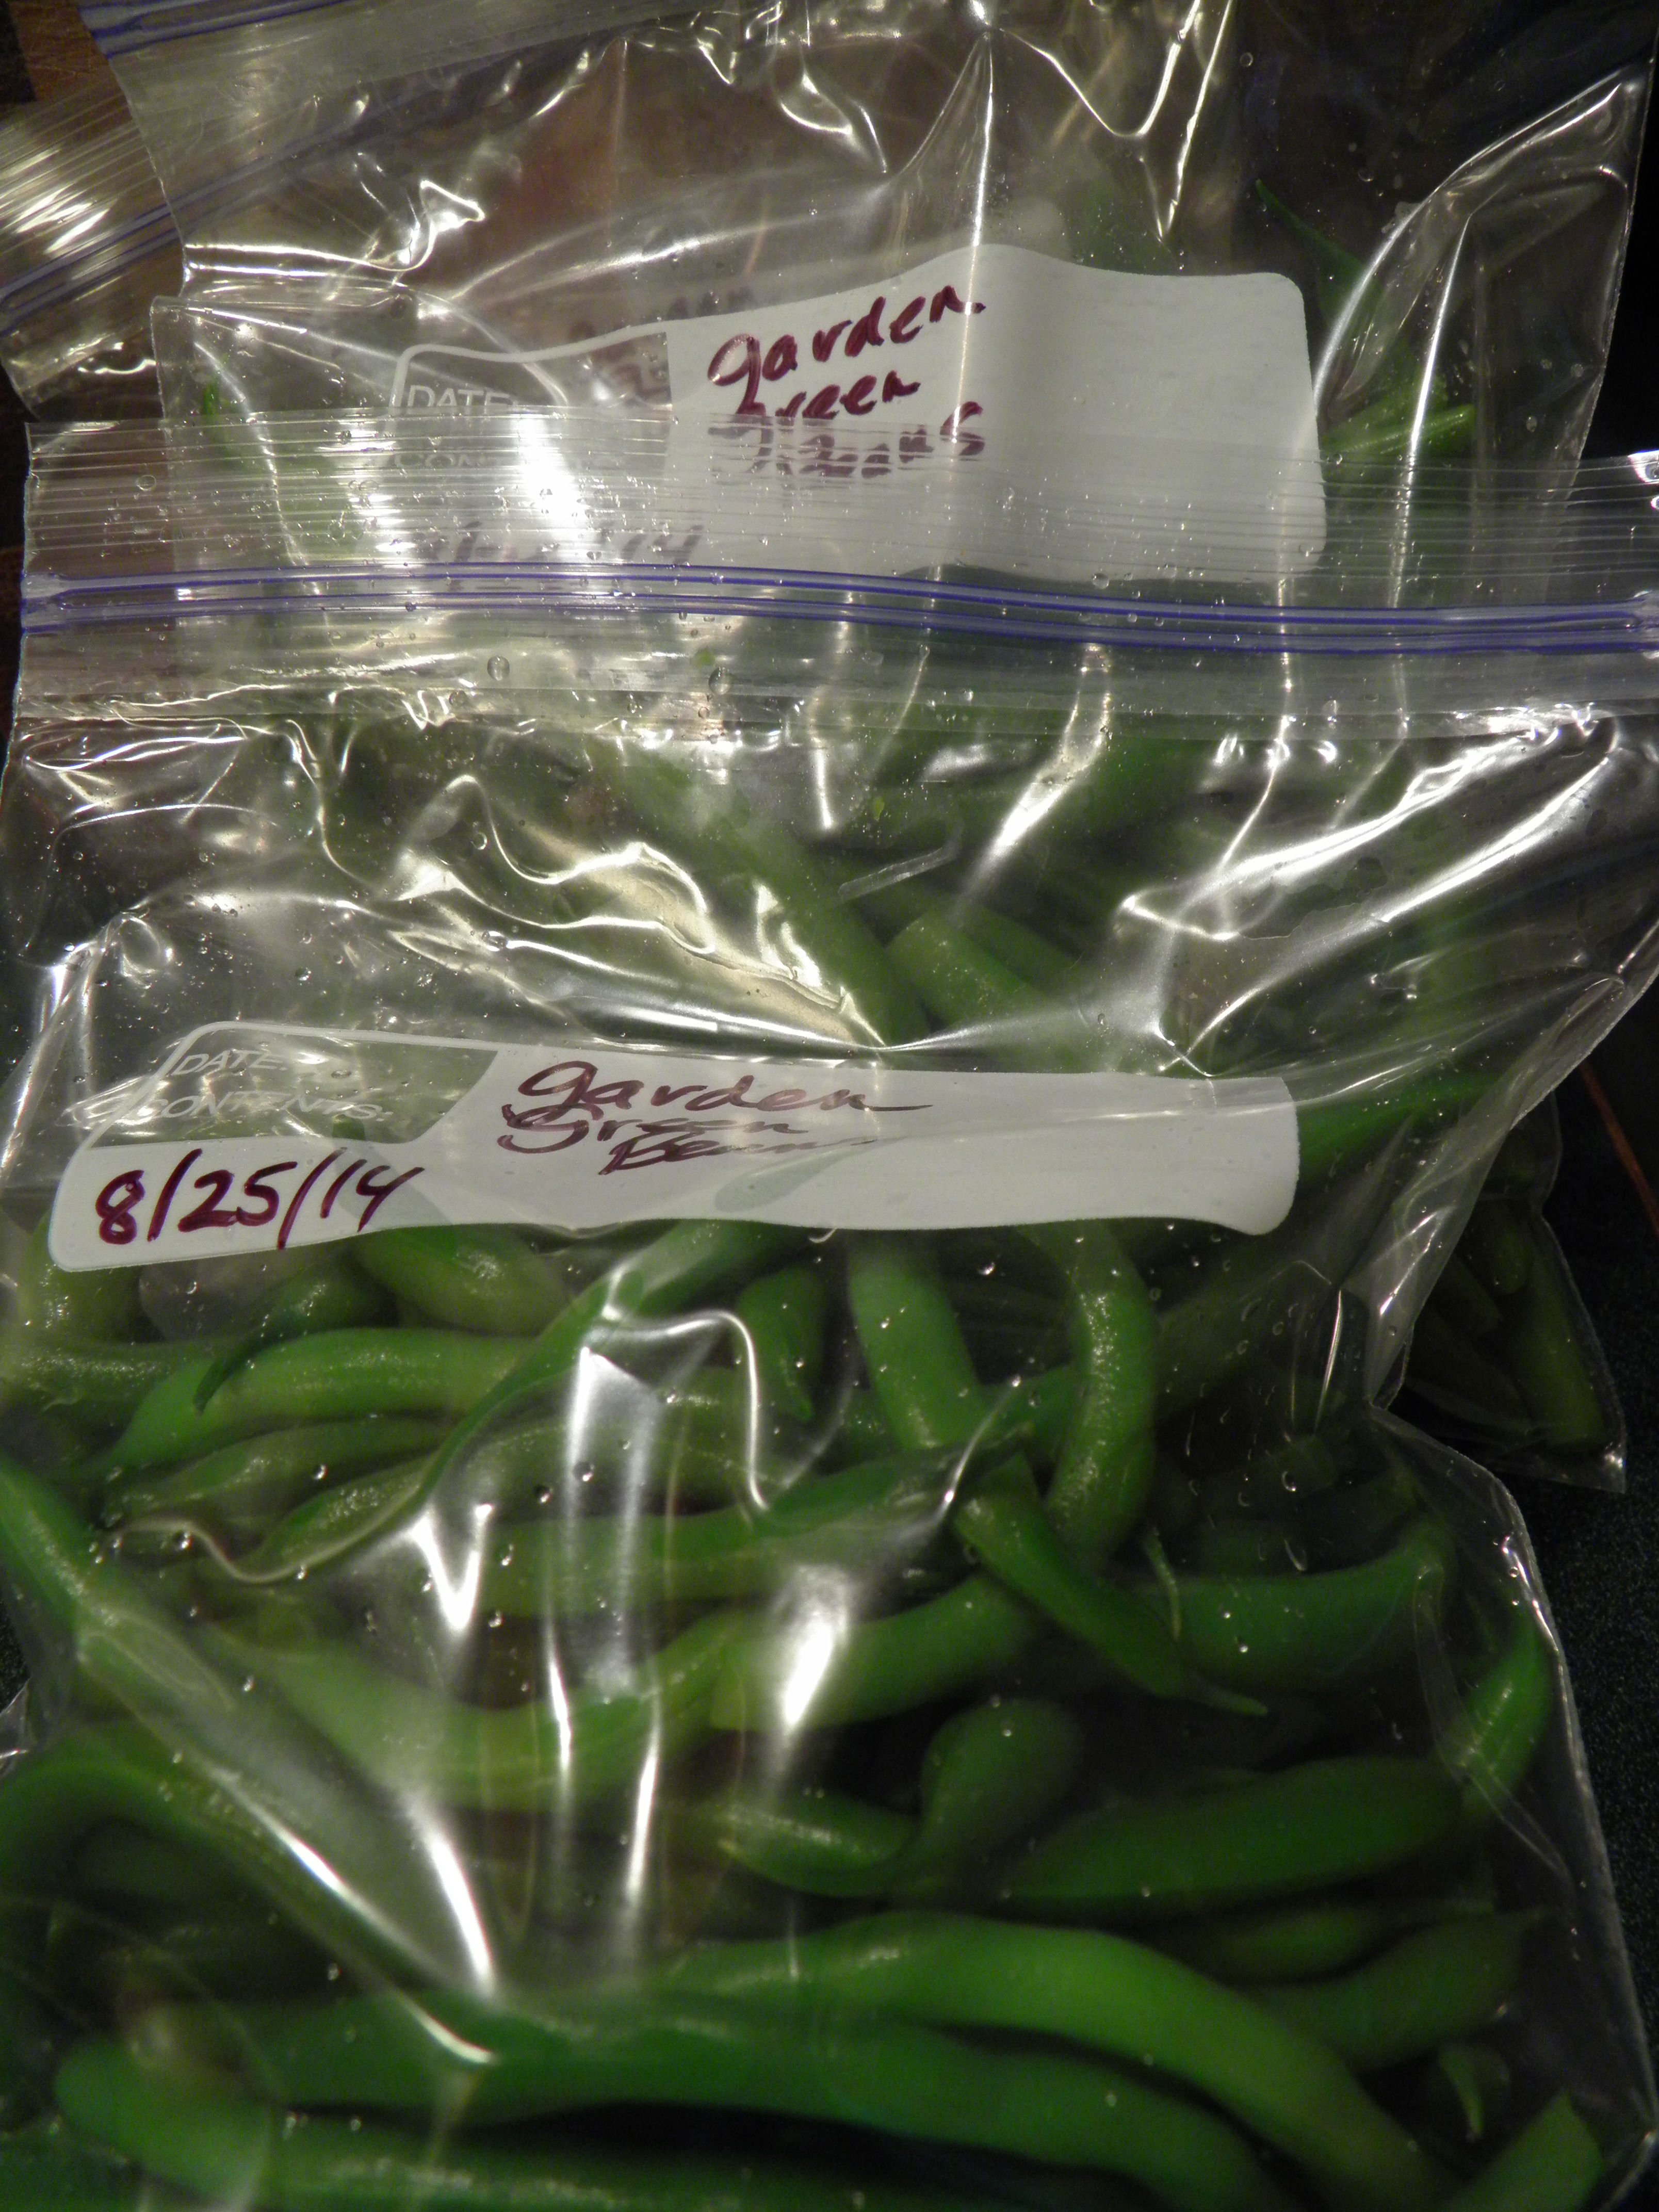
Bagging: All that’s left to do after the beans have been blanched and shocked and drained is bag and tag. I have a food saver system, but honestly, I find it more trouble than it’s worth for small batches of vegetables. I use zipper freezer bags, and I wash and reuse these for storage bags when I’ve only put vegetables in them. I always write product type and the date on the bag, having learned that when I don’t, I’m liable to find something in the freezer that is either unrecognizable or of unknown age. I usually make up some bags with enough beans for one serving each for Dennis and me, and some bags with more beans for family dinners or guests. That’s another nice thing about freezing. After you have the beans blanched and shocked and drained, you can bag them up in whatever quantities suit your needs. Be sure to press all the air you can out of a zipper bag before you zip it up.
If you are working with a large amount of beans, you might need to add more boiling water to your blanching pot. I keep my electric tea kettle full and simmering for this purpose. You might also need to pour some water out of the shocking bowl and add more ice. Check the temperature of the water in the bowl after about 3 batches. Add more ice if it is not really cold. The water needs to be very cold to shock the blanched beans.
That’s all there is to freezing green beans. They are delicious and a fast and easy vegetable to prepare when dinner preparations are rushed. You can boil an inch or so of salted water in a pot, pop these beans in frozen, put on the lid, and when the water comes back to the boil, they’re done. All they need is a bit of butter. Or, you can thaw and drain them and saute them with olive oil and garlic. They’ll stay bright and beautiful because of the blanching process. Give that old favorite, Green Beans Amandine a try, which can be made with either fresh or frozen beans. Your frozen green beans can be added to soups or stews, as well.
I think the best thing about freezing beans, as opposed to canning them, is that you can work in small batches. So go out and get yourself a few pounds of green beans and try putting them up yourself. It’s easier than you might think, and your reward will be a beautiful, green vegetable, low-calorie and full of fiber, on your dinner plate this winter.
