Garden and Greenhouse

Goodbye to the Garden, For Now

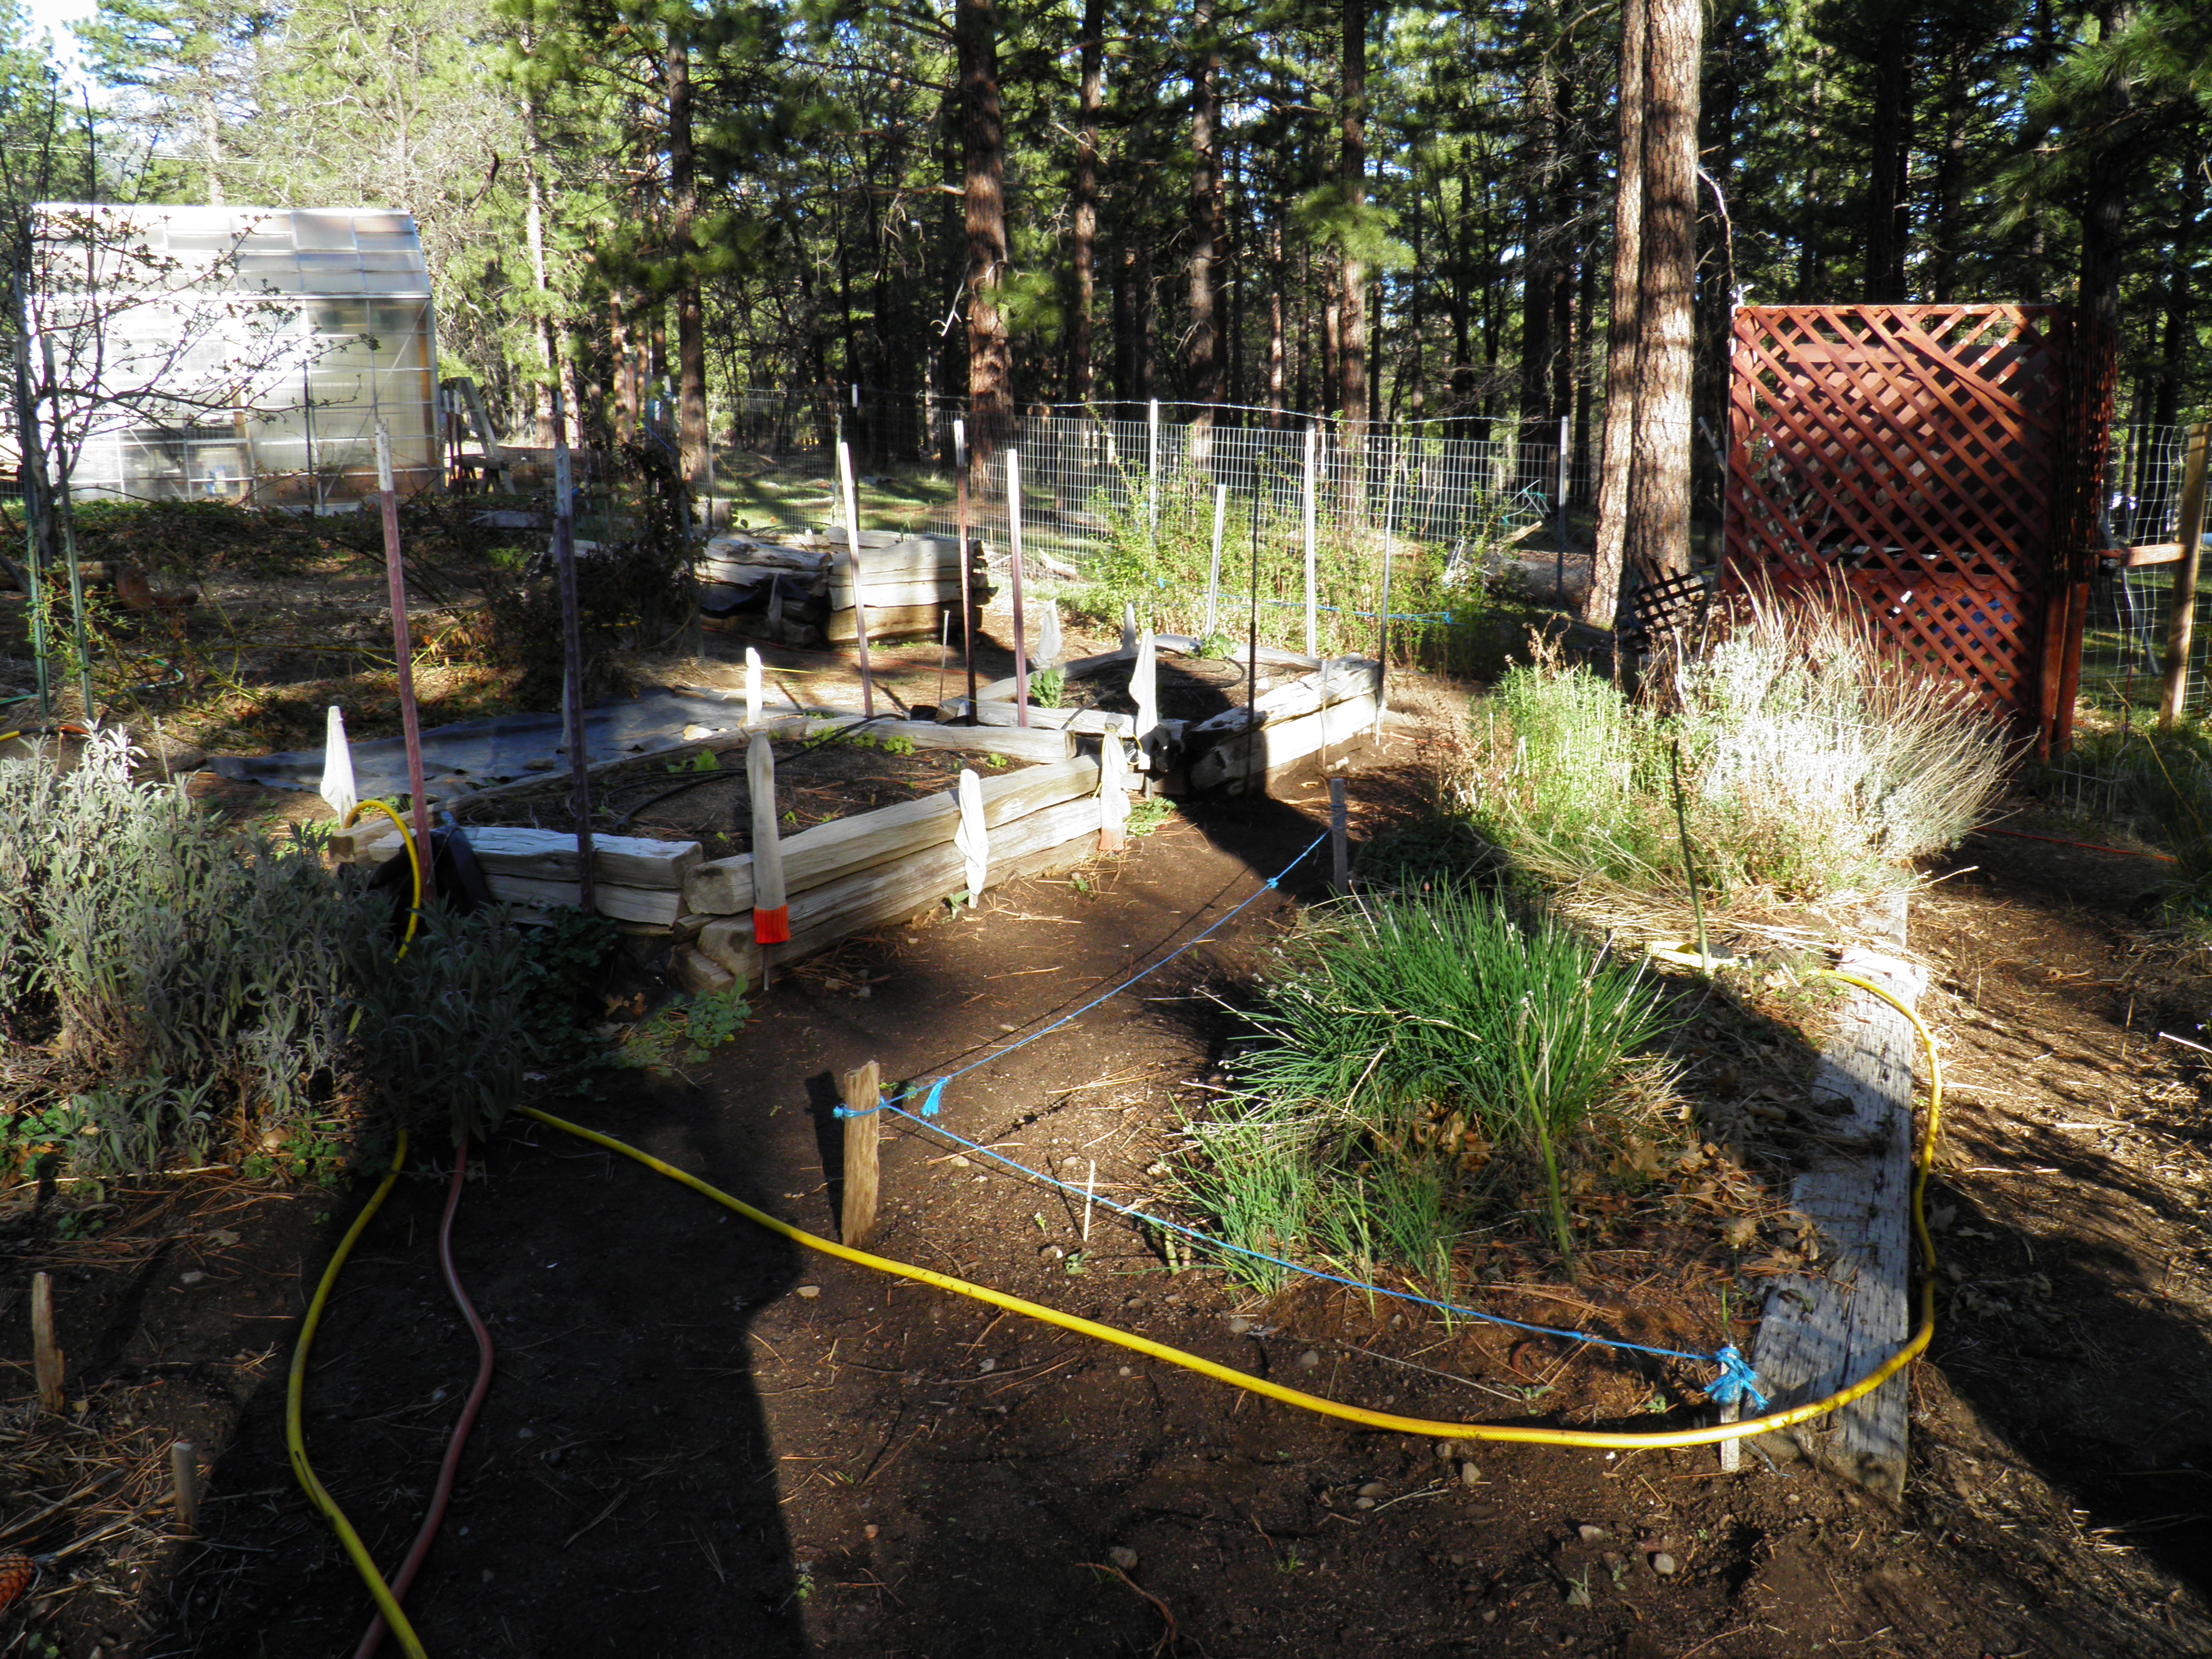
In a couple of days, Dennis and I will be on our way to Denver for our daughter’s graduation from her periodontal program. Then Dr. Amy and I will be flying from Denver to London to start our three-week sojourn through the UK and Ireland. For days, I’ve been getting the garden ready to go on auto-pilot again while I’m gone, while Dennis has been working on the drip system. Timers will turn the drip system and sprinklers on and off.

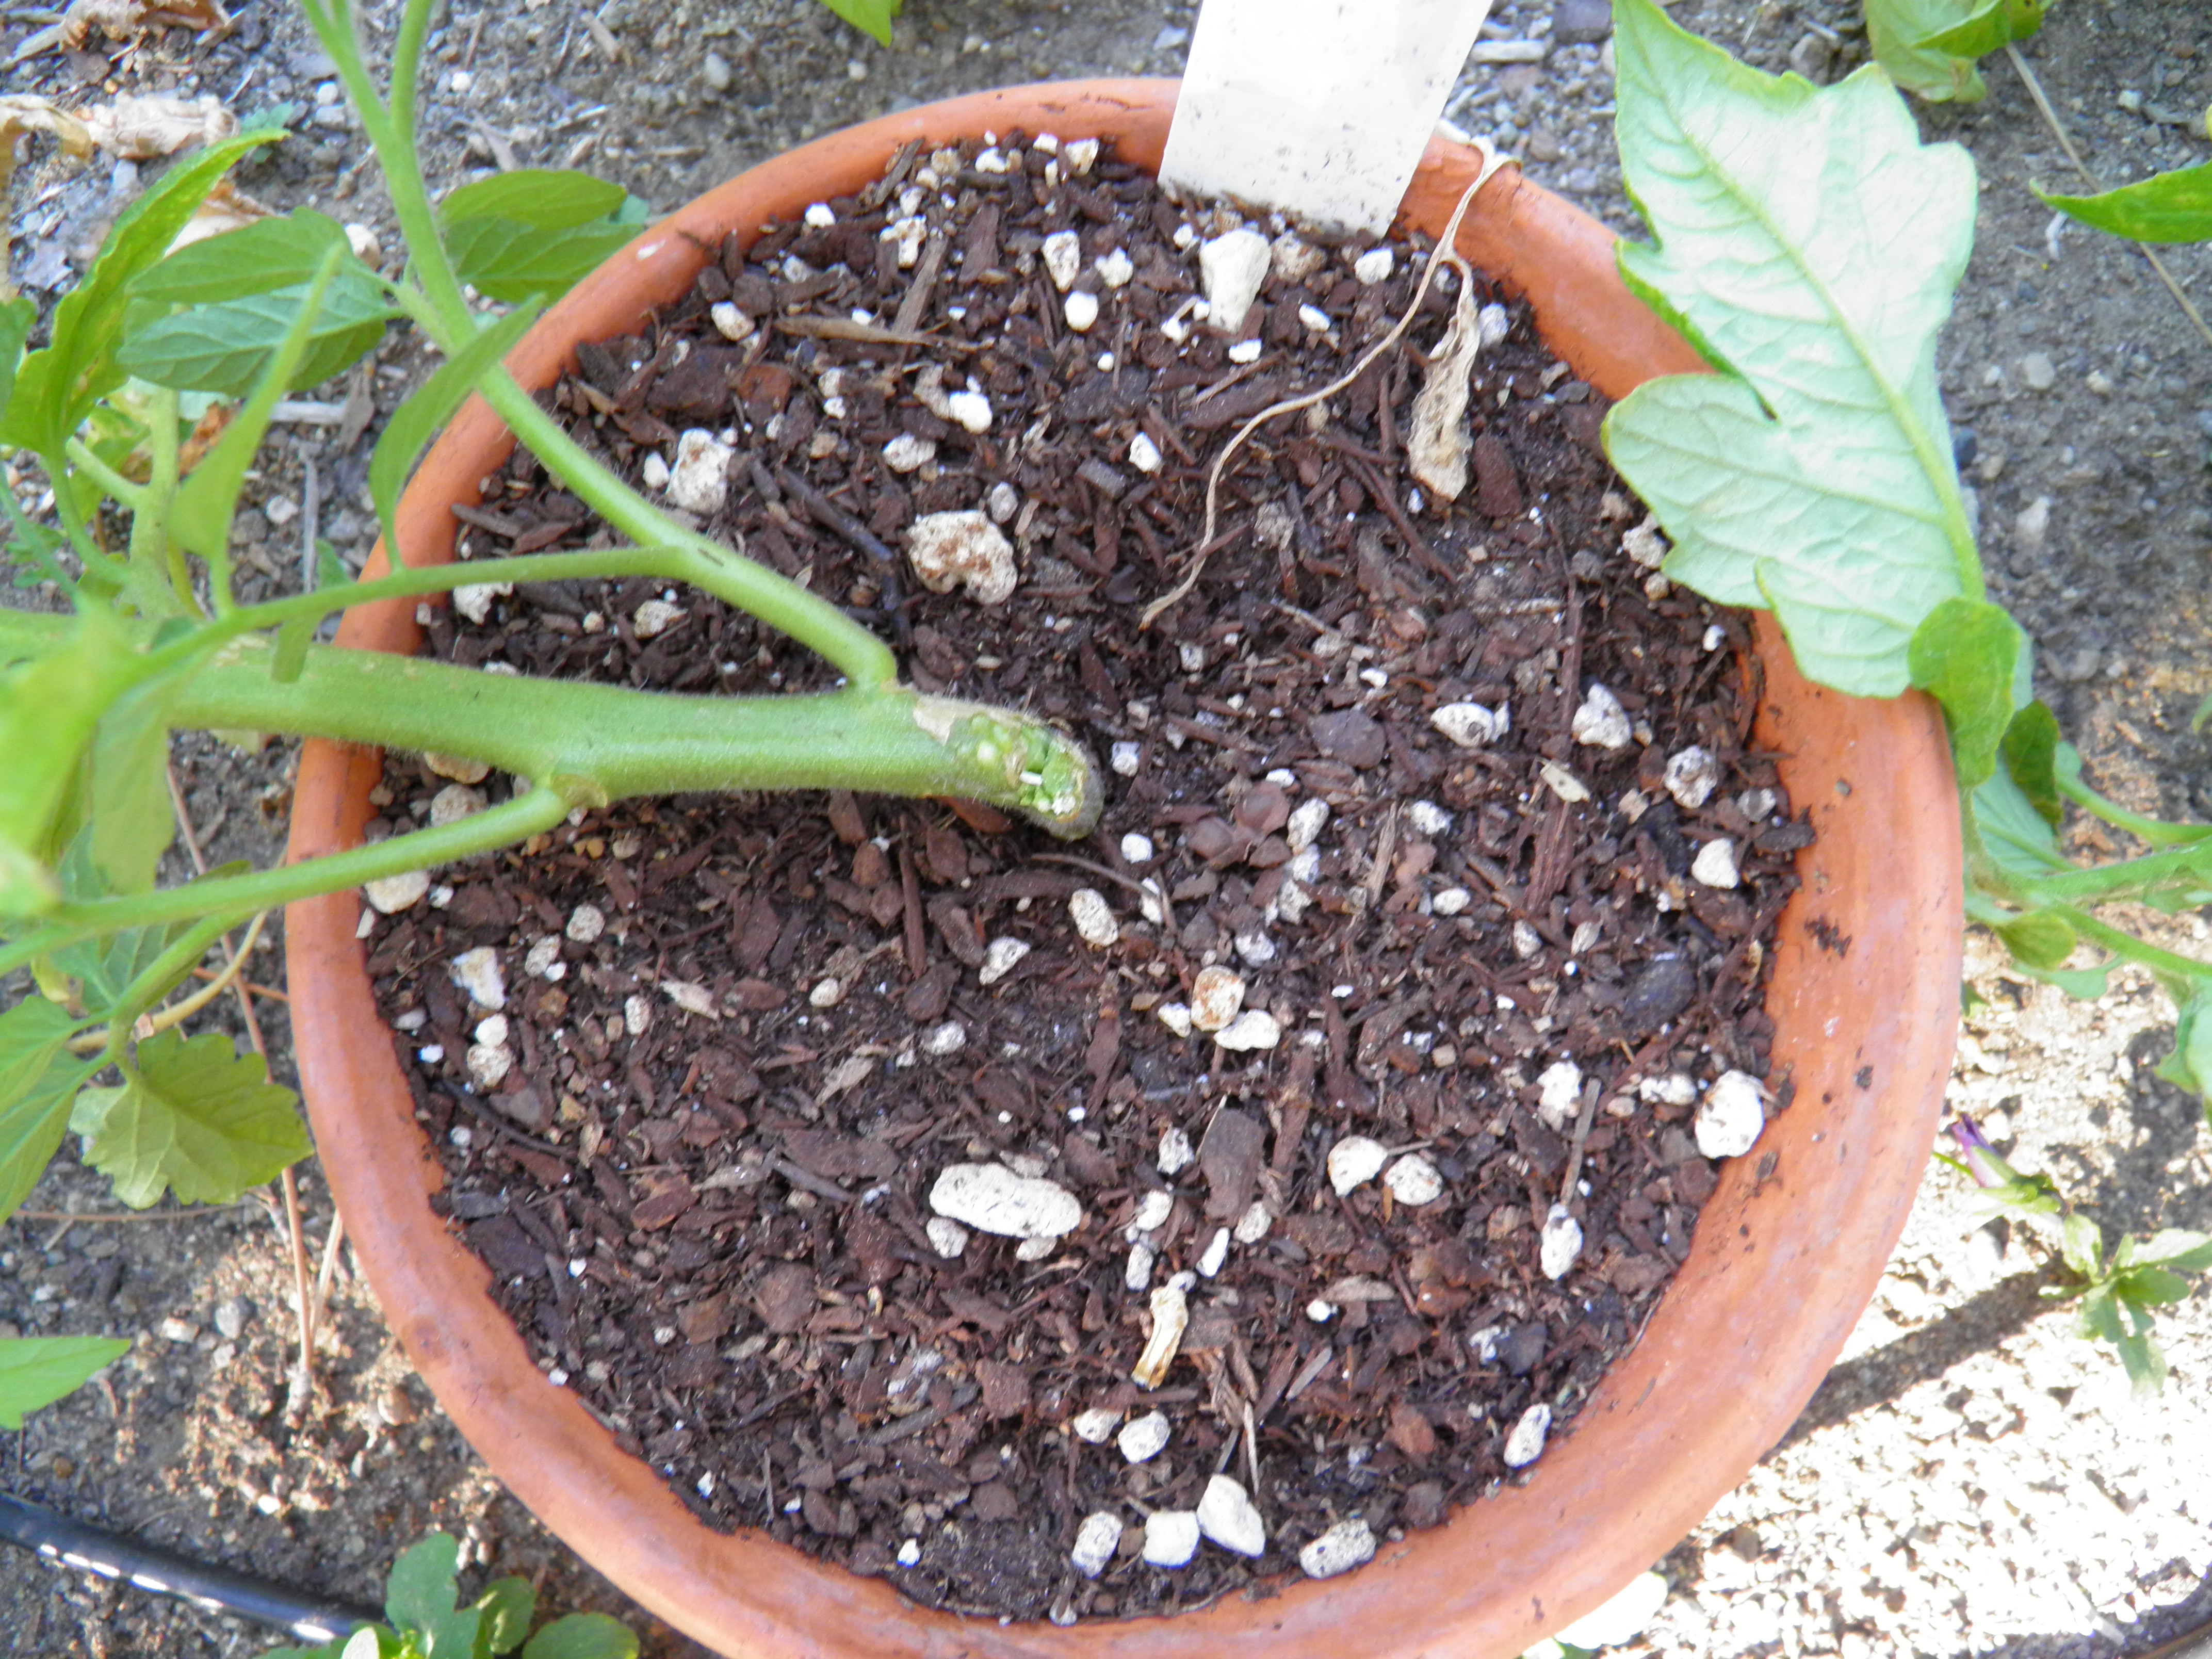
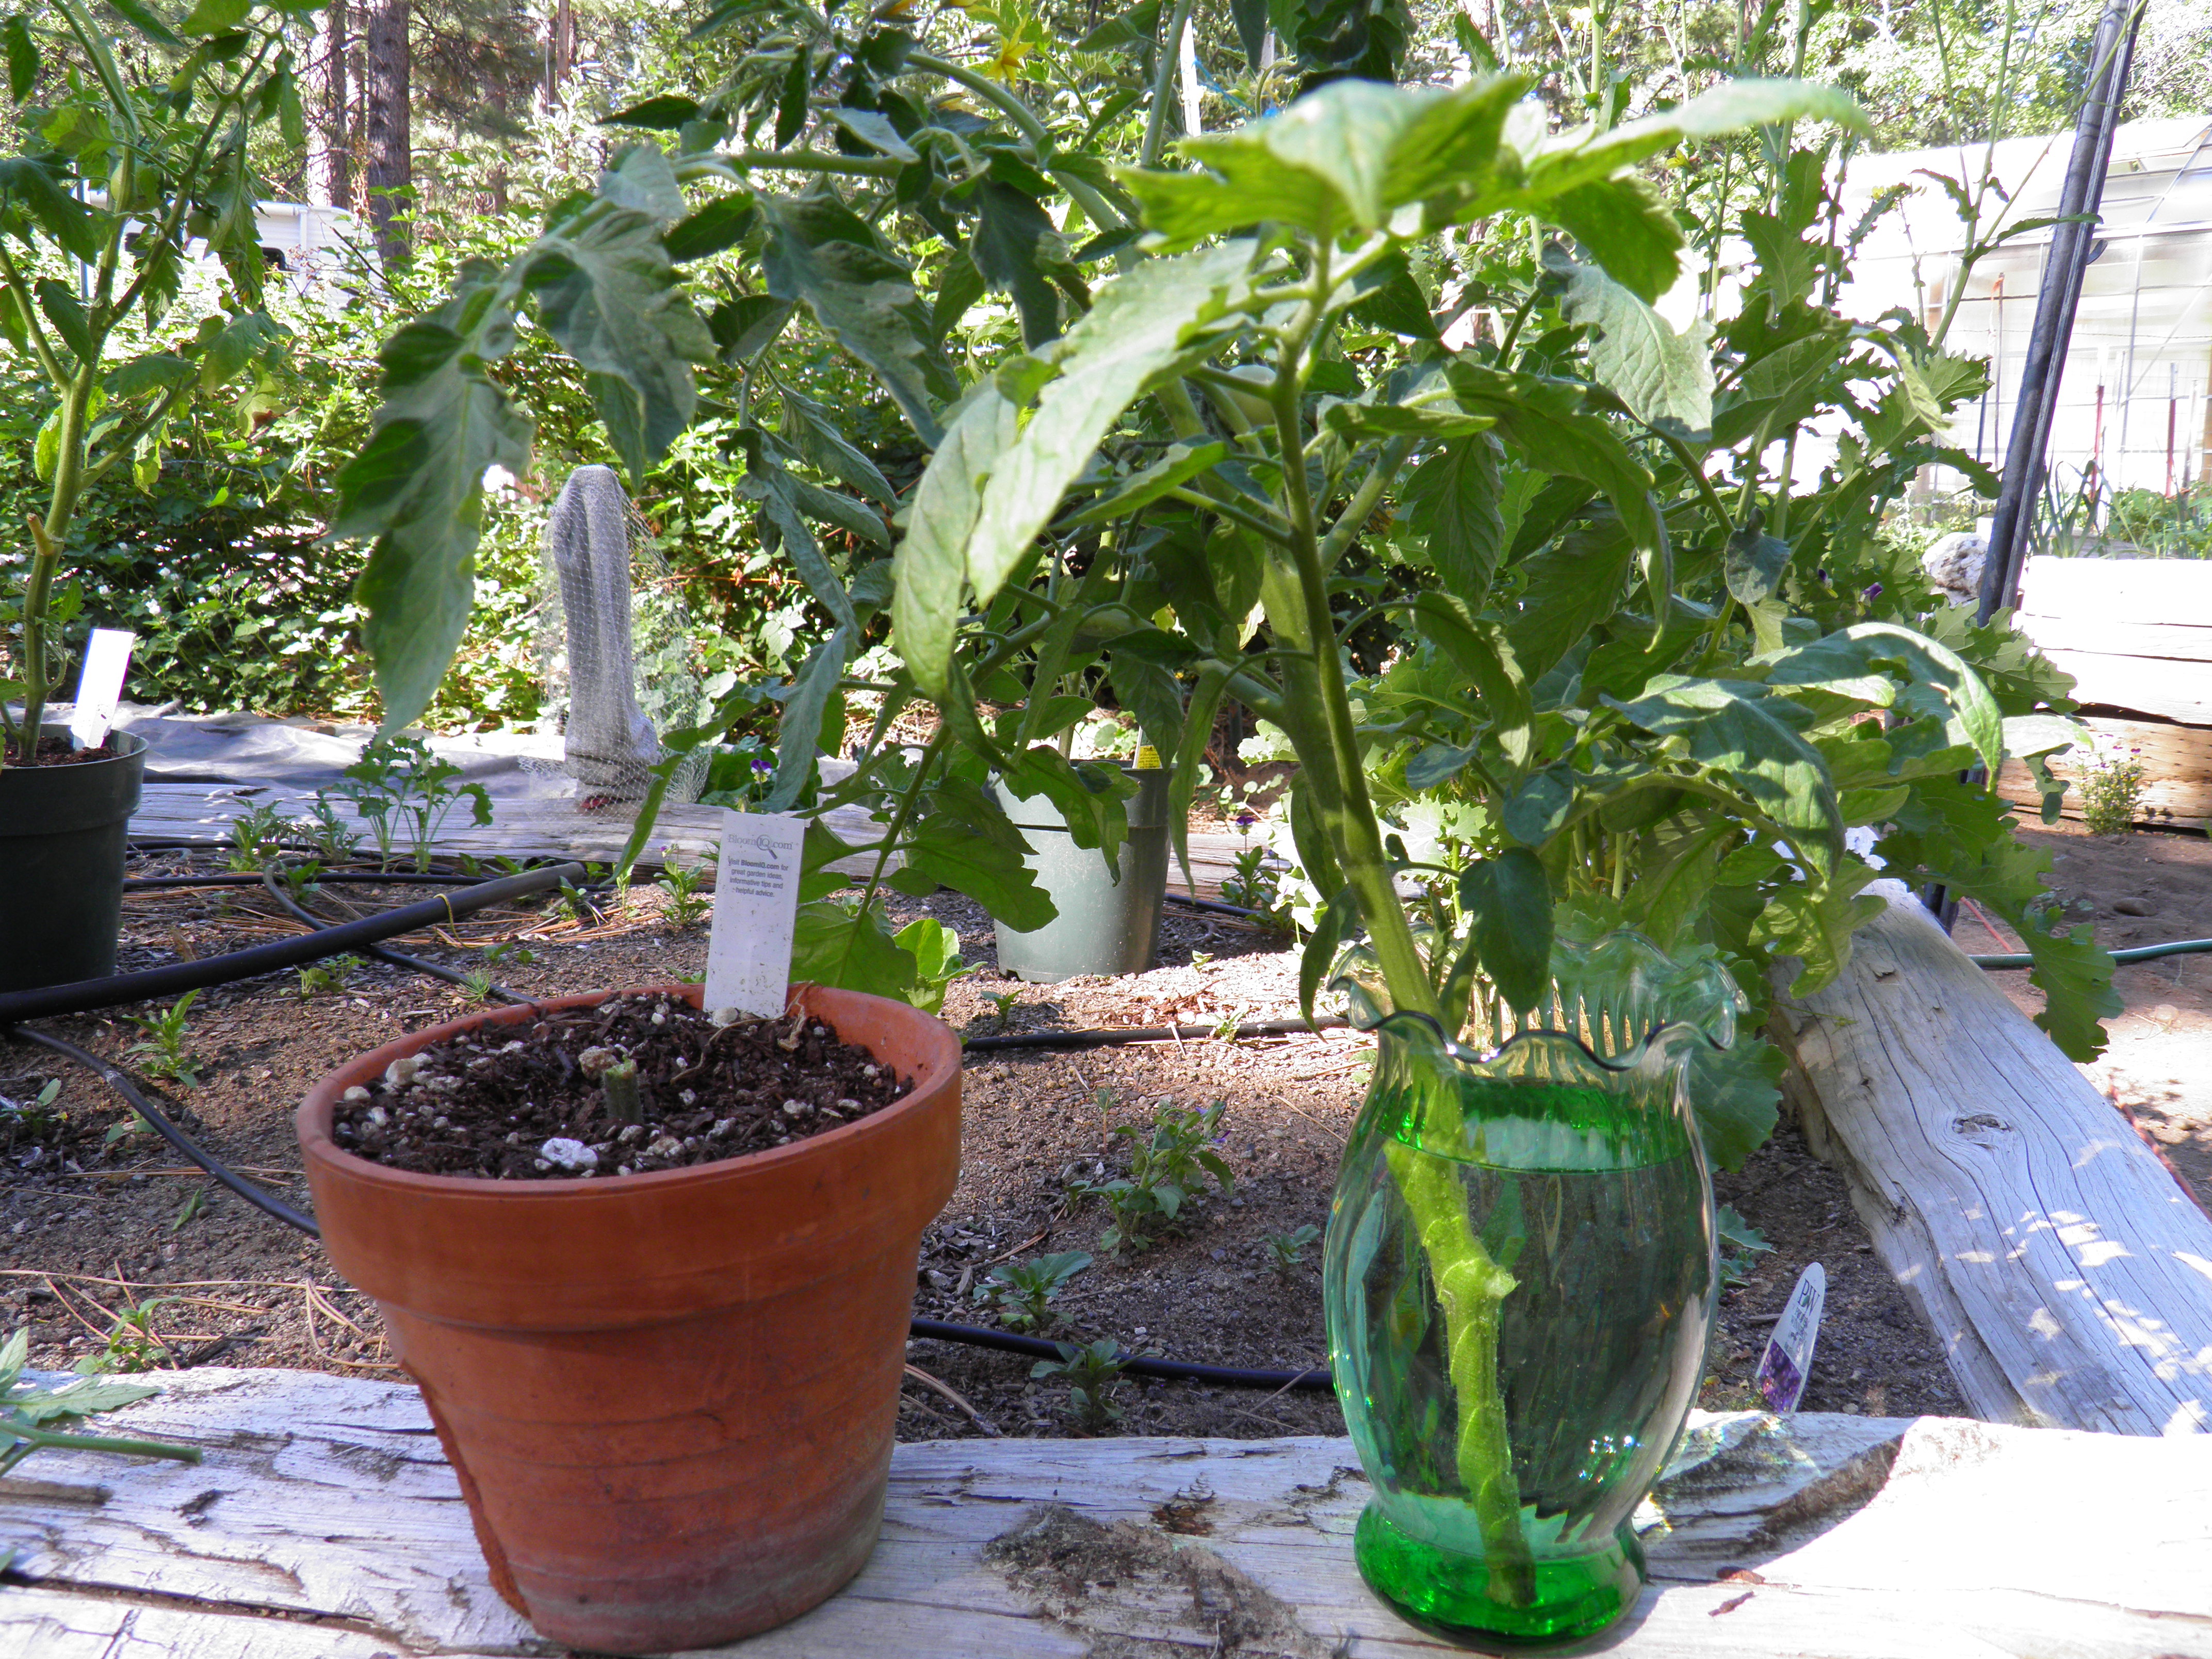
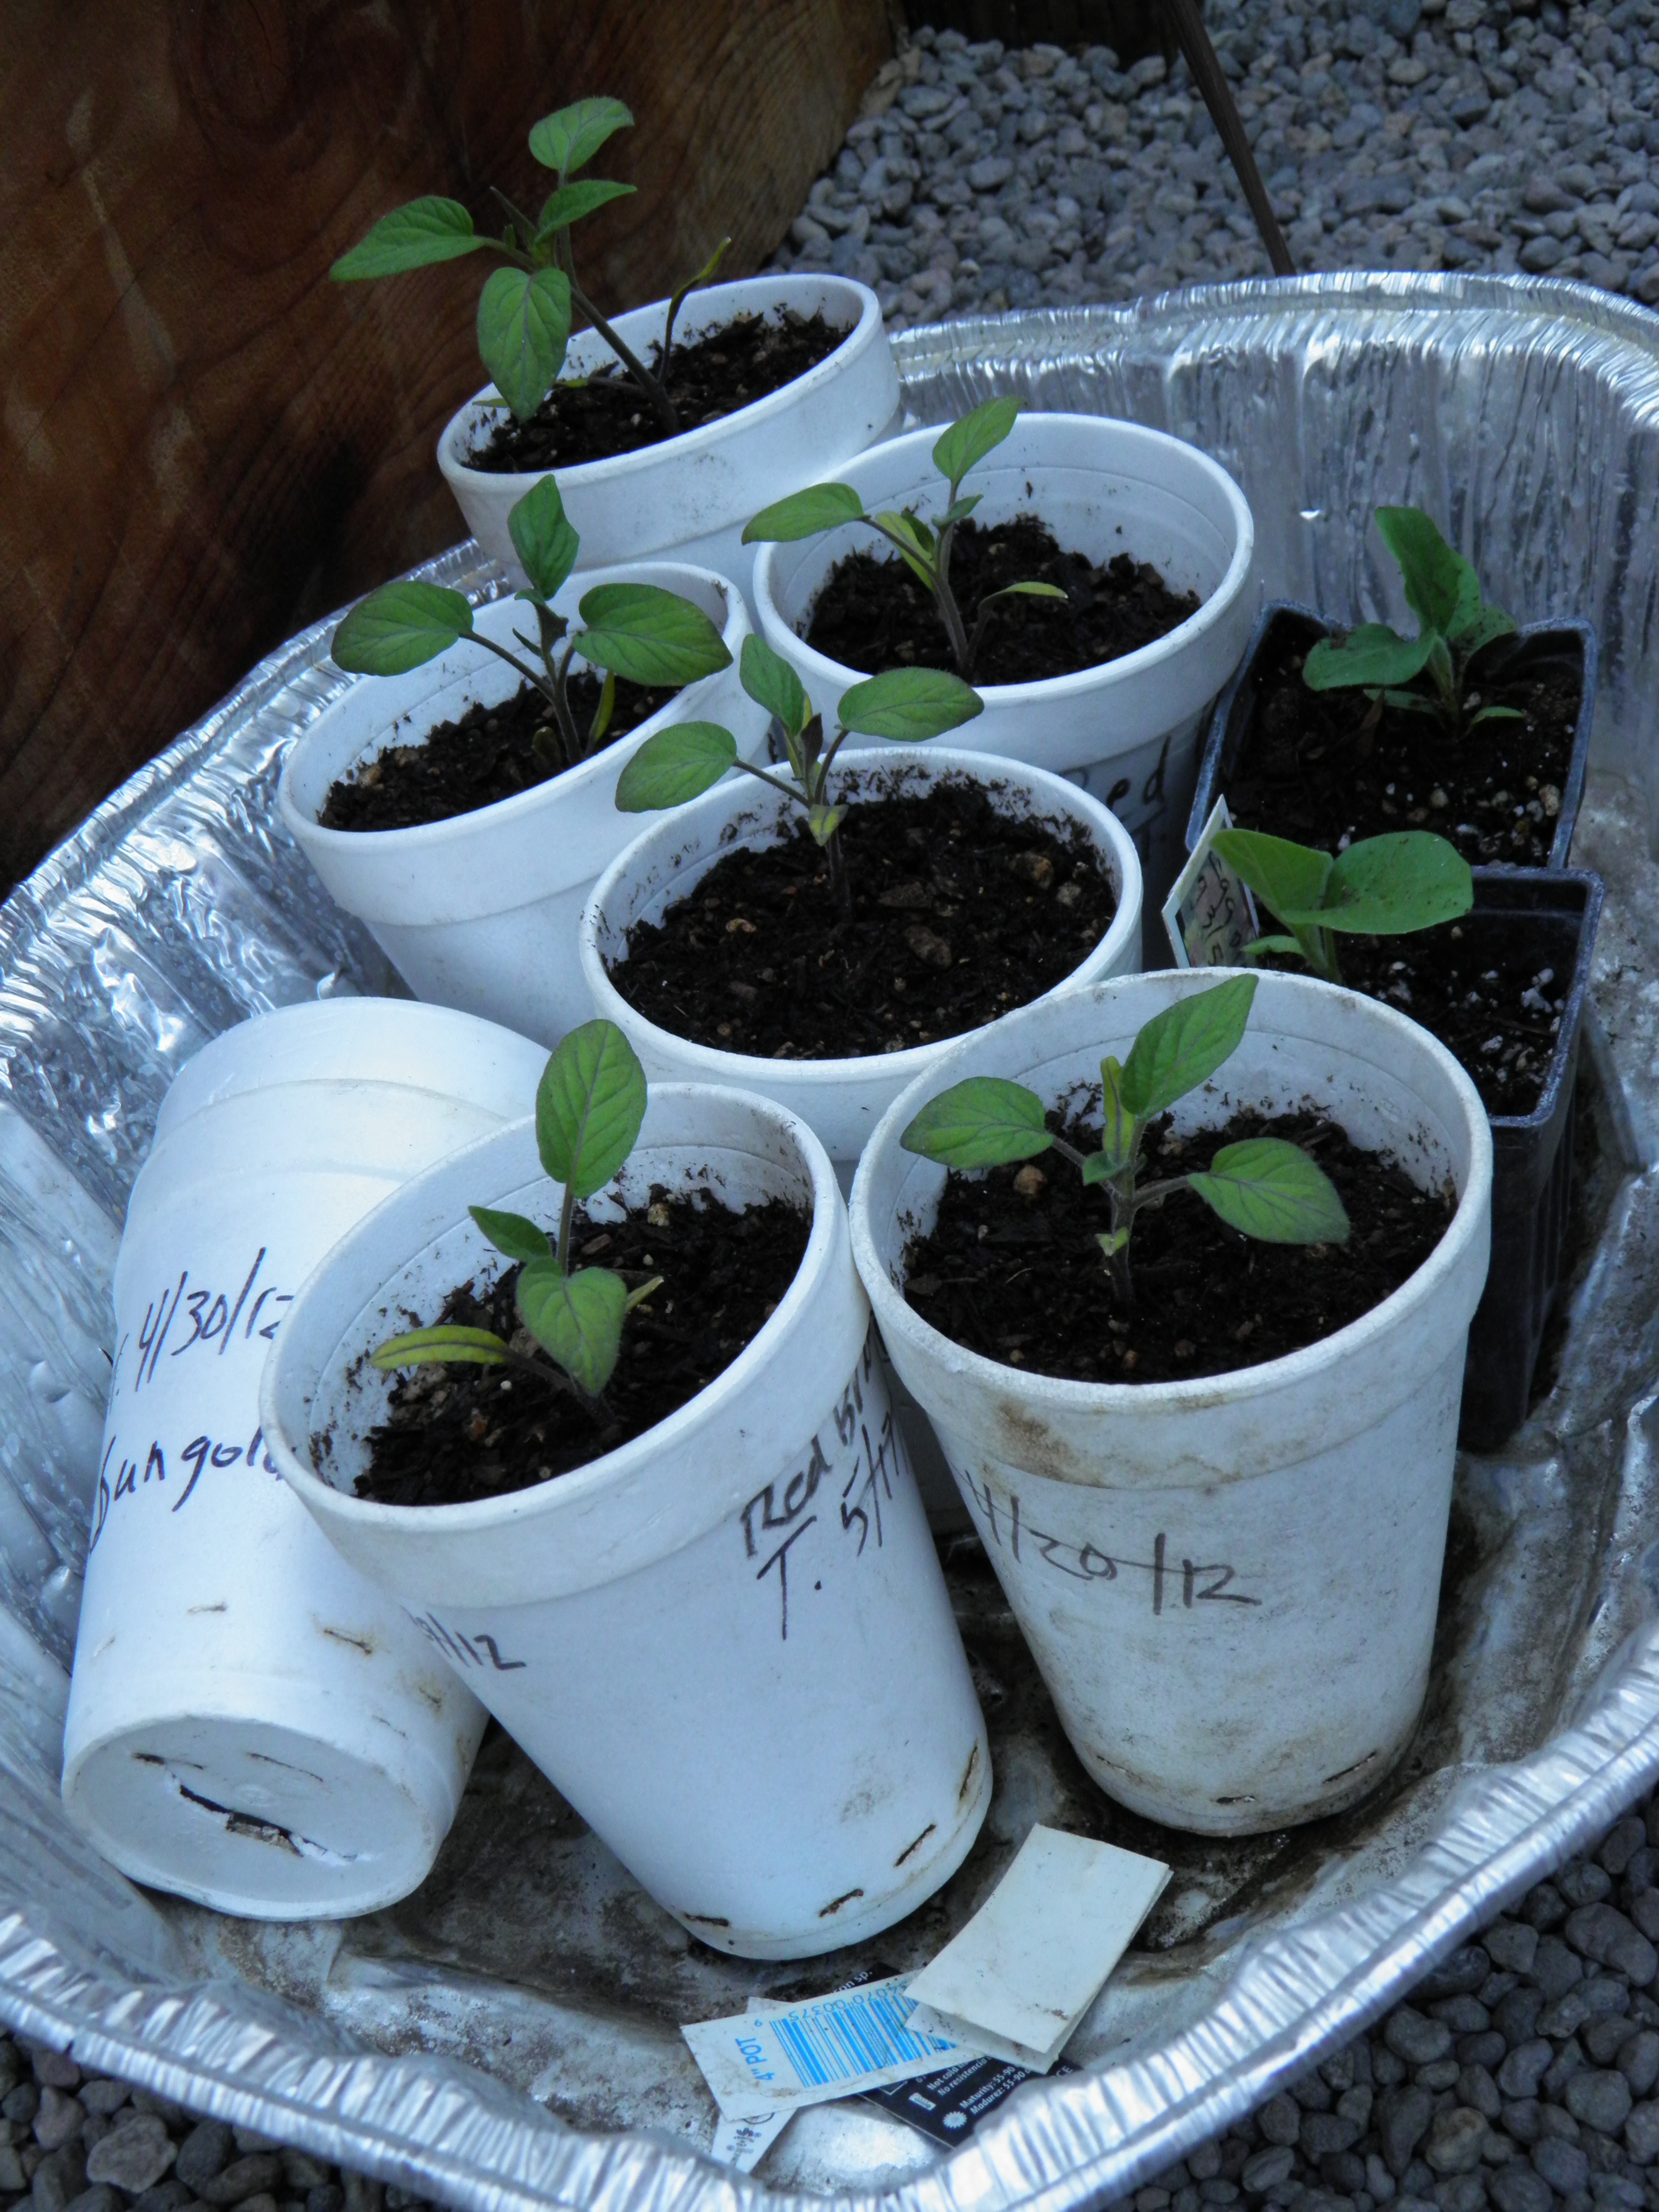
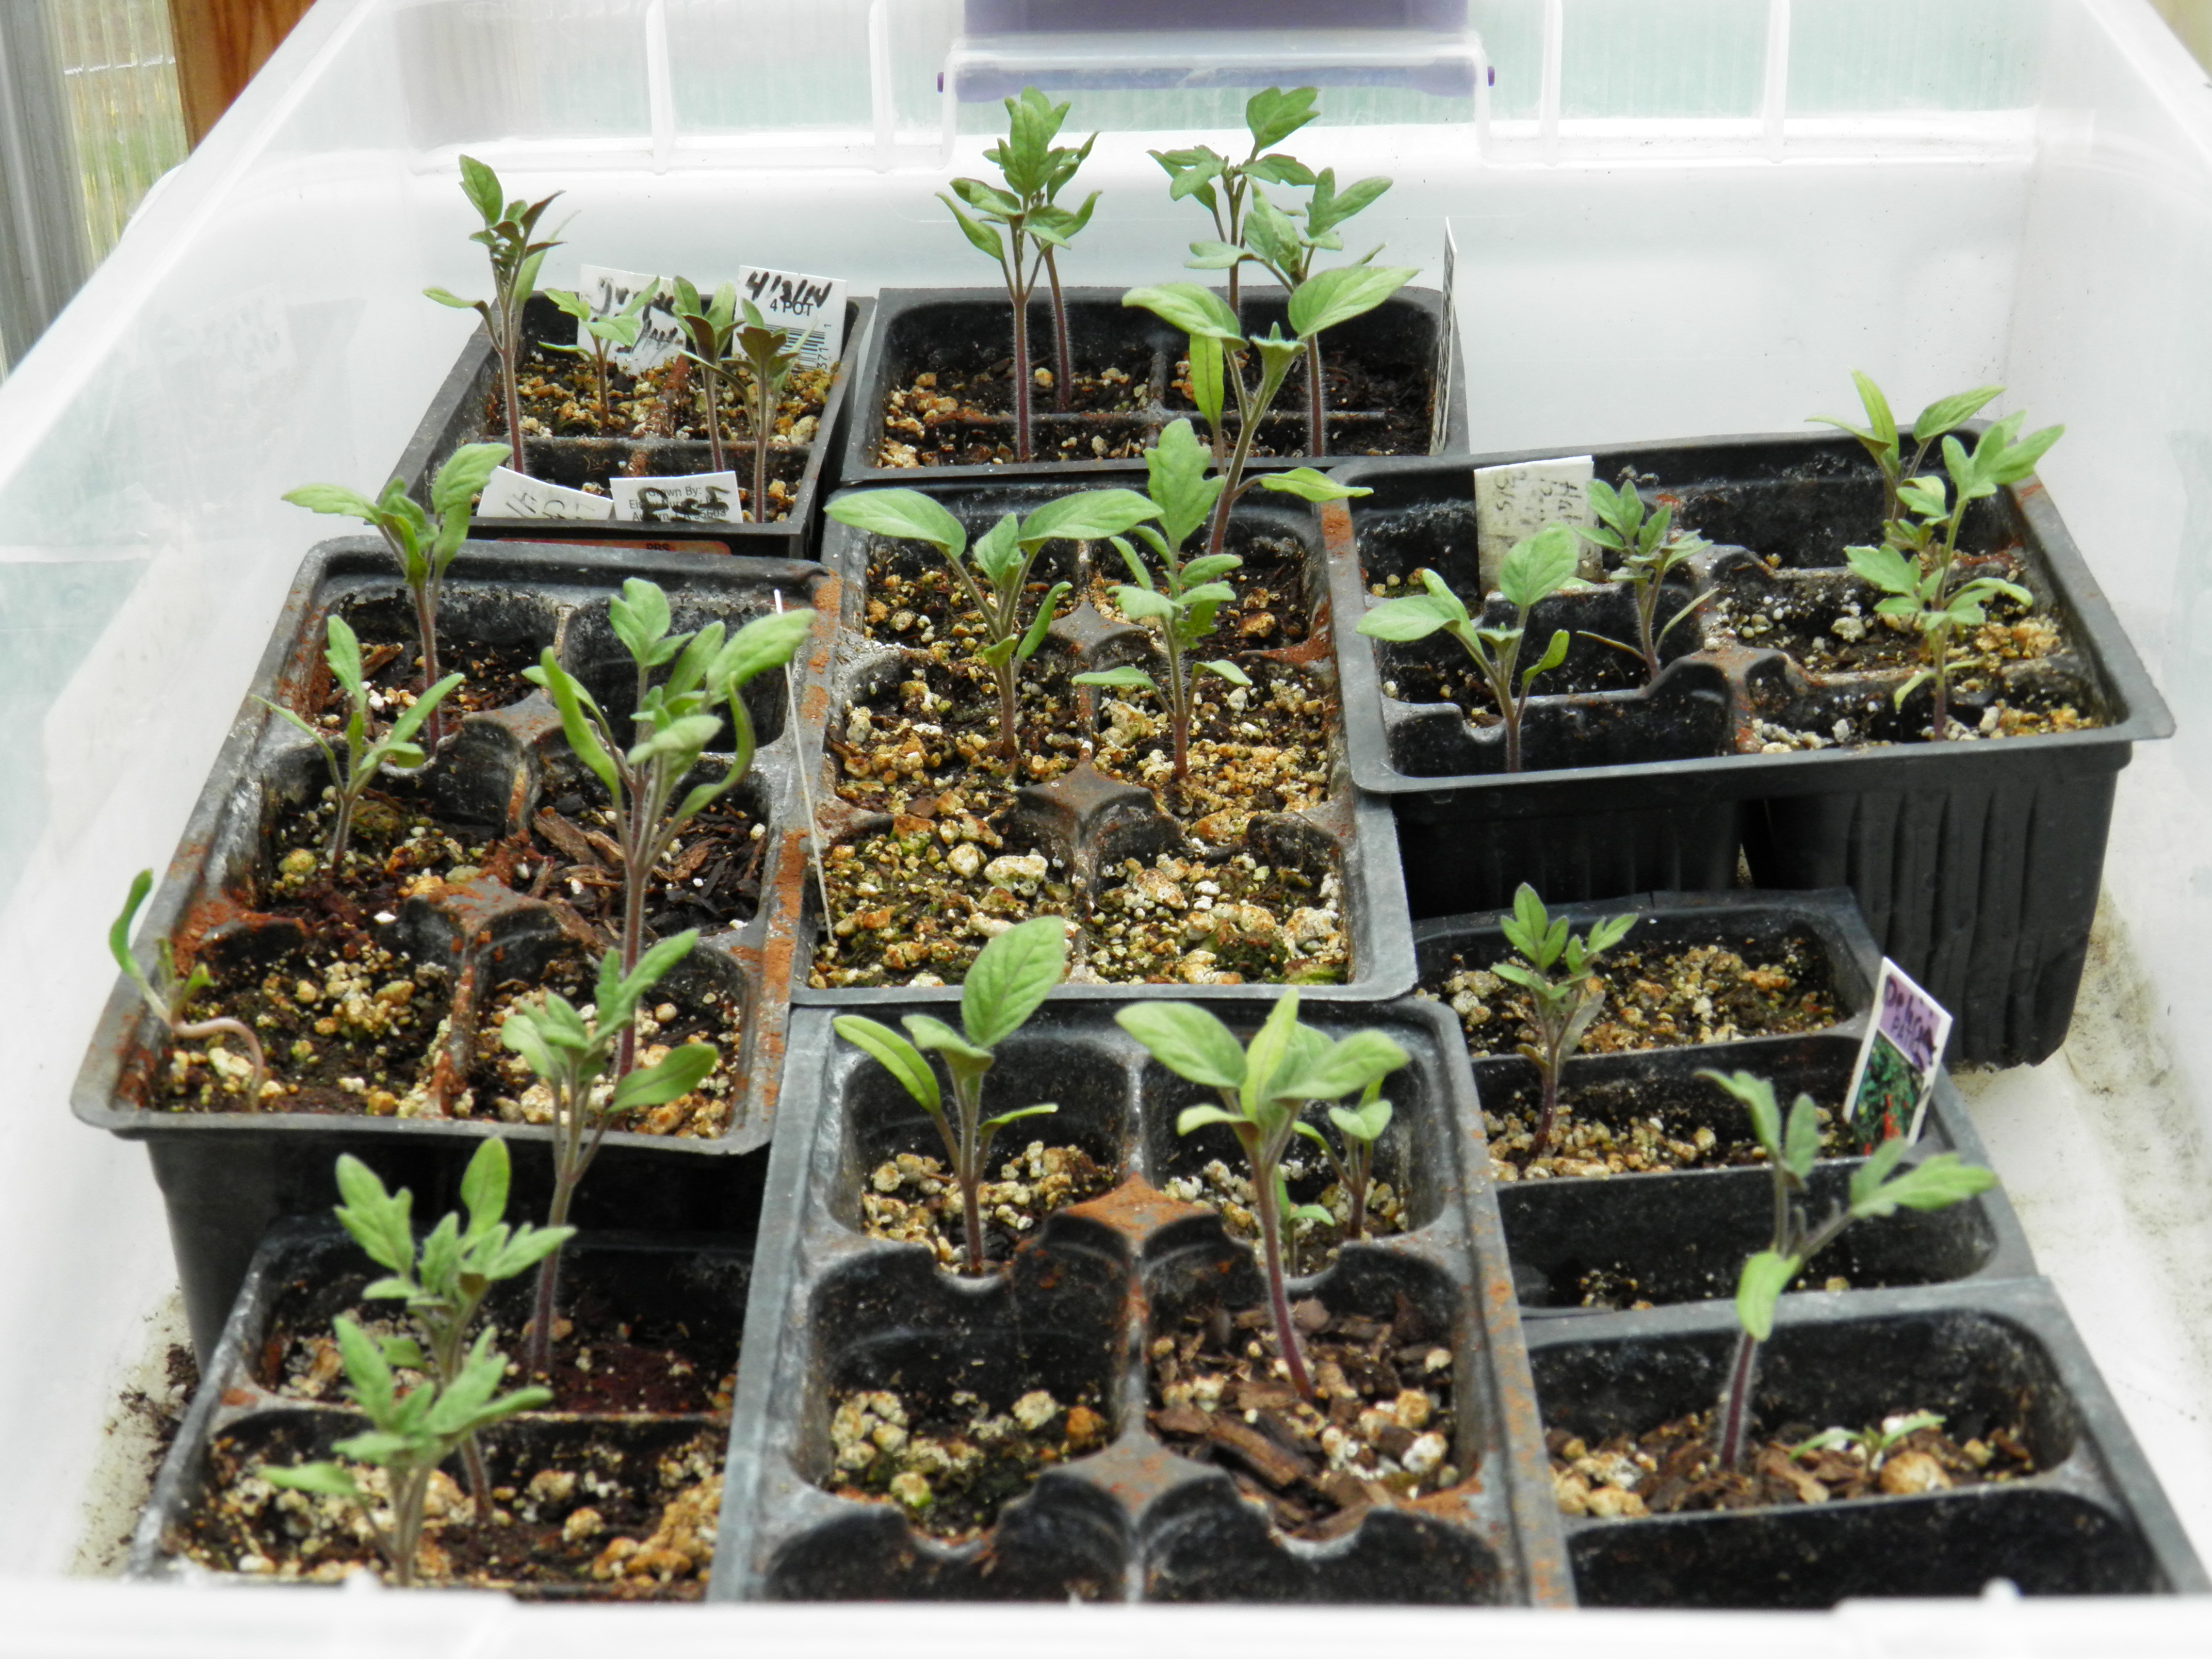
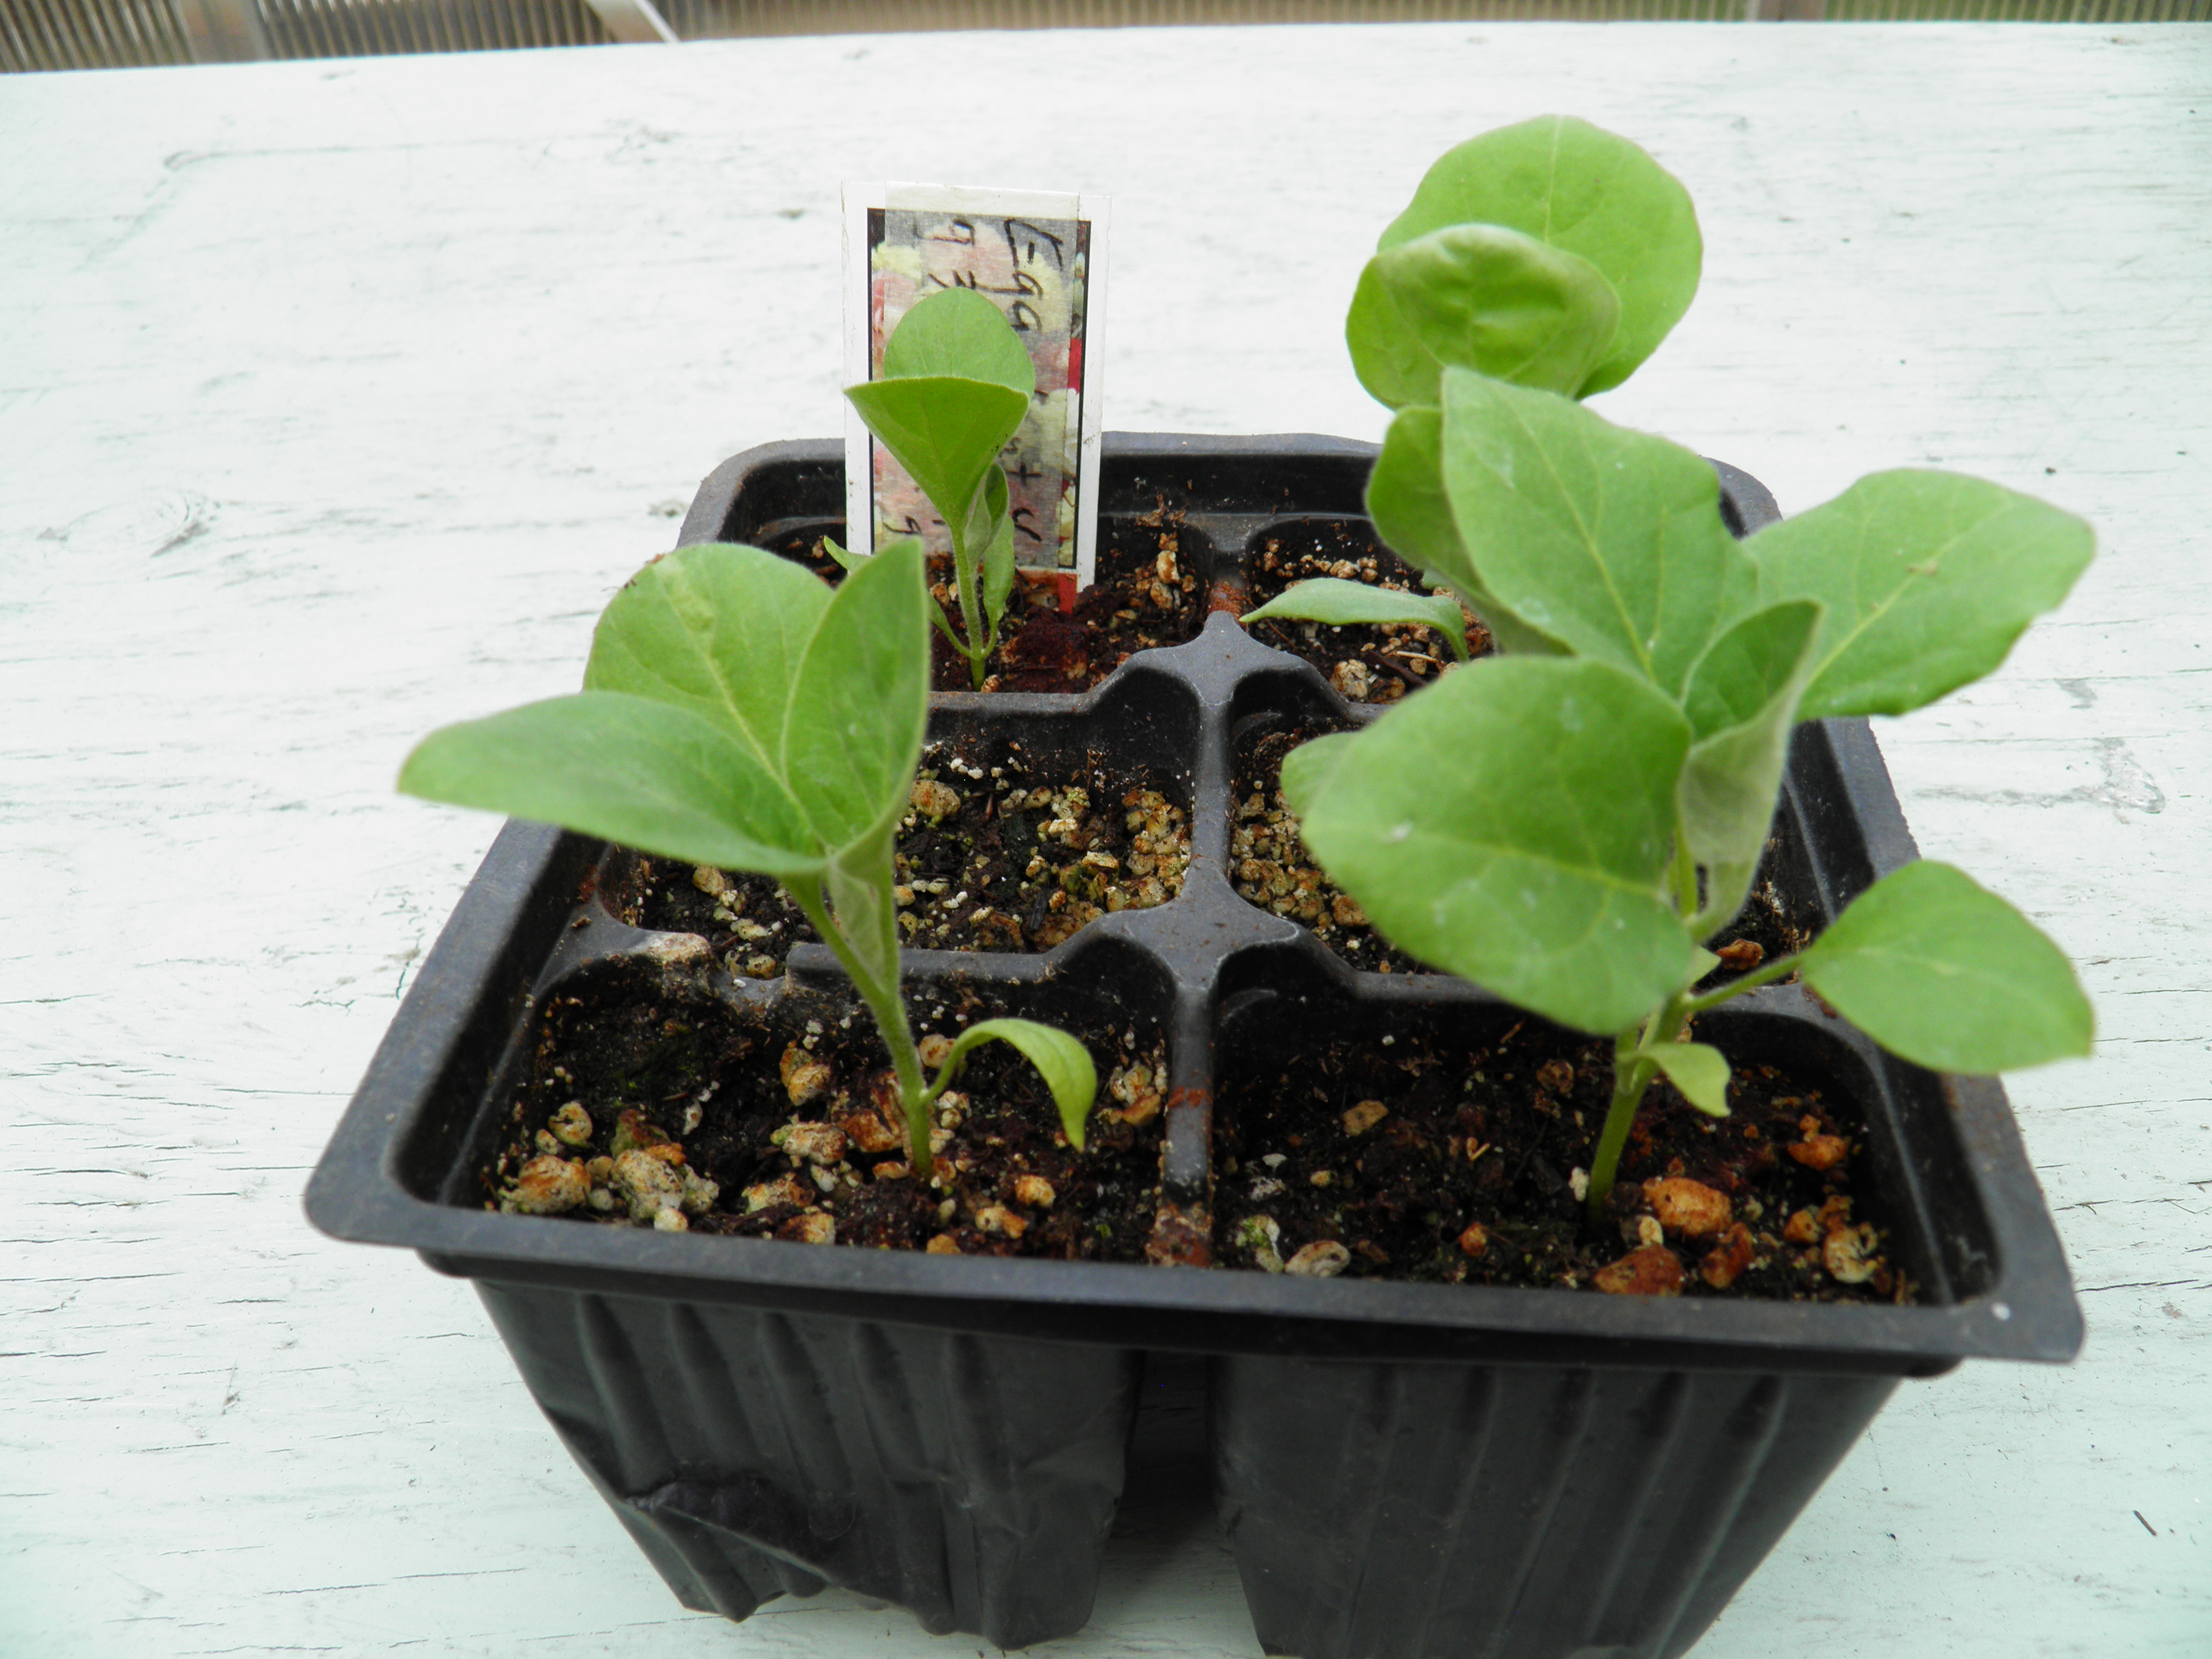
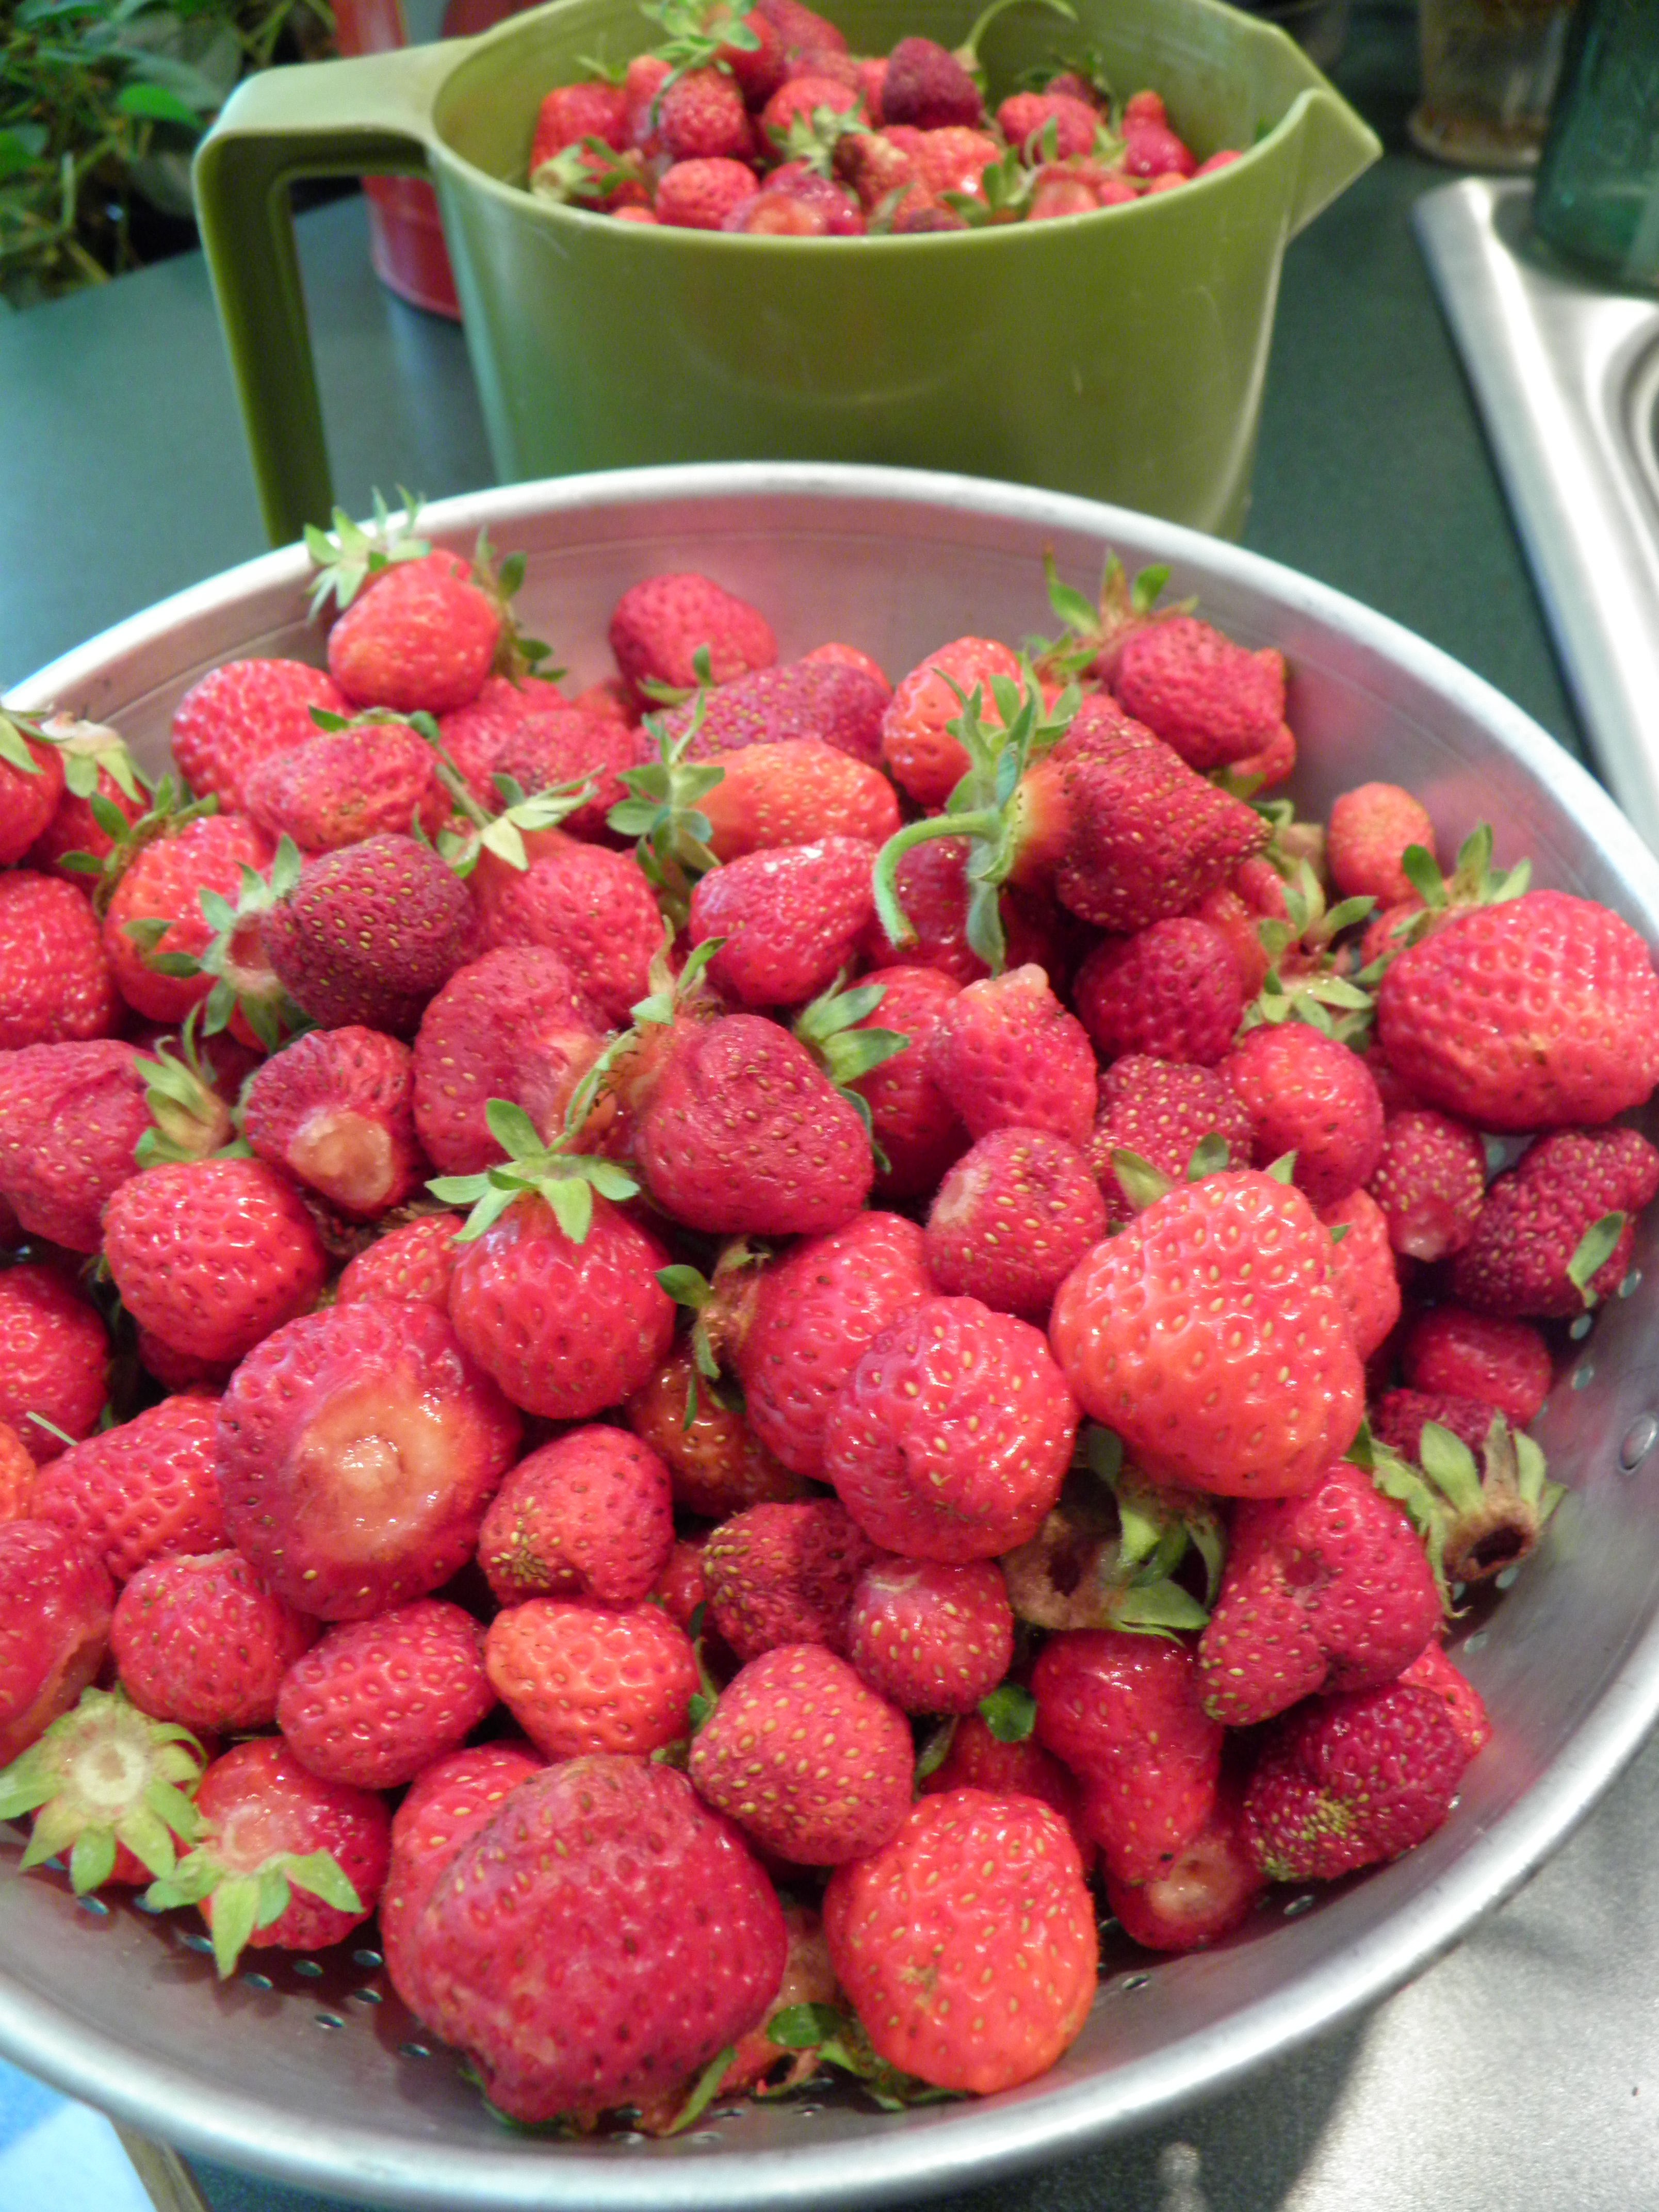
Today I finished up a few last tasks, picking the strawberries, netting the blueberries, peaches, and apricots, transplanting Amy’s cloned tomato cuttings, pulling the last of the spinach and lettuce (except for a seed-producer of each kind), staking some tomatoes and eggplant, and yanking a few weeds. I had things to do in the house, but I couldn’t make myself leave the garden; instead, I wandered around taking bad pictures.  All day, I felt as if I were saying goodbye to a beloved friend. And that’s a pretty accurate description of my relationship with my garden.

OLYMPUS DIGITAL CAMERA

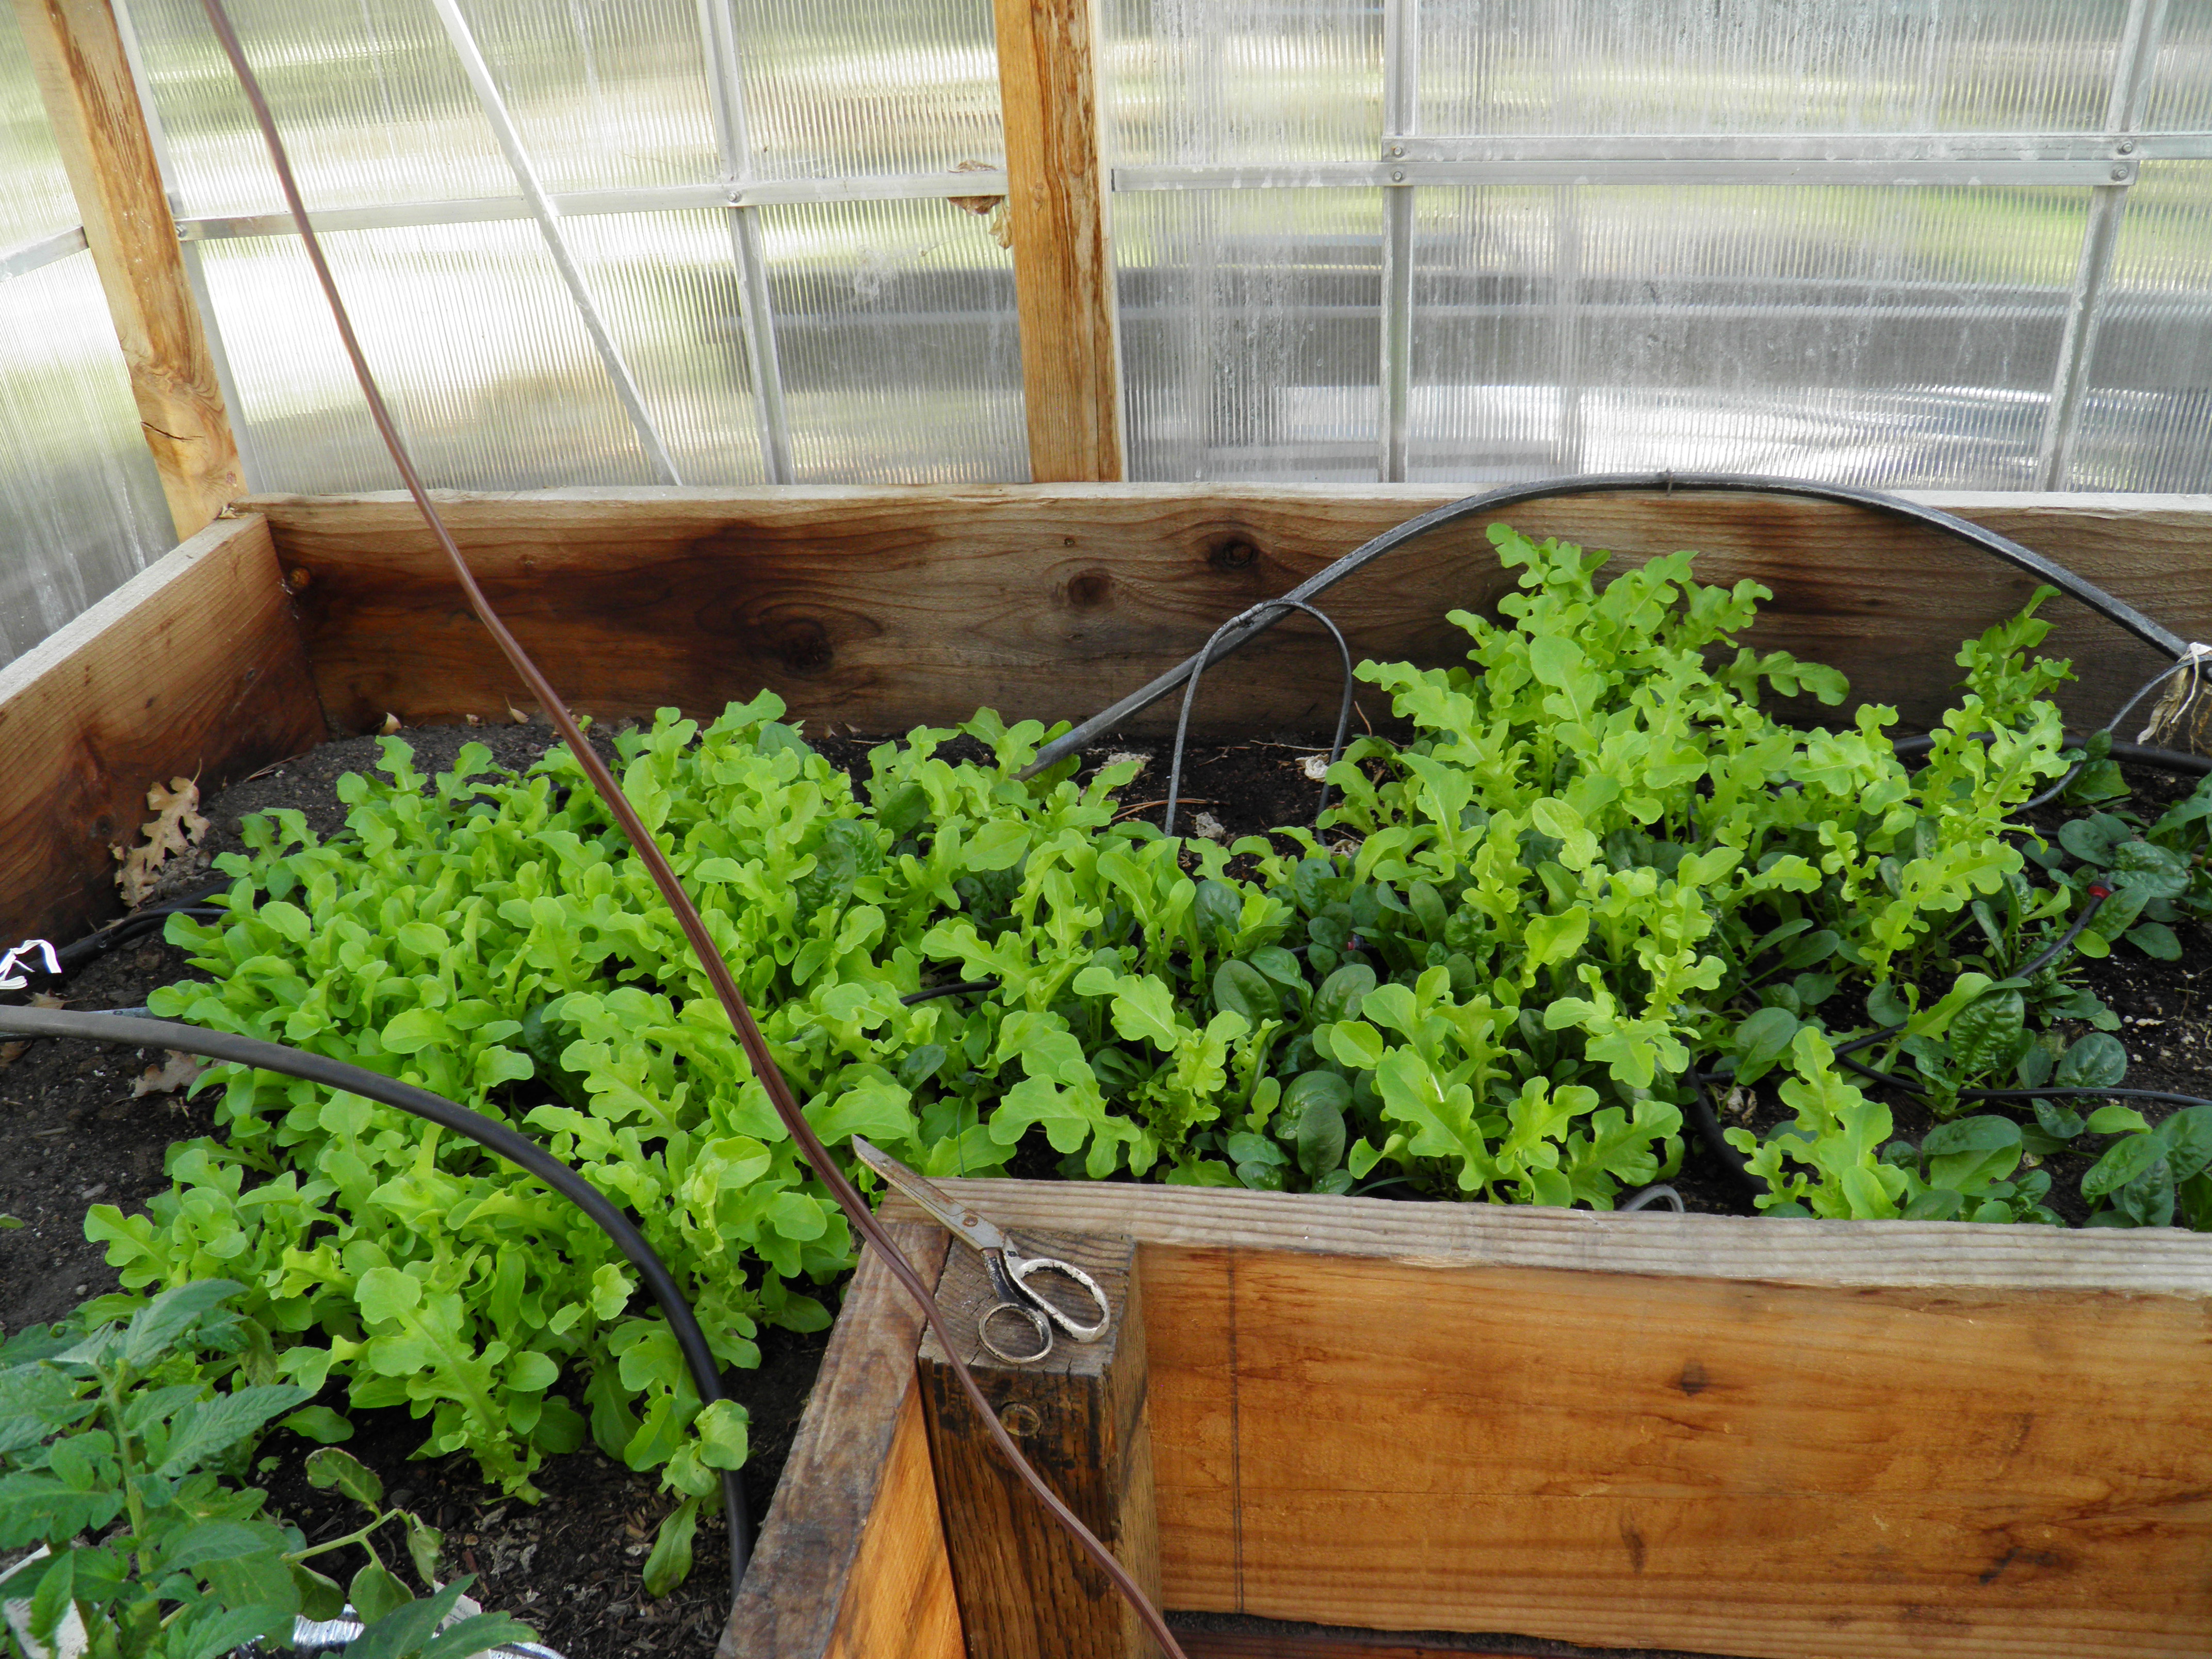
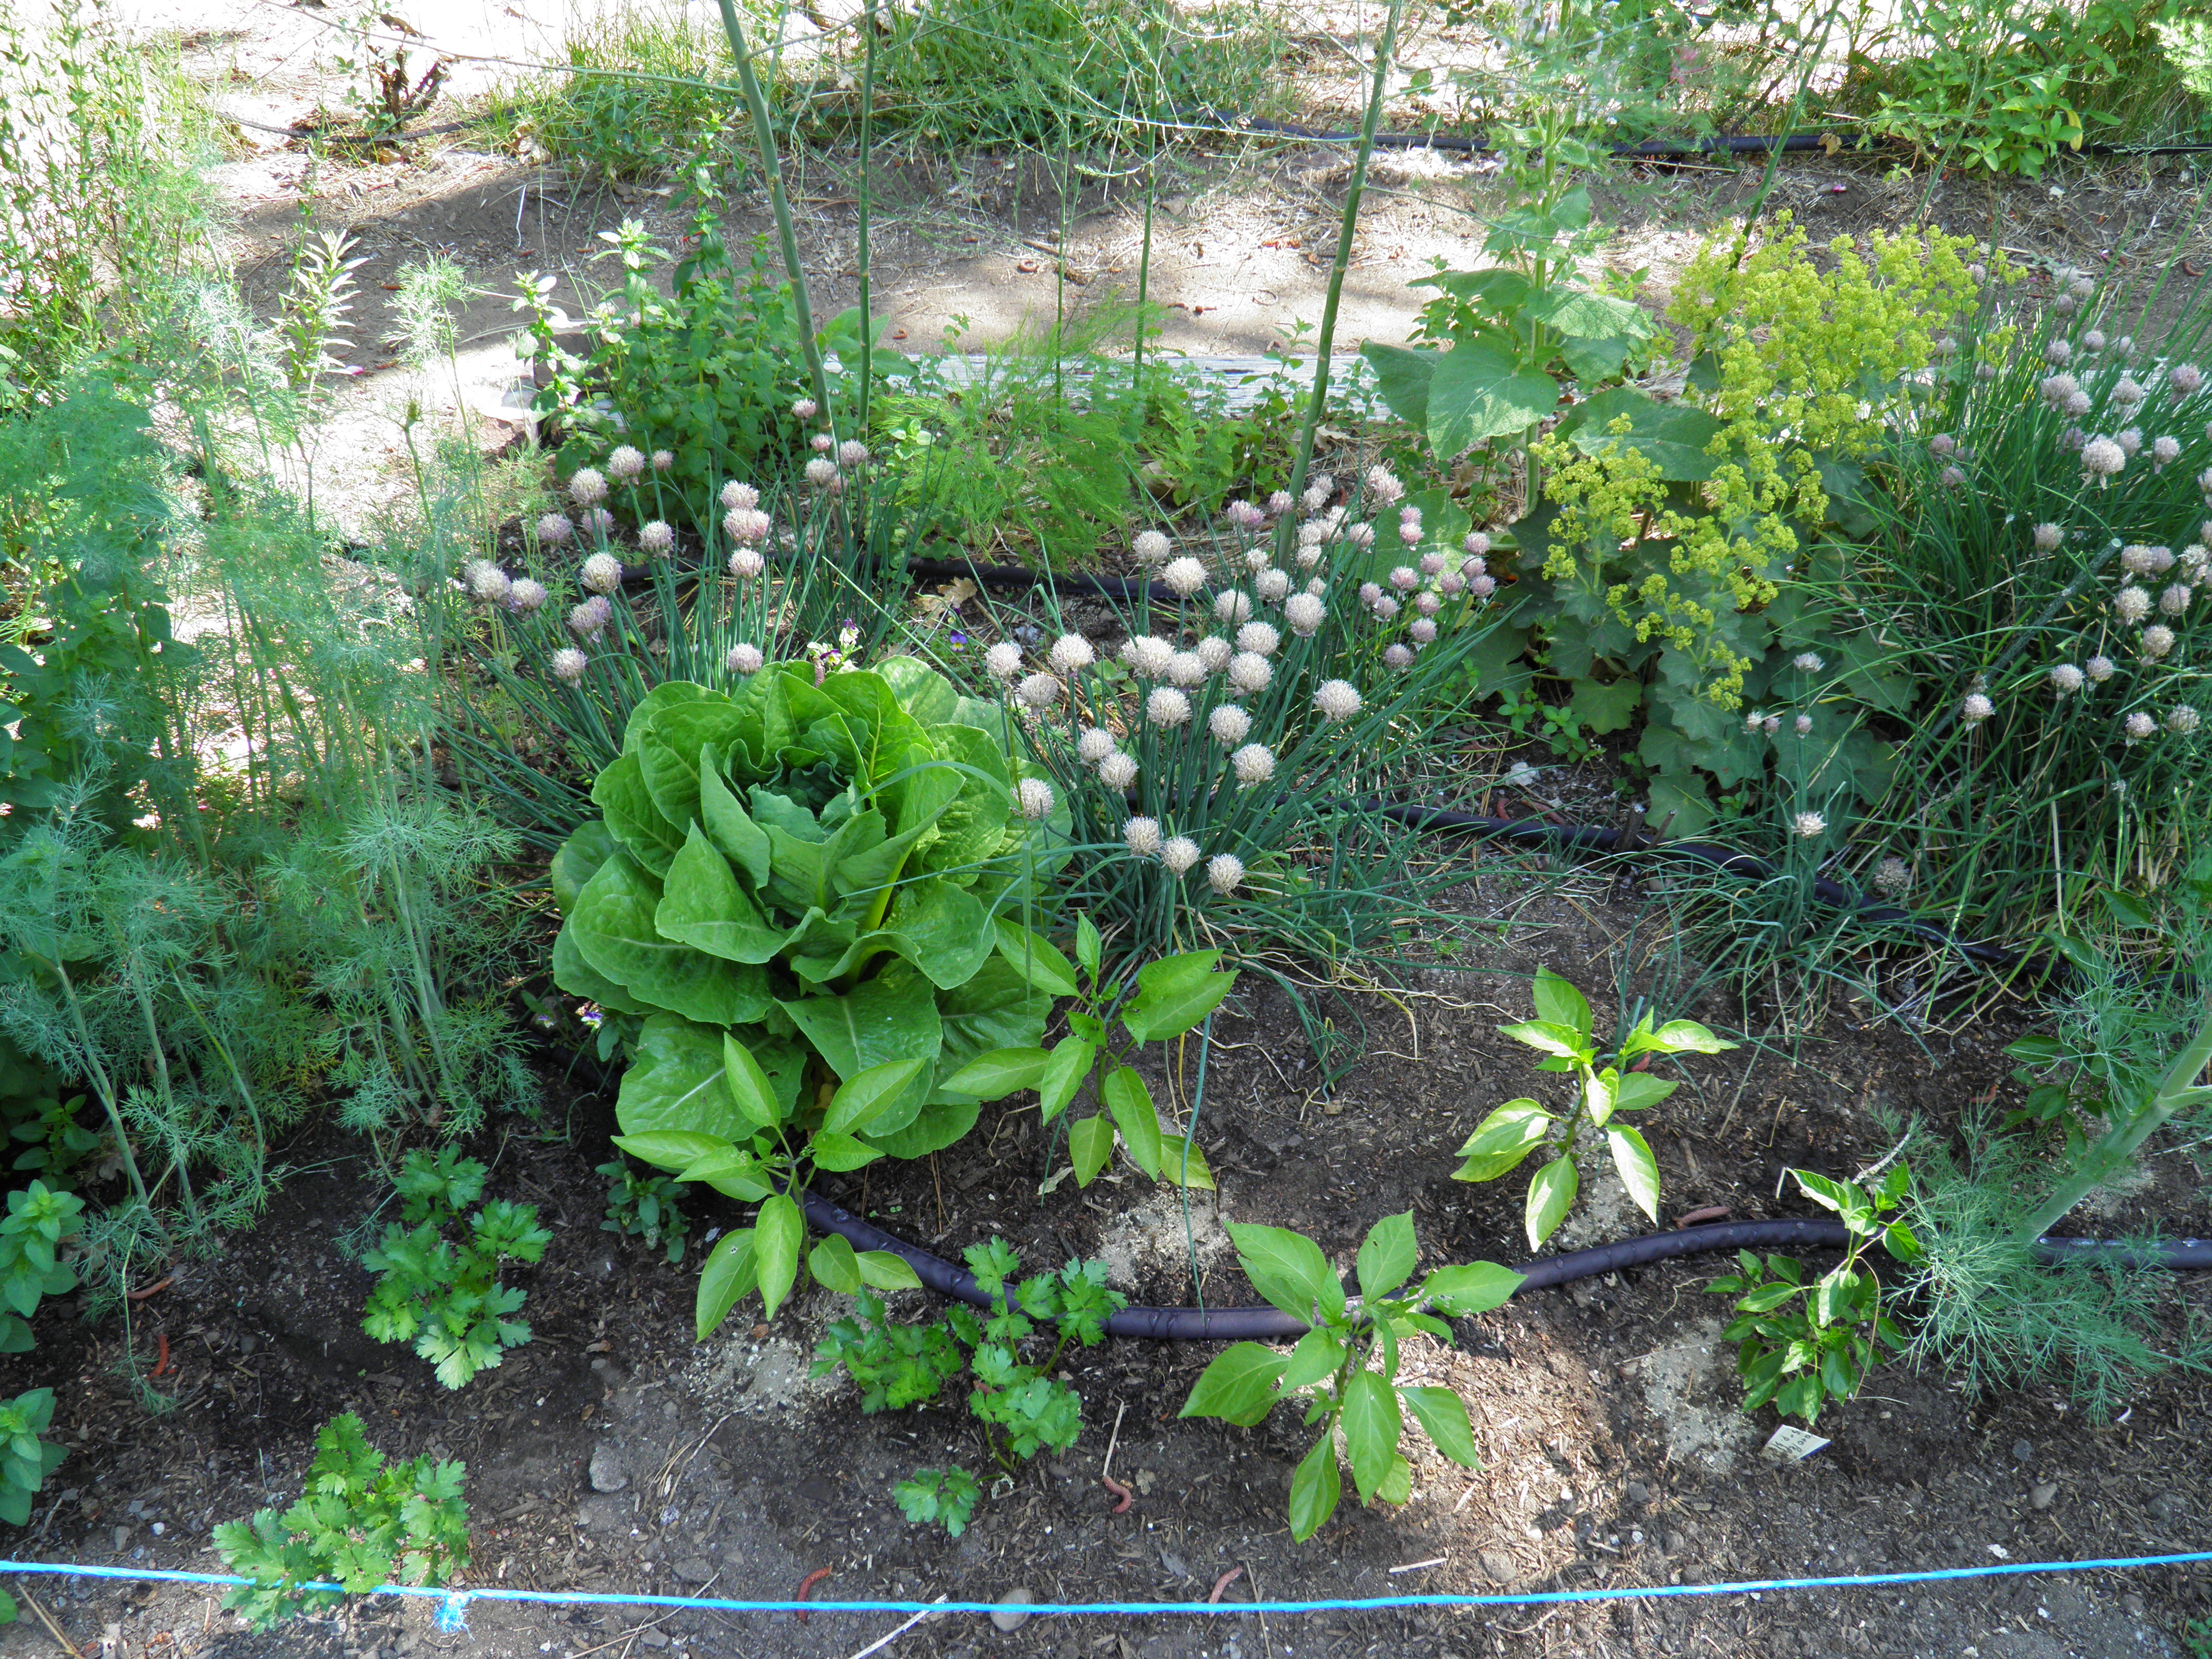
What makes this leave-taking particularly difficult for me is that the garden is really taking off right now. I have lovely, lovely lettuces—romaine, red romaine, oak leaf, buttercrunch, and black-seeded Simpson—all ready to pick, and some going to seed already. It’ll all be bolted by the time I get home, and normally, I’d pull all but one of each type of lettuce after it blooms, leaving just one to make seeds for next year. (I let my lettuces bolt and bloom to make more blossoms for bees.) I’m relying on my son, Joel, and neighbor, Yolanda, and Dennis when he comes home after helping our son-in-law move house to Reno, to cut the lettuce. I’m hoping it doesn’t all go to waste. It is so good right now. But I won’t be here to pull the lettuce when it bolts, so I know I’ll be coming home to a jungle of spent lettuce in the tomato beds.

OLYMPUS DIGITAL CAMERA

My raspberries are just beginning to ripen as the strawberry harvest winds down. I have boysenberries starting to redden also. They’ll be deep purple when they are ripe. I’ve been babying these vines along, rescuing them from invading raspberry canes, and it’s killing me that I won’t be here for the first good harvest of those beautiful berries. I’ll have to depend on Joel and the grandkids to pick the berries that ripen while we’re gone. My granddaughter’s favorite pancake syrup is boysenberry, and I’m planning to make some for her if I get enough berries in the freezer.

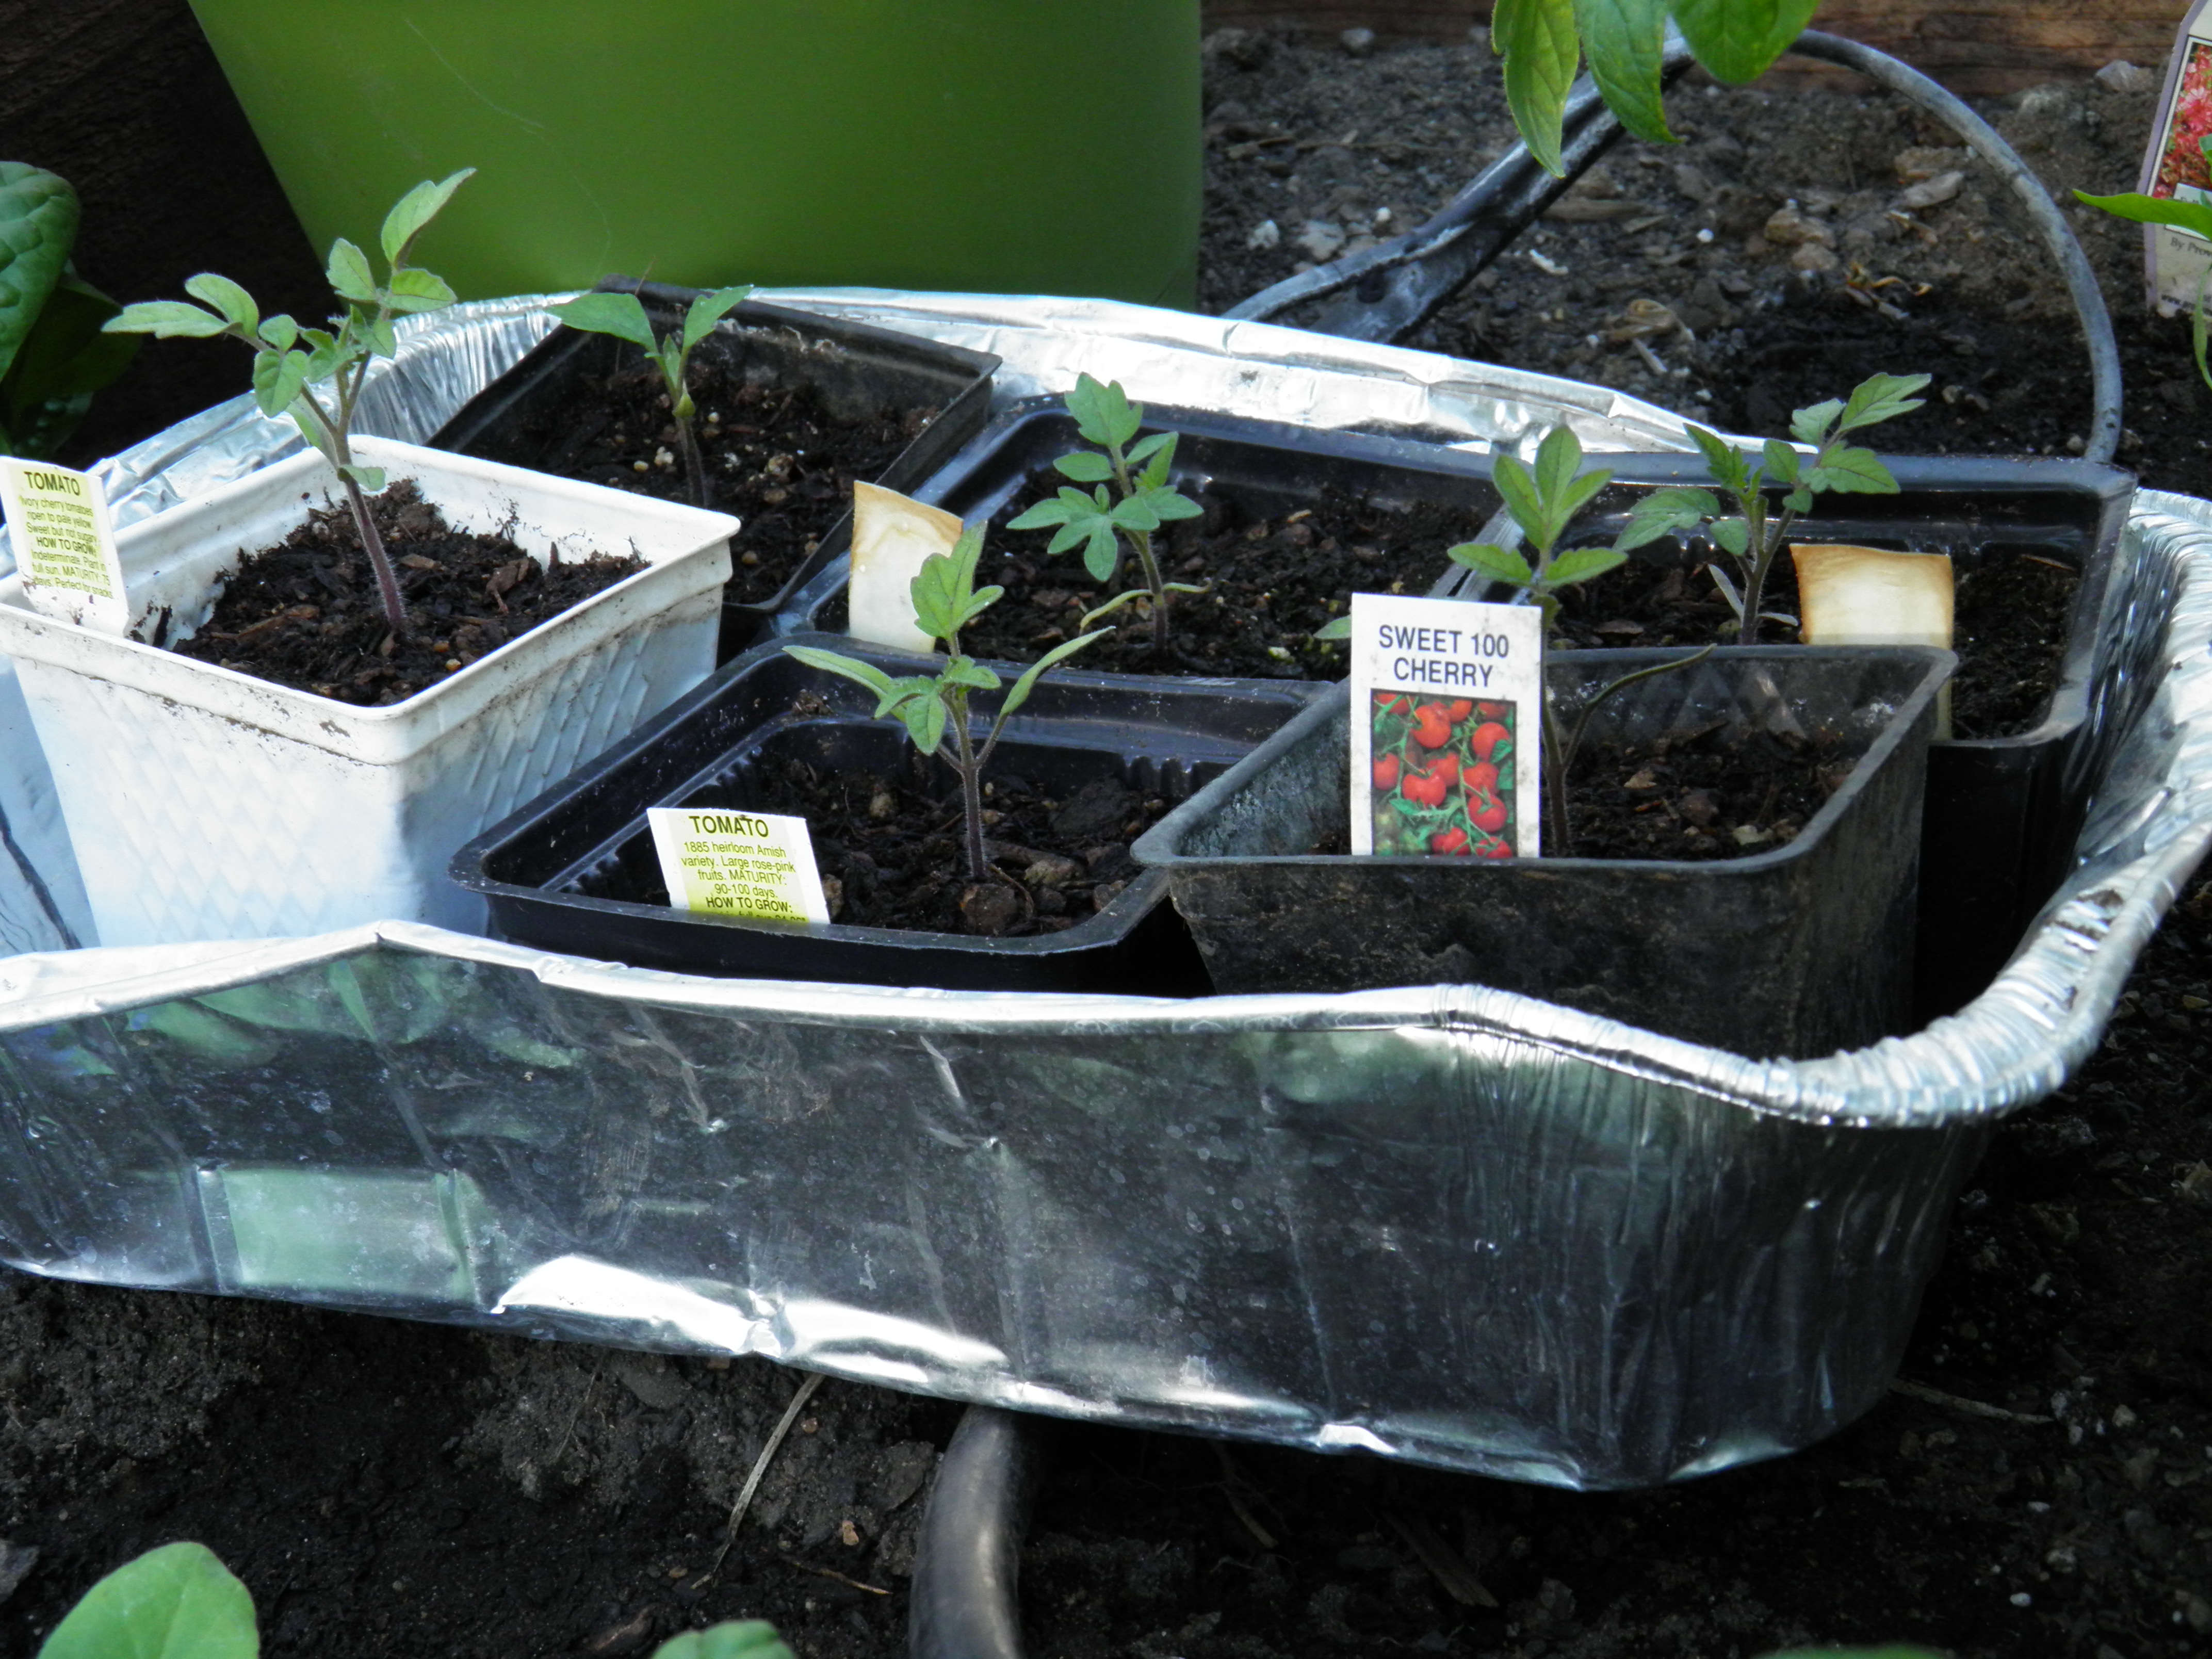
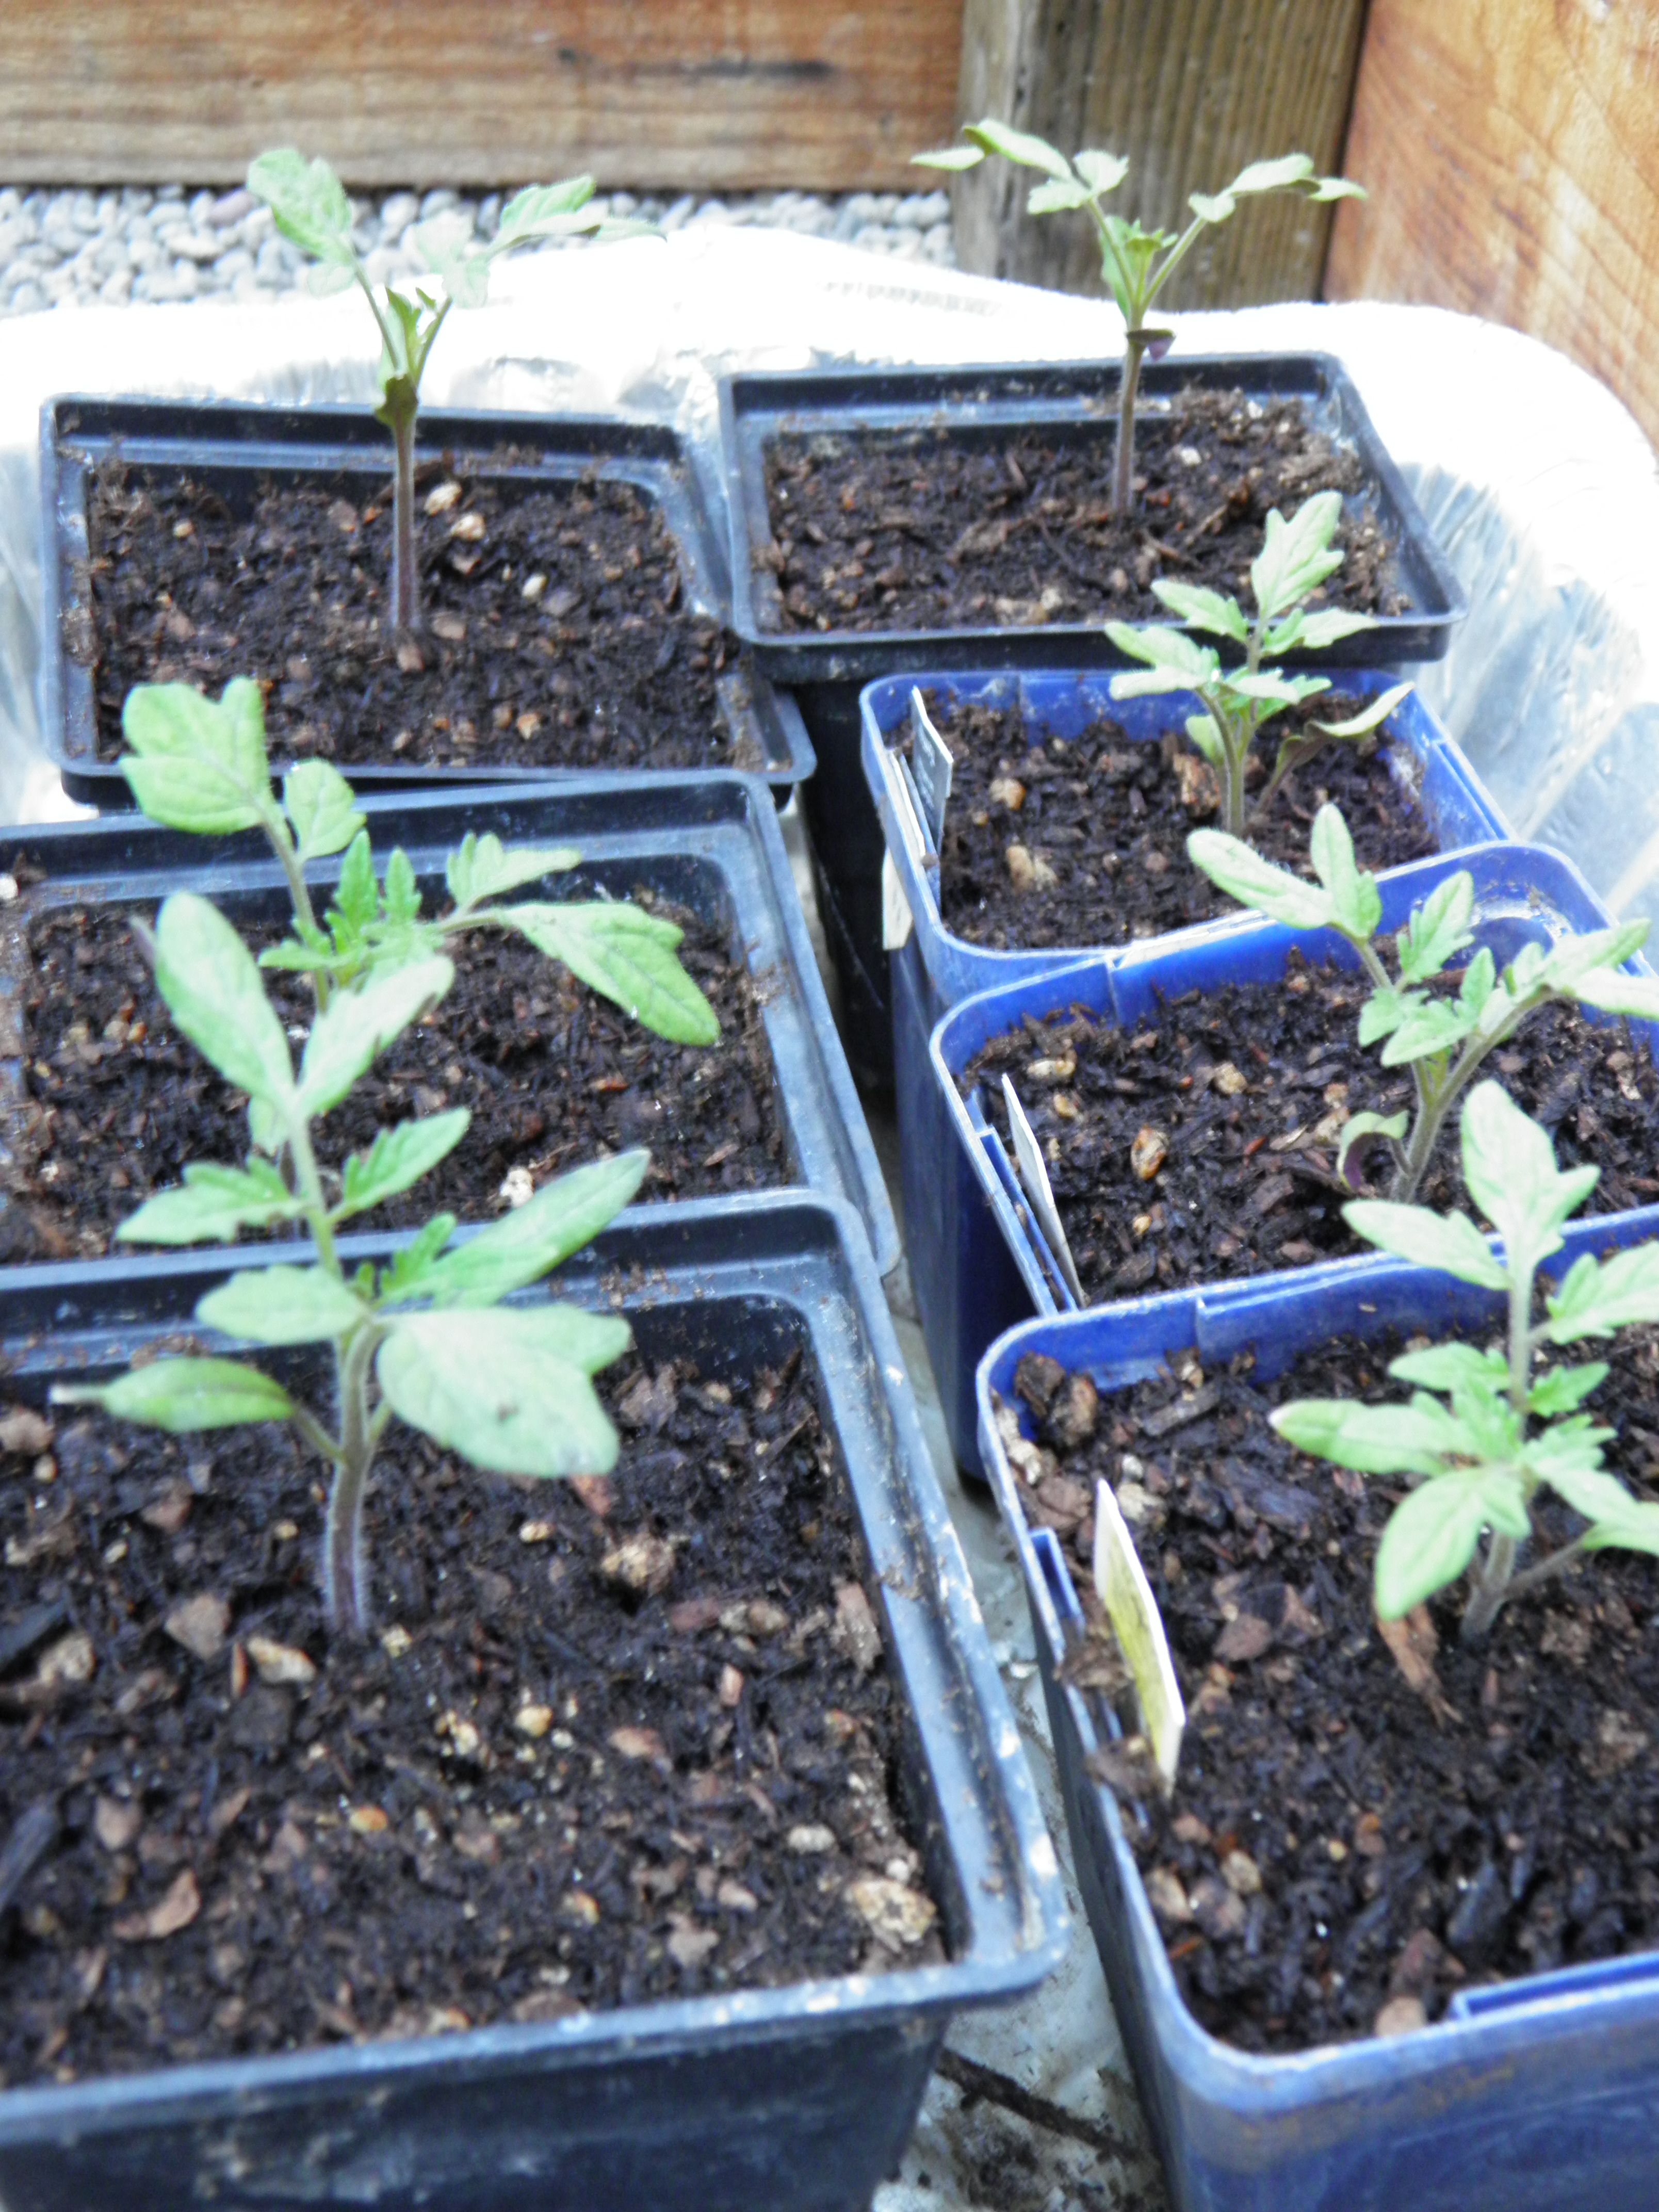
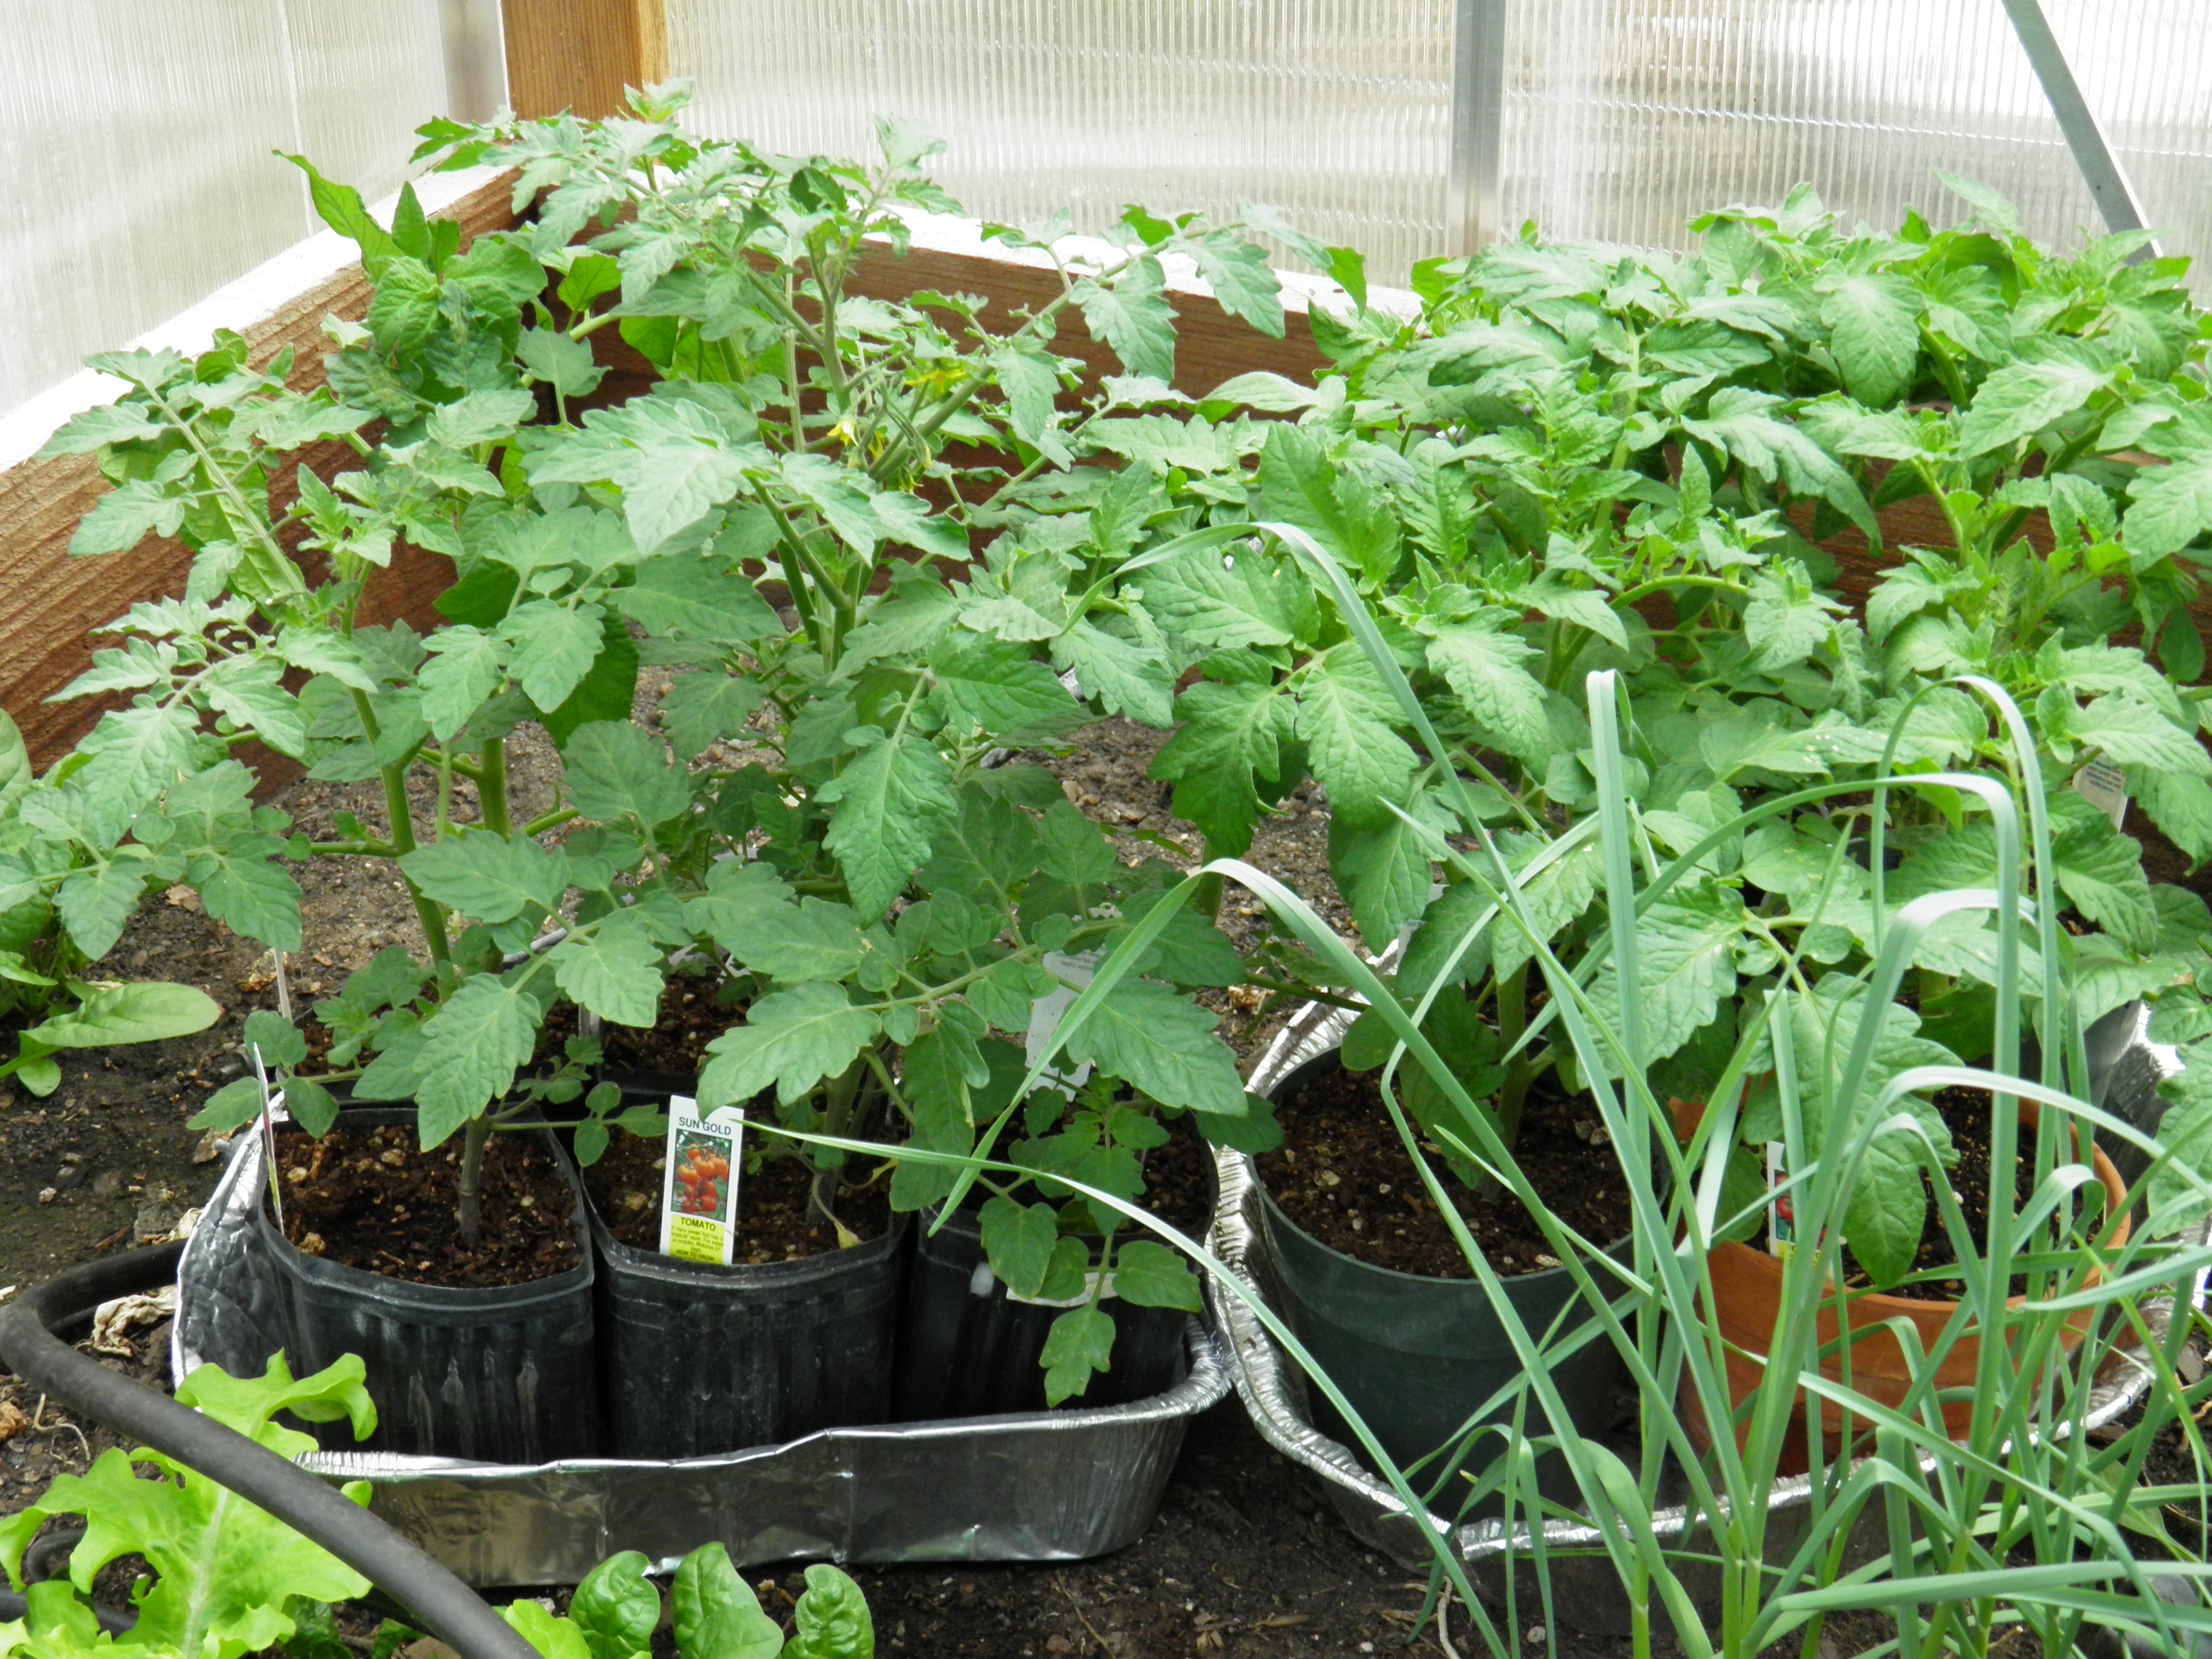
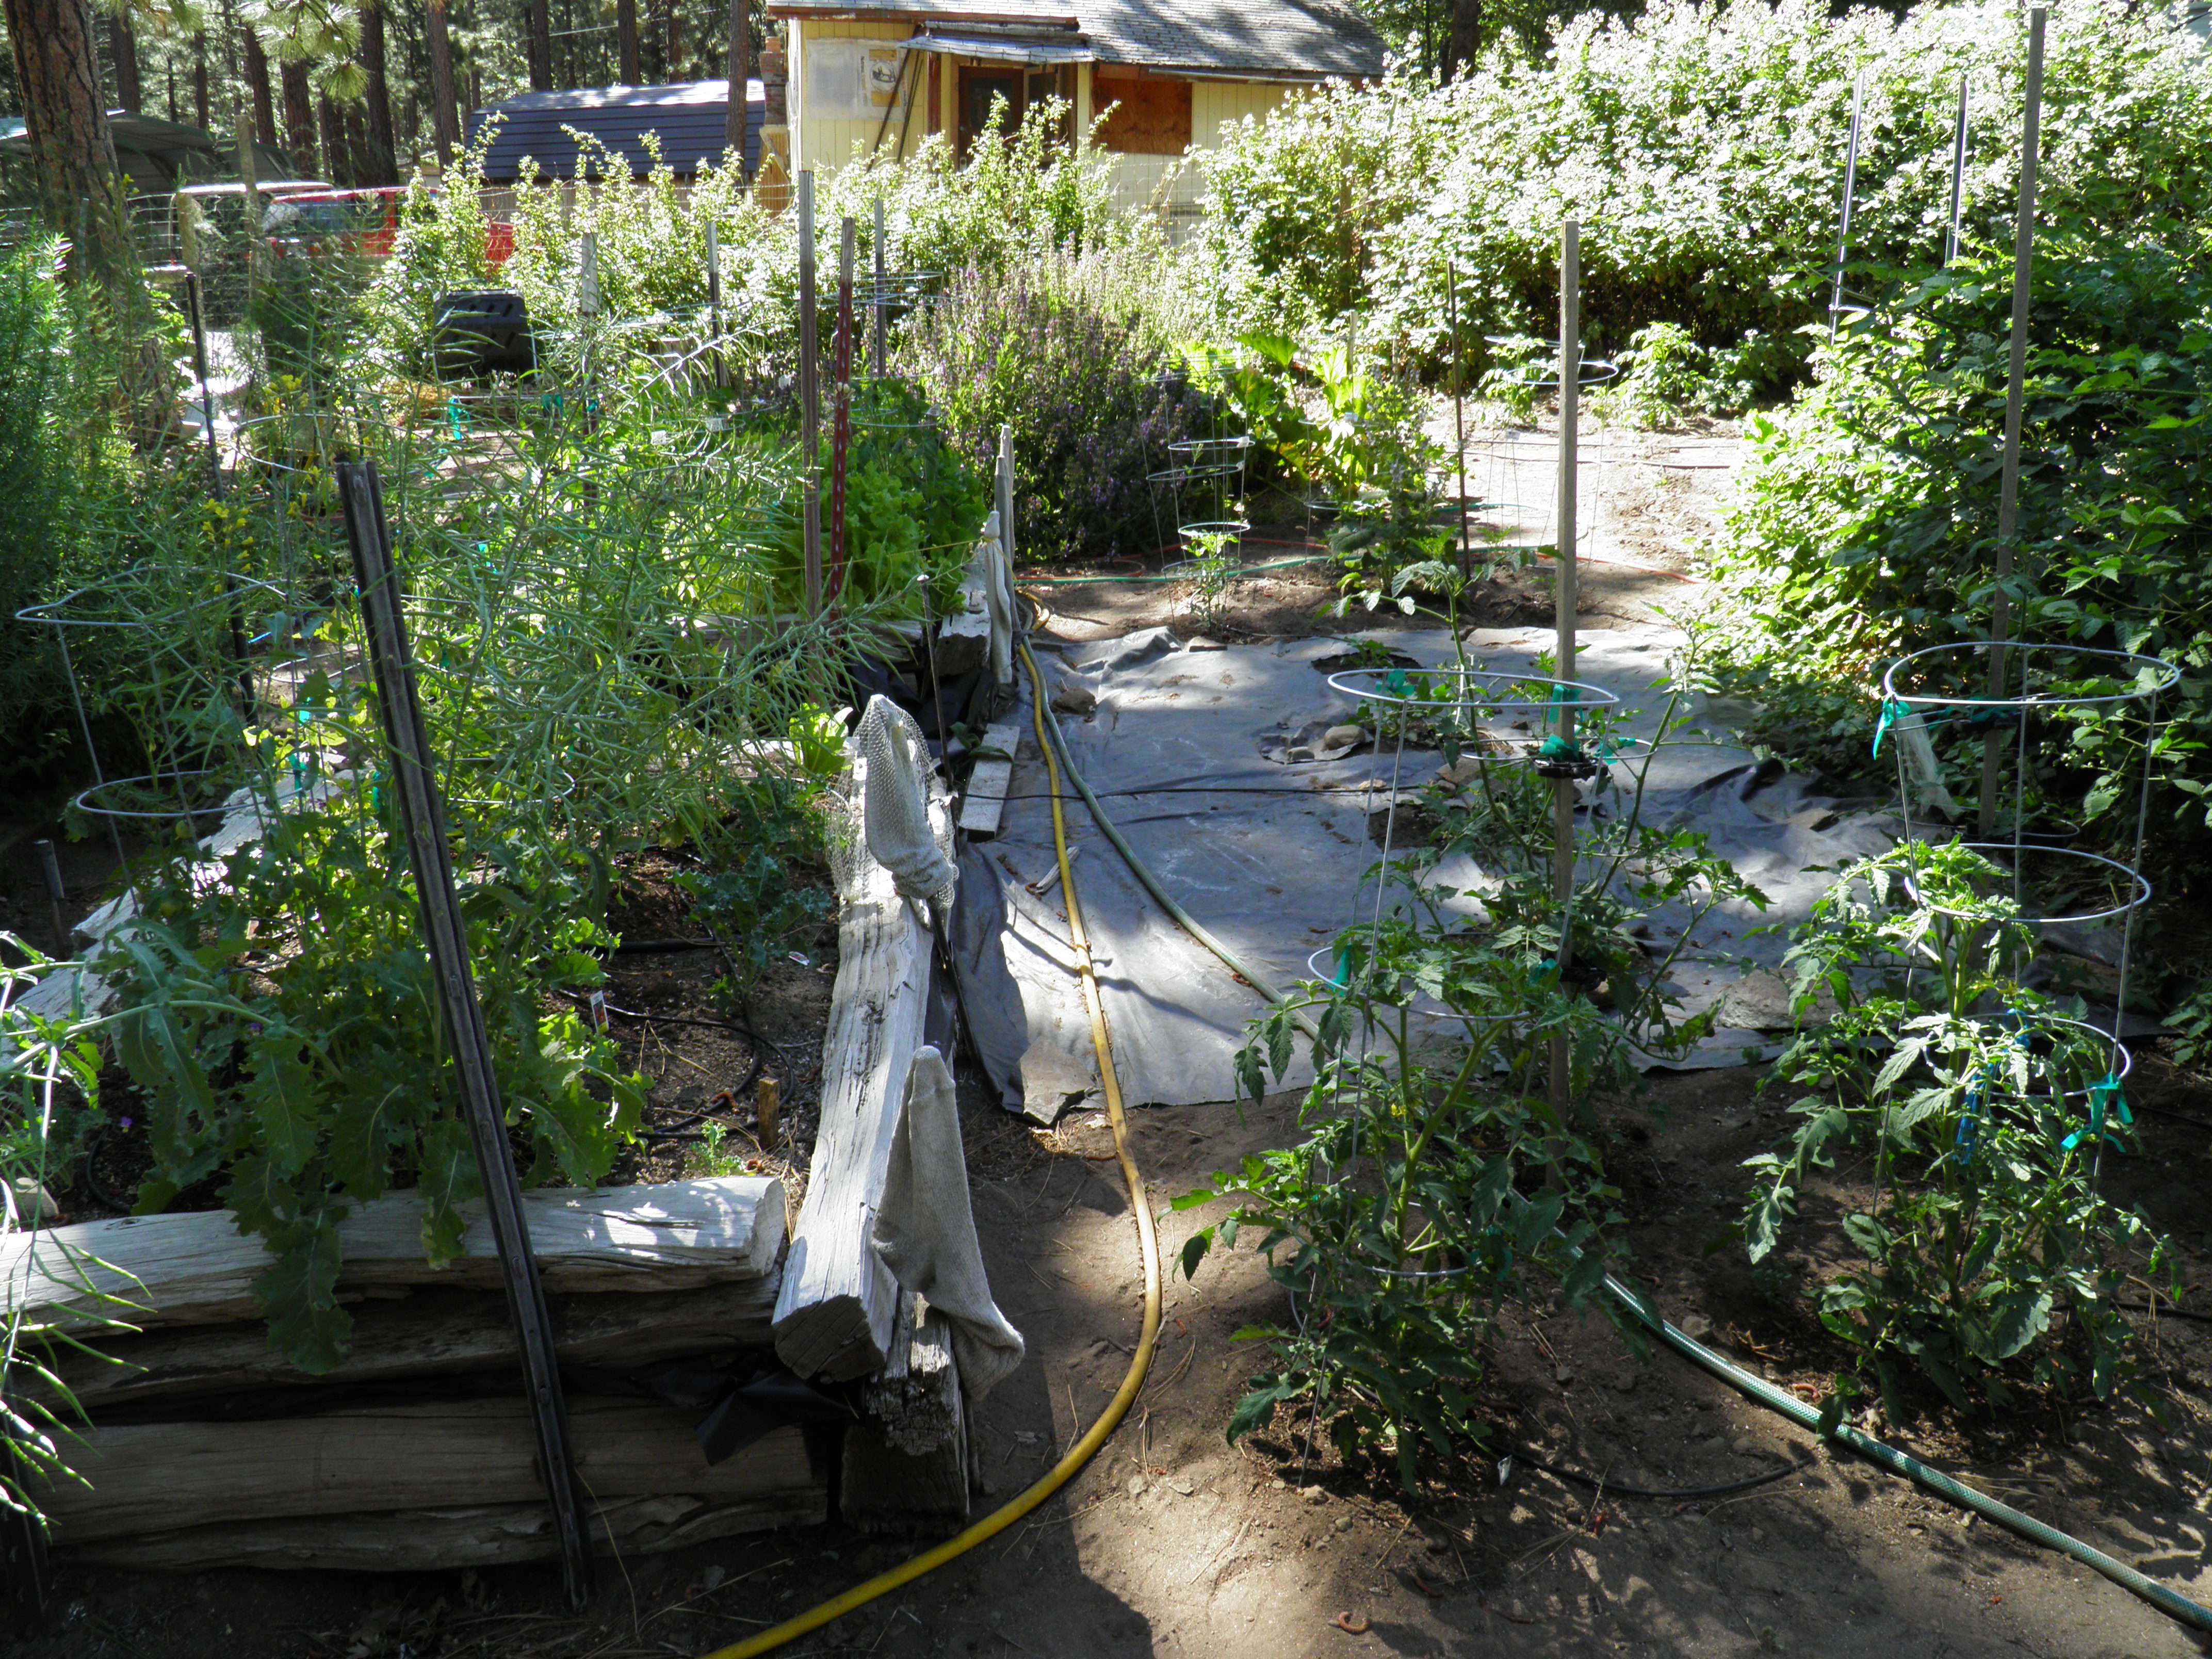
All the tomatoes are in the ground now, or in pots, waiting for Amy to take them to her new home when we return in July. Already the Sun Golds are turning orange, and I picked the first ripe one two days ago. They should be putting on lots of fruit while I’m gone. All the tomatoes are caged, but I’ll probably have to do some staking when I get home. They’ll have outgrown their cages in a couple of weeks, most likely. Staking and tieing is a chore I can’t entrust to anyone else, so hopefully, the tomatoes won’t get too big before I get back.

OLYMPUS DIGITAL CAMERA

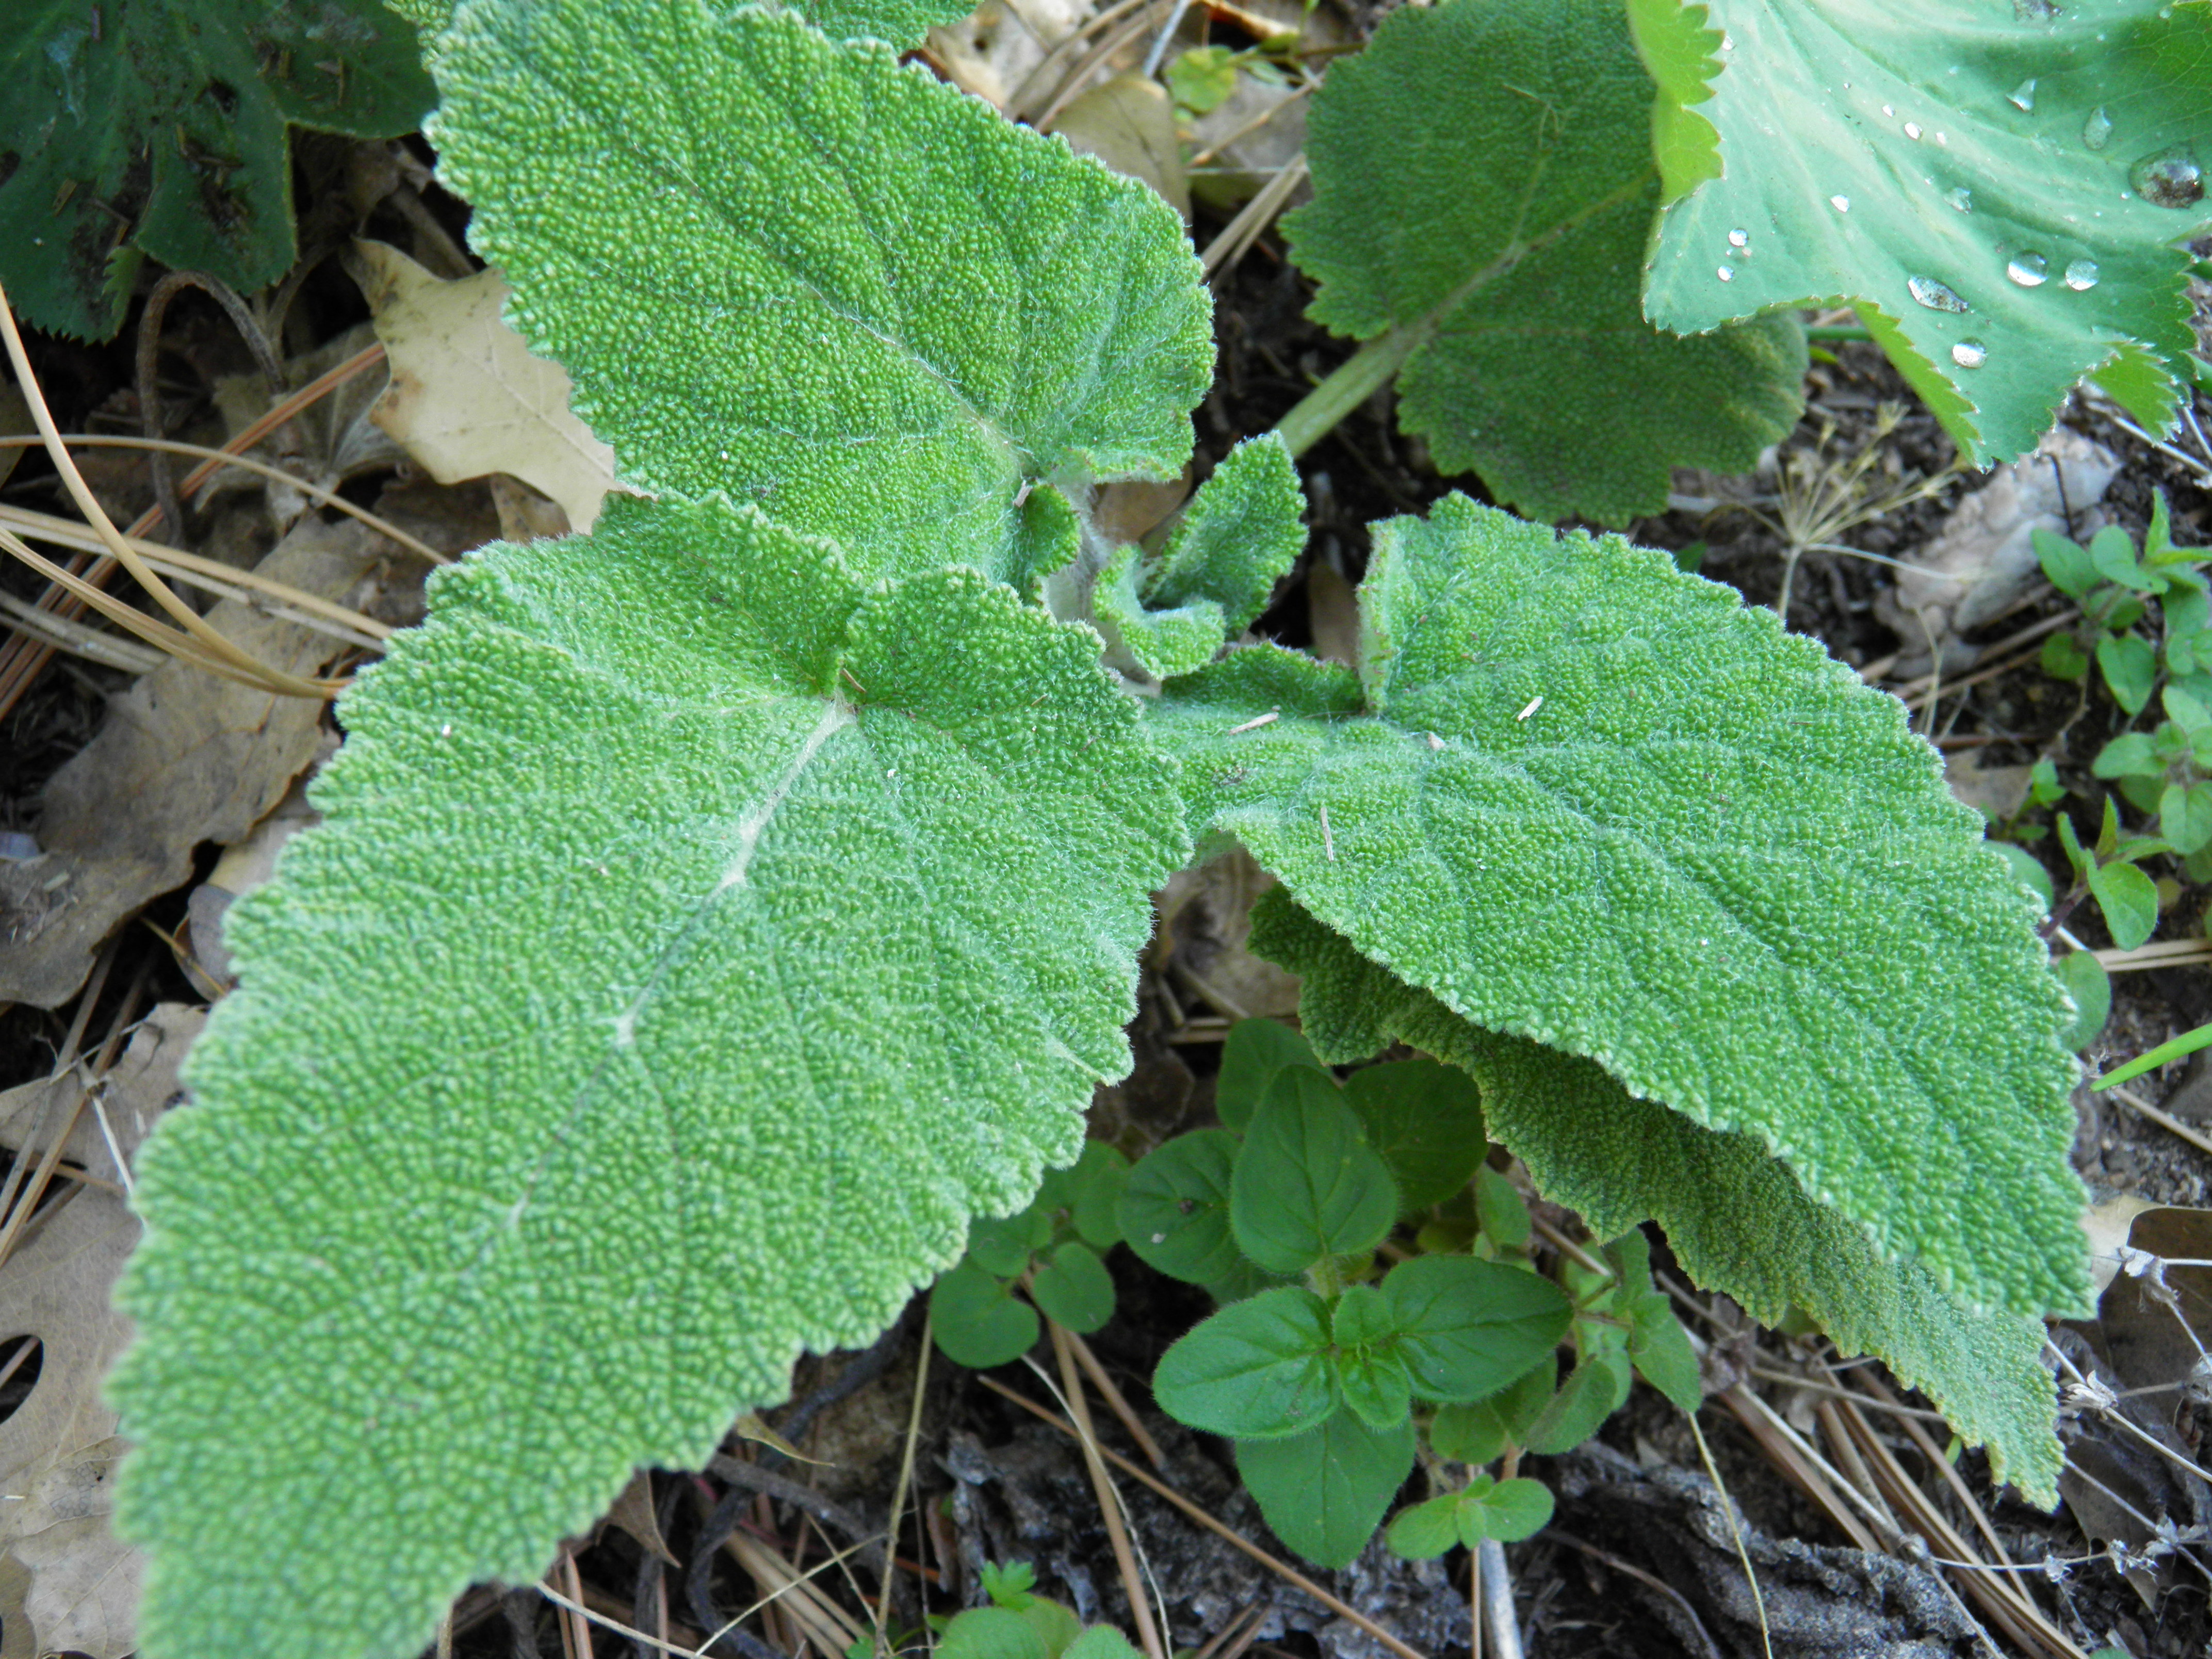
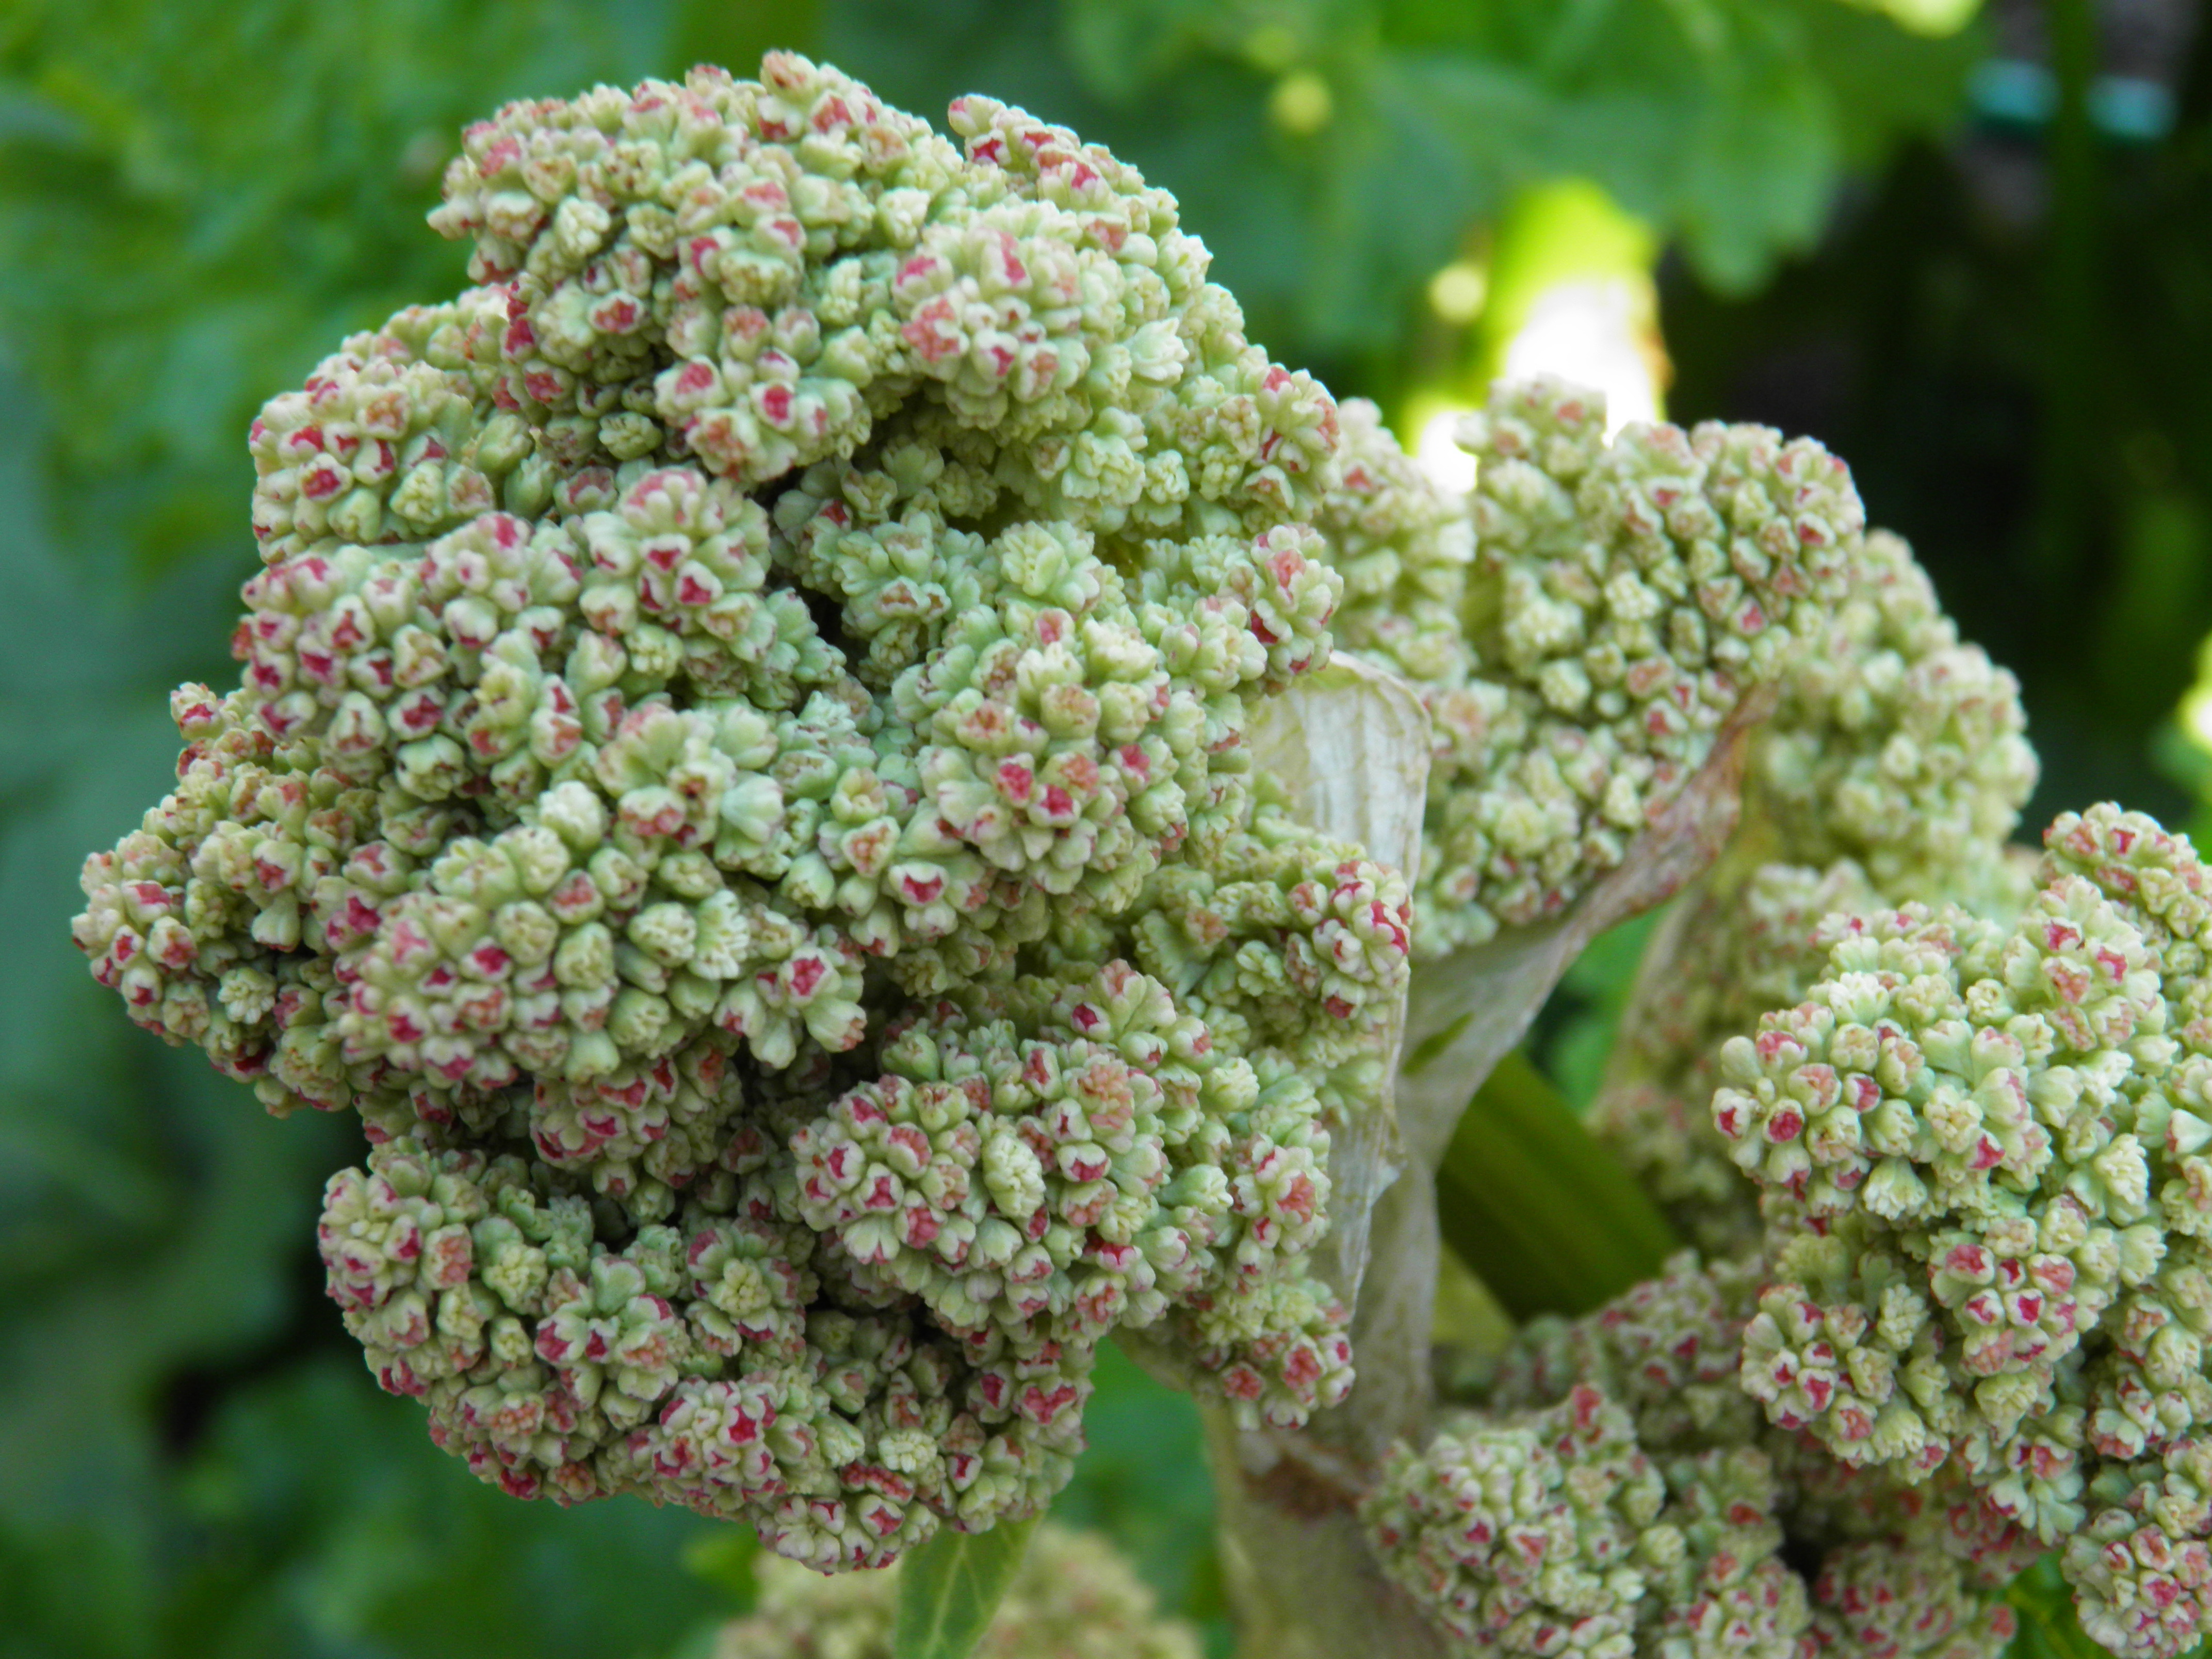
Another chore that needed doing before I left was harvesting the herbs. Most herbs should be cut before they start blooming, and I left the thyme a little late but cut it anyway. I’d rather cut it when the blossoms are fresh than cut it later when the blossoms have gotten crispy. I use a lot of sage, so I cut two big bunches of it. The herbs will dry while I’m gone, and then I’ll put them away in glass half-gallon jars. I’ll use fresh herbs in most of my cooking until winter. From left to right, here are lavender, oregano, sage, lemon balm, hyssop, sage, oregano, and thyme.  If I’d had time, I’d have chopped dill and chives and frozen them in water in ice cube trays, but that’s probably not going to happen.  Just not enough time.

OLYMPUS DIGITAL CAMERA

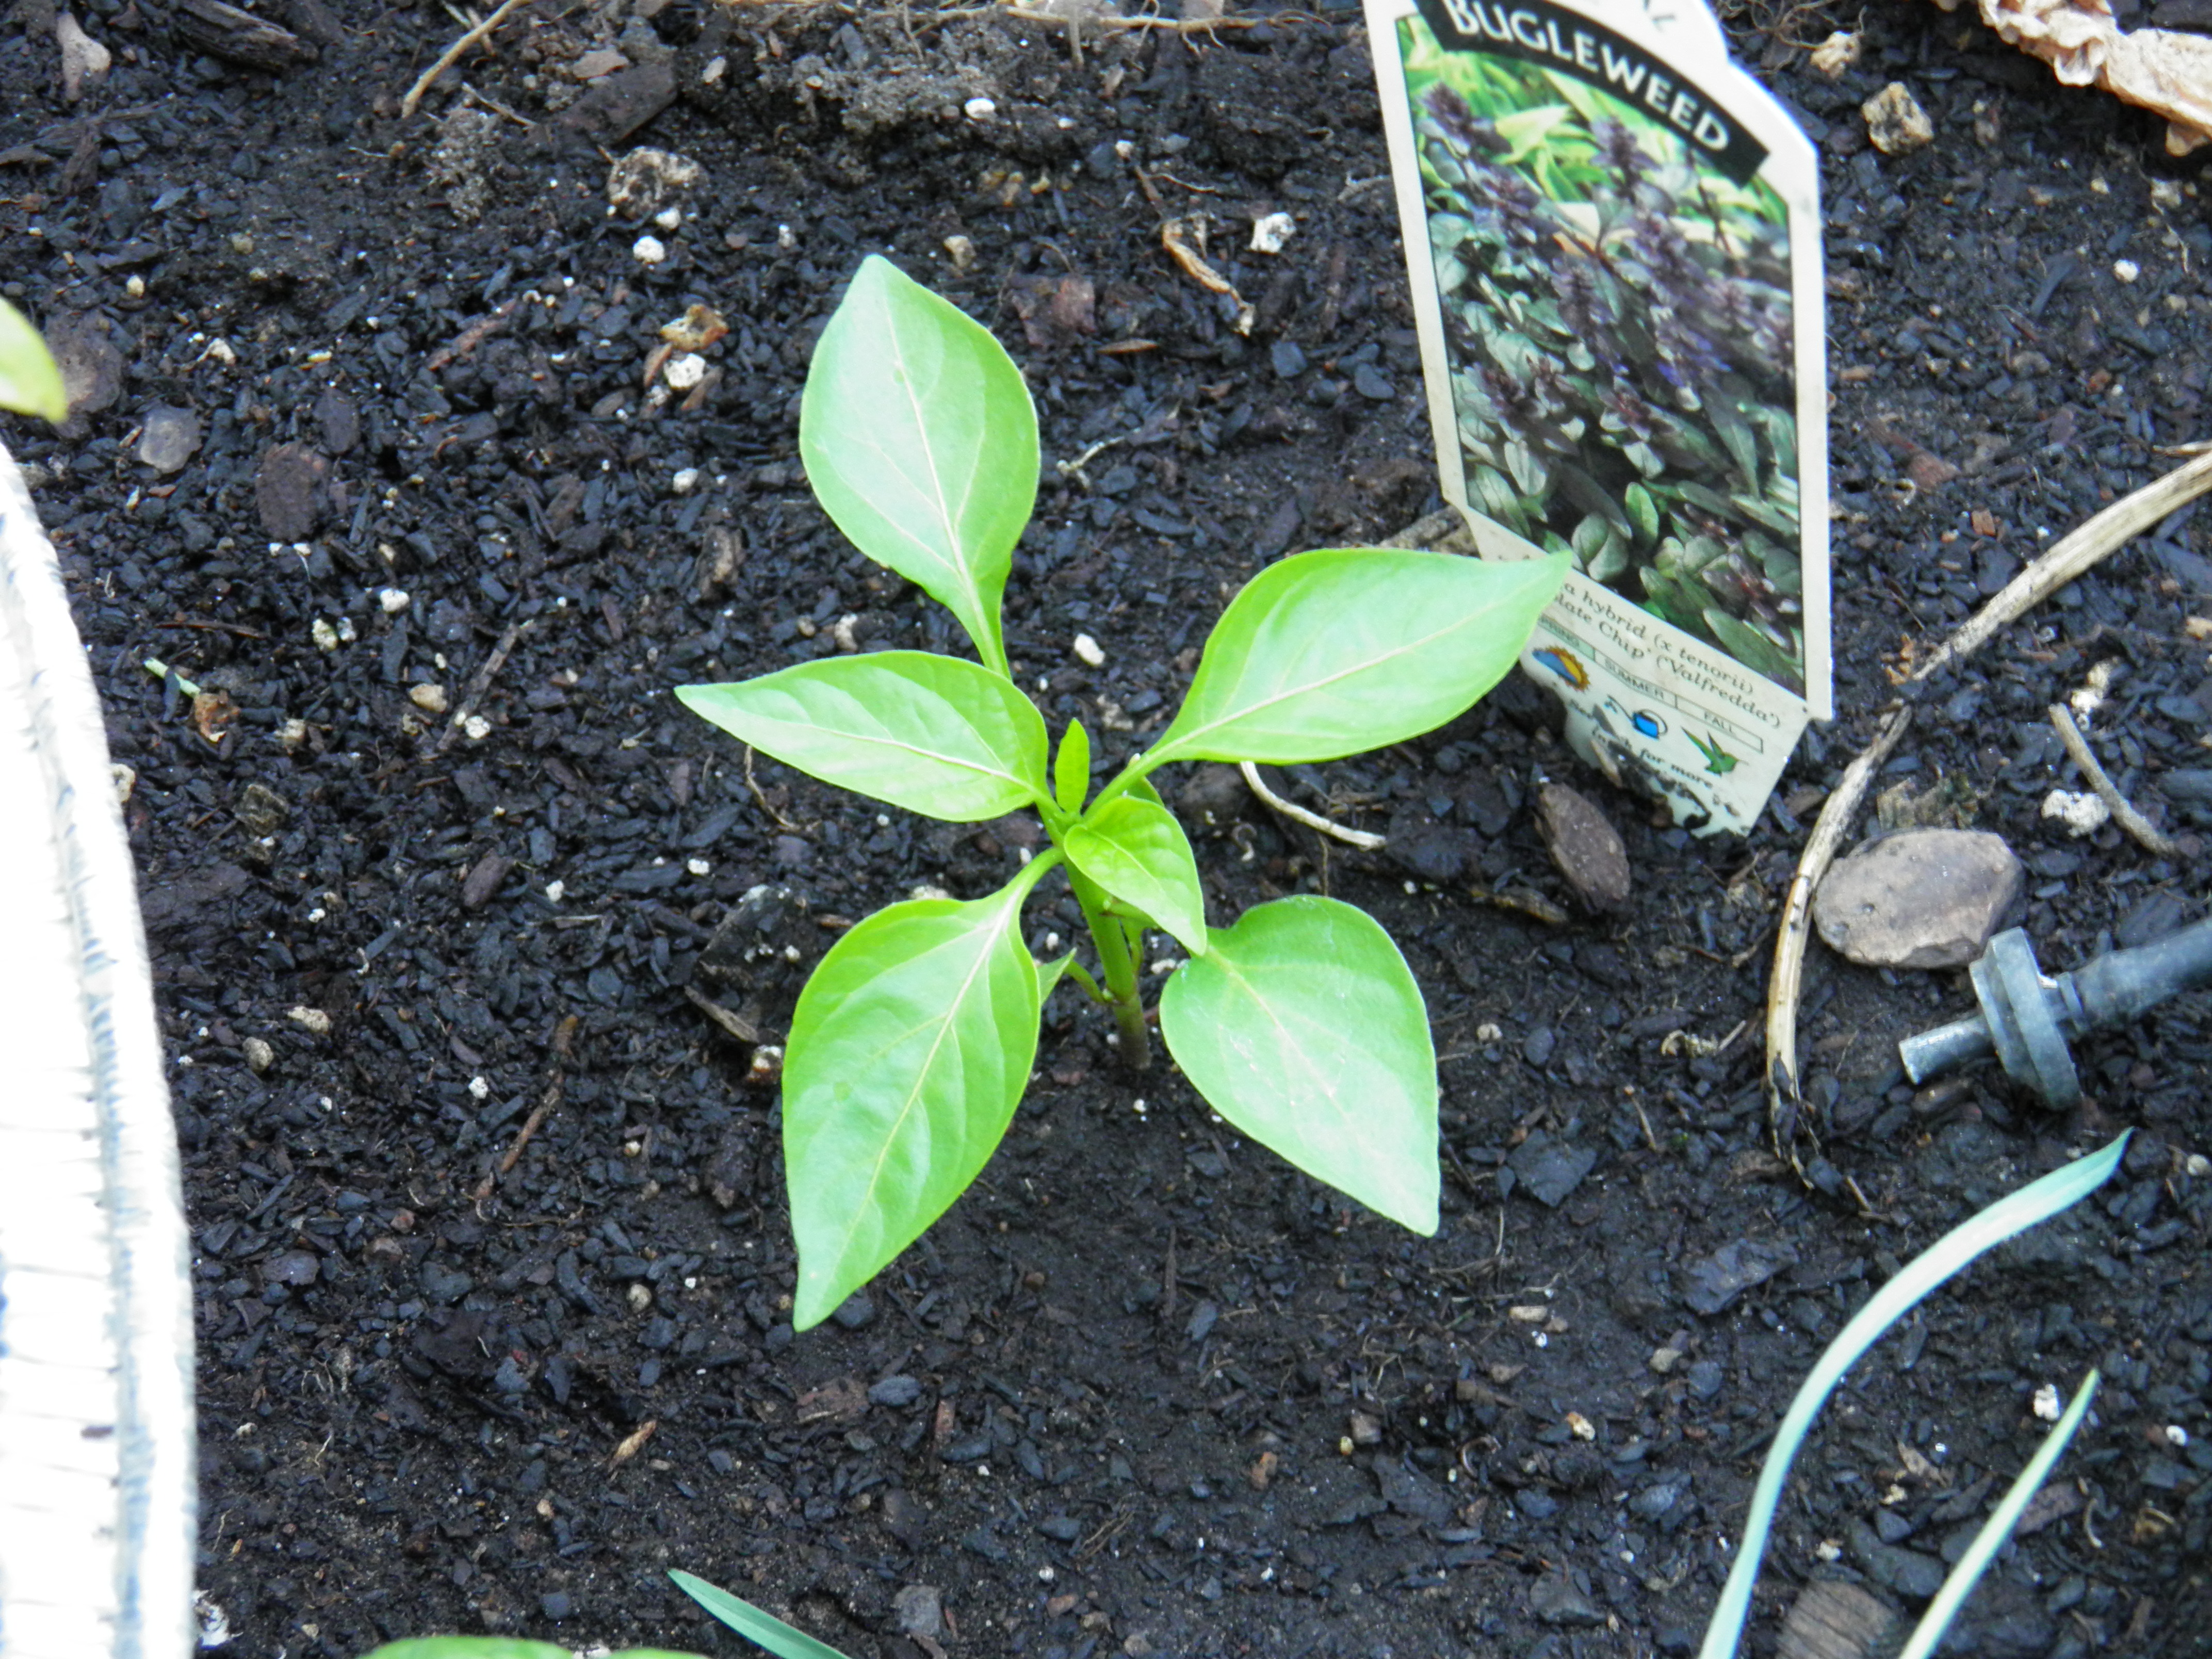
The beets are thinned, the beans are up sparsely, which means I don’t have to worry about thinning them (the birds did it for me), and the corn my grandson asked for and helped me plant is growing fast. The potatoes have been mulched with compost, although I sure do miss having good straw to cover them with. I hope I don’t come home to a bunch of sun-burned potatoes. I’ve planted all the squash and pumpkins, and put the mini-cantaloupes into their plastic-covered bed which keeps them warm during our cool nights. There’s nothing left to do, really, but go.

This is my last post from home for a while, but I’ll be posting pictures of gardens as I encounter them in Great Britain and Ireland, and for some short travel blog posts, please follow me at www.JeanLFrench.com. I’m looking forward to the trip and to seeing English, Welsh, Scottish, and Irish gardens, even as I lament leaving my own garden to the tender mercies of friends and family.


Standard
Garden and Greenhouse

Salvaging a Broken Tomato

A terrible thing happened when I returned from Denver a couple of weeks ago. After I pulled all the bolted spinach and lettuce (except for one or two of each left to go to seed) out of the greenhouse and uncovered the eggplants and peppers I’d planted just before I left, I started setting out tomato plants in the raised box beds in the garden. (See my article in Real Media about raised beds at http://thisisrealmedia.com/2014/06/02/why-raised-beds-by-jeanie-french.) It was slow going, because I had over 30 tomatoes to put out. I knew I had too many for the beds and would have to put some in the ground. I also had to figure out what was going where. Accidentally dumping all the seedlings on the greenhouse floor into an unmarked jumble early this spring put a kink in my organization. It’s hard to decide what to plant where when you don’t know which variety you’re planting. All of this to explain why I placed six pots of tomatoes on the surface of a raised bed and then went to bed myself without planting them.

The next morning, when I went out to the garden to start putting the tomatoes in the soil, I found the terrible thing. Some animal (visiting cat or dog? raccoon? although we haven’t seen one of those in years, so probably a cat or dog) had tipped over all the pots. My guess is that it was a cat, rubbing up against them or playing. At any rate, they were all tipped over, and the tomato plant in the heavy clay pot was broken at soil level. For a gardener, this is a truly terrible thing.

OLYMPUS DIGITAL CAMERA

I considered grafting it. I’ve done this before with fresh breaks. You just take some grafting or florist’s tape, or failing that, masking tape works just fine, and wind it in a bandage around the broken stem. But this works best when the wound is fresh, and this one wasn’t. Both ends of the break were already drying out.

This was an Early Girl, that old standard which always does well for me in our short growing season. I had six, and had put one aside to pot up for my daughter. I decided to plant the one I’d set aside for Amy, and root the broken one for her.  Some people refer to this method of plant propagation as cloning.  This salvage method works well if you can wait a bit longer for fruit. Amy’s tomatoes (the Early Girl, a large cherry tomato, a grape tomato, and a Brandywine) will be sitting in pots in my garden until we return from our trip to Great Britain this summer, in late July.

I cut the tomato stem at the break and trimmed another quarter-inch off it to get to fresh tissue. Then I put it in a vase of water and put it in the house. It’s cooler in the house than in the greenhouse, which decreases the stress on the plant while it is growing new roots from the stem. I also pulled off a small green tomato which had set in the greenhouse, and cut off the flowering spur. When you want a plant to root, you don’t want it distracted by having to bear fruit at the same time. Some people cut off the main branches too, leaving a mostly bare stem, but I can’t bring myself to mutilate a plant this way. And I do want fruit just as soon as the roots are capable of supporting the plant.

And that’s all there is to cloning a tomato. Just plop your cutting into water and wait a few weeks for it to develop roots from the stem before planting it in soil. Keep the water in your container topped up. Tomatoes tend to root at or above the water line, so you should trim away any foliage below the spot you want roots to develop, if possible. You can root tomatoes in soil, and I have done this when I had a lot of cuttings, but for one plant, it’s easier to use a vase and do it in water.

OLYMPUS DIGITAL CAMERA

You can take cuttings from a fruiting branch of the tomato plant, or you can “top” it. I find this method useful if my tomatoes get a little too leggy in the greenhouse before I get them planted outside in the spring. If you are growing a tomato with an indeterminate habit, you can cut the top out, root it, and increase your stock as well as encourage more bearing branches on the plant you pruned. It’s also an economical way to get more tomato plants for less money, if you buy a few early and clone them before it’s time to set them out. Don’t do this with determinate-habit tomatoes (some examples are Roma, Celebrity, Marglobe, and Rutgers). They bear fruit on the terminal buds and then are done, unlike tomatoes with indeterminate habits, which will continue to branch, sucker, and bear and grow until frost.

I used to use this cloning method when I lived part of the time in Las Vegas and part of the time at home in northeastern California. I cloned 3 or 4 plants from my garden at home in July, rooting them in soil in large pots, then I’d move them down to Las Vegas in late August when school started. They lived on apartment terraces and on the back patio when I bought a house there. Most years, they would bear in the fall, live all winter and start bearing again early in spring. Then I’d bring them back home to the garden in May and set them out. Sometimes, I’d clone a few more before I left Las Vegas, so I’d have plenty of plants for the garden at home.

My broken tomato is already putting out tiny roots.

OLYMPUS DIGITAL CAMERA

It should be ready for potting up before we leave again for Denver and Amy’s graduation from her periodontal program, and then for Great Britain. This Early Girl plant should be carrying green tomatoes by late July, when it will find a home on my daughter’s patio. Disaster averted.


Standard
Garden and Greenhouse

Save the Pumpkins

Today, I’m harking back to last fall, when I posted my method for keeping winter squash and pumpkins for months after harvest.  If you missed that post, you can access it here.  The proof that my storage method works?  Just look at this picture I took today, June 2, 2014, of my leftover squash and pumpkins from the fall of 2013.  Only one acorn squash and one pumpkin have any bad spots on them.

OLYMPUS DIGITAL CAMERA

It has been about 9 months since I picked and washed these babies. I had twice this much squash to begin with, so obviously I grew too much and didn’t give enough away.  Now I’ll have to roast, puree, and freeze the remainder.  That’s okay.  You never know when a crop will fail the next year, and if that happens, I won’t have to worry about having enough pureed pumpkin and squash for pies and soup next winter.

If you didn’t try my method last year of saving your squash and pumpkins over the winter and spring months, I urge you to do so this year.  It really works.  The proof is in the picture.


Standard
Dairy, Desserts, Garden and Greenhouse, Gluten-free

Rhubarb Sour Cream Custard Pie

A recipe for Rhubarb Cream Pie was floating around Facebook a few weeks ago, and I shared it to my timeline. It reminded me of the Sour Cream Apple Pie recipe I was given years ago by my good friend, Wes Reid. Sour Cream Apple Pie has been a family favorite for many years, and if I were to forego making it for every holiday get-together, I would be in serious trouble.

A couple of weeks ago, I had rhubarb in the garden ready to pick, so I decided to try to adapt the Sour Cream ApplePie recipe, subbing in rhubarb and sour cream and a streusel topping, and see what happened. Oh, my goodness gracious, it might be even better than the Sour Cream Apple Pie. Dennis and I only got to eat one piece each before we had to catch the red-eye flight out to Denver, so my friend and neighbor, Yolanda, took it home with her when she came to water my plants. She said it was really good, too. With all that rhubarb in the garden, I thought I’d be making the pie again before I posted the recipe, so I didn’t take a picture of it.  But trust me, if you like rhubarb, and even if you think you don’t, you’ll want to try this recipe.

So here it is, and you’ll only find the recipe here, my friends: Rhubarb Sour Cream Custard Pie.  It can be made with gluten-free flours and lower-glycemic sweeteners as well.  You’ll need an unbaked pie crust to put it in. My recipe for gluten-free pie crust is linked at the end of the post.  Or use your favorite pastry crust recipe, or really streamline your pie baking and buy a crust.  I did it myself during the busy  years!

Custard Filling:
1 1/2 cups fresh rhubarb, diced
2 tablespoons flour*1/8 teaspoon salt
2 eggs (beaten)
1 cup sugar
1 cup sour cream**

In a large bowl, mix together all ingredients except rhubarb. Put rhubarb in unbaked 9” pie shell and pour mixture over the rhubarb. Bake in 400 degree oven for 15 min., then reduce heat to 350 and bake for additional 30 min.

While custard is baking, mix the topping:

Streusel Topping:

1/3 cup sugar***

1/3 cup flour*

1 tsp. cinnamon

¼ cup softened butter

Mix well and sprinkle over pie at end of first cooking period. Return to oven at 400-425 degrees and bake for ten minutes to form streusel crust on top of custard. Cool completely before cutting. Store in fridge.

Notes:

*I used brown rice flour in the custard filling and in the topping. It worked just fine to thicken up the custard and to crisp the streusel topping. If you are gluten-free, brown rice flour is a pretty good substitute for wheat flour for all kinds of applications. (Maybe I need to write a post about that!)

**I used homemade sour cream when I made this pie. Follow the link for the directions for making homemade sour cream.

***I also used coconut palm sugar this time instead of white sugar in the streusel topping because I wanted to see how it would taste and work in that application. It was fine. I did not use coconut palm sugar in the custard filling because rhubarb is so tart, I was afraid the coconut palm sugar would not be sweet enough. When I get home and can experiment some more, I’ll try it in the custard filling also, just to see. Sugar is sugar, whether you use more or less, but if I can use organic and less, I will, and I got a smoking deal on organic coconut palm sugar at Grocery Outlet not too long ago, so I have plenty with which to experiment.

The Sour Cream Apple Pie recipe is on my Thanksgiving post, so I’ll link it for you here in case you want to try that pie as well. Also linked is my gluten-free pie crust recipe, made with gluten-free flour from WinCo’s bulk foods section, which I have recently learned is probably from Bob’s Red Mill. I have been using bagged Bob’s Red Mill gluten-free baking flour here in Denver, and it is identical to what I buy in bulk at WinCo. although twice the price.  Buy bulk if you can.

Happy pie baking! Use that rhubarb while it’s fresh. It’s good for you.

7/28/15:  I finally remembered to get a picture of this pie for this post, but before I could, a piece was already gone!  Yeah, it’s that good.

OLYMPUS DIGITAL CAMERA

OLYMPUS DIGITAL CAMERA

Standard
Dairy, Fermenting, Recipes, Side dishes

Coleslaw Dressing with Yogurt

As some of you know, I’m away from my garden for a few weeks because of a family emergency. I have had to entrust the garden and greenhouse to the care of family members and neighbors at a critical time, but I appreciate their efforts to keep everything alive for me. I have no idea what I’ll find when I get back home at the end of the month, but I’ll be grateful for whatever survives. In the meantime, I thought I’d share a recipe with you.

In a recent post about making homemade yogurt, I alluded to a recipe for coleslaw dressing that has become a family favorite. I made coleslaw for a picnic in the park yesterday here in Denver and received many compliments, even though I wasn’t able to make the dressing with my homemade yogurt, which I think makes it even better.

The ingredients for the dressing can be mixed up days in advance, but I like to mix the dressing into the shredded cabbage shortly before serving, so it doesn’t get too watery.  I will say, however, that this dressing won’t make your cabbage go limp if you mix it up the day before. I had to do that for this picnic, and while the dressing did pull some water out of the cabbage, it was still crisp and the coleslaw was tasty.

Very few people shred their own cabbage these days when packaged coleslaw mix is so readily available at the store. I rarely shred a whole cabbage any more, either (although I did for the picnic on Saturday), unless I have one fresh from the garden. The food processor makes this less of a chore, but slicing can also be done with a sharp knife. The key is to get the cabbage into thin shreds. You always want to slice (both with the knife and the processor), not chop. Chopping bruises the cabbage and will cause it to release more water, thus making your coleslaw more at risk for decreased flavor and limp texture.

This recipe makes enough to dress about half a medium-sized, shredded cabbage and about 3 medium carrots, also shredded, or one large bag of pre-shredded coleslaw mix from the store. I always add 2-4 tablespoons of minced white or red onion to the cabbage and carrot mix before dressing. Too much onion will overpower the slaw, so be careful with it, but it’s a necessary addition to colelsaw in my opinion.

Coleslaw Dressing

(makes about 1 cup)

½ cup mayonnaise

½ cup plain yogurt*

2-3 tablespoons of sugar**

2-3 tablespoons of apple cider vinegar (I use my homemade apple vinegar for more probiotics)

½ teaspoon salt

¼ teaspoon ground black pepper


Mix thoroughly, until dressing is creamy and smooth. It should taste a little sweet but tangy. Toss with shredded cabbage, carrots, and minced onion until well mixed. Serve immediately or within 24 hrs. (It will get watery the longer it sits, but leftovers are good!)

Notes:

*I think homemade yogurt really is best, and my son agrees with me, but any good quality plain yogurt will do. Greek yogurt will make a thicker dressing because the whey has been strained out of it. Why is homemade yogurt better? It’s tangier, and it contains more probiotics, which incidentally, aid in the digestion of the cabbage.

**You can substitute a different sweetener if you like. Honey or agave syrup would be fine. I have used both powdered and liquid Stevia and Splenda. Start with small amounts and taste as you go. For liquid Stevia, I recommend starting with about ¼ teaspoon and adding drop by drop to reach desired sweetness.

I don’t have my camera with me, so I wasn’t able to take a picture of the coleslaw I made on Friday night, but hey, you know what coleslaw looks like. You also know how a good, traditional coleslaw should taste: tangy, a little sweet, a little bite from the onion, and some good crunch from the cabbage and carrots. It’s a favorite salad with our family (my son says he’d be in heaven if he had a lifetime supply of the stuff always in his fridge). I especially like it as a side dish with oven-fried chicken, barbecued spareribs, or pulled pork. Follow the links for my recipes for those dishes in the archives.

Standard
Garden and Greenhouse

Progress Report

Isn’t it amazing how much a plant can grow in a week? Potting up helps that process along, of course, giving the plant’s roots more room to grow.

Today I set out the eggplants in the planter box in the greenhouse. I had to cut and pull quite a lot of spinach and lettuce (which should have been thinned more, I know) to make room for the eggplants, but that’s okay. The spinach and lettuce are starting to show signs of imminent bolt, so it’s time to use them and let one or two go to seed for next year. For now, they actually provide the eggplants with a little warmth when the temps dip at night, so I’ll cut and pull the spinach and lettuce gradually over the next week or so.

OLYMPUS DIGITAL CAMERA

I also set out the bell peppers in the greenhouse planter box. I put them on the side of the greenhouse that gets good morning sun. Not much spinach came up over on that side, so I have room to place one tin of seedling tomatoes between the bell peppers, where they will get good light.

OLYMPUS DIGITAL CAMERA  OLYMPUS DIGITAL CAMERA

I reuse everything, so the tags you see in the photos are almost always not what’s growing in the containers.  I write on the back sides of the tags (and sometimes the front sides as well) with waterproof marker.  I always write the name of the plant and the seeding date or transplant date, so I can track progress as the plants grow.

Some other transplants will have to sit down by the heater at night for a few more nights and be moved up onto the potting bench and into the sun in the morning. It’s still getting quite cool at night here (in the low to mid-30s), although we should be warming up soon.

OLYMPUS DIGITAL CAMERA    OLYMPUS DIGITAL CAMERA

Some of you might be a bit shocked that a mostly-greenie (that’s how I think of myself) would use styrofoam cups as pots.  Let me tell you, they work wonderfully, and I reuse them from year to year.  This is the third year of use for these cups, and they show no signs of breaking down.  I use a sharp knife to cut slits around the bottom edge and in the bottoms of the cups for drainage.  I label them with the plant’s name and transplant date, using a permanent marker or just an ink pen.  When it’s time to set the plants out, they slide out of the cups far more easily than they come out of plastic containers (which I also reuse).

Tomorrow, I’ll plant the melons and winter squash. I held off a week because of the cool nights. I’ll have to move my peppers out of the heated sand box to make room for the melons and squash, and I wanted to give the peppers a little extra time before they have to leave their cozy place.

OLYMPUS DIGITAL CAMERA

All the greenhouse seedlings (even the mixed up tomatoes that were upended on the greenhouse floor) are making good progress and are right on track for planting out when it’s time.

I’ll close with a series of photos from my herb beds, just because the plants are so pretty right now:  oregano, lemon balm, lady’s mantle (a.k.a. dew cup), clary sage, garden sage, and blooming rhubarb.

OLYMPUS DIGITAL CAMERA OLYMPUS DIGITAL CAMERA OLYMPUS DIGITAL CAMERA OLYMPUS DIGITAL CAMERA OLYMPUS DIGITAL CAMERA OLYMPUS DIGITAL CAMERA

May your fingers be dirty and your thumbs be green.  Mine are.

Standard
Garden and Greenhouse

Transplant

I came home after six days away on a camping trip with my grandchildren to find everything in the garden and greenhouse in good shape, thanks to Emily Jones and Tori French. It’s transplanting time!

I transplant my tomatoes as soon as they have four true leaves. Tomato seedlings can get a little leggy, even in a greenhouse, especially mine, shrouded as it is part of the day by pines and oaks, so I always plant them a little deeper in the larger container than they grew when they sprouted in the 6-packs. This takes advantage of the remarkable ability of tomatoes to root from their stems.

OLYMPUS DIGITAL CAMERA

These seedlings will likely be transplanted at least once more before they go out into the garden, and each time, I will plant them deeper into larger pots or the garden box beds. By the time they are set out in the garden, they will have stocky stems and well-developed, healthy root systems.  It’s hard to believe, looking at them now, that some of them will grow to be over six feet tall.

I set my tomatoes out in the garden, under protection, sometime in May. I have set out tomatoes under Walls of Water as early as April, but when I get over-eager, they tend to get leggy and outgrow the protection before the danger of frost is past.  I’ve learned it’s best to wait, hard as it is for me to be patient!

We can get killing frosts here into June, so I want sturdy plants, well-leafed out plants, but I don’t want them to be blooming when I set them out. Transplanting at the wrong time, when the plant is already blooming and trying to set fruit, can retard the timing of the harvest and lessen the number of tomatoes you’ll get. I want my plants to be about 7-8 inches tall when I set them out, and I don’t want any blossoms. Potting up deeper early on can help control the tomato’s urge to bloom in the warm conditions in the greenhouse; the plant puts its energy into growing roots from that newly-buried portion of the stem rather than into blossoms.

The bell peppers will stay inside the greenhouse, growing in the planter box, and that’s where I’m transplanting them instead of potting them up. That’s the only way I’ll ever harvest a pepper here. They take so long to grow and set and bear and ripen fruit, and my garden gets enough shade to make them a very iffy crop outside.

OLYMPUS DIGITAL CAMERA

My one lone habanero (only one seed of three sprouted) will stay in the greenhouse as well. It is so small that I will not transplant it for at least several more weeks, and these peppers grow so slowly, I may not get any fruit from it at all. I didn’t get any ripe fruit from my two habaneros last year, but I am nothing if not dogged in my pursuit of homegrown hot peppers for hot sauce.

The jalapeno and serrano peppers, my salsa peppers, will go outside. Their fruit is small enough and they bear quickly enough, I can grow them in the garden. But they really hate cool nights, so they will be potted up until it is safe to move them outside, probably around the first of June, and even then, I will give them some protection at night for a few weeks.

OLYMPUS DIGITAL CAMERA    OLYMPUS DIGITAL CAMERA

Eggplants are a relatively new crop for me. I grew them last year for the first time, and I got my seed so late, and they grew so slowly, I decided to leave them in the greenhouse. It was a wise decision; otherwise, I’d have harvested far fewer eggplants when the first frost hit outside. As it was, I still had fruit maturing in the greenhouse where it stayed warmer for several weeks in November last year. This year, I have five seedling plants ready for transplanting much earlier than last year, so three of them will go in the greenhouse planter box, and I’ll put two outside eventually and see how they do in the garden.

OLYMPUS DIGITAL CAMERA

Just before we left for the camping trip, Dennis brought home ten tomato plants for me from town. Six are Early Girls, which is my reliable, “old faithful” tomato which always does well in my garden, has great sweet flavor, makes a good crop, and is good eaten fresh, canned, chopped for salsa, dried, or sauced.  I have not yet grown Early Girls or Sun Golds from purchased seed because I haven’t found a reputable source for the seed which is guaranteed to be non-GMO.  Of course, there’s no telling whether the plants Dennis bought are non-GMO, but I’m unwilling to directly support a seed company that won’t guarantee non-GMO seeds.  The other four plants are Sun Gold, those delectable little golden-orange cherry-type tomatoes that are plant candy. I love them. I let some seed volunteer a couple of times, and the first year I got what were recognizably Sun Gold, but the second year, the parent genes of a small sweet red cherry surfaced, and half the plants bore red cherries. That was okay, too. This year, I have no volunteers, so when Dennis called from town and said Ace had Early Girls and Sun Golds, and they weren’t root-bound in 4 inch pots, and were only 88 cents each, I said, “Get some!” I transplanted them about 10 days ago into half-gallon pots, burying them deeply, and they have already doubled in size. They might have to be transplanted into the garden early, partly because one of the Sun Golds is already blooming, despite being potted up. Maybe I didn’t bury that stem quite deep enough!  The other reason I might have to move them into the garden in a week or so is that they are sitting where an eggplant or bell pepper needs to grow!

OLYMPUS DIGITAL CAMERA

This week, I’ll start the other tender crops that have to be babied until they can be set out: melons and squashes. The only melon I’ve been successful with here is Minnesota Midget. I can’t get a standard-sized cantaloupe to ripen, and watermelons don’t do well either, but the Minnesota Midgets are perfect, sweet, cantaloupey balls of goodness. The flavor is outstanding, and if you haven’t tried these little gems, I highly recommend them.  I had to buy fresh seed this year and made sure I got them from a seed company that does not deal with GMO seeds.

I don’t get enough sun on the garden for long enough to ripen the big melons, but pumpkins and winter squash, and zucchini and yellow straightnecks do well for me. They can’t be set out until the soil warms up and the nights aren’t so cool, so usually, I put them out in May, under protection, and hope. And pray. They grow quickly and need to be set out before their roots grow through the peat pots, so the last week of April is the right time to get them started. They will take the place of the peppers and eggplants in the heated sandbox.

I have so much lettuce in the greenhouse, I don’t know if we can eat it all, even if we eat a big salad every day, but it is so good, I could easily eat a salad of it every day.

OLYMPUS DIGITAL CAMERA

When it first came up, I thought it was romaine, because I thought I’d let the romaine volunteer in the greenhouse like I do outside. (I haven’t planted regular romaine in years because it keeps volunteering.) But as the lettuce developed, I could see it wasn’t romaine, and I remembered that I’d planted some salad bowl mix in the fall of 2012, and only one plant survived into the spring of 2013. I think it was oak leaf, and I let it go to seed in the greenhouse last summer. Those seedlings have flourished, along with the spinach I let go to seed and volunteer, so every few days, I have to go in and thin out the greens, making room for the eggplants, peppers, and Cherokee Purple tomatoes (the only tomatoes I’ll have in the greenhouse this year) in the planter box. What a hardship.  If you compare these pictures with the ones I took last week, you can see how much the plants have grown in just a week.  I cut and thinned a bunch of it for a salad for Easter, too.

OLYMPUS DIGITAL CAMERA

I love transplanting. I love getting my fork (just an old table fork) under those little root balls and prying them up, then giving them a new, bigger home in a larger pot. I love watching them respond to my care, growing up into sturdy, strong-stemmed, healthy-leaved plants that will produce food for my family over the summer and long after, when properly preserved. I wonder if a heart surgeon derives more pleasure from replacing a human heart than I get from transplanting my seedlings? The surgeon is saving a life; I’m feeding several. She can’t grow the heart she’s transplanting (at least, not yet). These babies are here because I planted the seeds. That’s a feeling only gardeners (and parents) know.

There’s a lot of transplanting work to be done over this coming week.  I can hardly wait to show you next week’s pictures and progress report.

I’ll leave you with a photo of apple blossoms, which have nothing to do with transplanting, but have everything to do with spring.  And if you are not fortunate enough to have an apple tree in your vicinity, at least you can have a picture of them.

OLYMPUS DIGITAL CAMERA


Standard
Garden and Greenhouse

Grow

I’m a homebody. I love my home, love these three acres of pine and oak woods, and I definitely love my garden. Every spring, summer, and fall, I’m dragged away from my garden for camping trips which might last from five days to two weeks. It’s a lot of work to get ready to go, especially when it’s planting season, and I have seedlings in both the greenhouse and the garden, or when it’s harvest time. People ask me, “What are you going to do about your garden? How can you leave it for so long?” In harvest time, if I can’t be there to pick, I have friends who will harvest for me. More problematic is leaving during the spring planting season. As in now. As in I’m going to be away all next week. Oh, dear.

Obviously, I have to find somebody to take care of the seedlings—tomatoes, peppers, eggplants.  Despite being dumped upside down on the greenhouse gravel last week (I bawled over that one on Facebook), the tomato seedlings that survived my hasty replanting are doing well.  I have no idea now what’s what, for the most part, because the tags got scrambled in the upset, but the main thing is, they are alive.

OLYMPUS DIGITAL CAMERA    OLYMPUS DIGITAL CAMERA

This year, it’s a young friend of the family, Emily, who’ll come over and open up the greenhouse in the morning and water the seedlings, and my daughter-in-law, Tori, who’ll close it up at night. It’s already getting up to 100 degrees inside by 10 a.m., and my greenhouse is only semi-automated. That is, I have the drip for the planting beds on a timer, and the fans are also on timers, but the doors and vents have to be opened manually.

OLYMPUS DIGITAL CAMERA   OLYMPUS DIGITAL CAMERA

And at nighttime, we’re still getting temps in the 30s. Not freezing, but cold enough to make it advisable to close up the greenhouse at night. So I am definitely depending on these girls to take good care of my babies while I am gone.

By the time I get home, if all goes well, I’ll be able to transplant my tomato seedlings into larger containers, and they won’t need the grow light any more. Also, the peppers and eggplants should be ready to set into the planter box in the greenhouse, so I can shut off the heat to the sandbox that keeps them warm at night while they are small and the nights chilly. They pout when it gets cold. A pouting pepper is a sad, droopy thing.

As for the garden itself, we use battery-powered timers with lots of Y-gates to turn on the hoses, sprinklers, drip and soaker hoses, and if I have set it up right, all the areas of the garden that have been planted—beets, carrots, turnips, lettuces, kale, spinach, garlic, cabbage, potatoes—as well as those more permanent plantings–blueberries, strawberries, raspberries, boysenberries, loganberries, and blackberries, rhubarb, horseradish, asparagus–and all the herbs (lavender, hyssop, oregano, lemon balm, sage, clary sage, tarragon, lady’s mantle, chives, dill, parsley, and winter onions) will be watered while I’m away.

OLYMPUS DIGITAL CAMERA

I know I’ll come home to miraculously-large weeds and some yard-high asparagus. I hope I also come home to see carrots and beets, which seem to be taking their own sweet time this year to emerge. And maybe the tops of the red potatoes the grandkids and I planted will be sticking out of the straw they are blanketed in. And surely some apple blossoms will have unfurled—I saw buds blushing today.  Oh, I hate missing that first burst of pink!

OLYMPUS DIGITAL CAMERA

Will I worry about the garden while I’m gone? Of course, I will. I’m the worrying sort about things I love. But the garden actually gets on pretty well without me; I miss it more than it misses me when I go away. The plants just go on doing what they do. Grow.

Standard
Recipes, Side dishes

Spring Greens

We had our first taste of spring greens from the garden this week. Well, really, most of them were from the greenhouse. I let some spinach and romaine volunteer in there; thus, we have greens ready to pick when the lettuce I planted outside in the garden is still so tiny you can barely see it. I did have some fall spinach overwinter in the garden, but the leaves are tough and small compared to the tender young greens from the greenhouse.

OLYMPUS DIGITAL CAMERA

It’s sacrilege to cook these greens, so I prepared a salad with them. But what sort of dressing to use? In my husband’s mind, there is no salad dressing but ranch. However, I knew ranch dressing would smother these delicate greens. I needed something light and spring-like to honor spring greens. And then it came to me. I had raspberry-infused apple-scrap vinegar in the fridge which I had yet to use in anything. How about some version of a raspberry vinaigrette? It was so good, I have to share the combination and the dressing with you.

I used both baby spinach and baby romaine for my greens; you can use any mix you like, but if you’re buying packaged salad greens, I’d go for the spring mix. Toss them with this delicious raspberry vinaigrette salad dressing, and then arrange the greens on salad plates. To the greens, add thinly-sliced red bell peppers and peeled, thinly-sliced cucumbers. Drizzle a bit more dressing over the top, then sprinkle each plate with toasted, sliced almonds and grated cheese. I used a very low-fat Cabot white cheddar, which was delicious. Freshly grated parmesan or Romano, in big shreds, would also be delicious.

OLYMPUS DIGITAL CAMERA

I made the salad dressing with some raspberry-infused apple scrap vinegar I made last fall. Follow the link for instructions for making the infused vinegar. (Store-bought apple cider vinegar can be used to make raspberry- or blackberry-infused vinegar.) There are alternative ingredients (aren’t there always?) if you don’t happen to want to take the time or haven’t the ingredients to make an infused vinegar. (I can tell you, I’ll certainly be making more infused vinegar this fall if the robins leave me any raspberries.) The slightly-sweet and acidic raspberry vinaigrette was the perfect dressing to complement those tender, tangy new greens. I used chia seeds instead of the poppy seeds which are traditional in this kind of recipe, and they were wonderful.

OLYMPUS DIGITAL CAMERA

Raspberry Vinaigrette with Chia Seeds

(makes about ¾ cup)

2 tablespoons of minced onion

¼ cup raspberry-infused vinegar

2 tablespoons of honey

½ teaspoon dry mustard or prepared Dijon mustard

½ cup olive oil

2 teaspoons chia seeds


Mix all ingredients in blender or food processor (if using food processor, you can mince the onions with it) or with a whisk in a bowl. The mustard will help to emulsify the dressing, but it will separate slightly, so it should be shaken well before using. If you like a sweeter dressing, add more honey a teaspoon at a time until the sweetness level is right for your taste buds.

Now, if you don’t have any raspberry-infused vinegar, and don’t want to make it, for whatever reason, you can make this dressing without it. Simply substitute white wine vinegar or even rice vinegar for the raspberry-infused vinegar, and for the honey, substitute raspberry jam or preserves. Again, taste your dressing to see if you’d like it sweeter. My version isn’t very sweet, as I don’t happen to care for sweet salad dressings.

Why chia seeds instead of poppy seeds? Why, for the increased Omega 3 content, of course! They add the same slight crunch, and virtually no flavor, so feel free to leave them out, if you wish.

This antioxidant-rich salad dressing complimented the fresh spring greens beautifully. I can’t wait to pick more so that I can use the rest of the dressing.  And then, I’ve got some blackberry-infused vinegar to play with!

OLYMPUS DIGITAL CAMERA

Standard