Desserts, Main dishes, Recipes, Side dishes

Thanksgiving Dishes

OLYMPUS DIGITAL CAMERA

I’m always interested in what other people serve at the Thanksgiving feast.  Our dishes don’t vary much, but sometimes we add something new to the menu, or we’ll drop something that’s not that popular.  So this week, I’d like to share with you what’s on our menu this year, and I’ve got a couple of recipes for you that I really like, and a new one I’m trying for the first time.

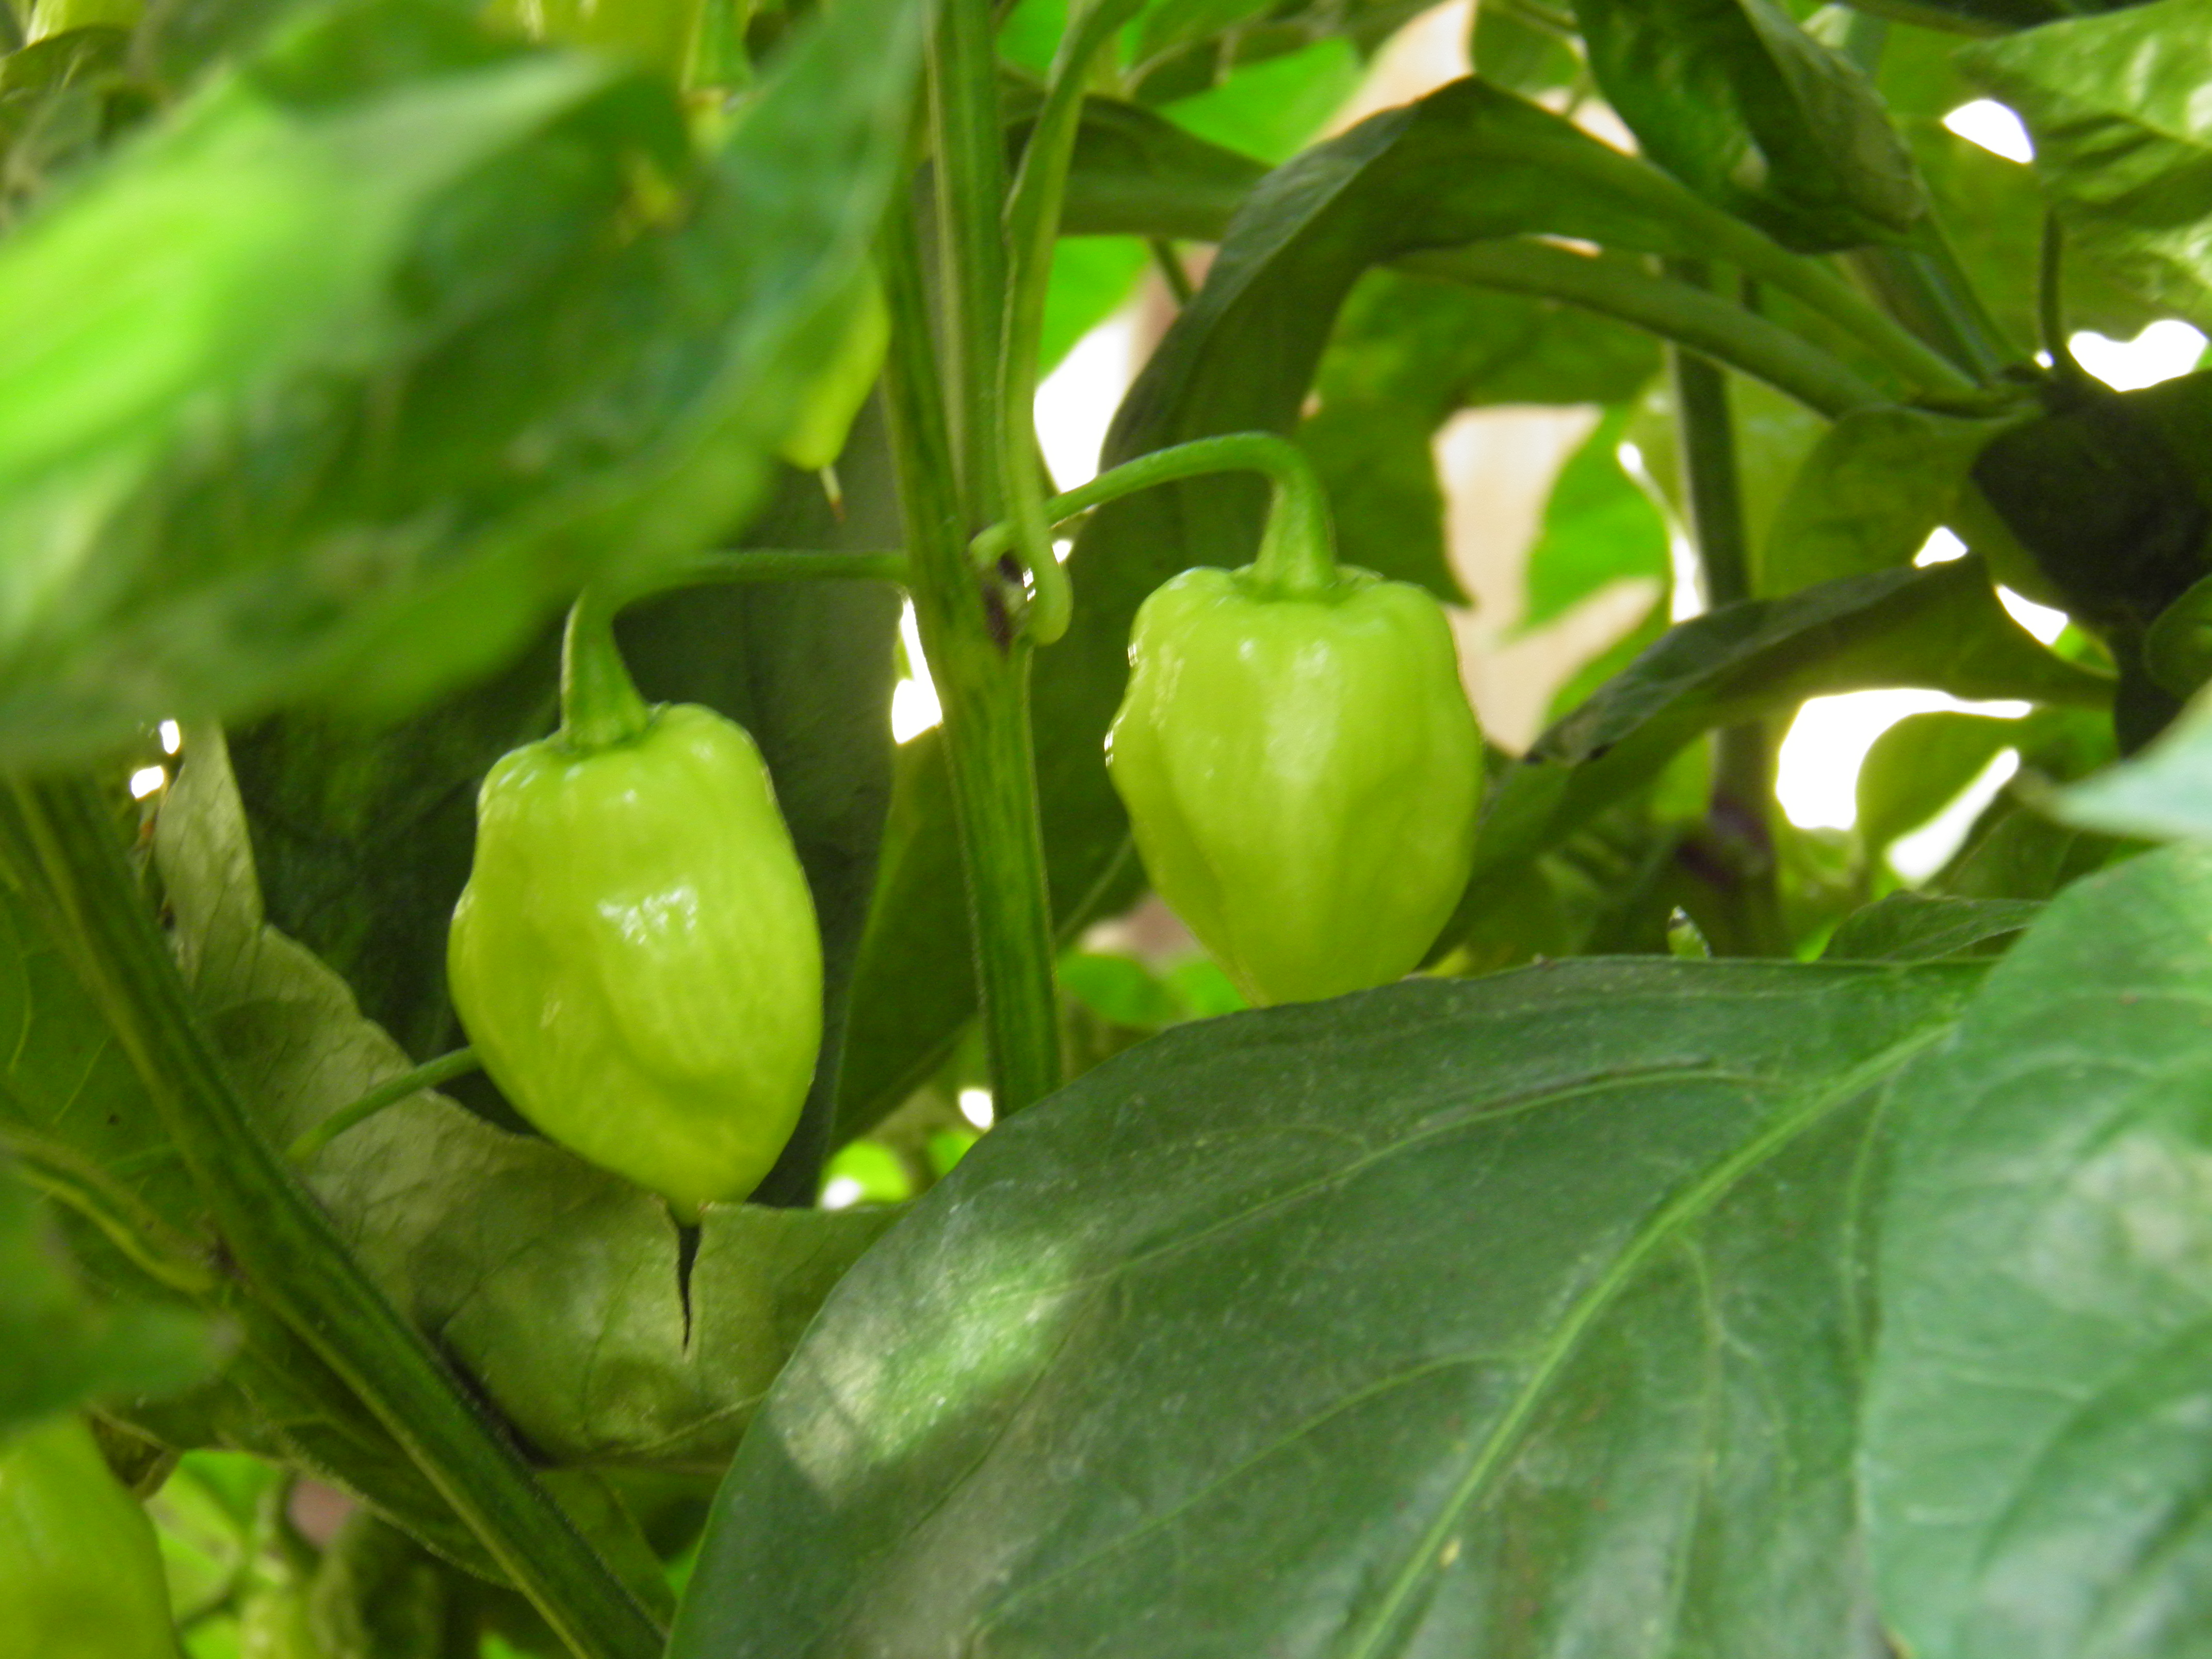
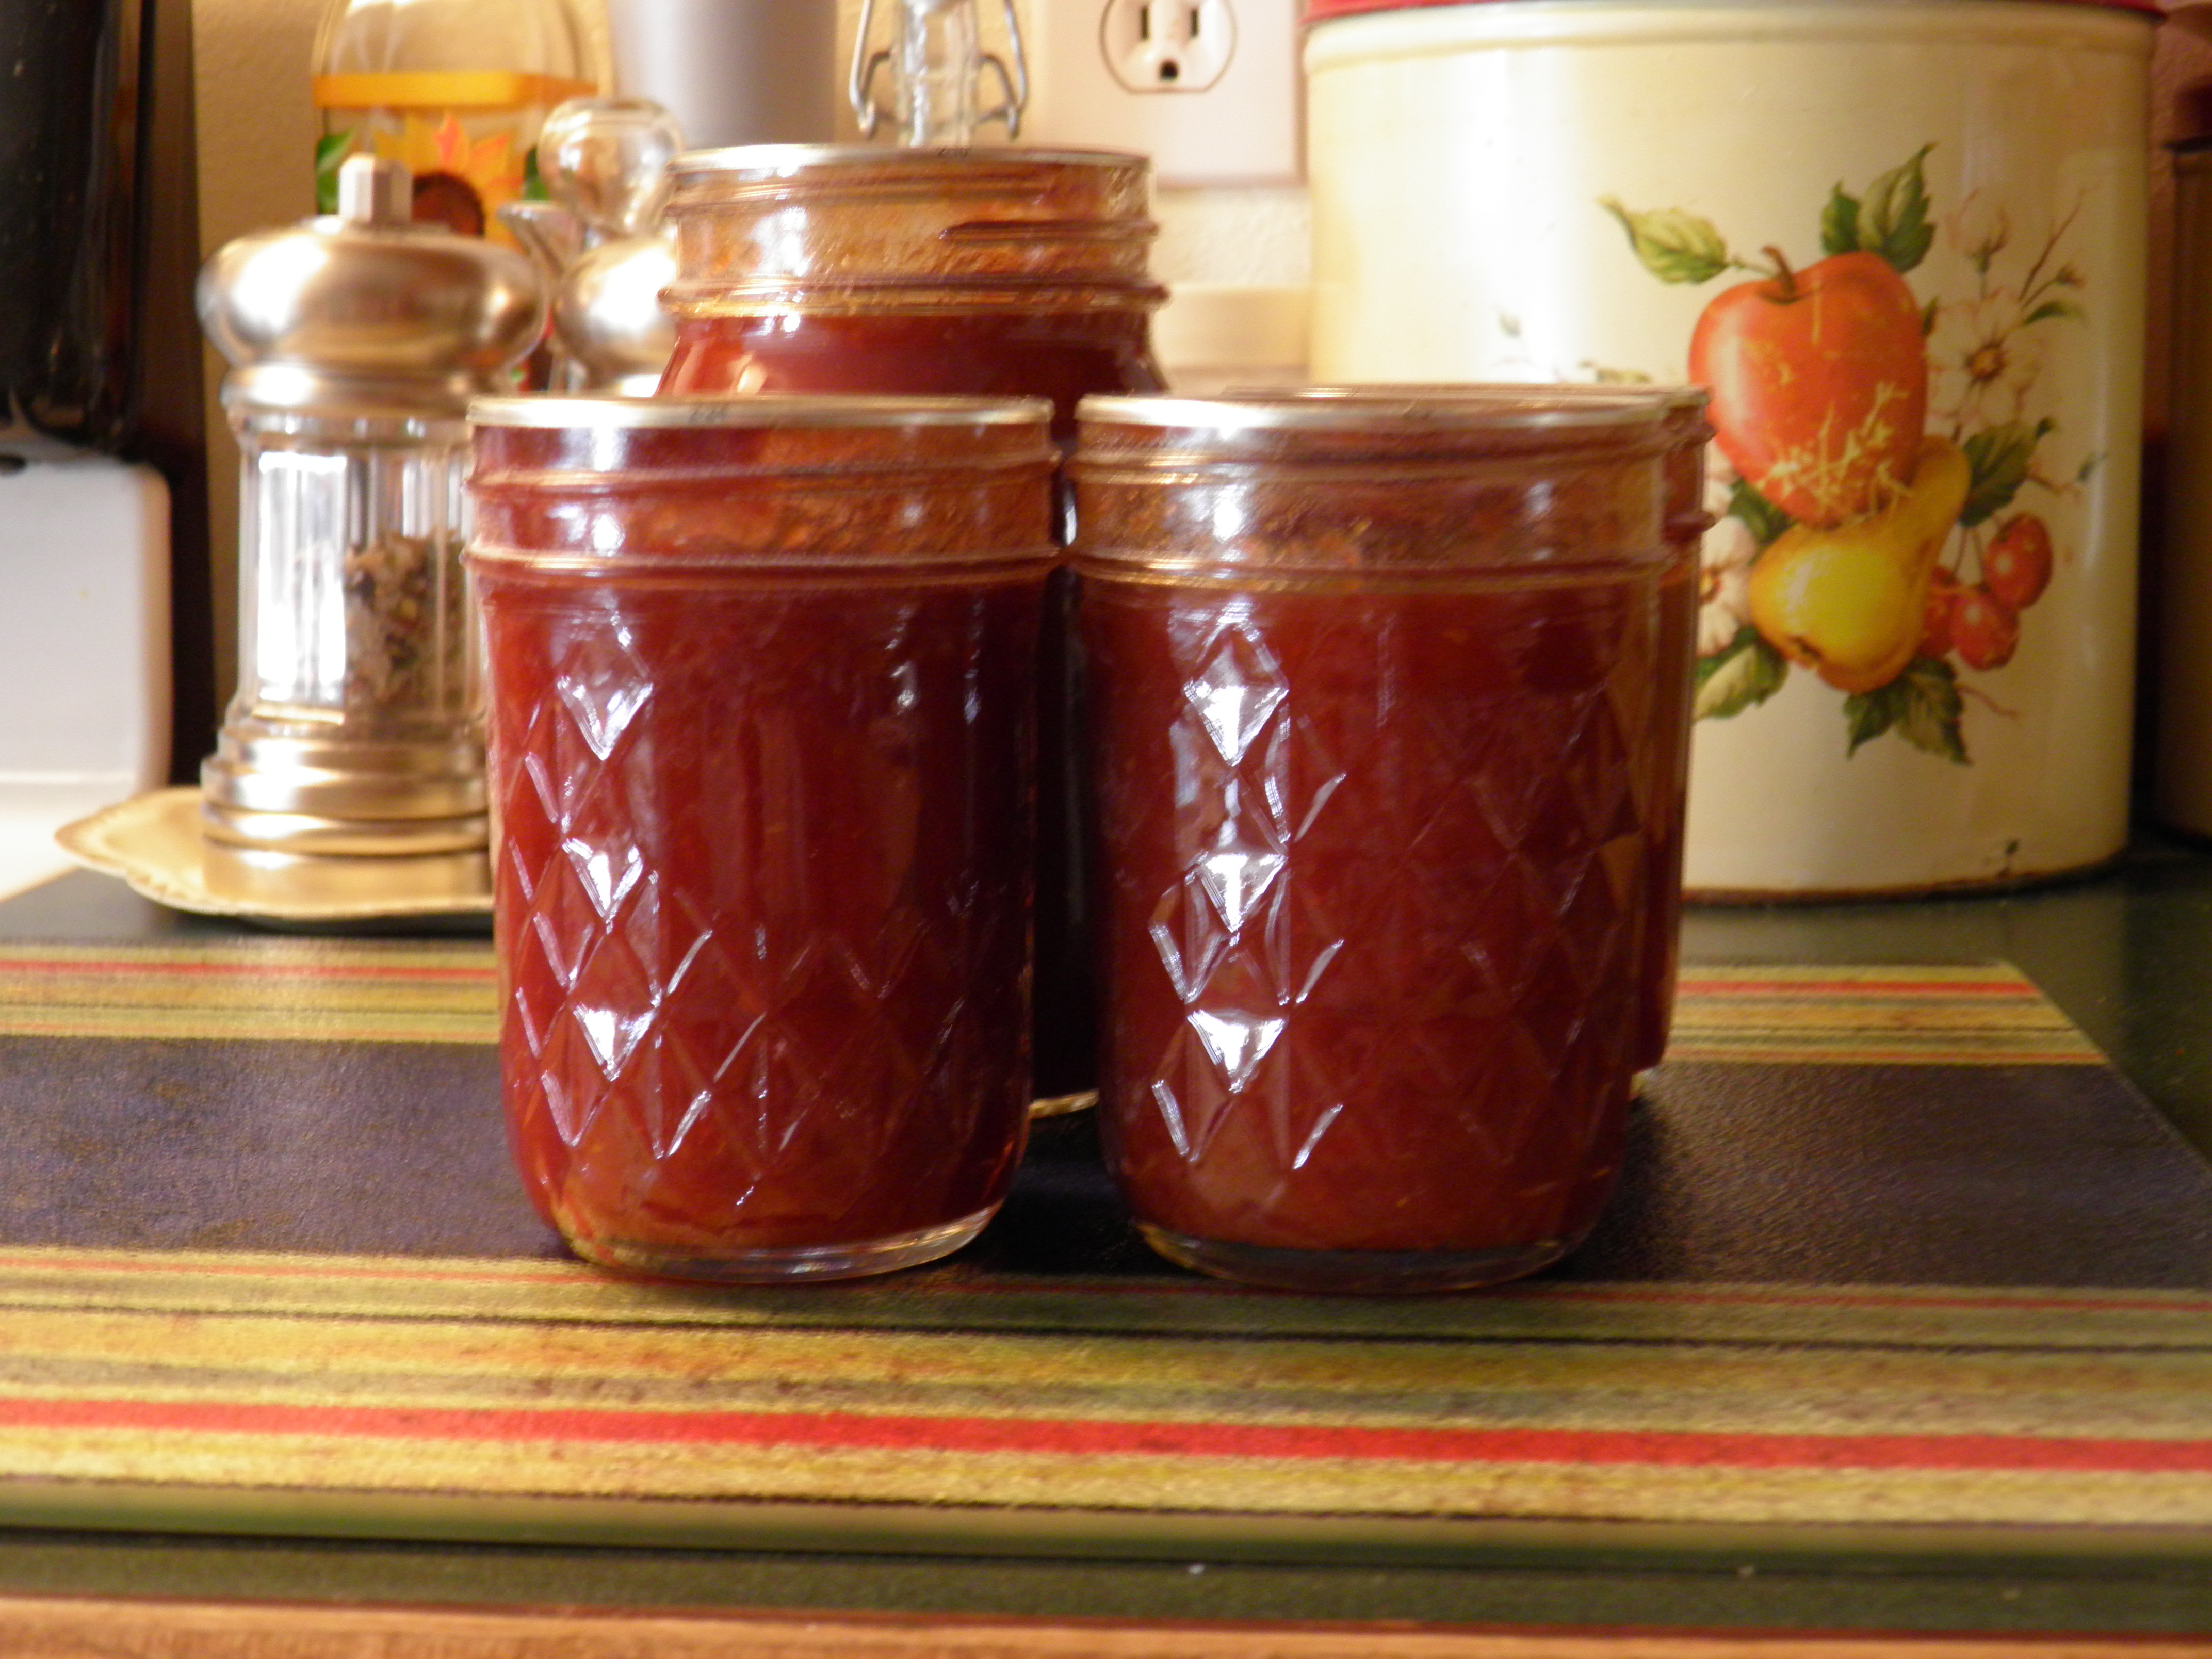
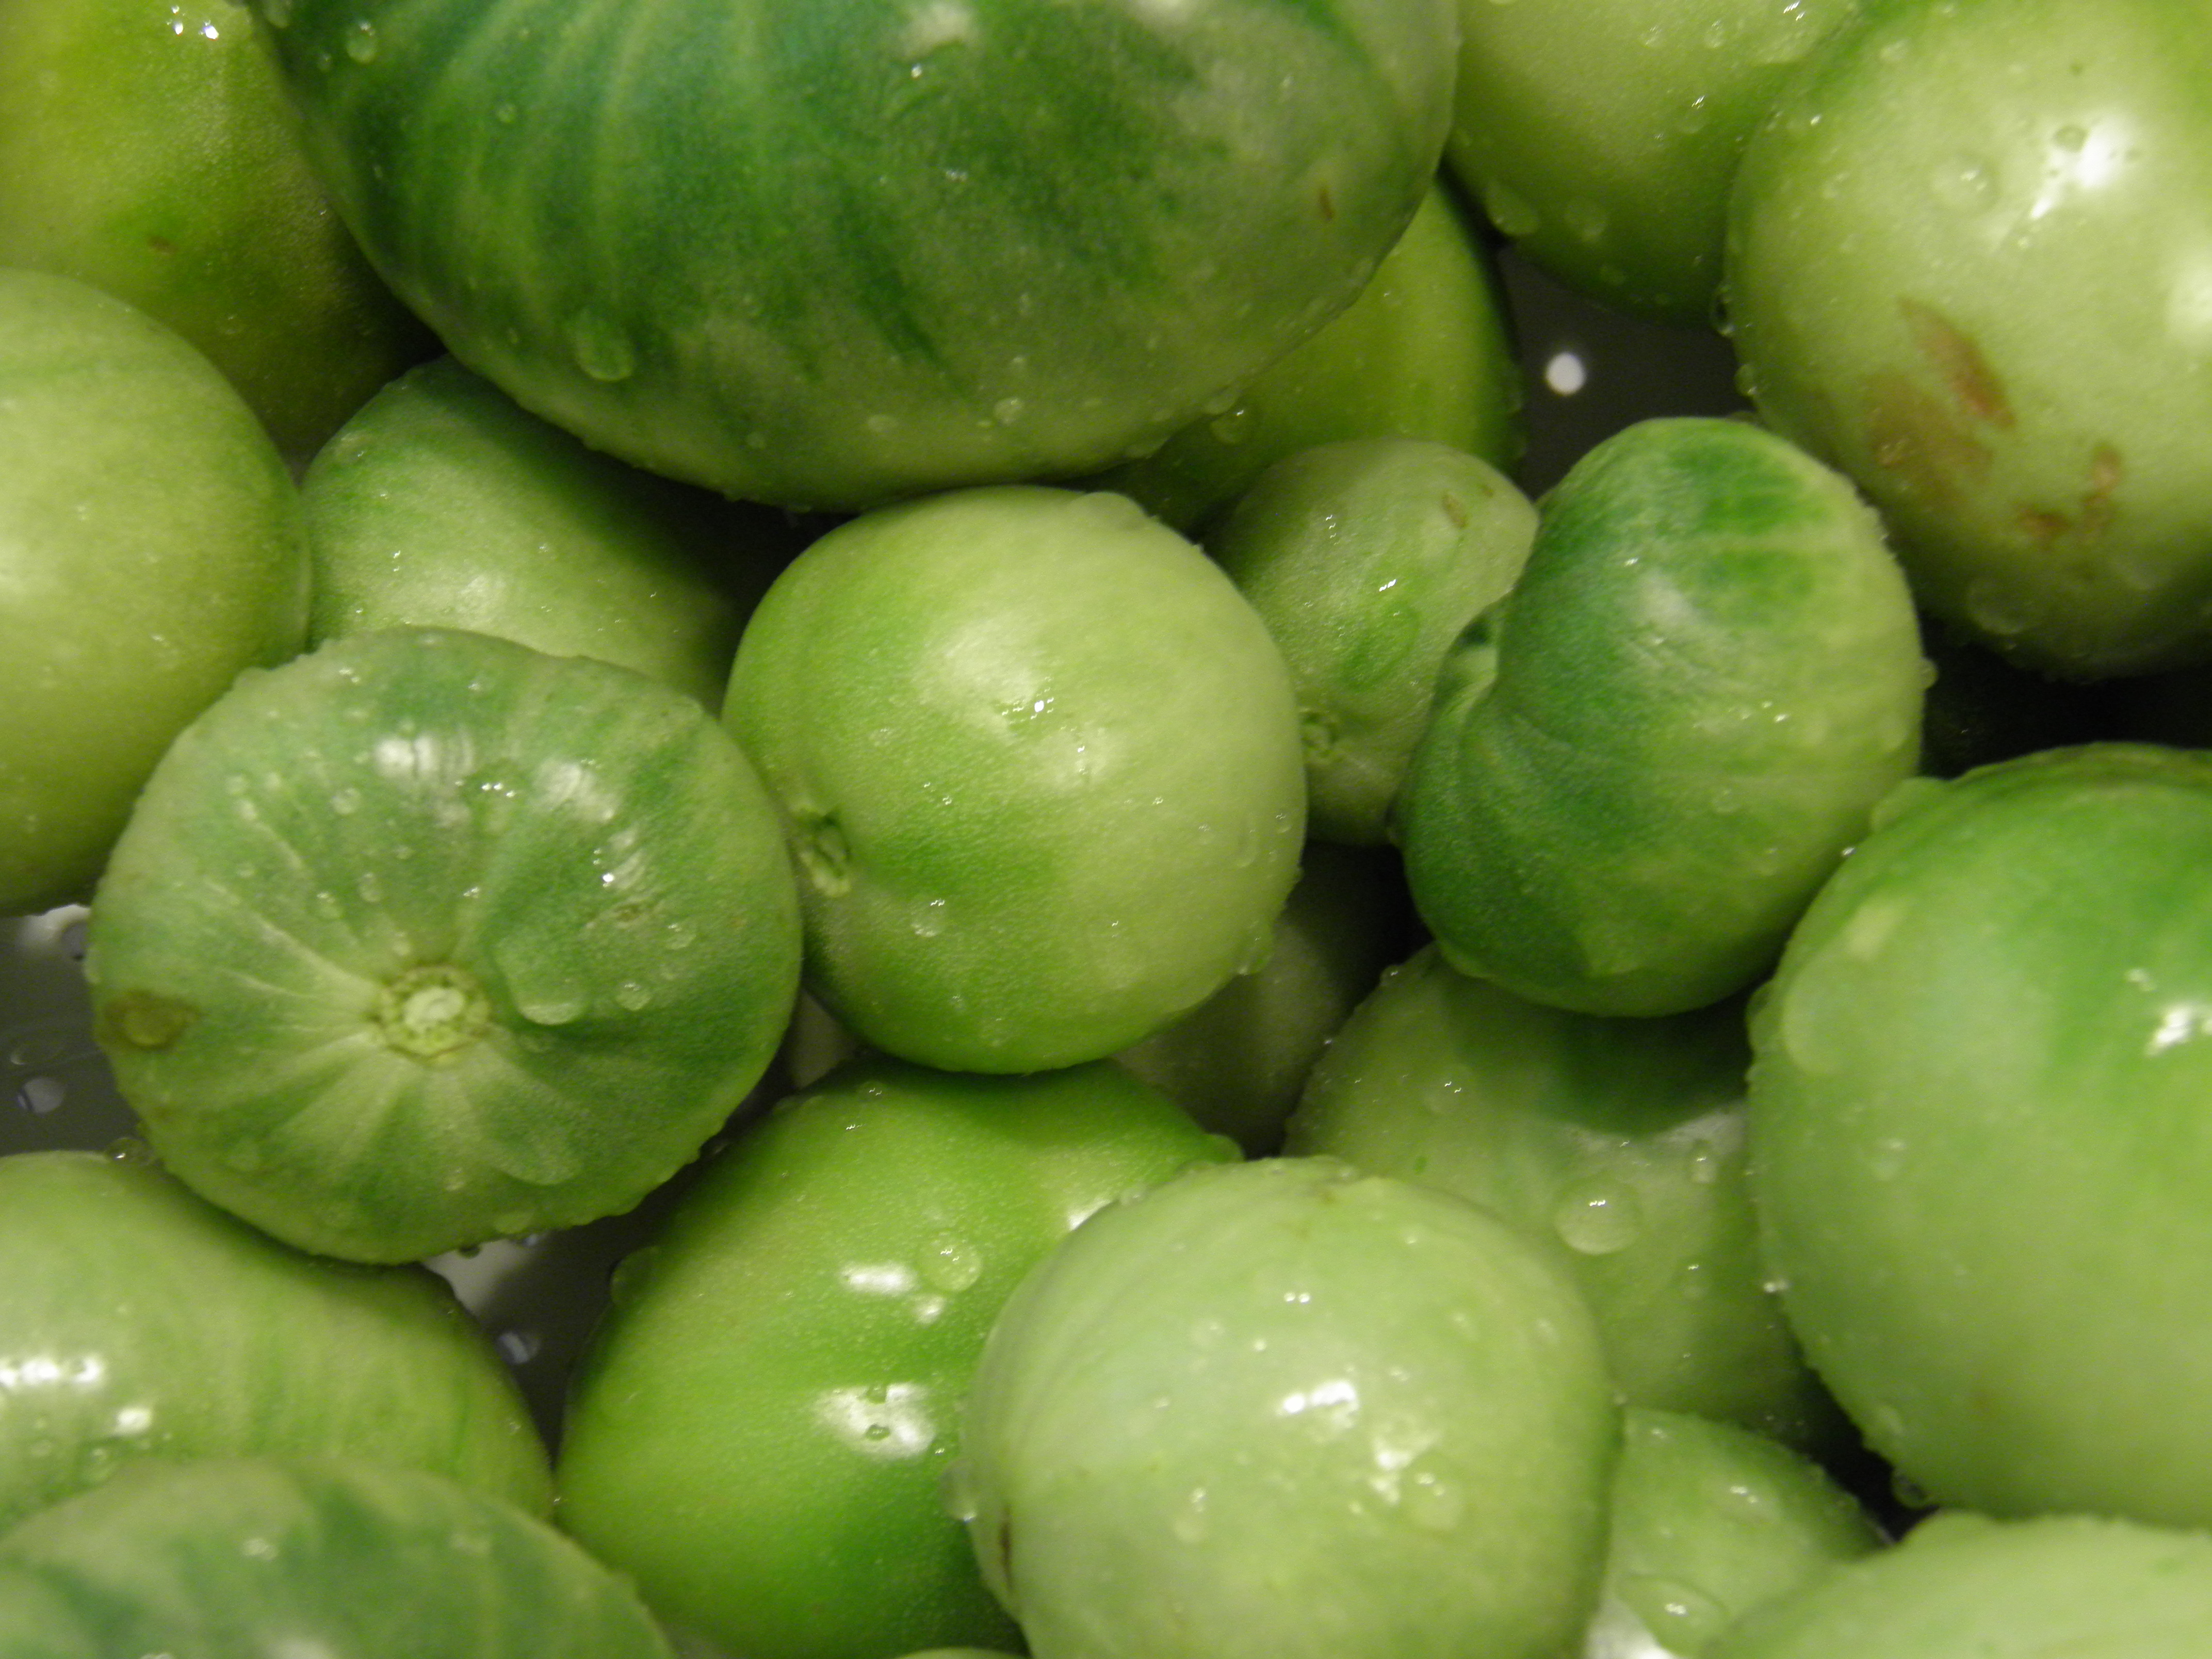
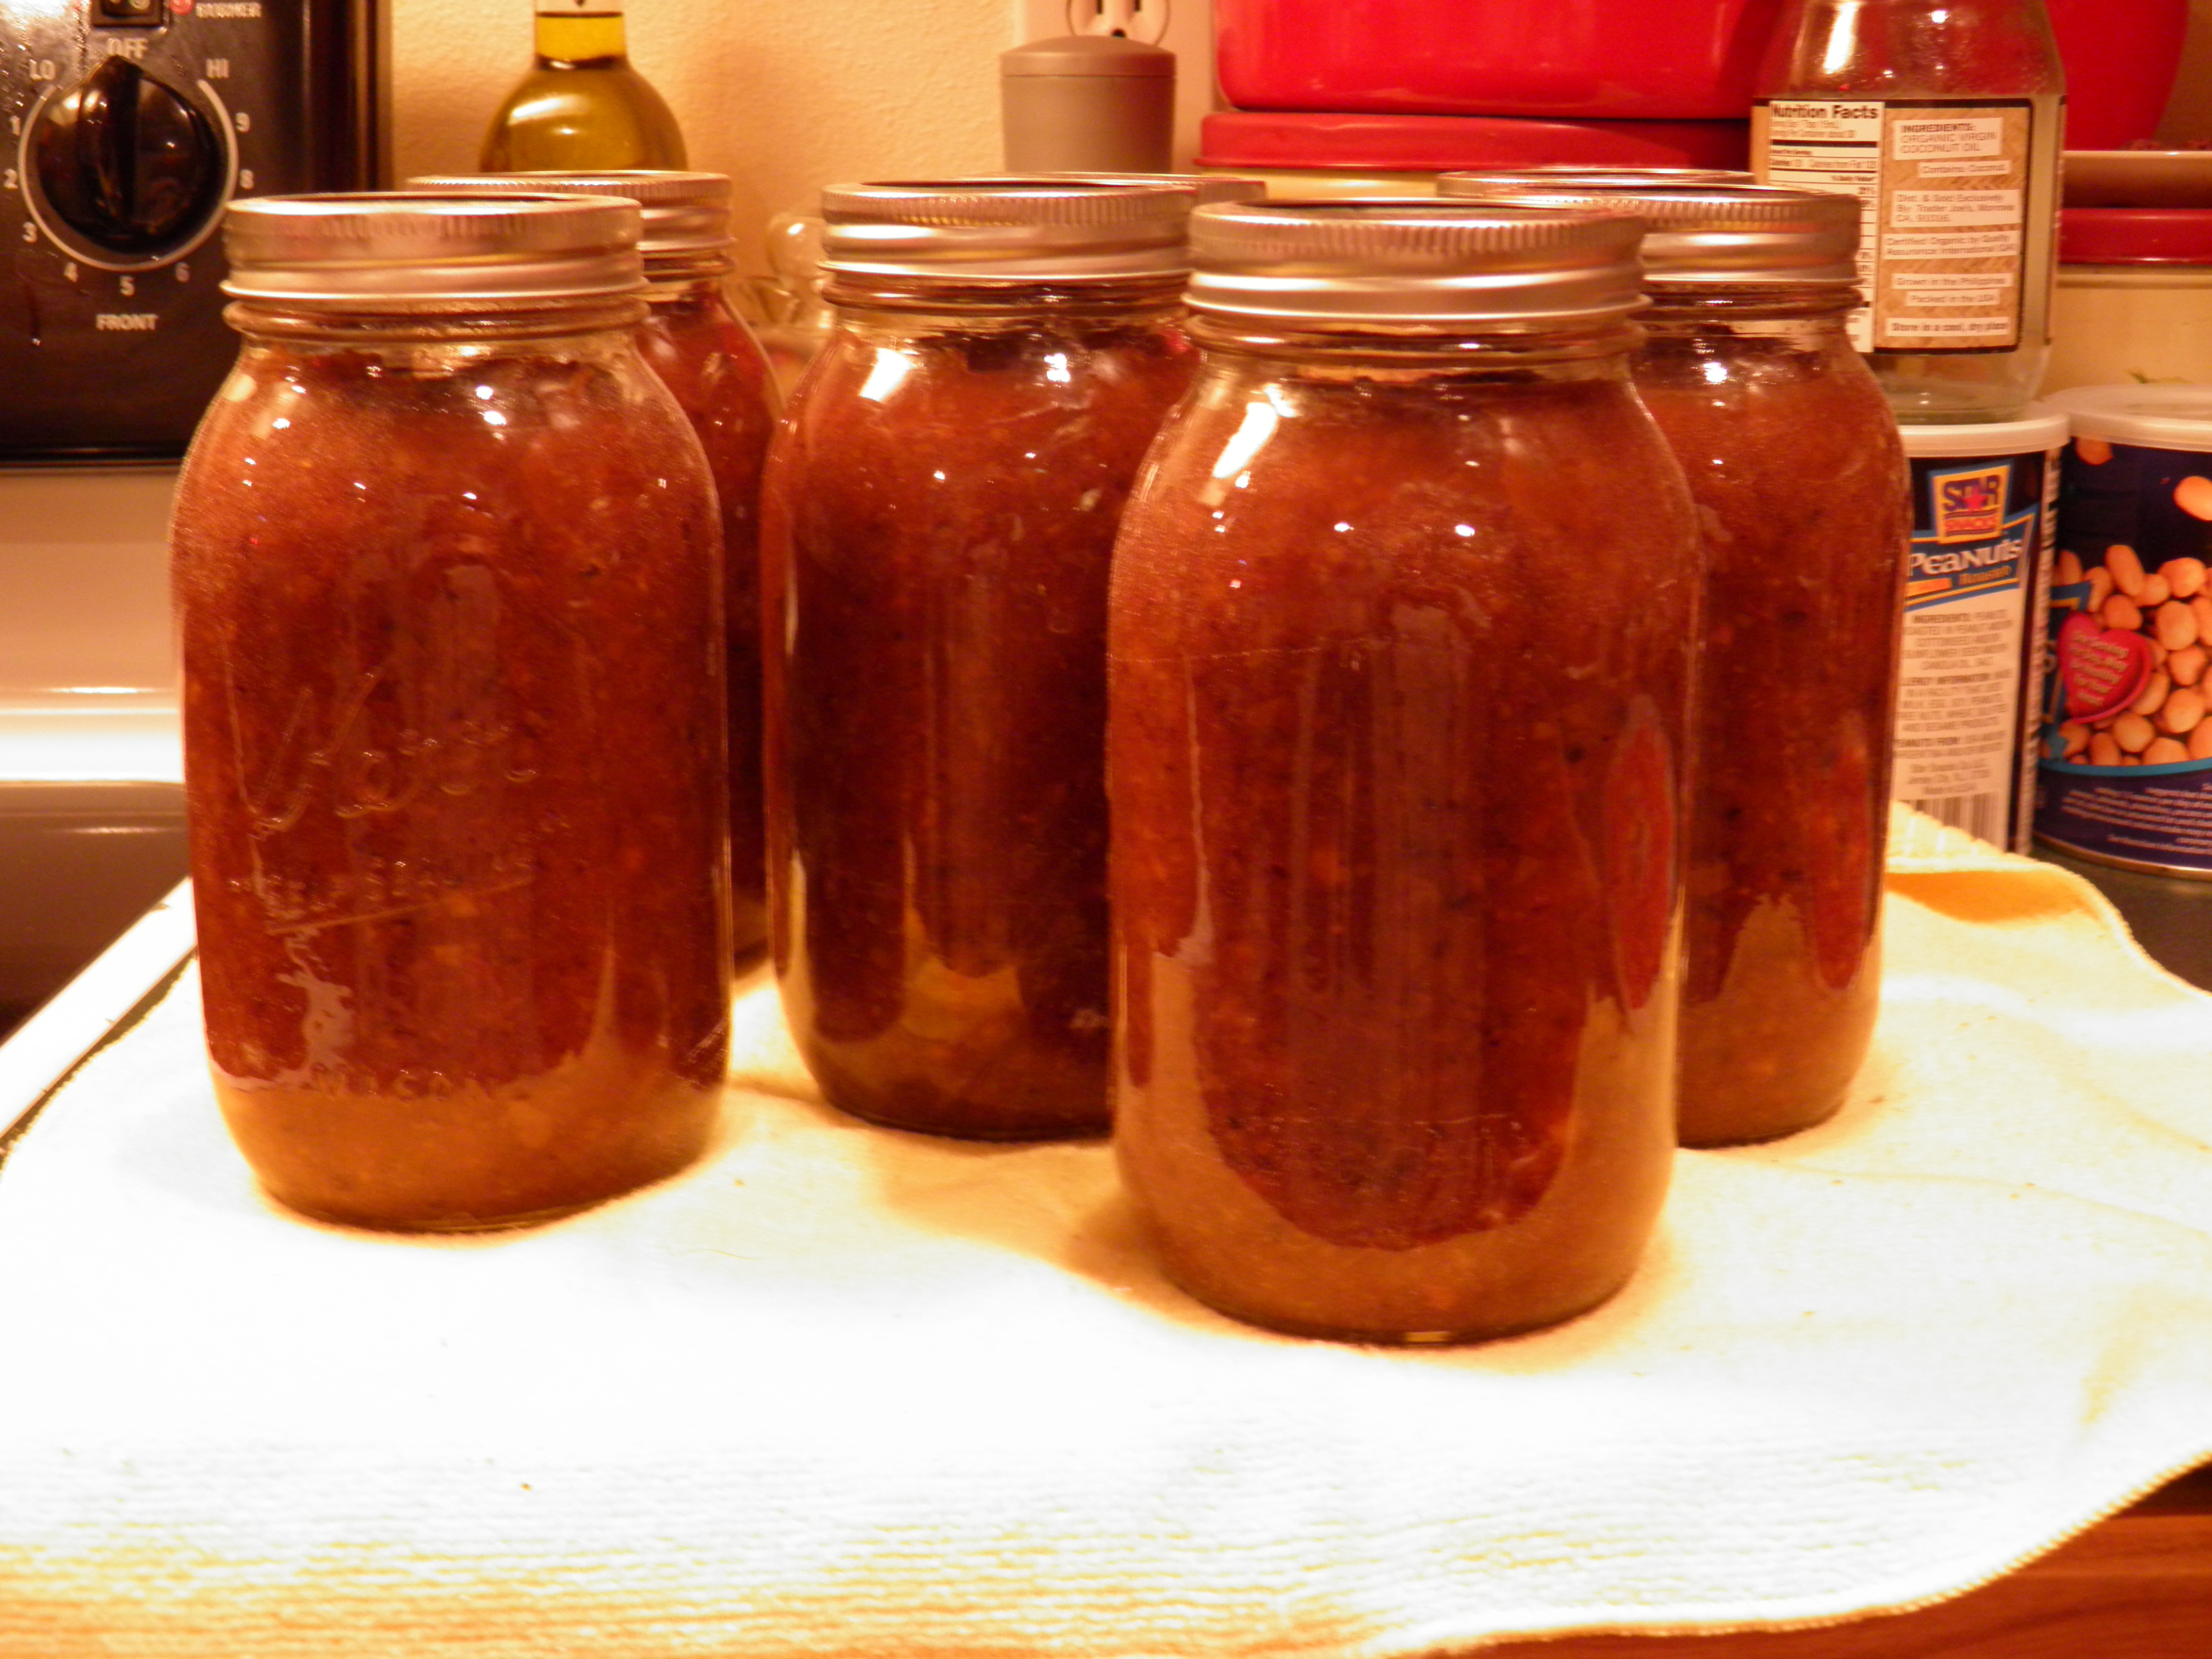
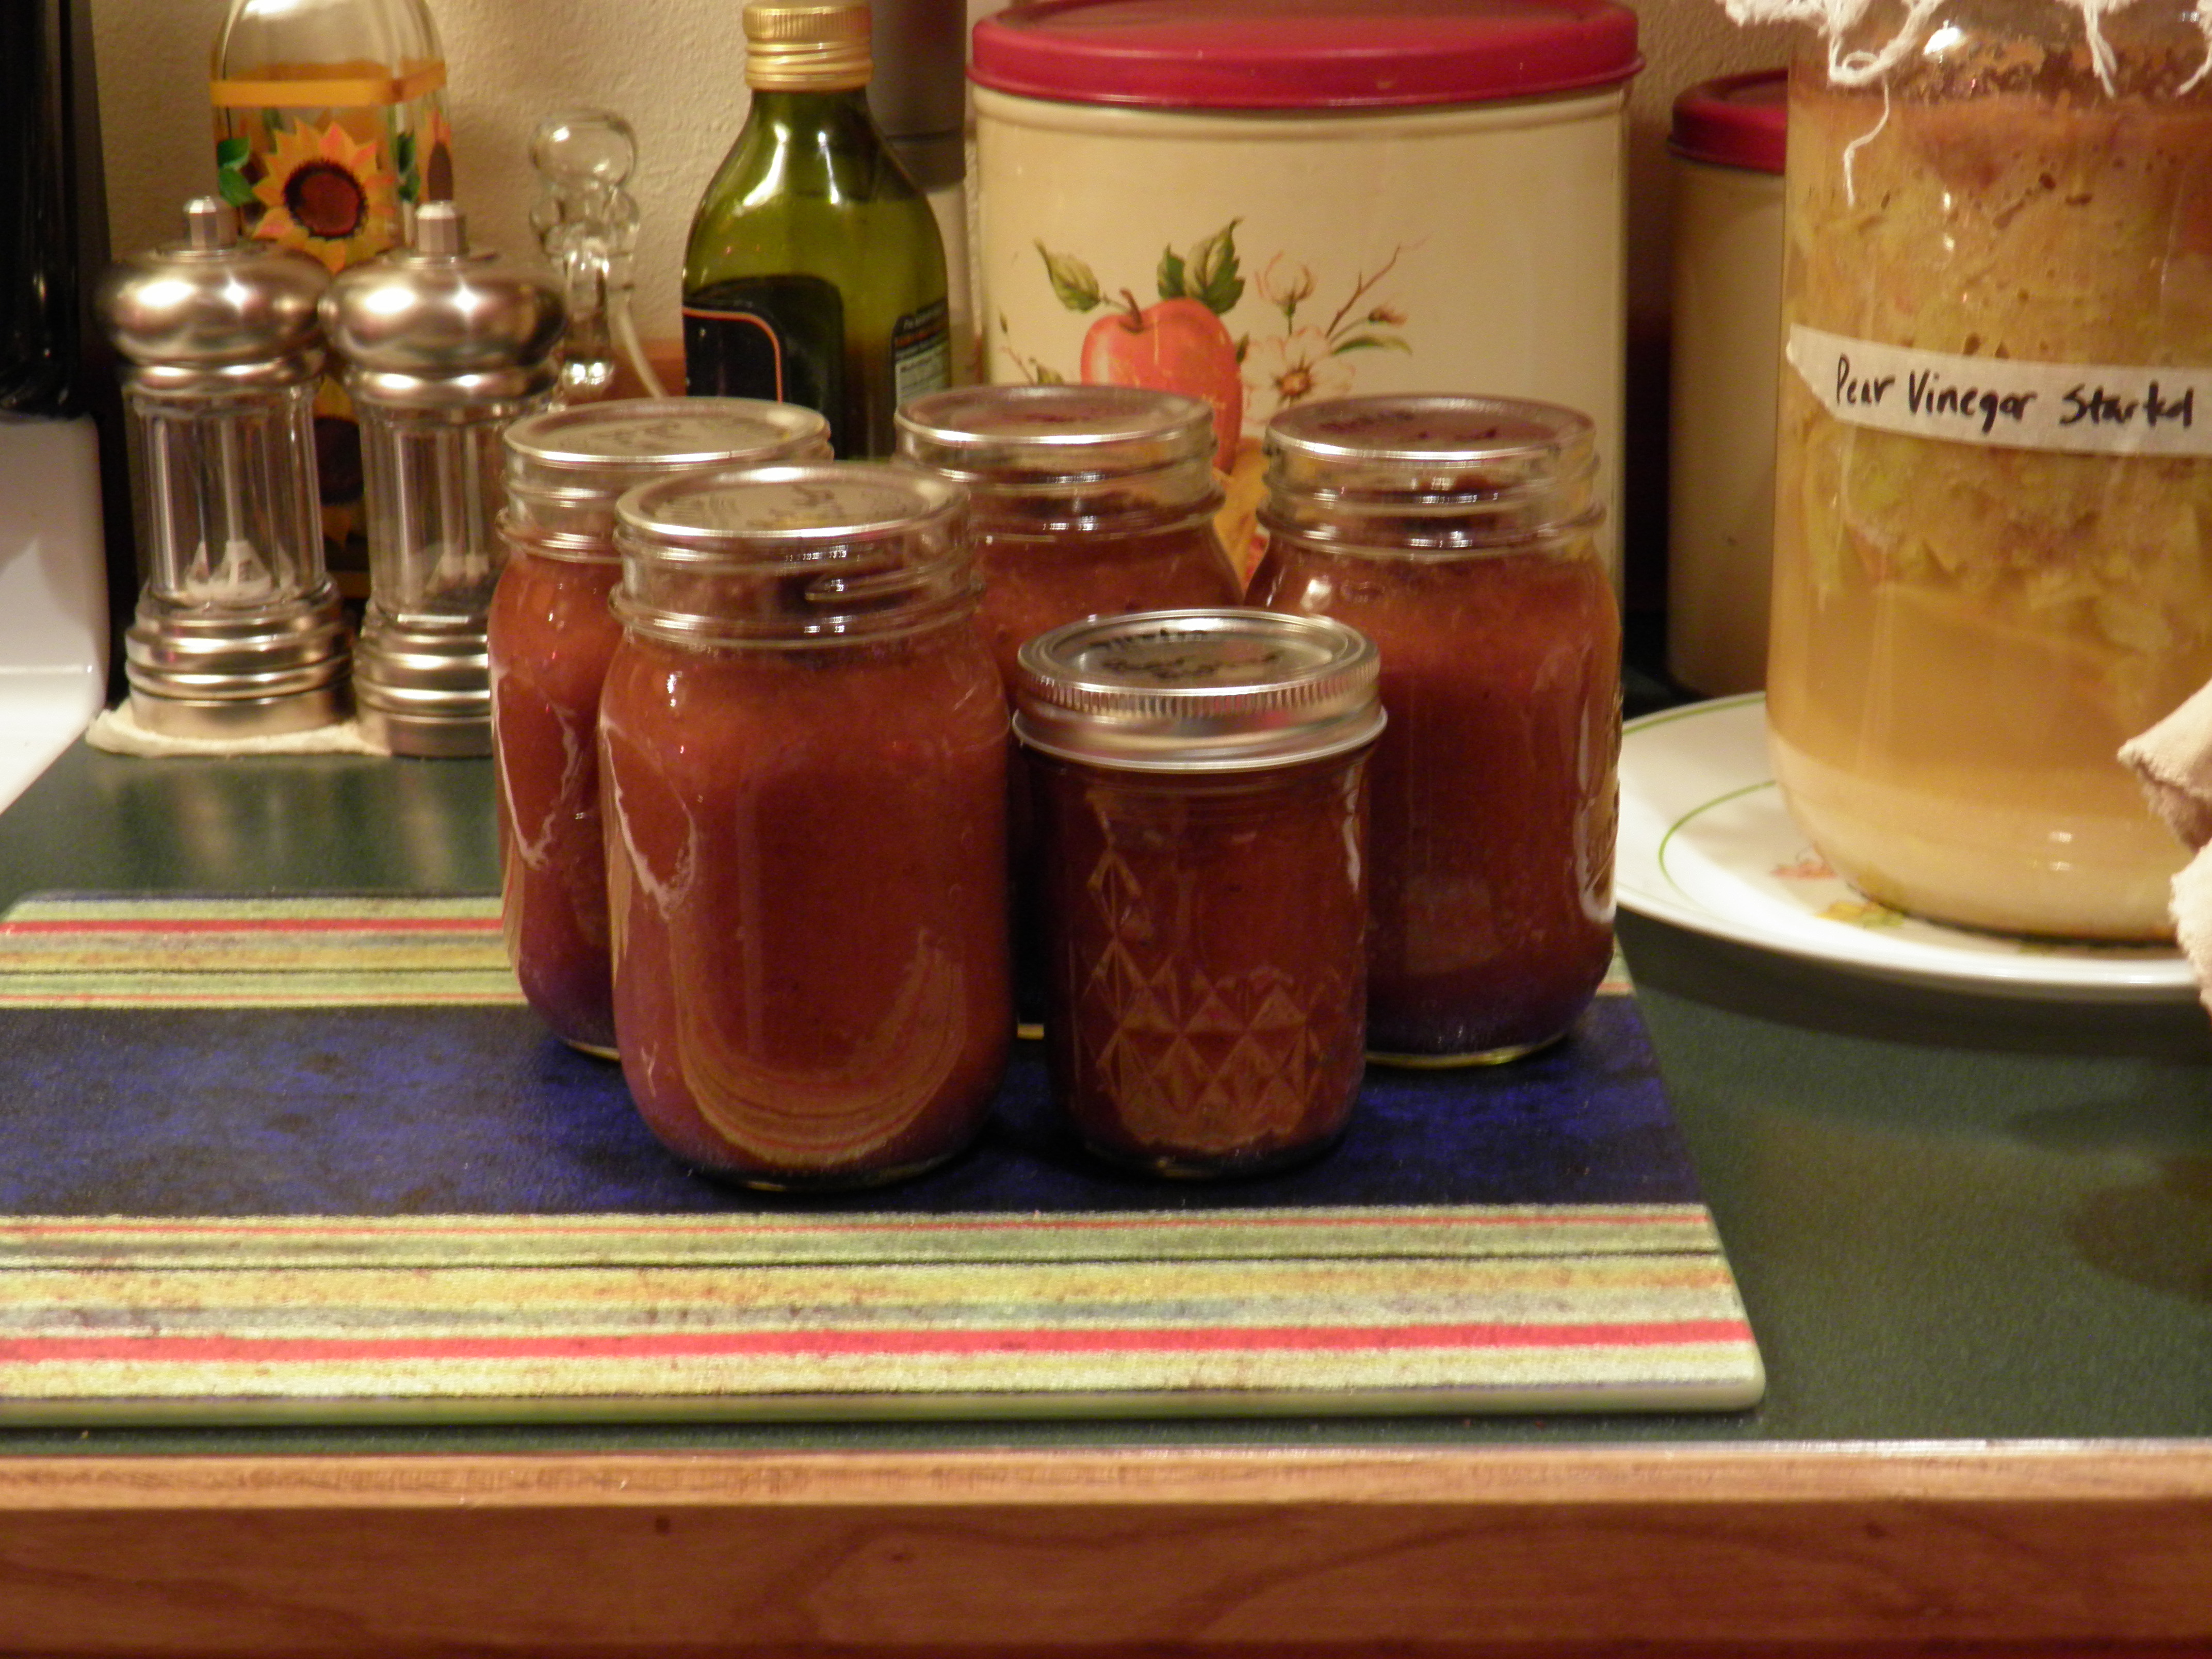
We like to hang out together all day as the dinner cooks, but we’re not the type of folks who go for formal appetizers, so we just have a cold cuts and cheese and crackers tray and a pickle plate out on the counter.  For the pickle plate, I’ll bring jars of pickled beets, pickled spicy green tomatoes, some black and green olives, and either Joel or I will open jars of dilly beans and kosher dill pickles.  I’ll also be bringing jars of my home-canned, charred salsa and green tomato salsa to go with tortilla chips.  There will probably be potato chips and dip, too.

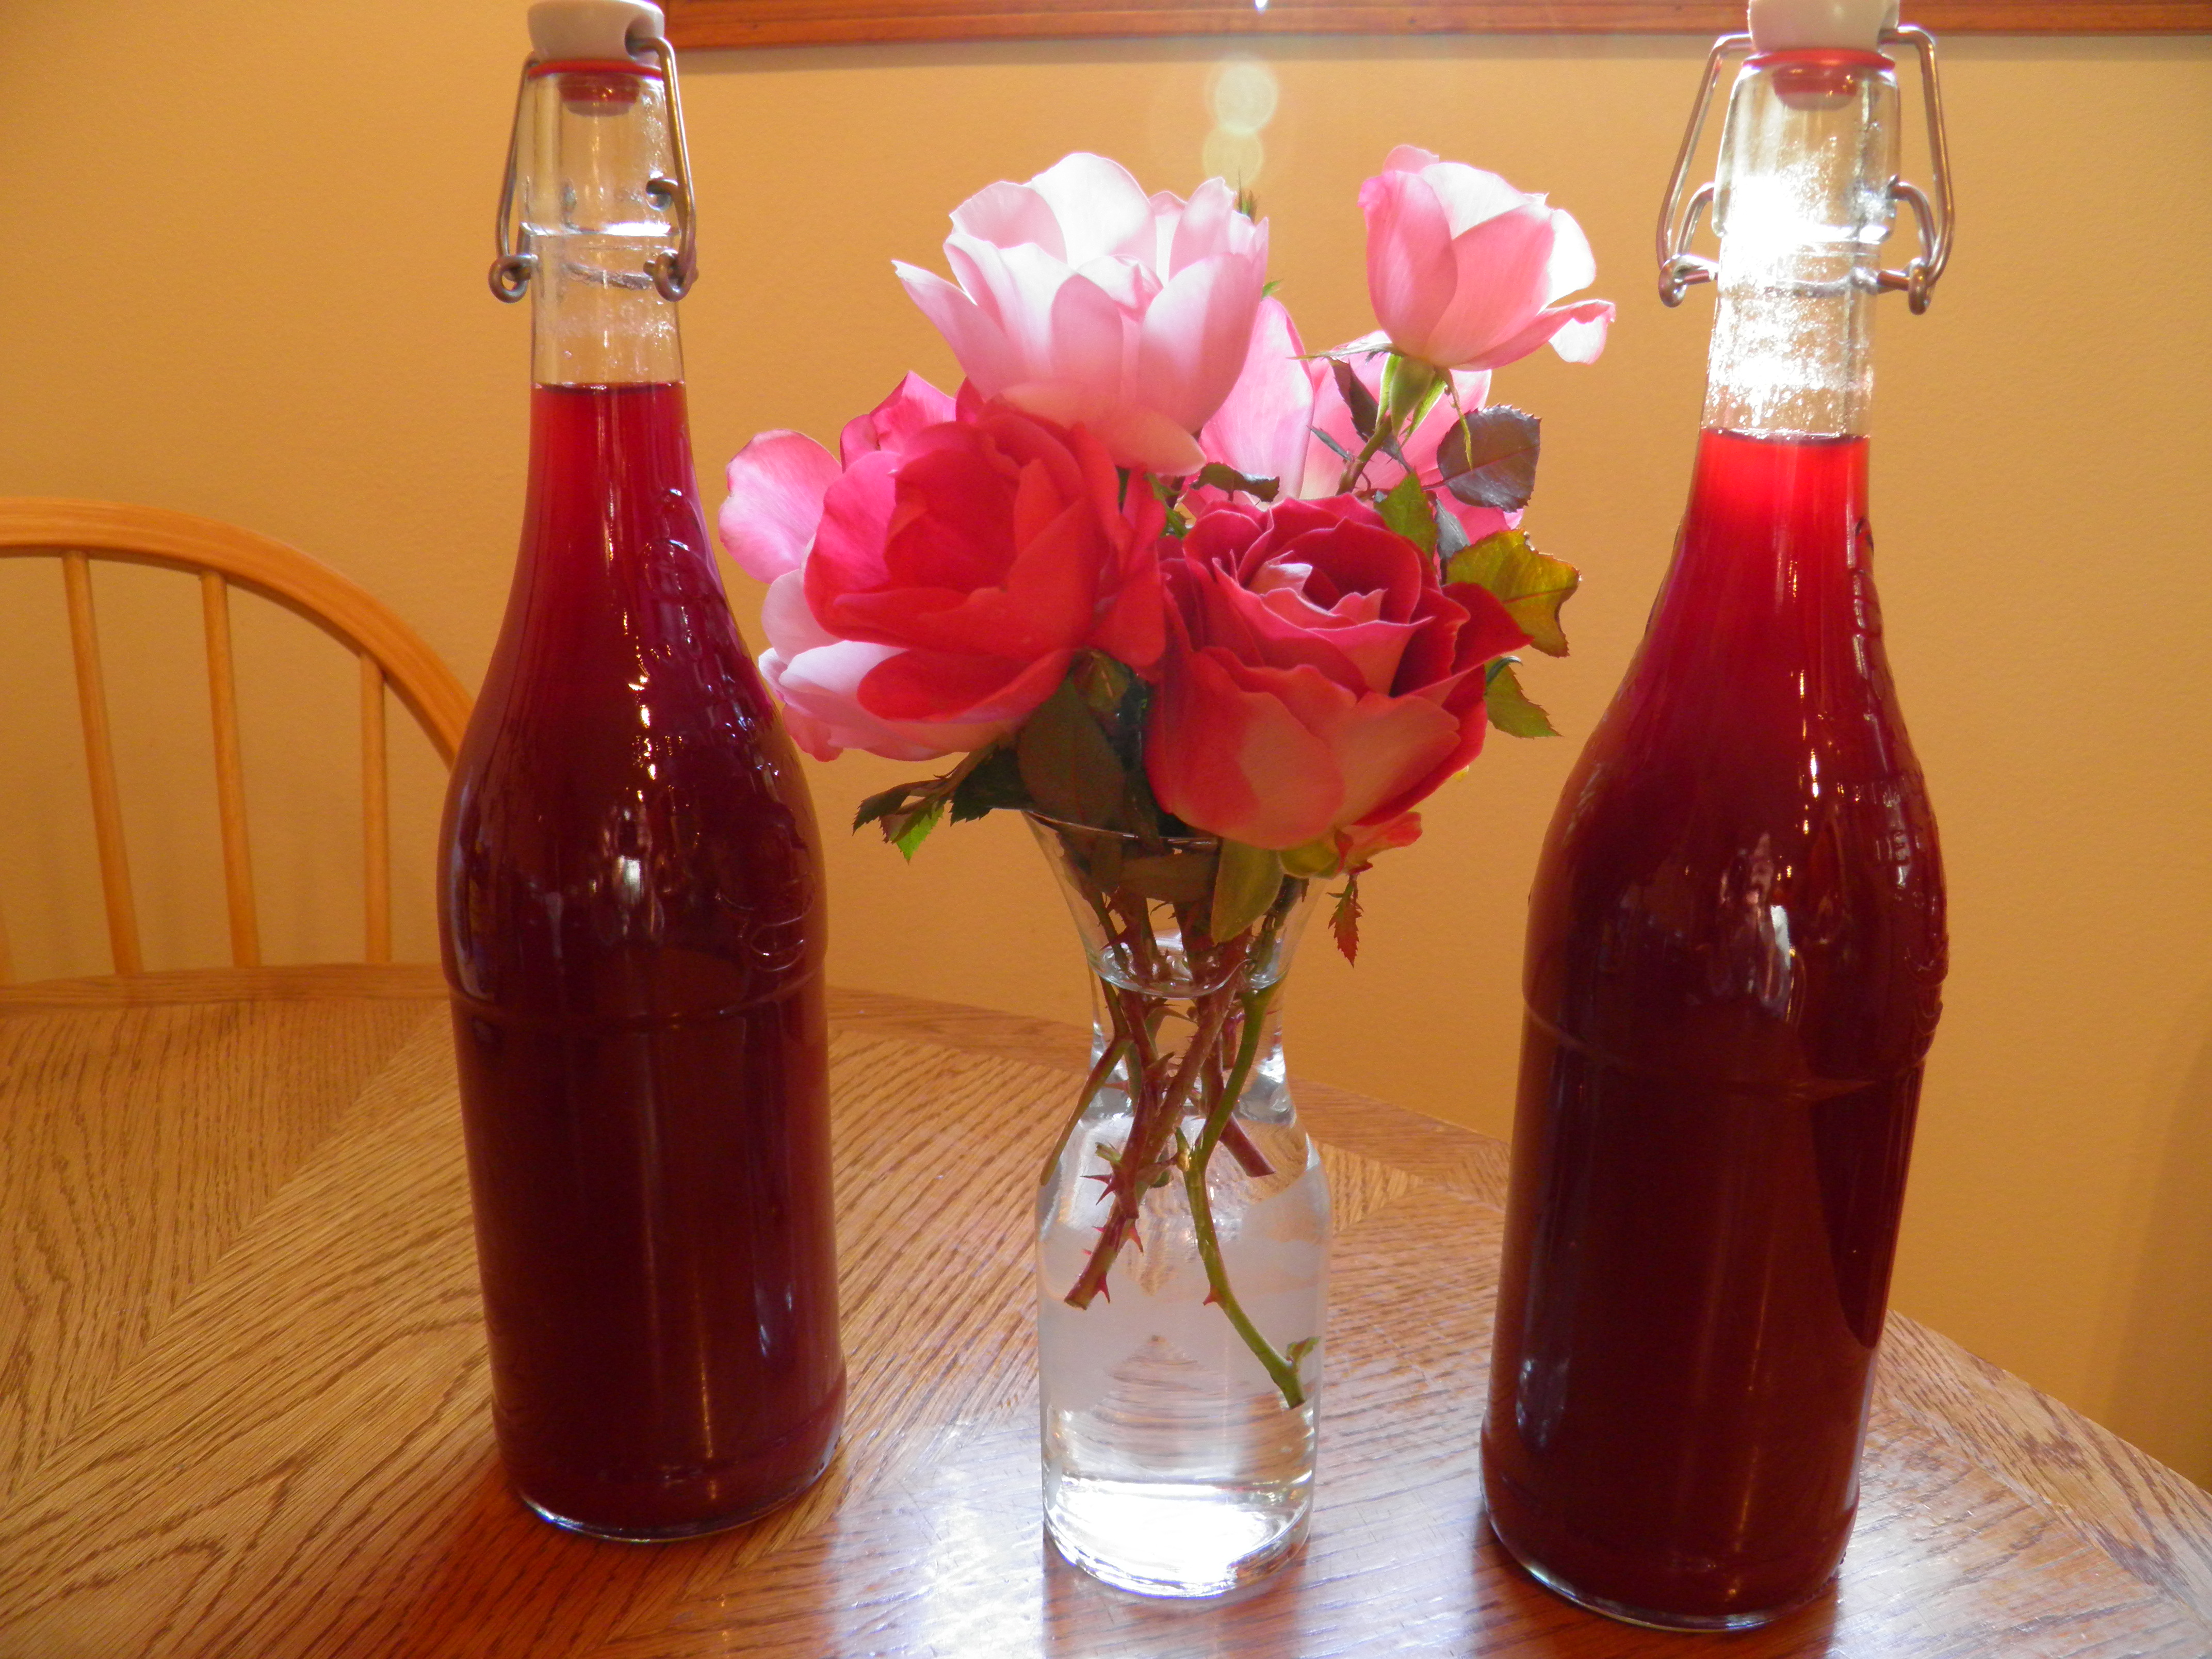
This year, I’m bringing a bottle of champagne and a bottle of either my raspberry cordial or blackberry cordial, or maybe both, to make pre-dinner champagne cocktails.  For the kids, I’ll make a lemonade-based punch.  At dinner, we always open bottles of sparkling cider.

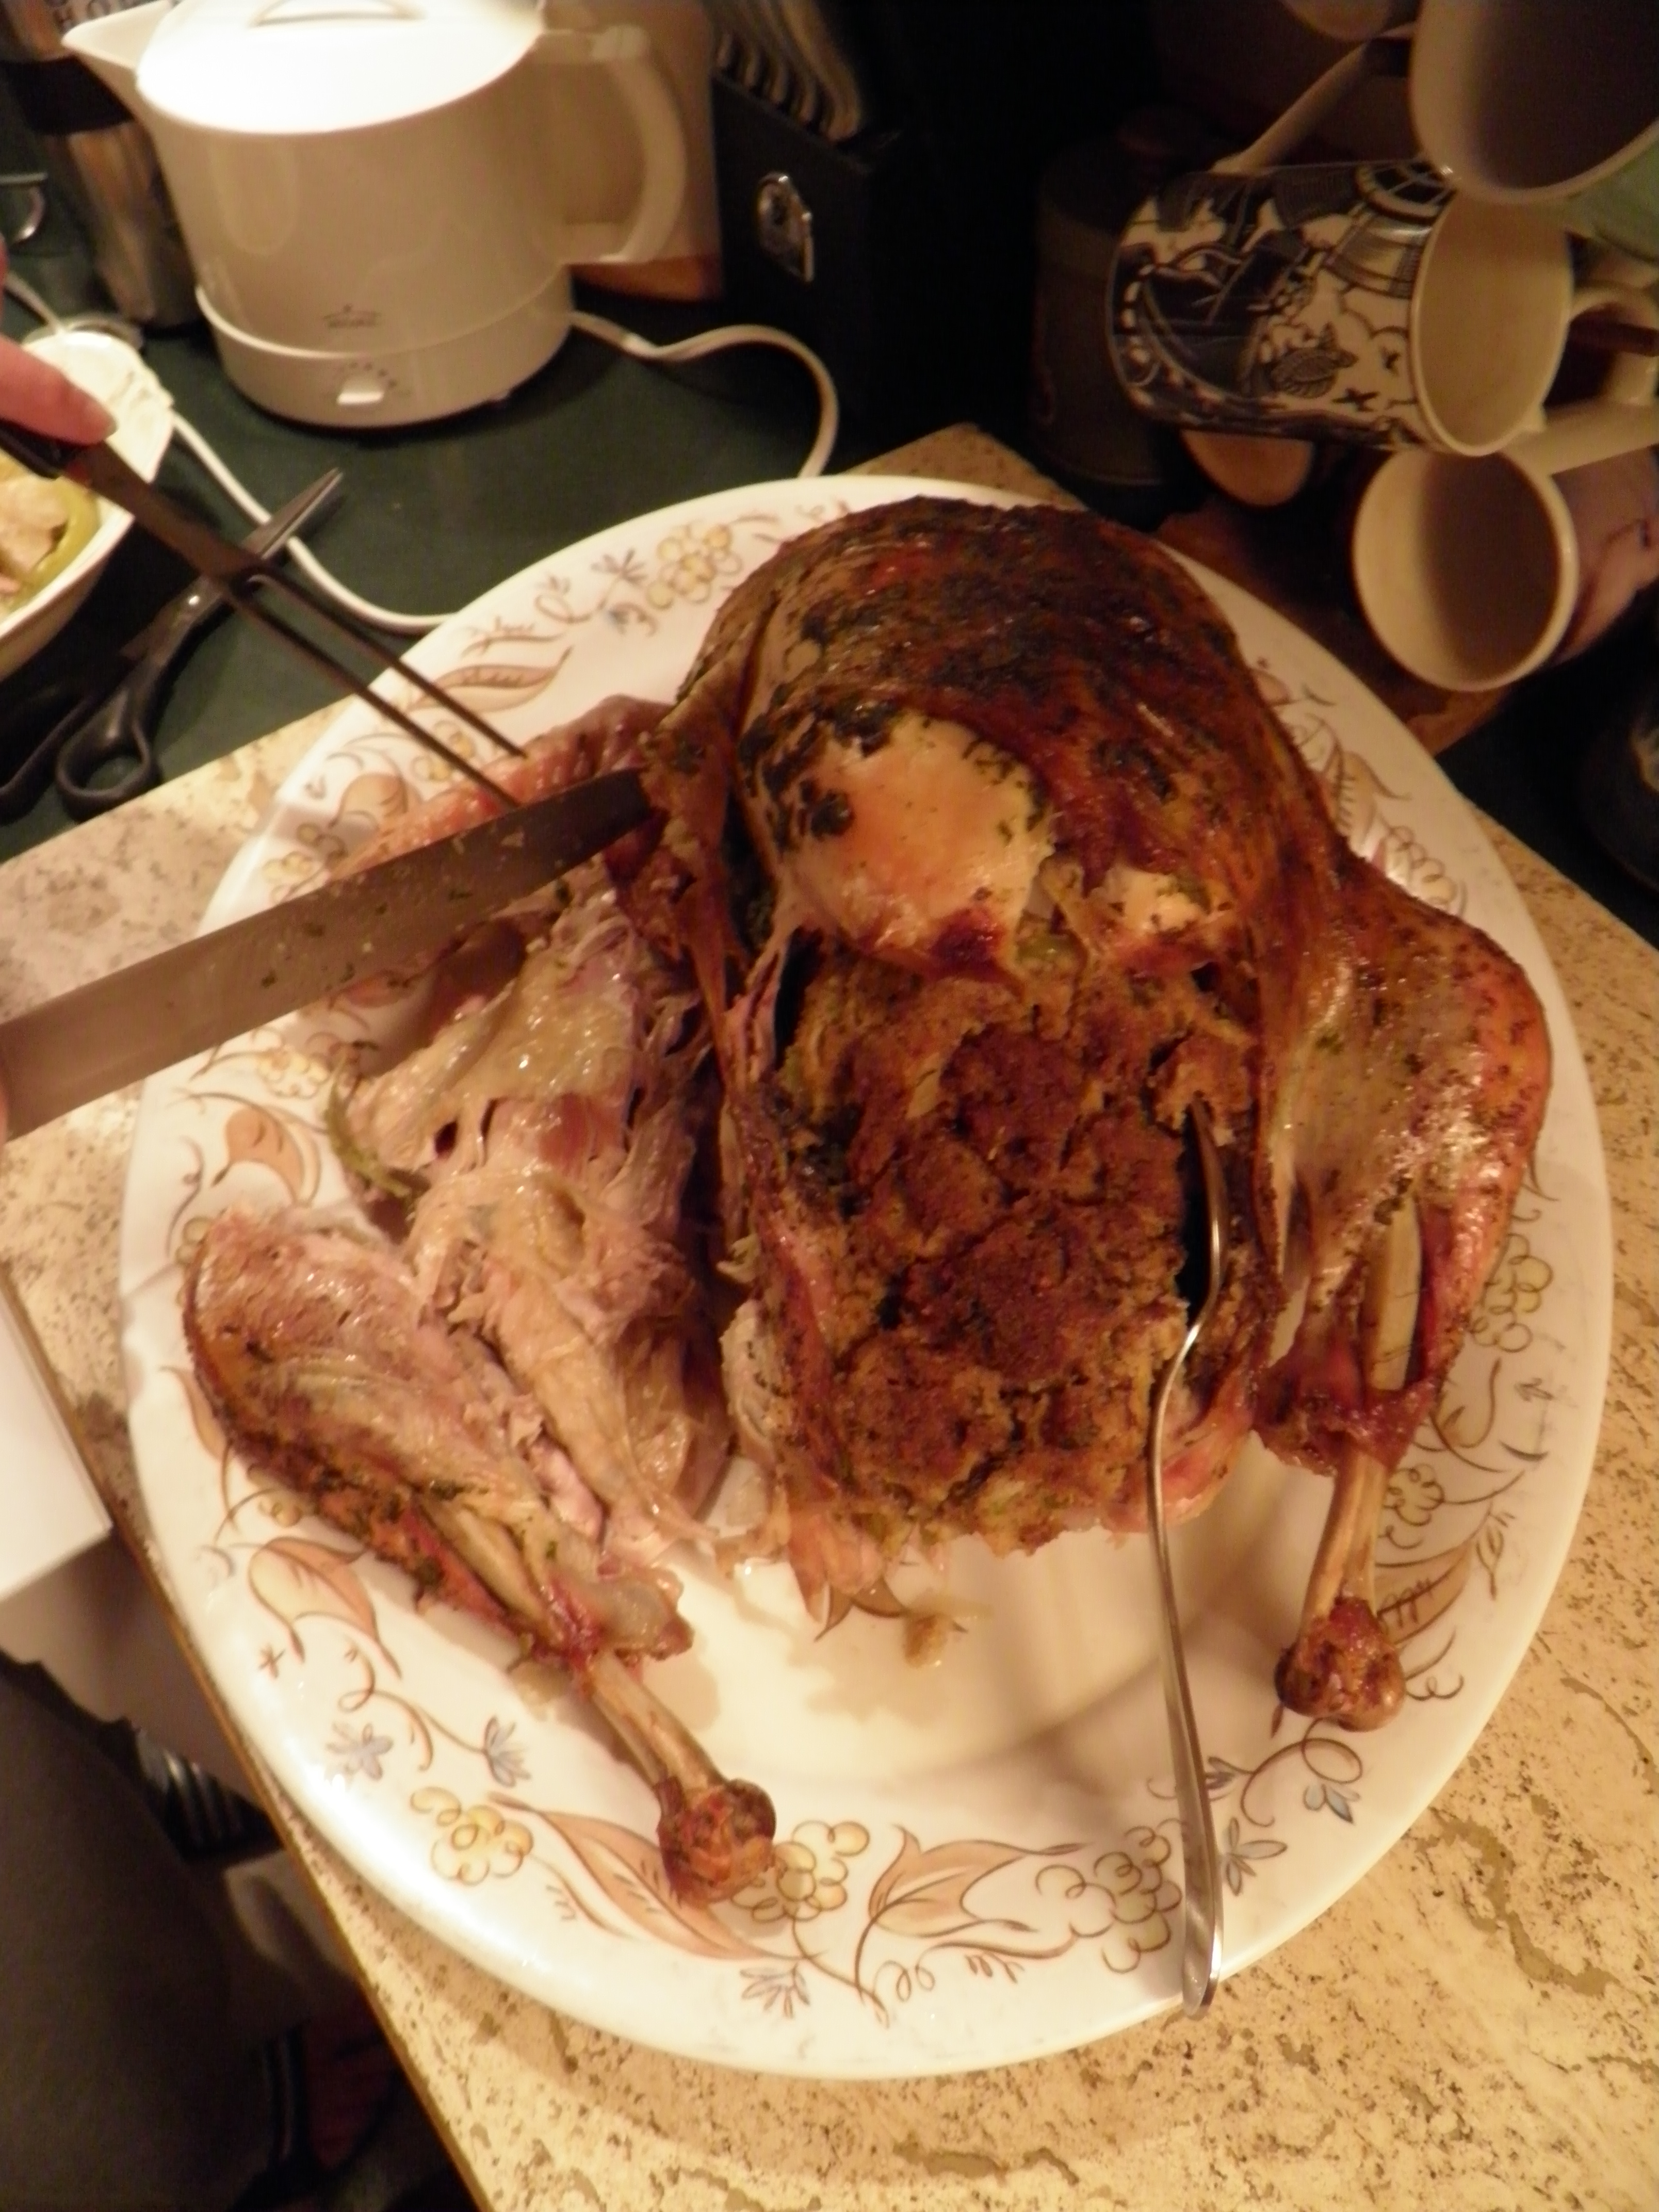
There’s turkey, of course.  We cook one at home for leftovers to feed the out-of-towners who stay at my house (our daughter, Amy, her husband, Solo, and his mother, Theresa).  Amy usually arrives a day early to help me with all the cooking.  For the last two years, my daughter-in-law, Tori, has cooked the turkey for the big family feast, and she’s done a marvelous job.  I taught her how to roast a chicken, told her to treat the turkey like a really big chicken, and she’s come through like a champ two years running.  This works well because we eat the feast at Tori and Joel’s house, and I don’t have to cook the turkey at my house and worry about then transporting it.  I have transported the entire dinner before, and I don’t like it!  I have also tried cooking it at someone else’s house, and I don’t like that, either.  So now, we divvy up the cooking, and it works well.

We are turkey traditionalists.  We season the bird with butter and herbs and roast it at 325 degrees in a big, old-fashioned, heavy-lidded, enamel roasting pan.   I like to mix fresh herbs from the garden—chopped thyme, sage, hyssop, and tarragon—into softened butter, and this goes under the skin of the breast and all over the bird outside.  I sprinkle it with sea salt and freshly ground black pepper.  I baste if I think about it, but the lidded roaster keeps the bird moist while producing a crispy skin, so if I forget to baste, it’s no big deal.

OLYMPUS DIGITAL CAMERA

I stuff my turkey with cornbread stuffing.  I make extra stuffing in a large casserole dish, and we take the casserole dish to the feast.  The stuffing that cooks inside the turkey stays at home for leftovers.  Tori doesn’t make stuffing, and her parents, who always feast with us, like a sausage and carrot and bread dressing, so they make and bring their favorite dressing.  Everybody has what he or she enjoys most.

Amy and I make most of the sides.  Amy has been crowned Mashed Potato Queen.  She has cooked and mashed the potatoes every year since she was a teenager.  Usually, she cooks the Yukon Golds I’ve grown in the garden.  But this year, all my Yukon Golds were volunteers (from a row Dennis didn’t dig the fall before!) and they matured so early that we had to eat them all this summer.  I have some garden reds, and I bought a 5 lb. bag of Golds, so we’ll mix them this year.  A handful of salt goes in the cooking water.  If this sounds like a lot, consider that if I don’t stop her, Amy fills my 13-quart stock pot with peeled and cut potatoes!  She puts lots of butter in them, and fat-free half & half to balance the fat in the butter.  She uses my old potato masher to break them up after draining, and then in goes the butter, and after it melts, the “cream.”  Then she uses the mixer to whip them up.  They are always light, fluffy, and creamy.  The key is to not overcook them.  Over-boiled potatoes will be gummy and gluey, no matter what else you do to them afterwards.

I make gravy from the turkey drippings.  I used to make turkey gravy with flour, but since I have stopped eating wheat, I’m reverting to cornstarch.  My mom had a funny rule:  cornstarch for light-colored gravies from poultry drippings, flour for dark-colored gravies from beef and venison.  (Of course, it was always flour for milk gravies, but that’s another story.)  I don’t know where she came up with this rule, but she never deviated from it.  At any rate, cornstarch makes a good, clear sauce for a light meat like turkey, and my turkey drippings are rich with butter and herbs from the herb butter I slather the turkey with, so it makes a delicious gravy no matter what you use to thicken it.

Some years, I make a puffy, sweet potato casserole.  My husband likes those overly-sweet yams with marshmallow topping, but he is the only one who does, so I don’t make it.  My kids don’t like sweet potatoes any way I fix them, but the puff is sometimes popular with other guests, and I really like it.  The recipe is at the bottom of this post.

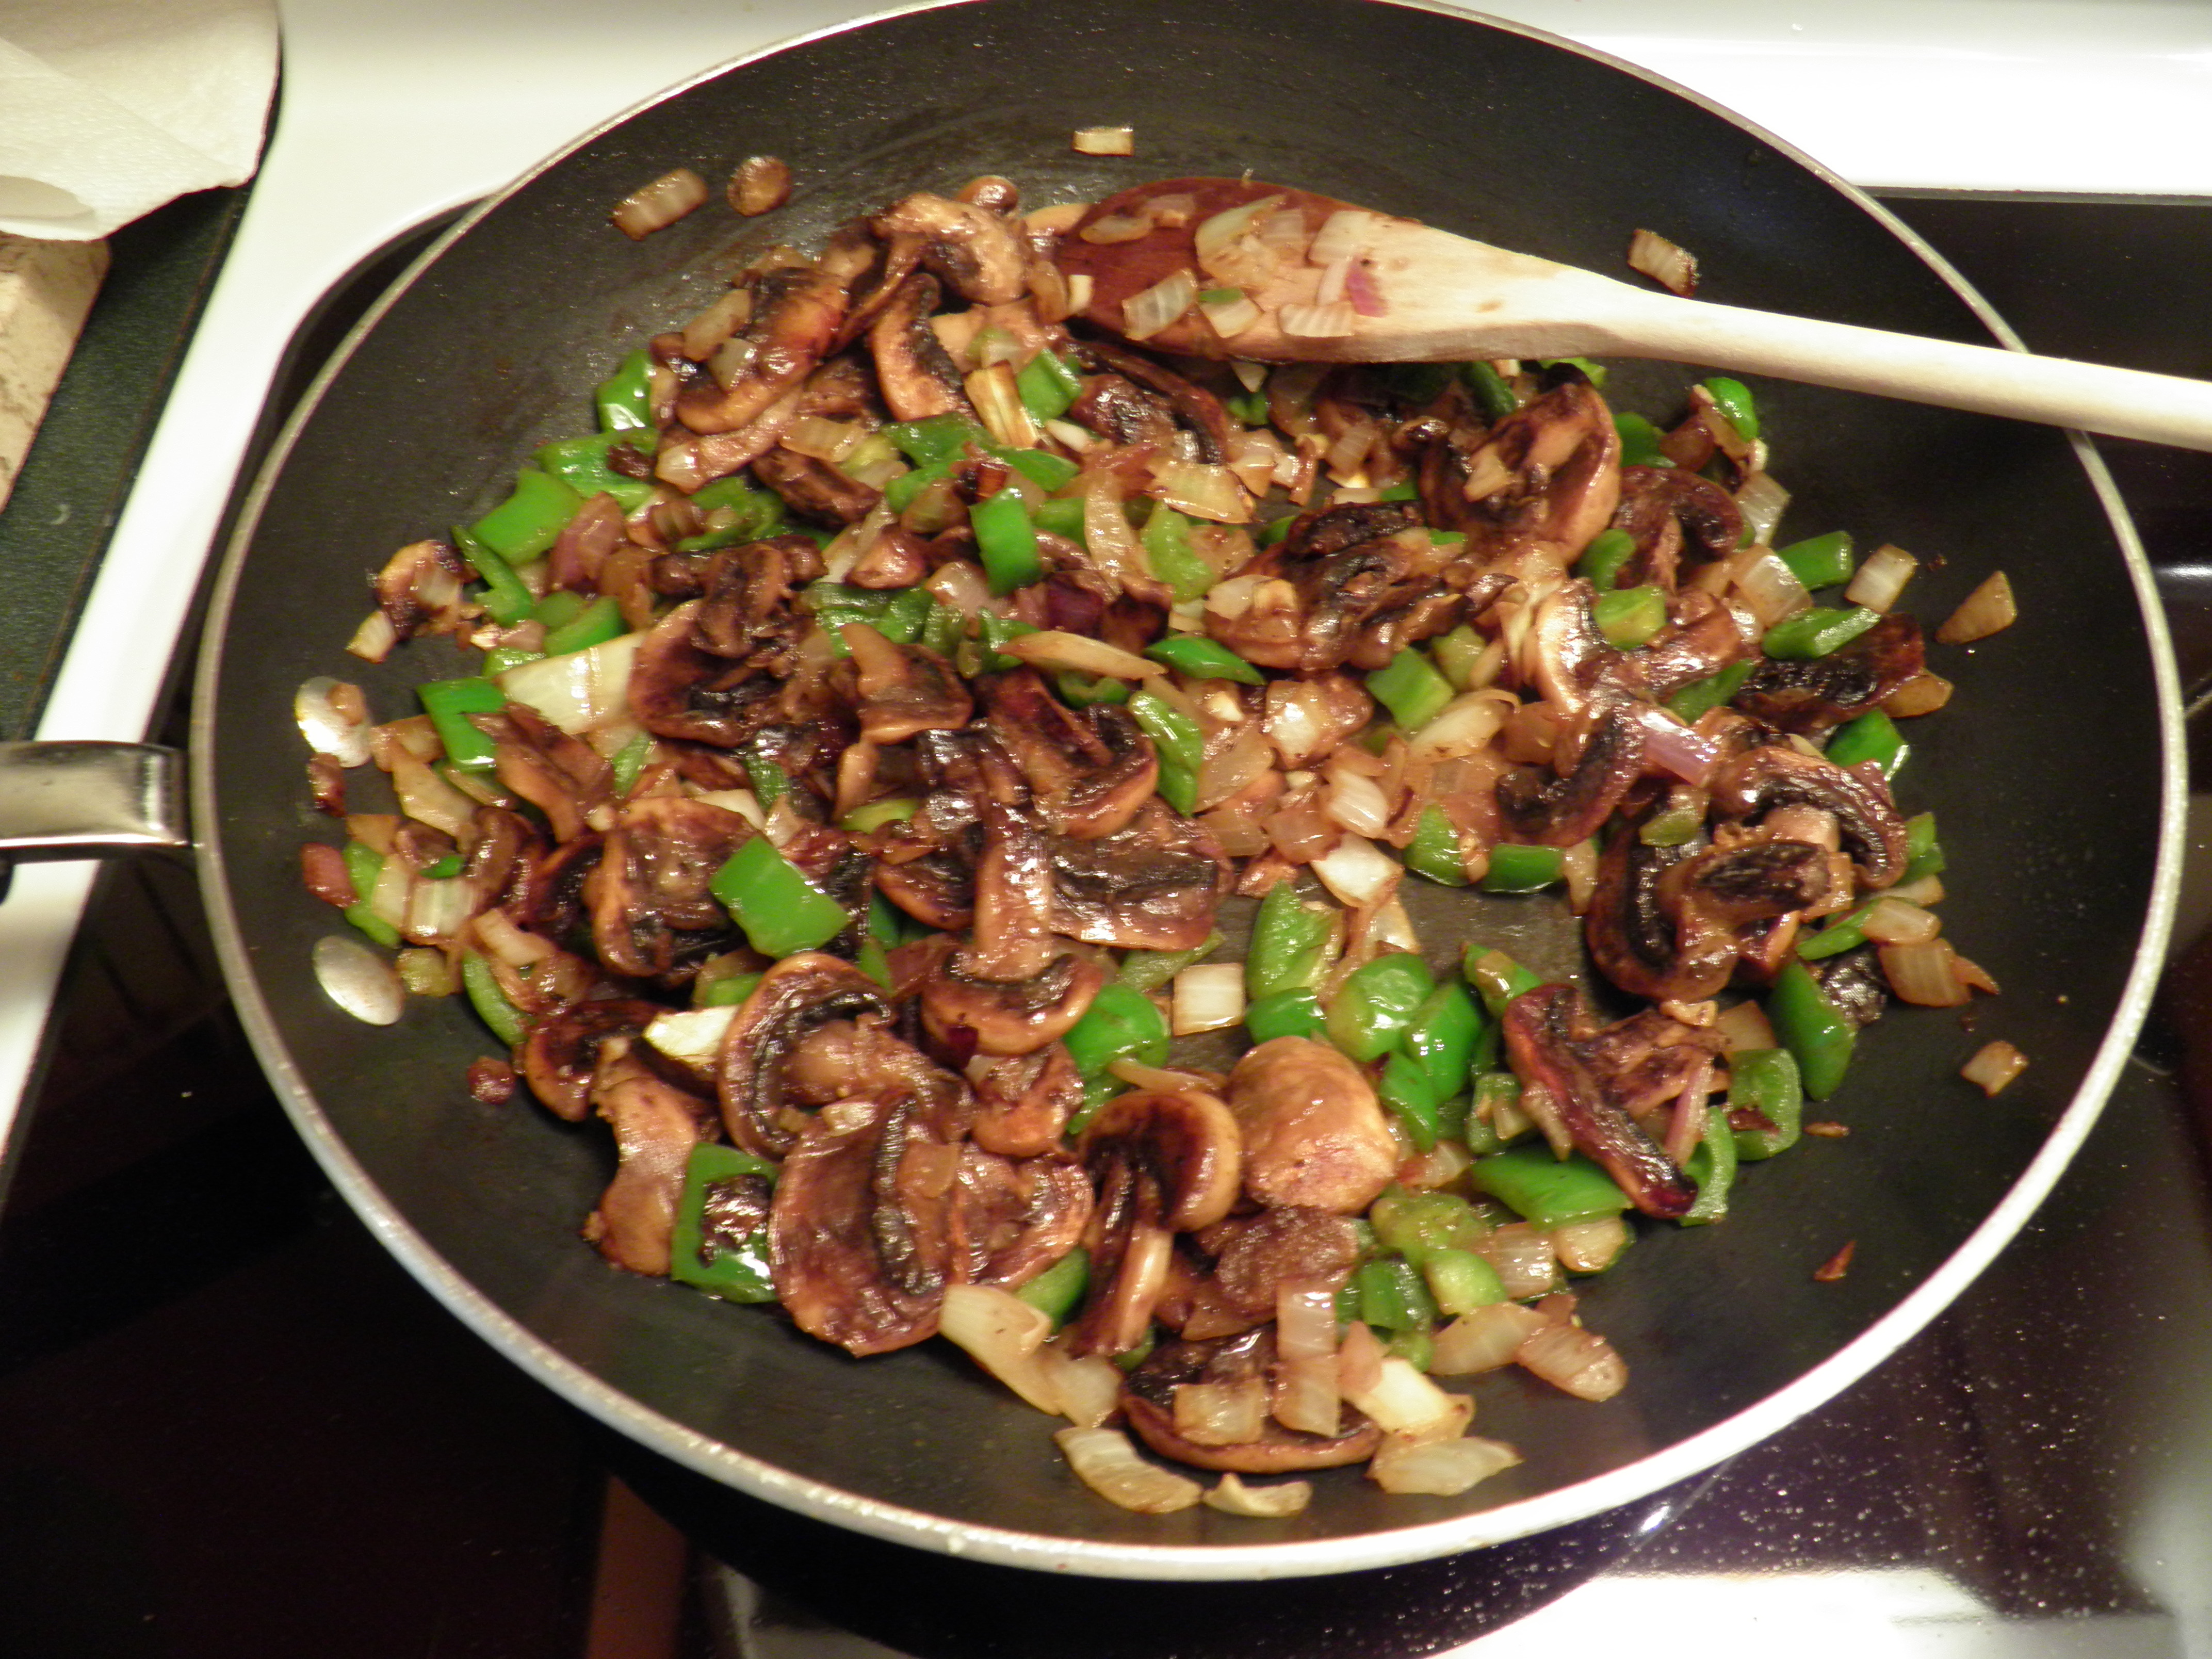
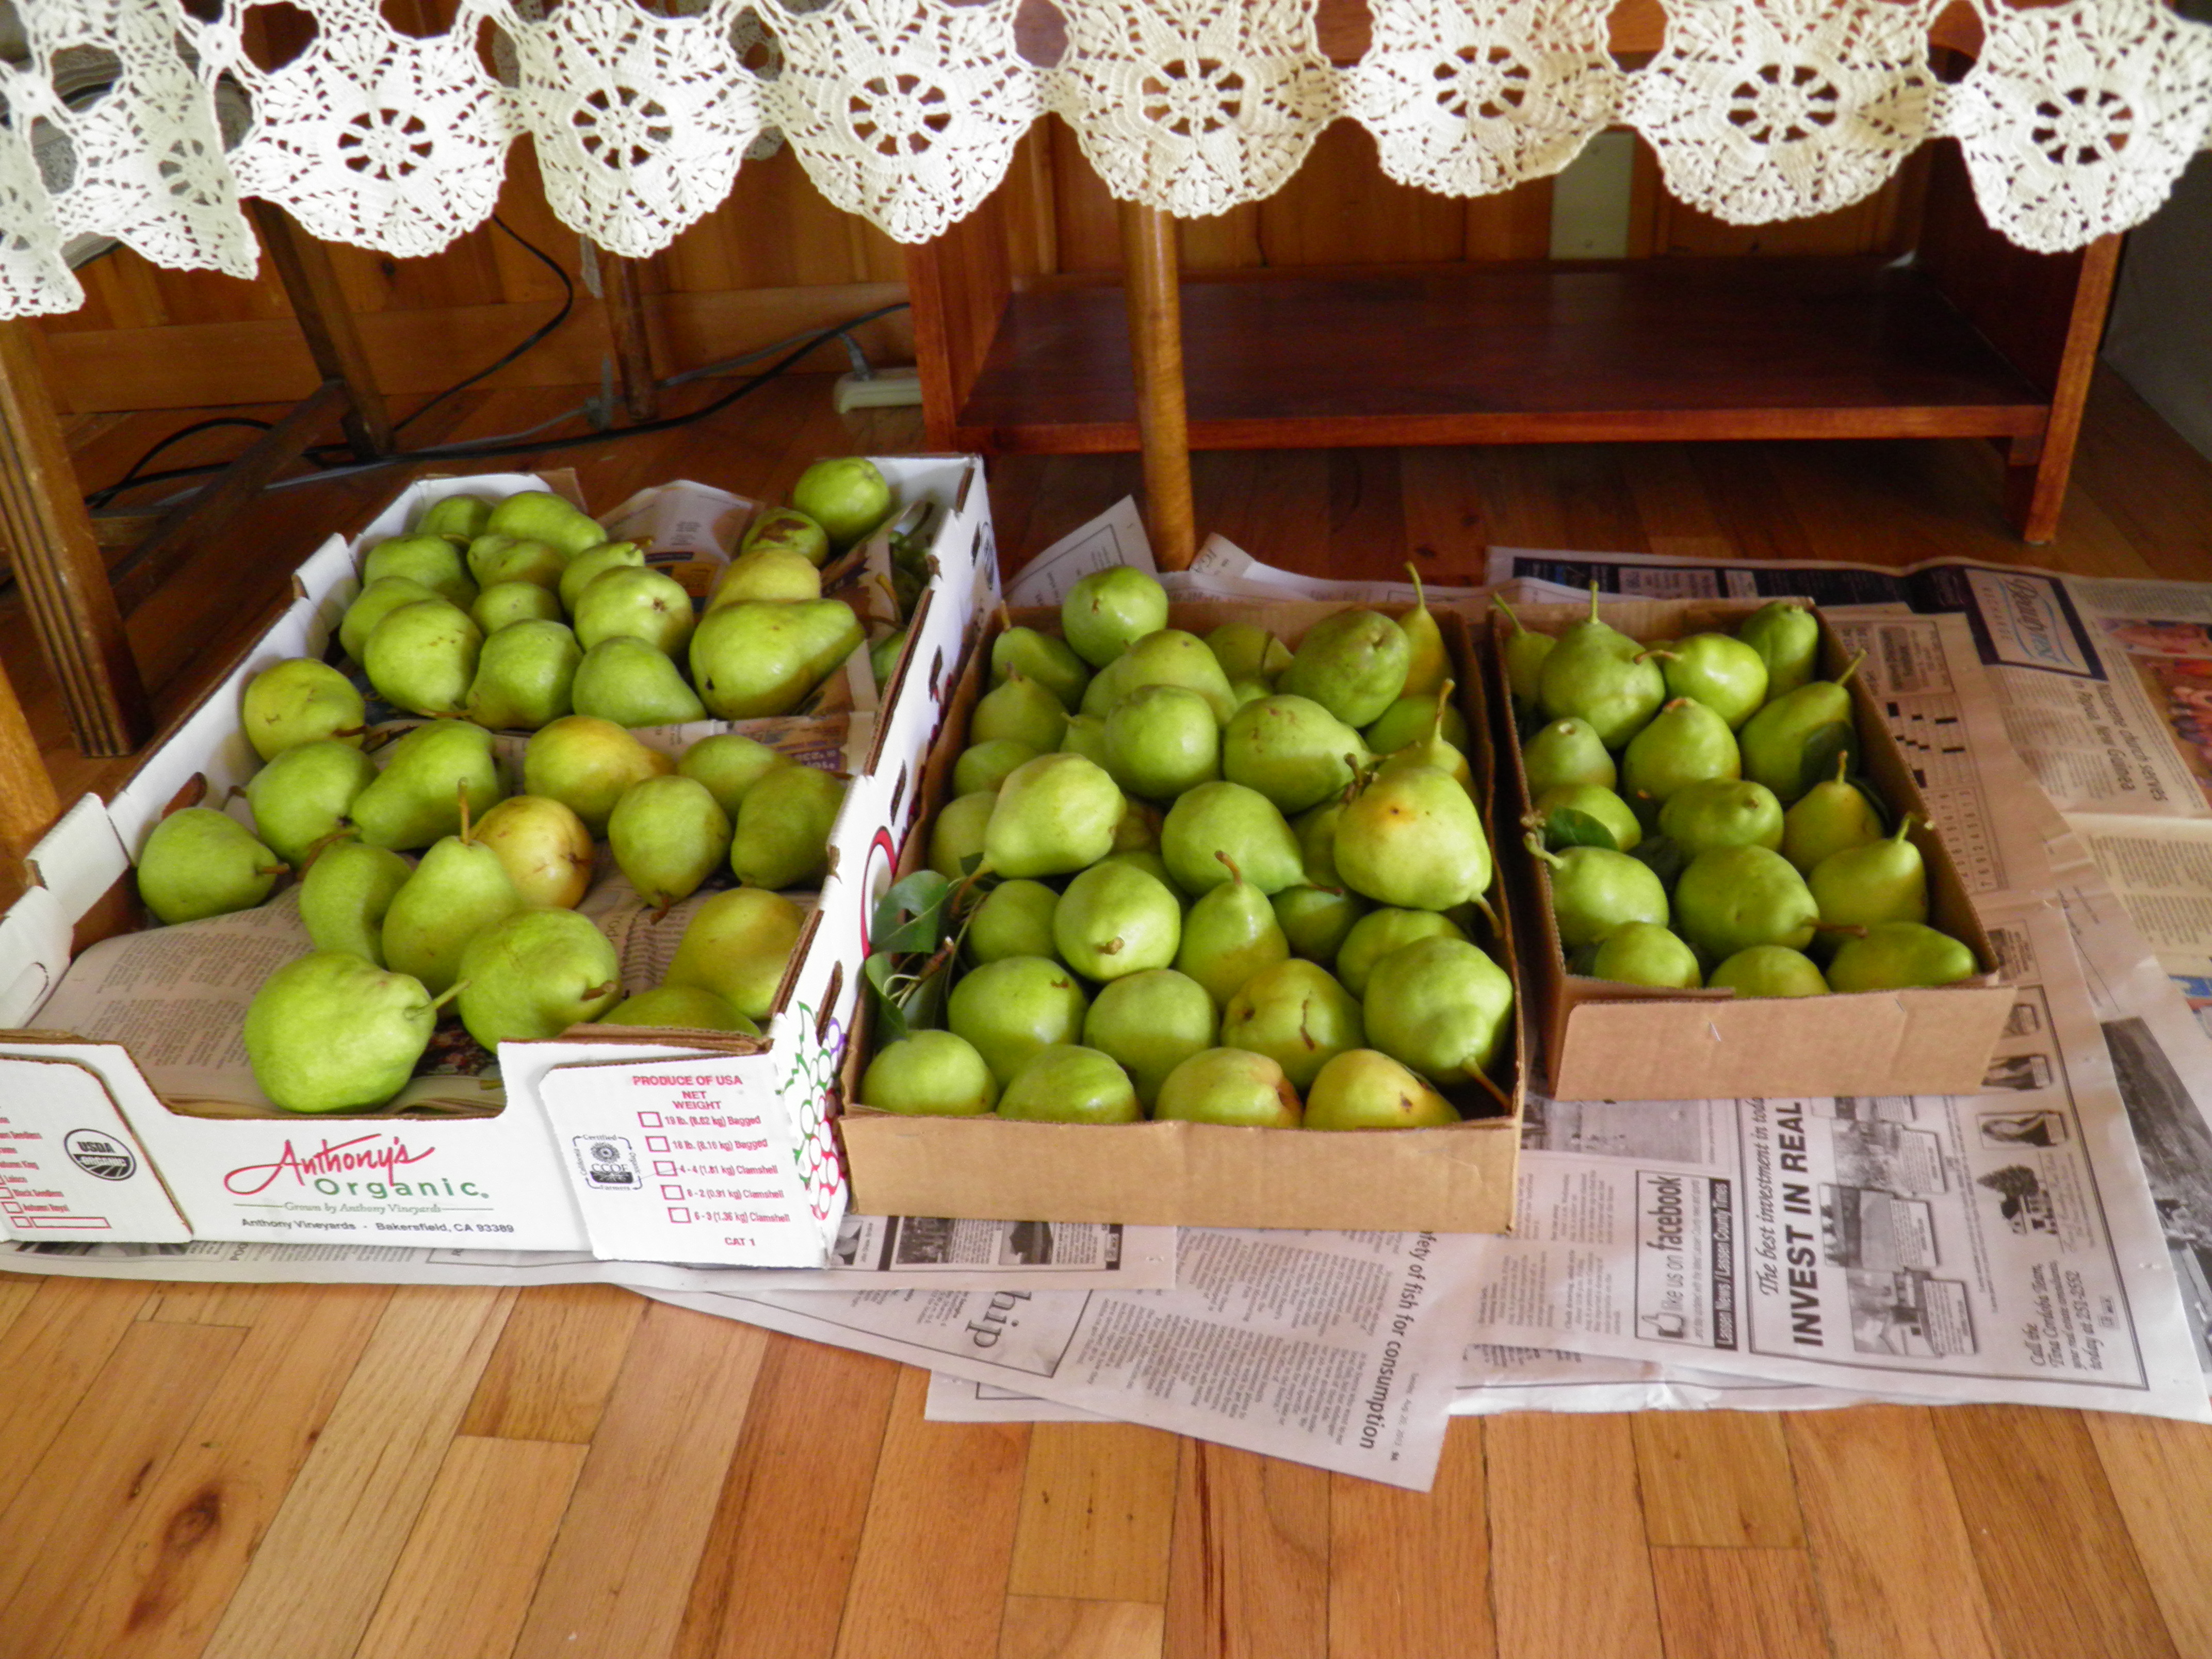
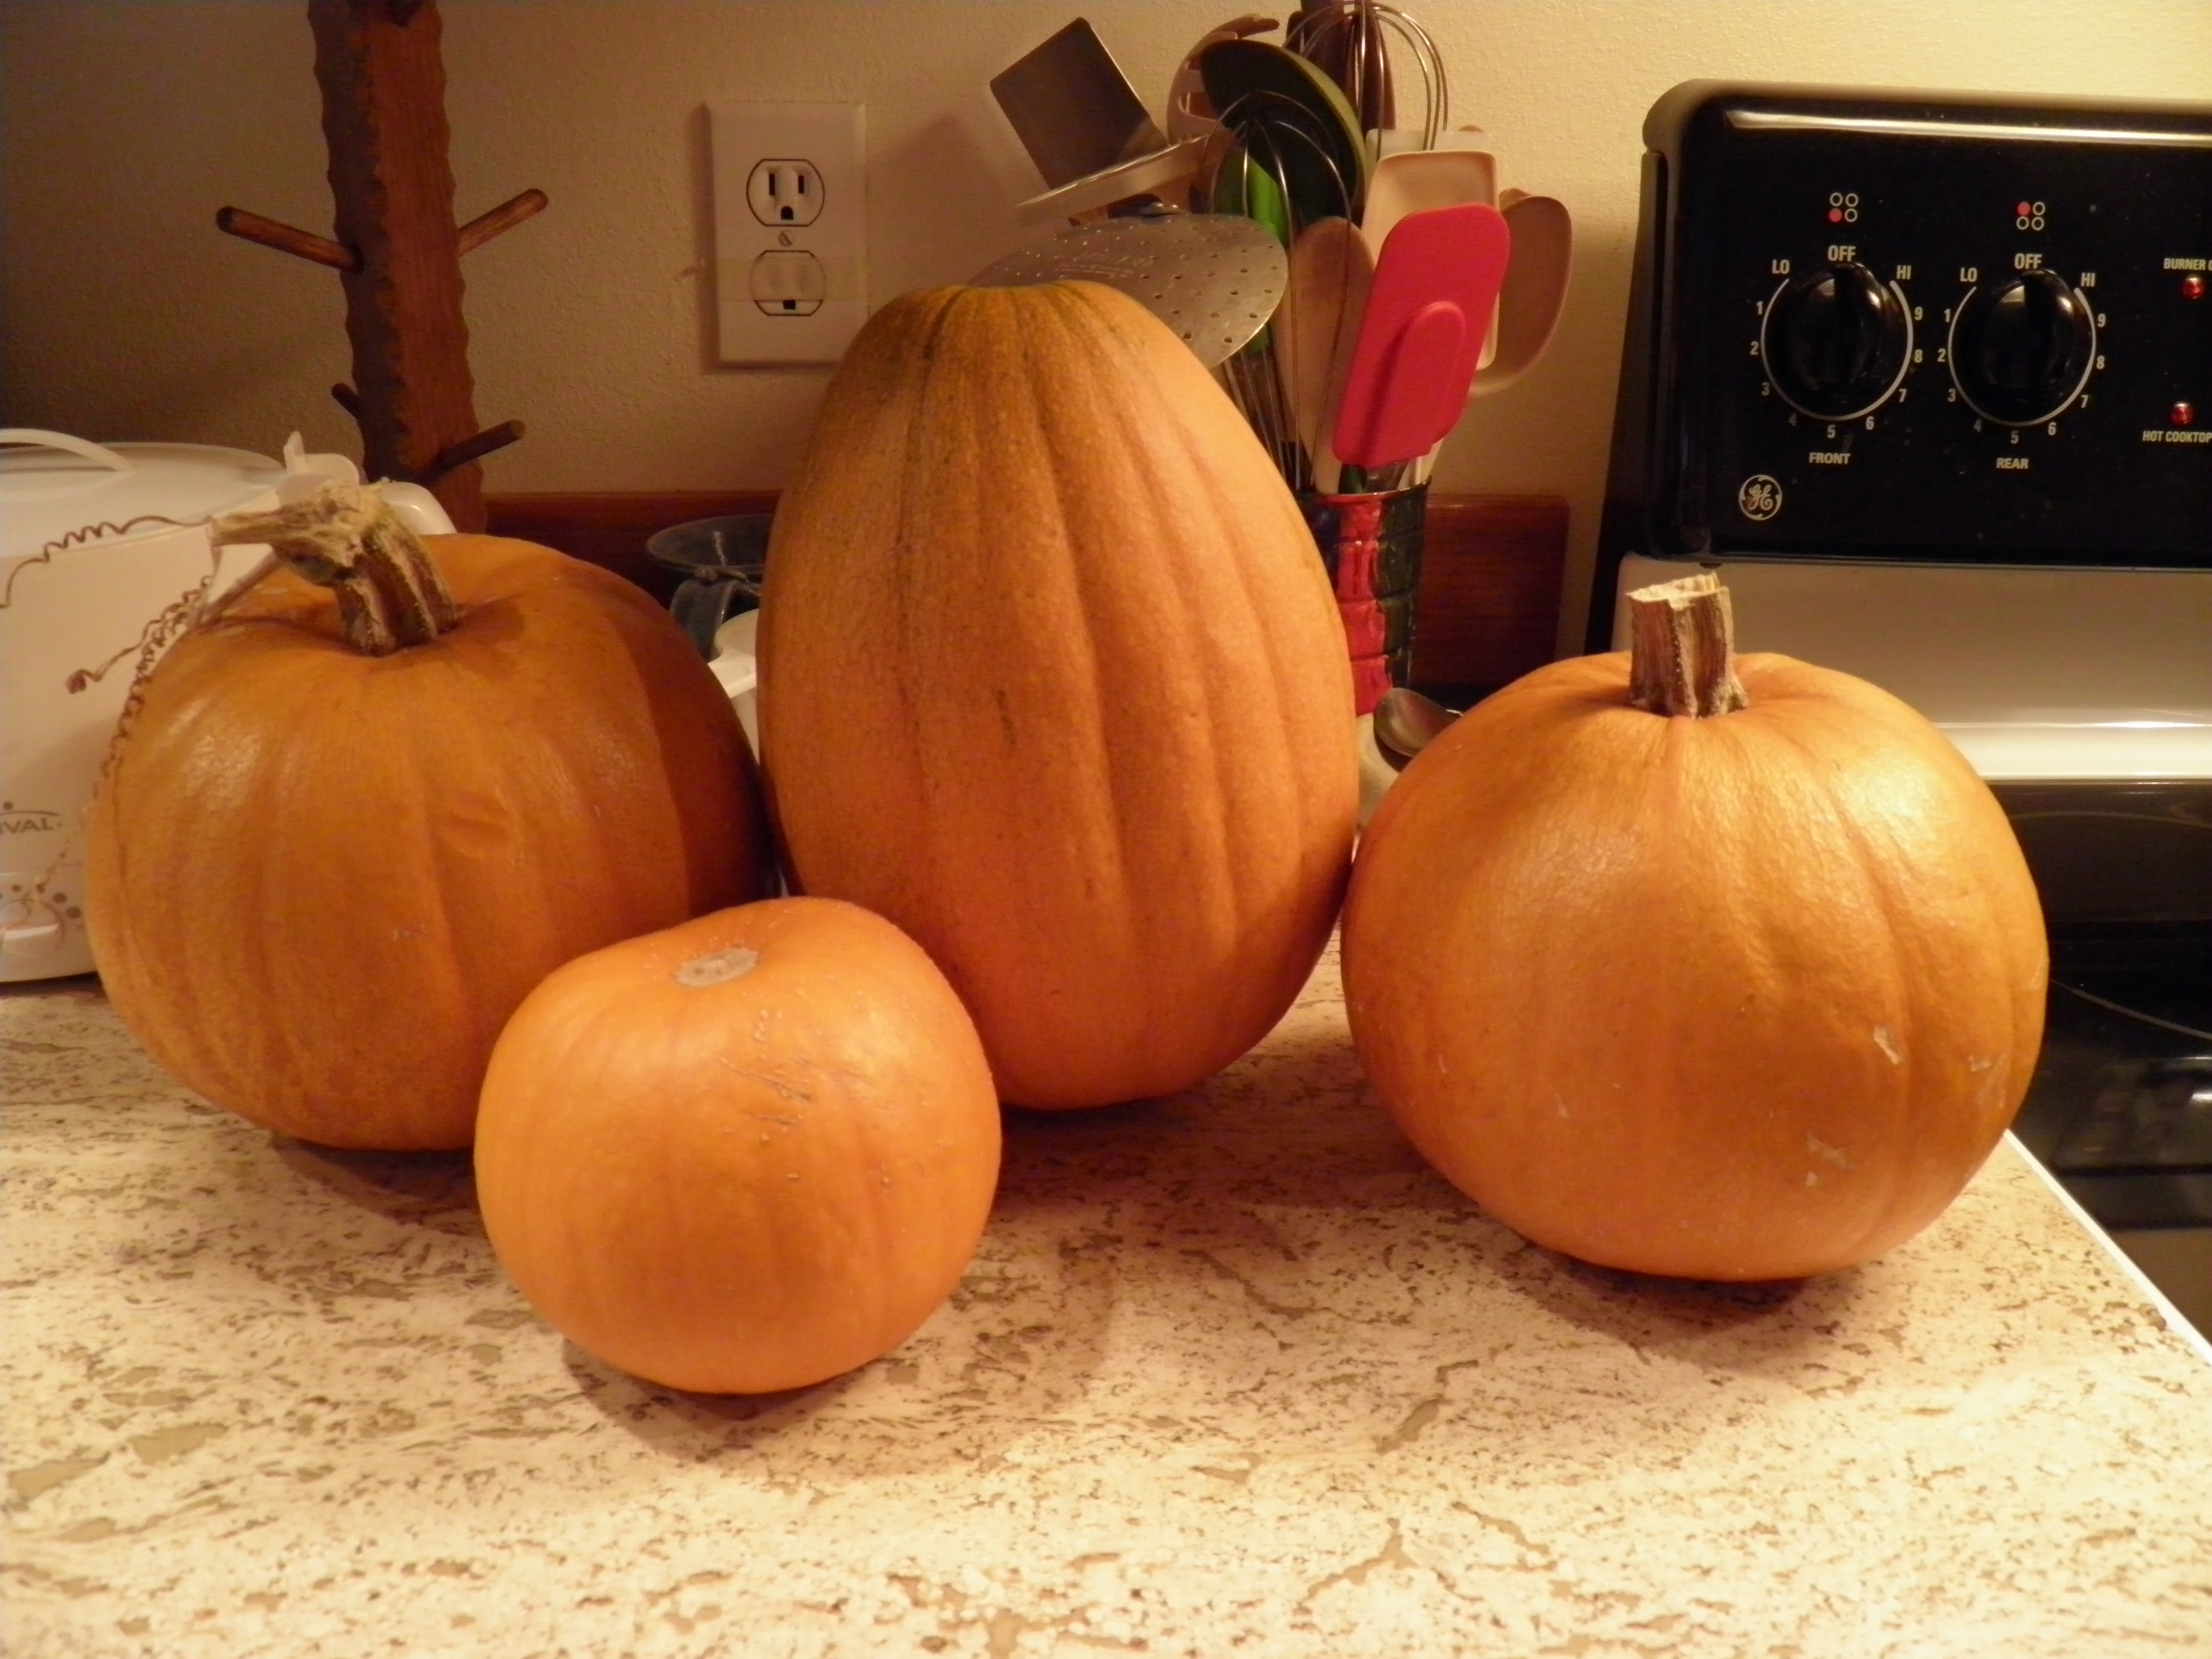
This year, my son asked for a dish I love:  Roasted Roots.  I have to thank my dear foodie friend, DeAnna, for introducing me to Roasted Roots some years ago. This is a simple and easy dish, but you do have to have time to prep the vegetables and the oven space to cook it.  Tori and Joel have double ovens, so one oven will be free to roast the root vegetables and after that, to brown some homemade sourdough brown and serve rolls.  You can use any kind of root vegetables in Roasted Roots.  Our favorites are sweet potatoes, beets, parsnips, carrots, and onions, a cup of each vegetable, cut into chunks.  If you can get tender baby beets, there’s no need to peel or quarter them, just trim off the stem and root ends and scrub well.  If the beets are big and you can tell they’ve been out of the ground for a while, put on some rubber gloves, peel them, and cut them into approximately 1-inch chunks.  Peel the sweet potatoes, carrots, and parsnips, and cut them into chunks the same size as the beets.  Cut the onions into quarters, and then halve the quarters.  Put all the vegetables on a cookie sheet (or two, if you’re making a big batch) and throw on at least 6 garlic cloves, still in the paper.  (The paper helps keep them from burning.)  Drizzle 2 tablespoons of olive oil over the vegetables and toss them to coat.  I also like to mix a couple of tablespoons of balsamic vinegar or my homemade apple scrap vinegar with the olive oil before I toss the vegetables in it.  The vinegar really brightens the flavors, and the sugar in the vinegar helps the vegetables brown. Spread them out in a single layer, and sprinkle with salt and pepper.  If you have fresh herbs available, sprigs of thyme and/or rosemary are very good, tossed on top of the roots about 15 minutes into the cooking time.  Roast at 425 about 20-30 minutes, stirring at least once about halfway through, or until the beets, parsnips, and carrots are tender.  They are the hardest vegetables, so if they are tender, everything else will be done too.  The vegetables should be tender but should have browned and developed a crunchy outer “skin.”  Remove the herb sprigs before serving.  If you have more herb sprigs, a fresh bunch makes the dish look pretty.

We don’t make the traditional green bean casserole, but we do sometimes have green beans.  I like fresh green beans blanched and then tossed with mushrooms and onions sautéed in butter.  But this year, Joel is making the green beans.  He’ll probably use frozen beans, and he plans to crisp up some bacon and onions and sprinkle them on top of the cooked green beans.  They’ll be delicious.

I usually make some kind of fresh bread for Thanksgiving dinner.  I grew up with those packaged brown and serve rolls (my mom was not much of a bread baker), but I love fresh bread.  It’s one of the things I miss most about going gluten-free.  For the past several years, I’ve alternated between a loaf of herb bread–easy in the bread machine–made with herbs I picked from my garden and dried over the summer, and sourdough biscuits or rolls.  My old bread machine finally died this summer, so it’ll be sourdough rolls this year.  My sourdough starter also died because I didn’t use it or feed it enough, so I had to make some fresh starter.  The recipe for the starter and the brown and serve rolls comes from Tina Harrington’s Facebook page, Cooking on the Sagebrush Sea.  The recipe will appear at the end of this post.

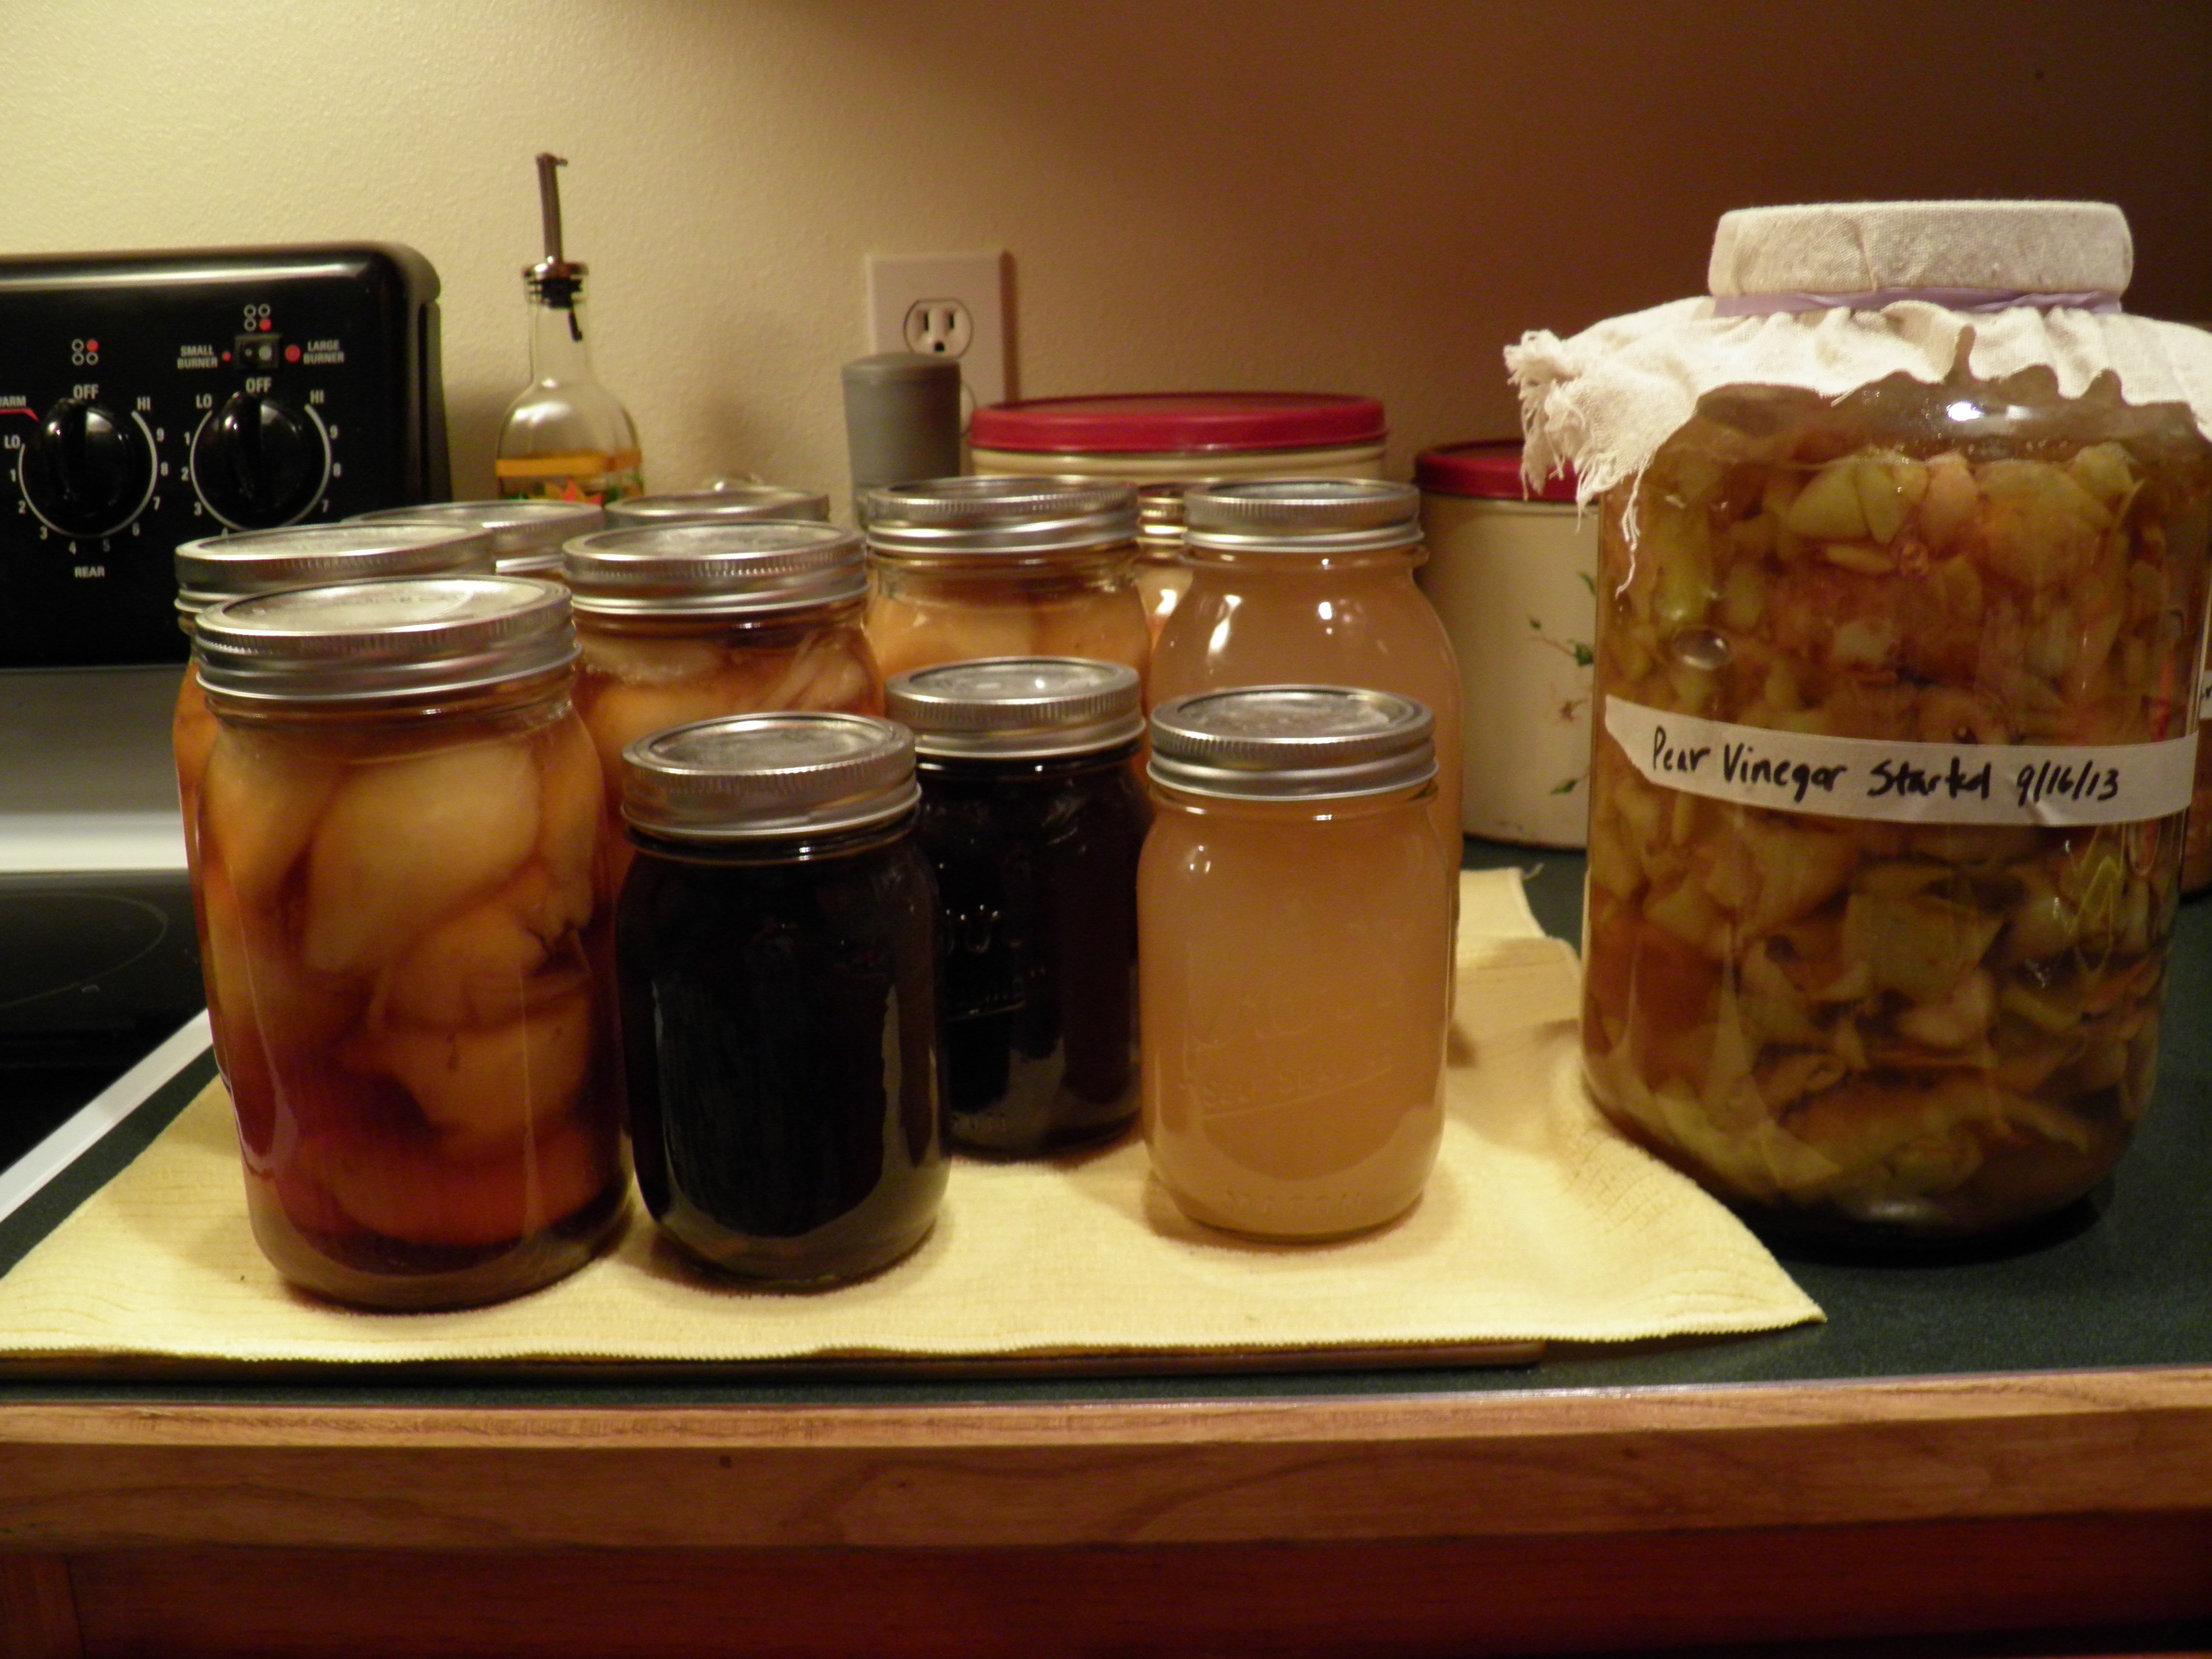
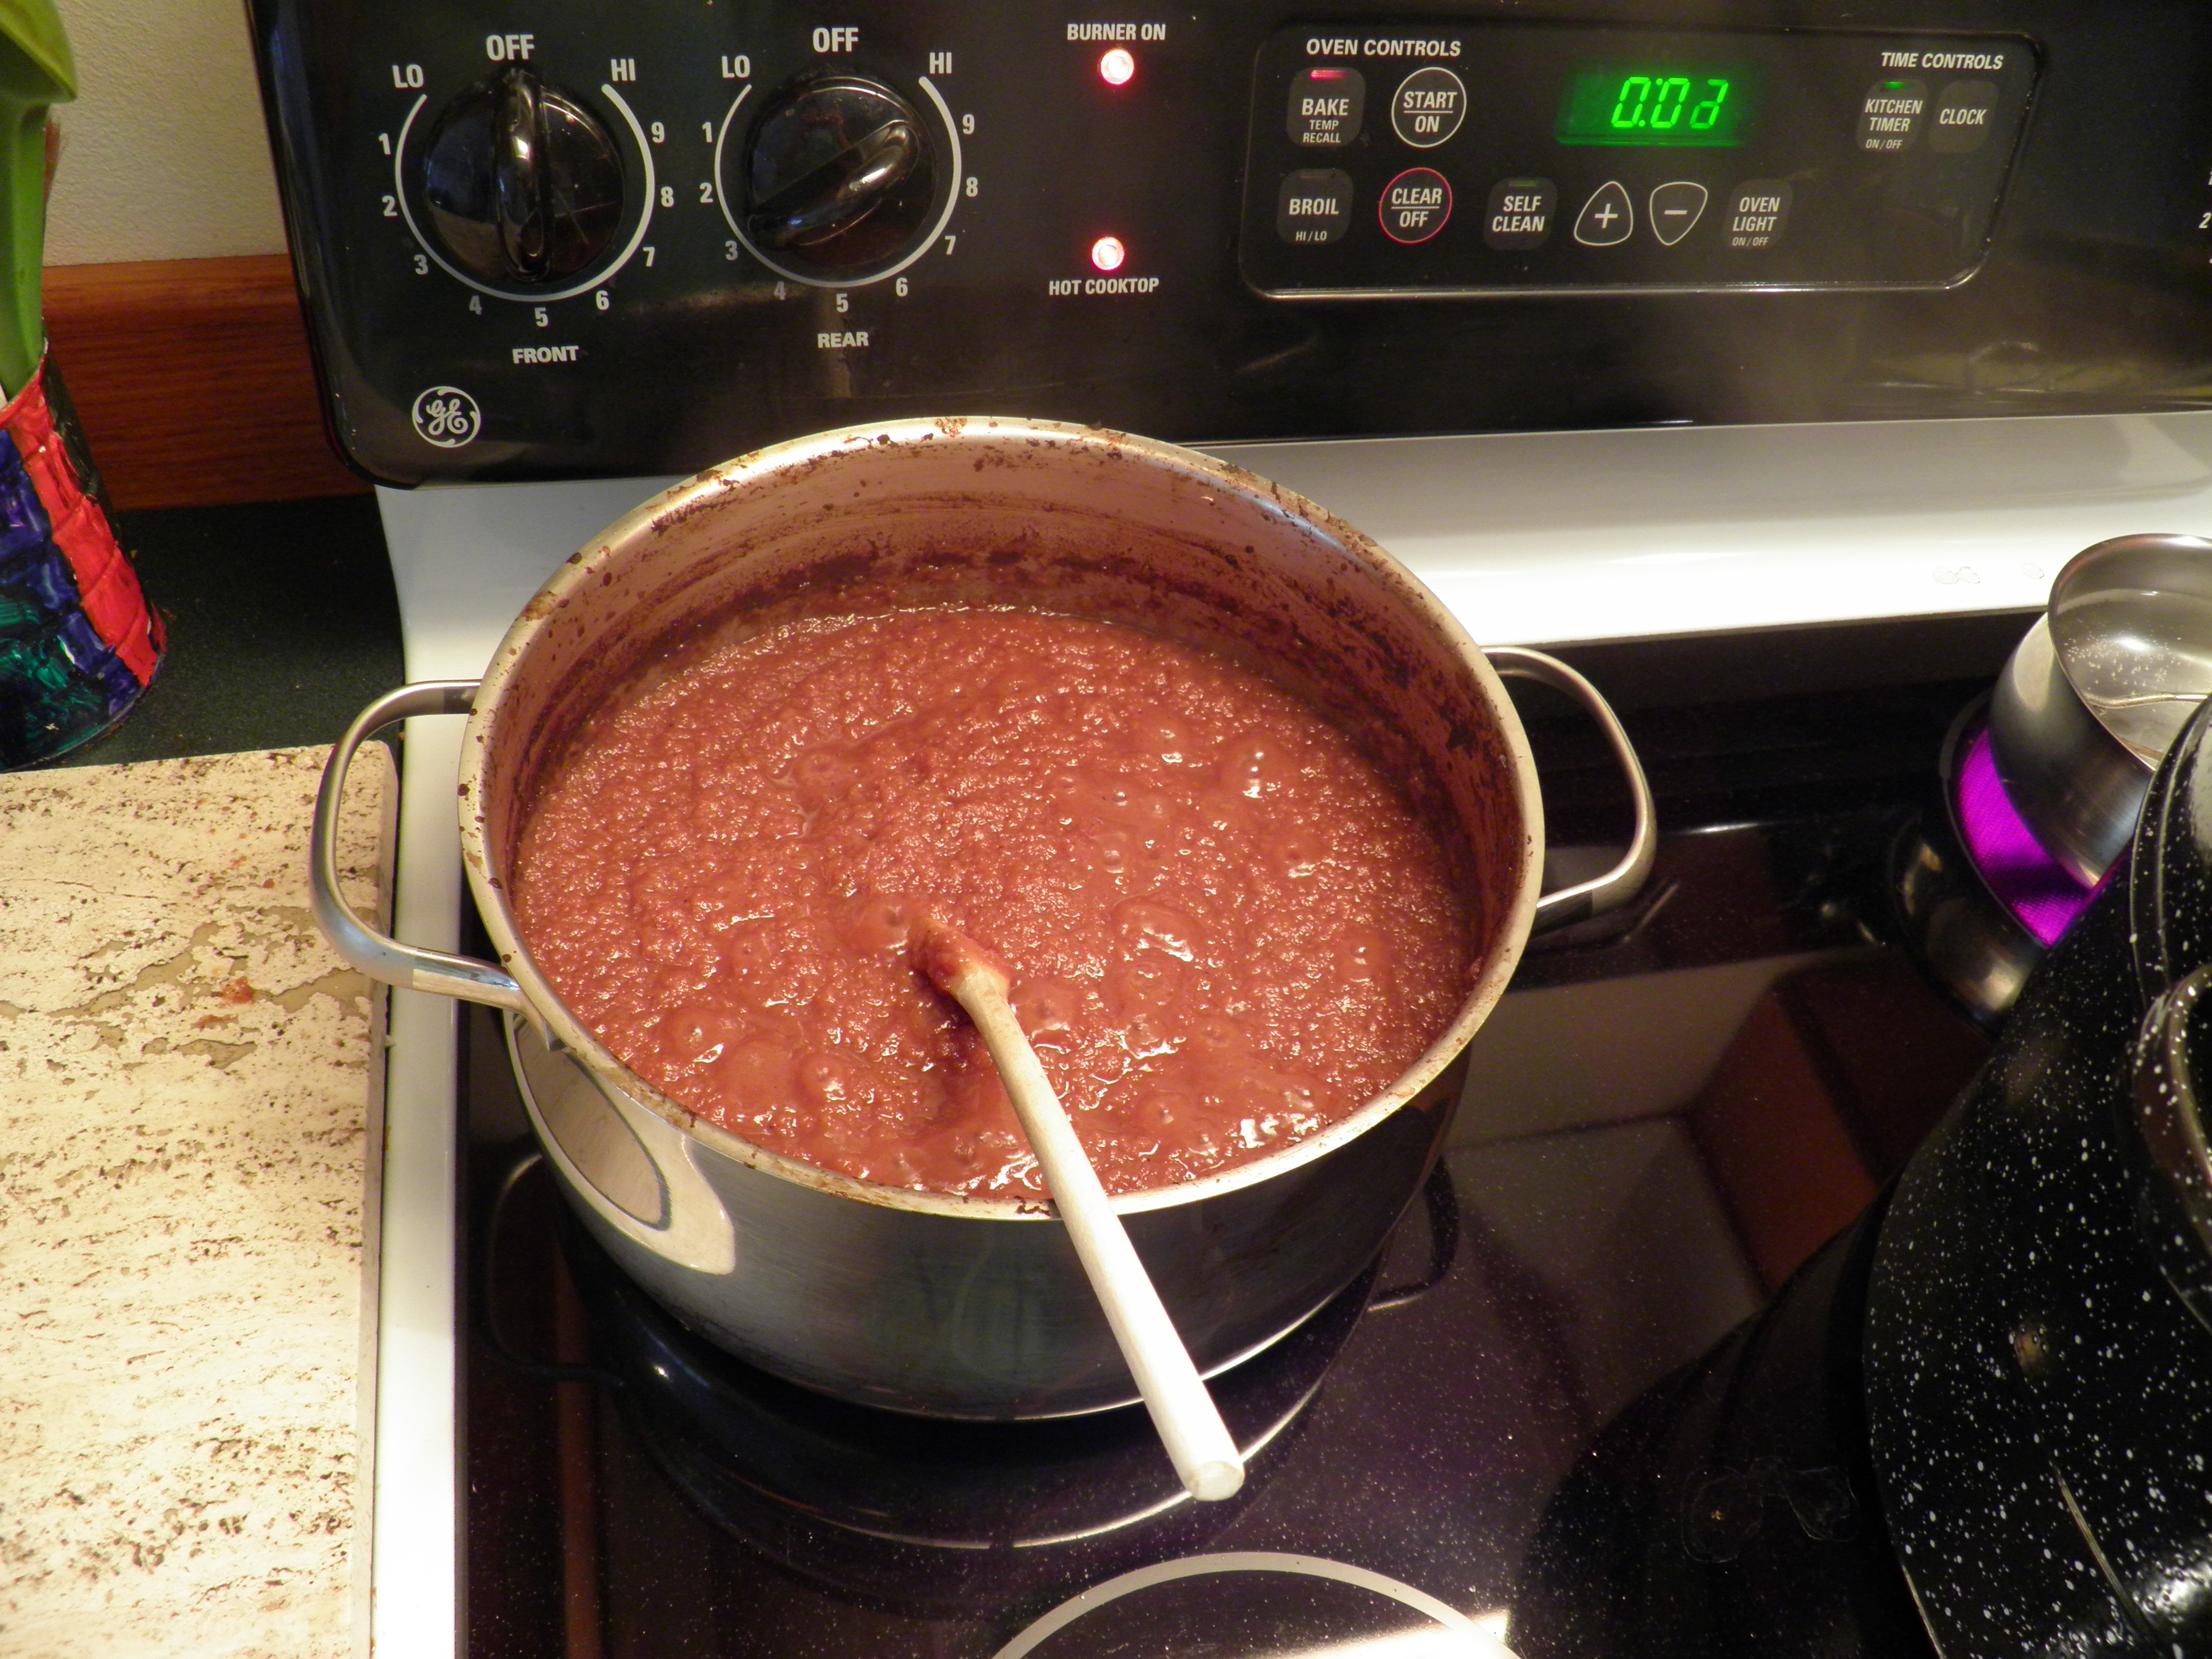
I grew up with canned cranberry sauce, but the first time I tried homemade whole-berry cranberry sauce, I was hooked.  I make it every year, following the directions printed on the plastic bag of cranberries.  It’s just cranberries, water, and sugar.  So simple, but so delicious.  Some years, we make a fresh cranberry, orange, and apple relish as well.  It’s just equal parts chopped cranberries, peeled oranges, and shredded apples, mixed with just enough sugar, a half cup or so, to sweeten it to taste.  The problem with this relish is that it doesn’t keep well as a leftover, unlike whole-berry cranberry sauce, which will literally last months in the fridge.  (Yes, I’ve found it after 6 months in the back of the fridge and it is still good–a tribute, I guess, to the antioxidant power of cranberries.)  For this reason, you don’t want to make more of the fresh cranberry relish than you think you will eat on Thanksgiving Day.

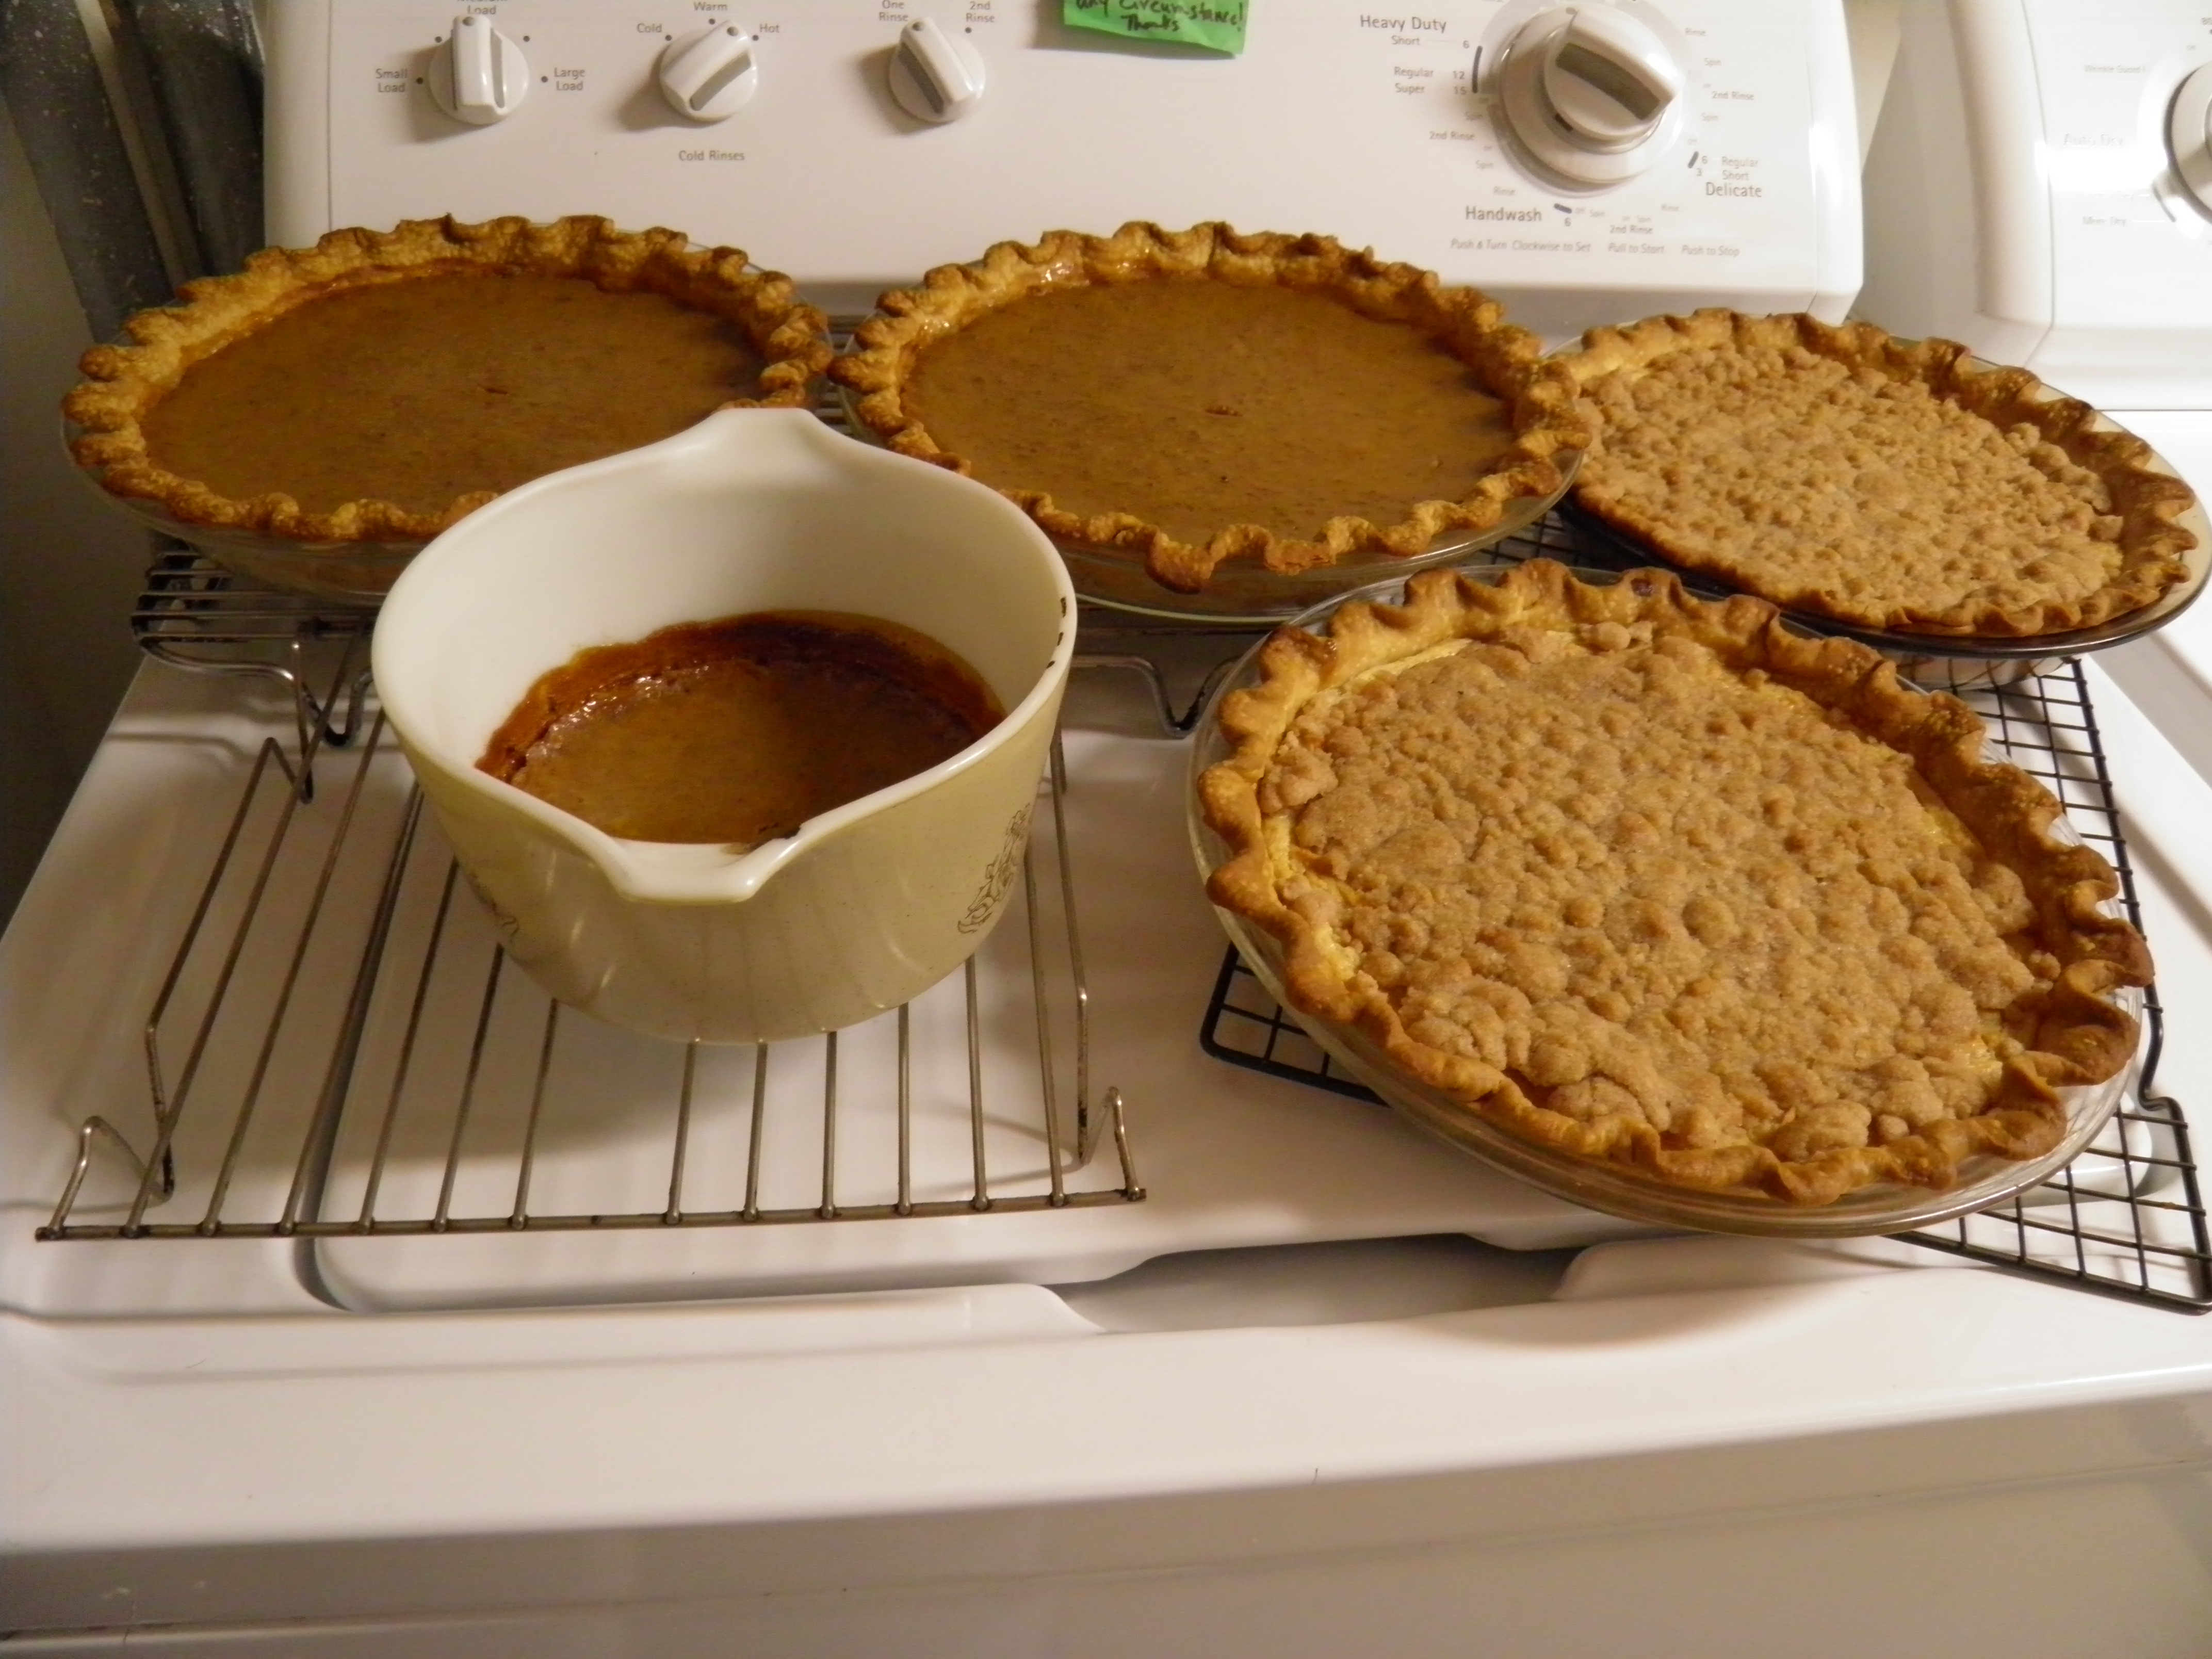
At this point, we come to desserts.  Amy and I bake the pies, and this year, my granddaughter, Kaedynce, will be helping with the pie-baking.  I have made so many kinds of pie for the feast over the years, including pecan, apple, strawberry-rhubarb, and the traditional pumpkin.  But there are two pies that everyone always wants:  pumpkin, of course, and sour cream apple.

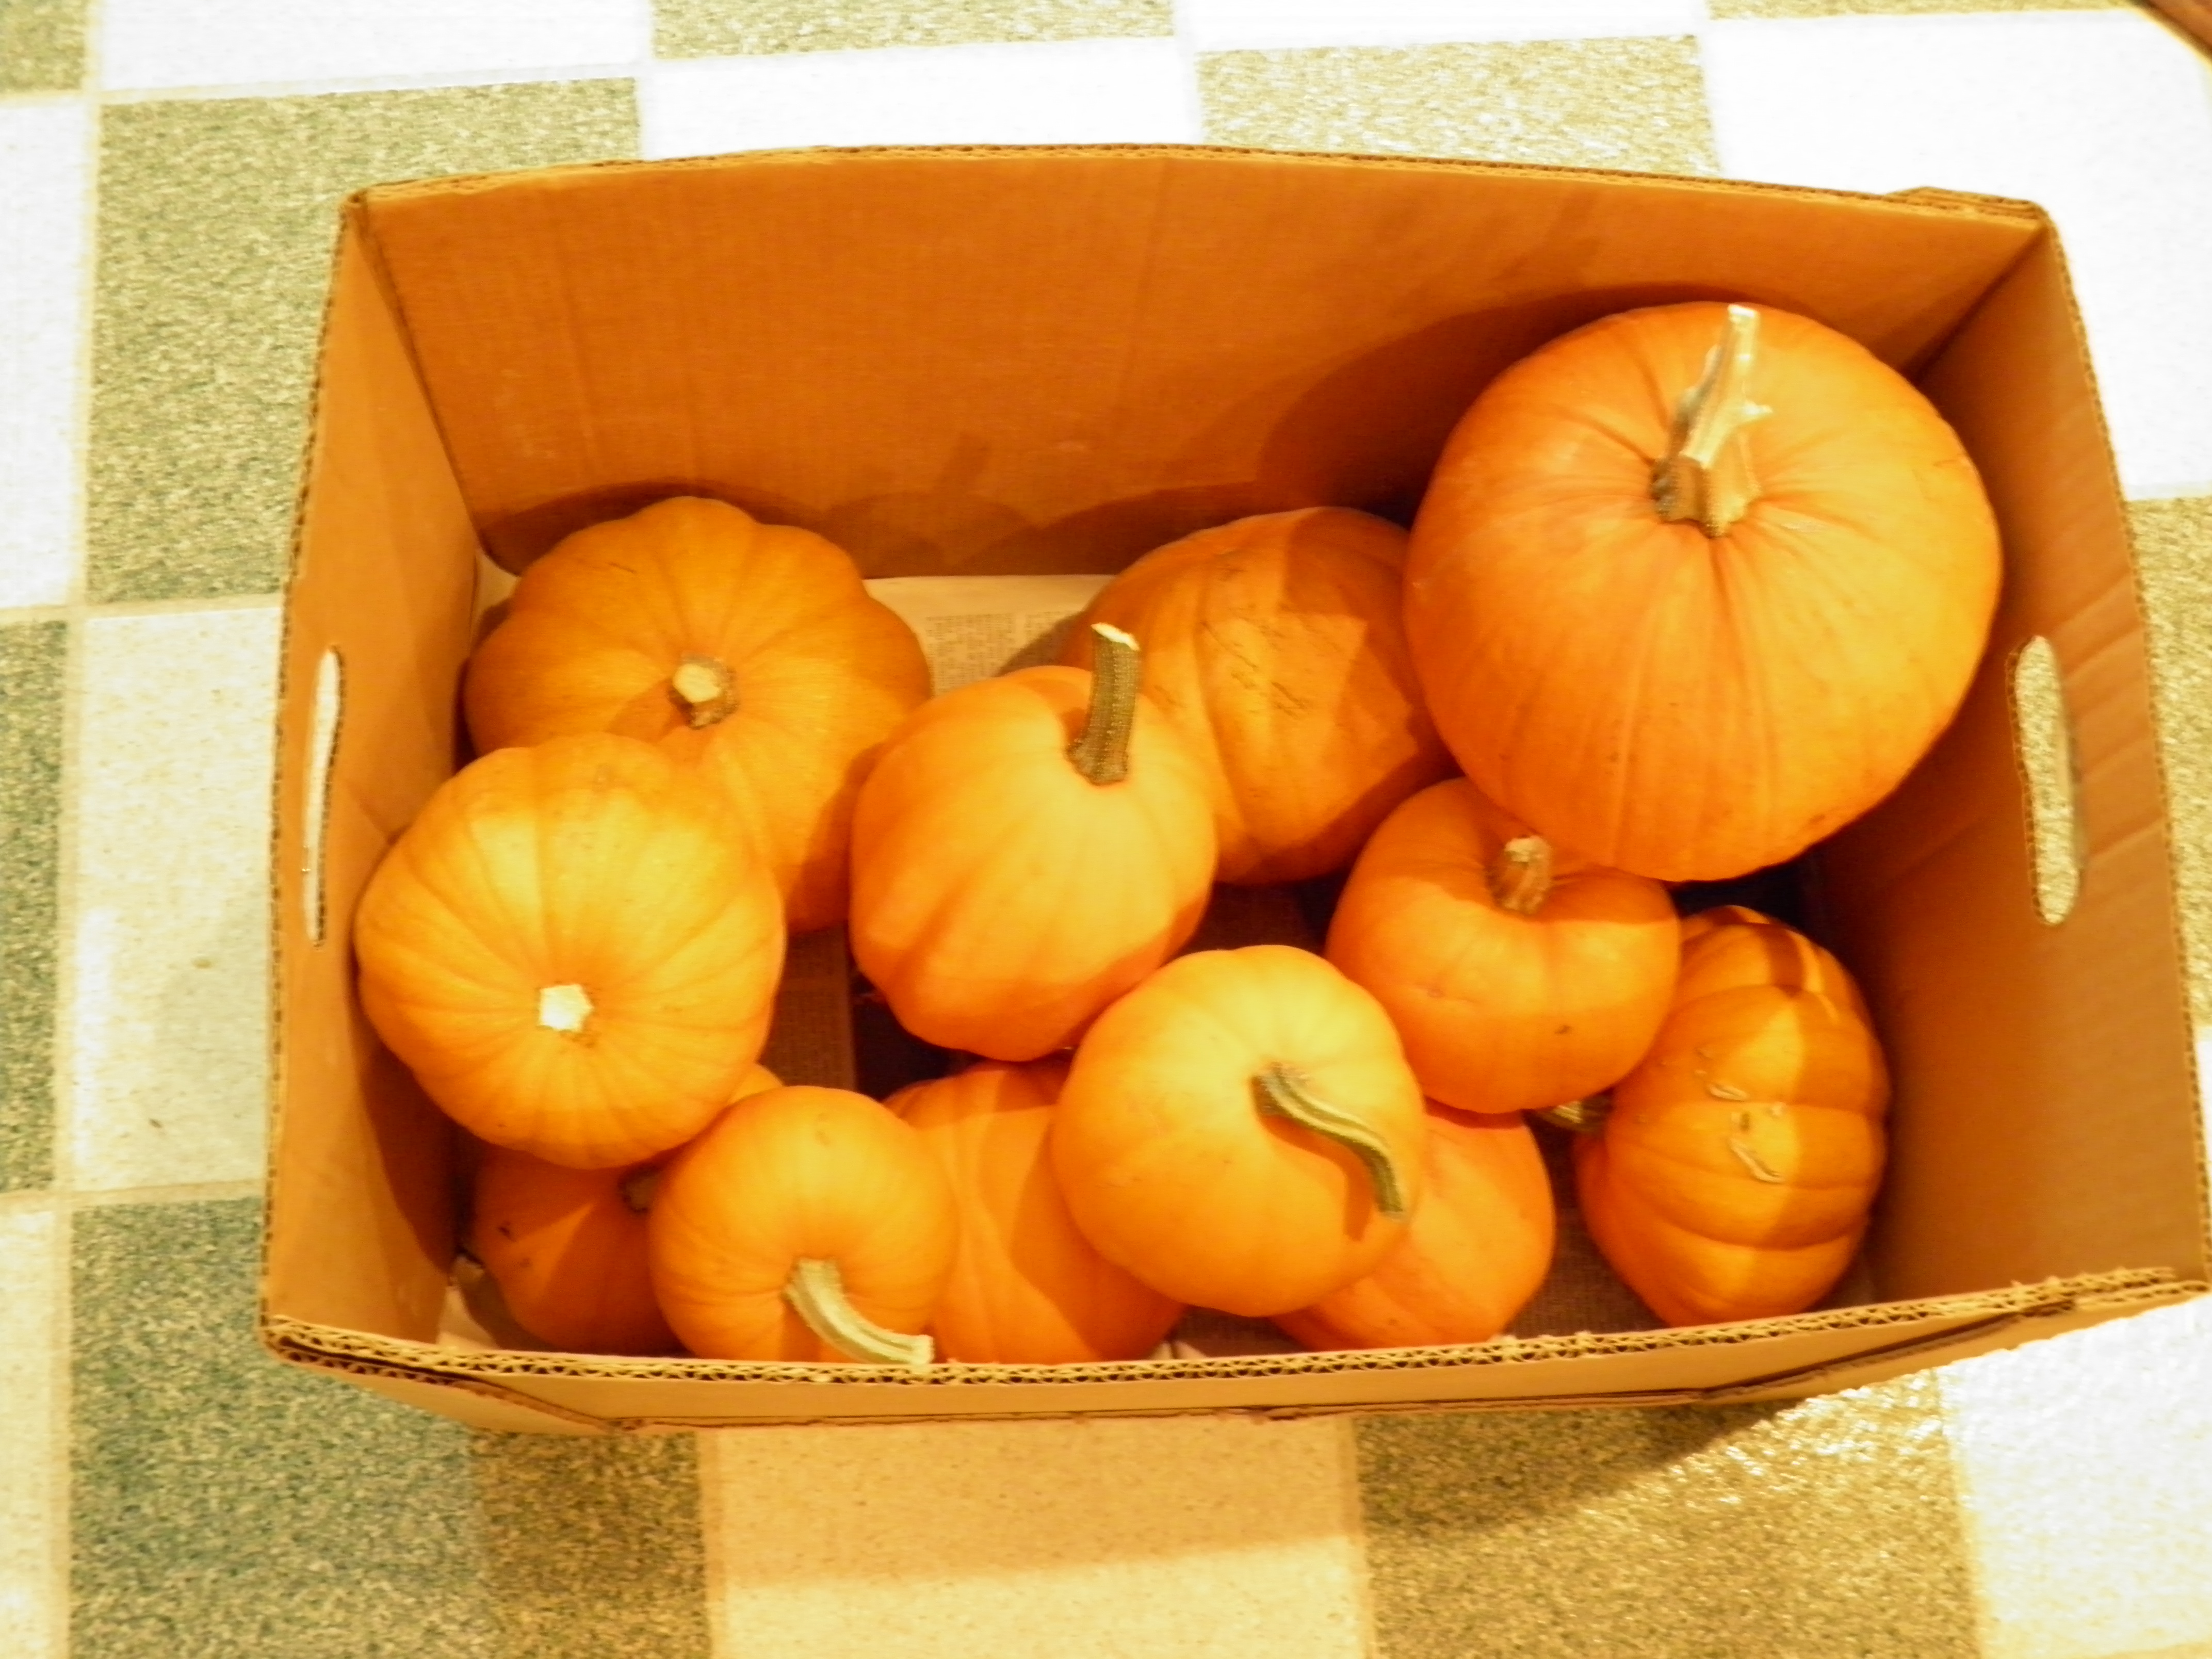
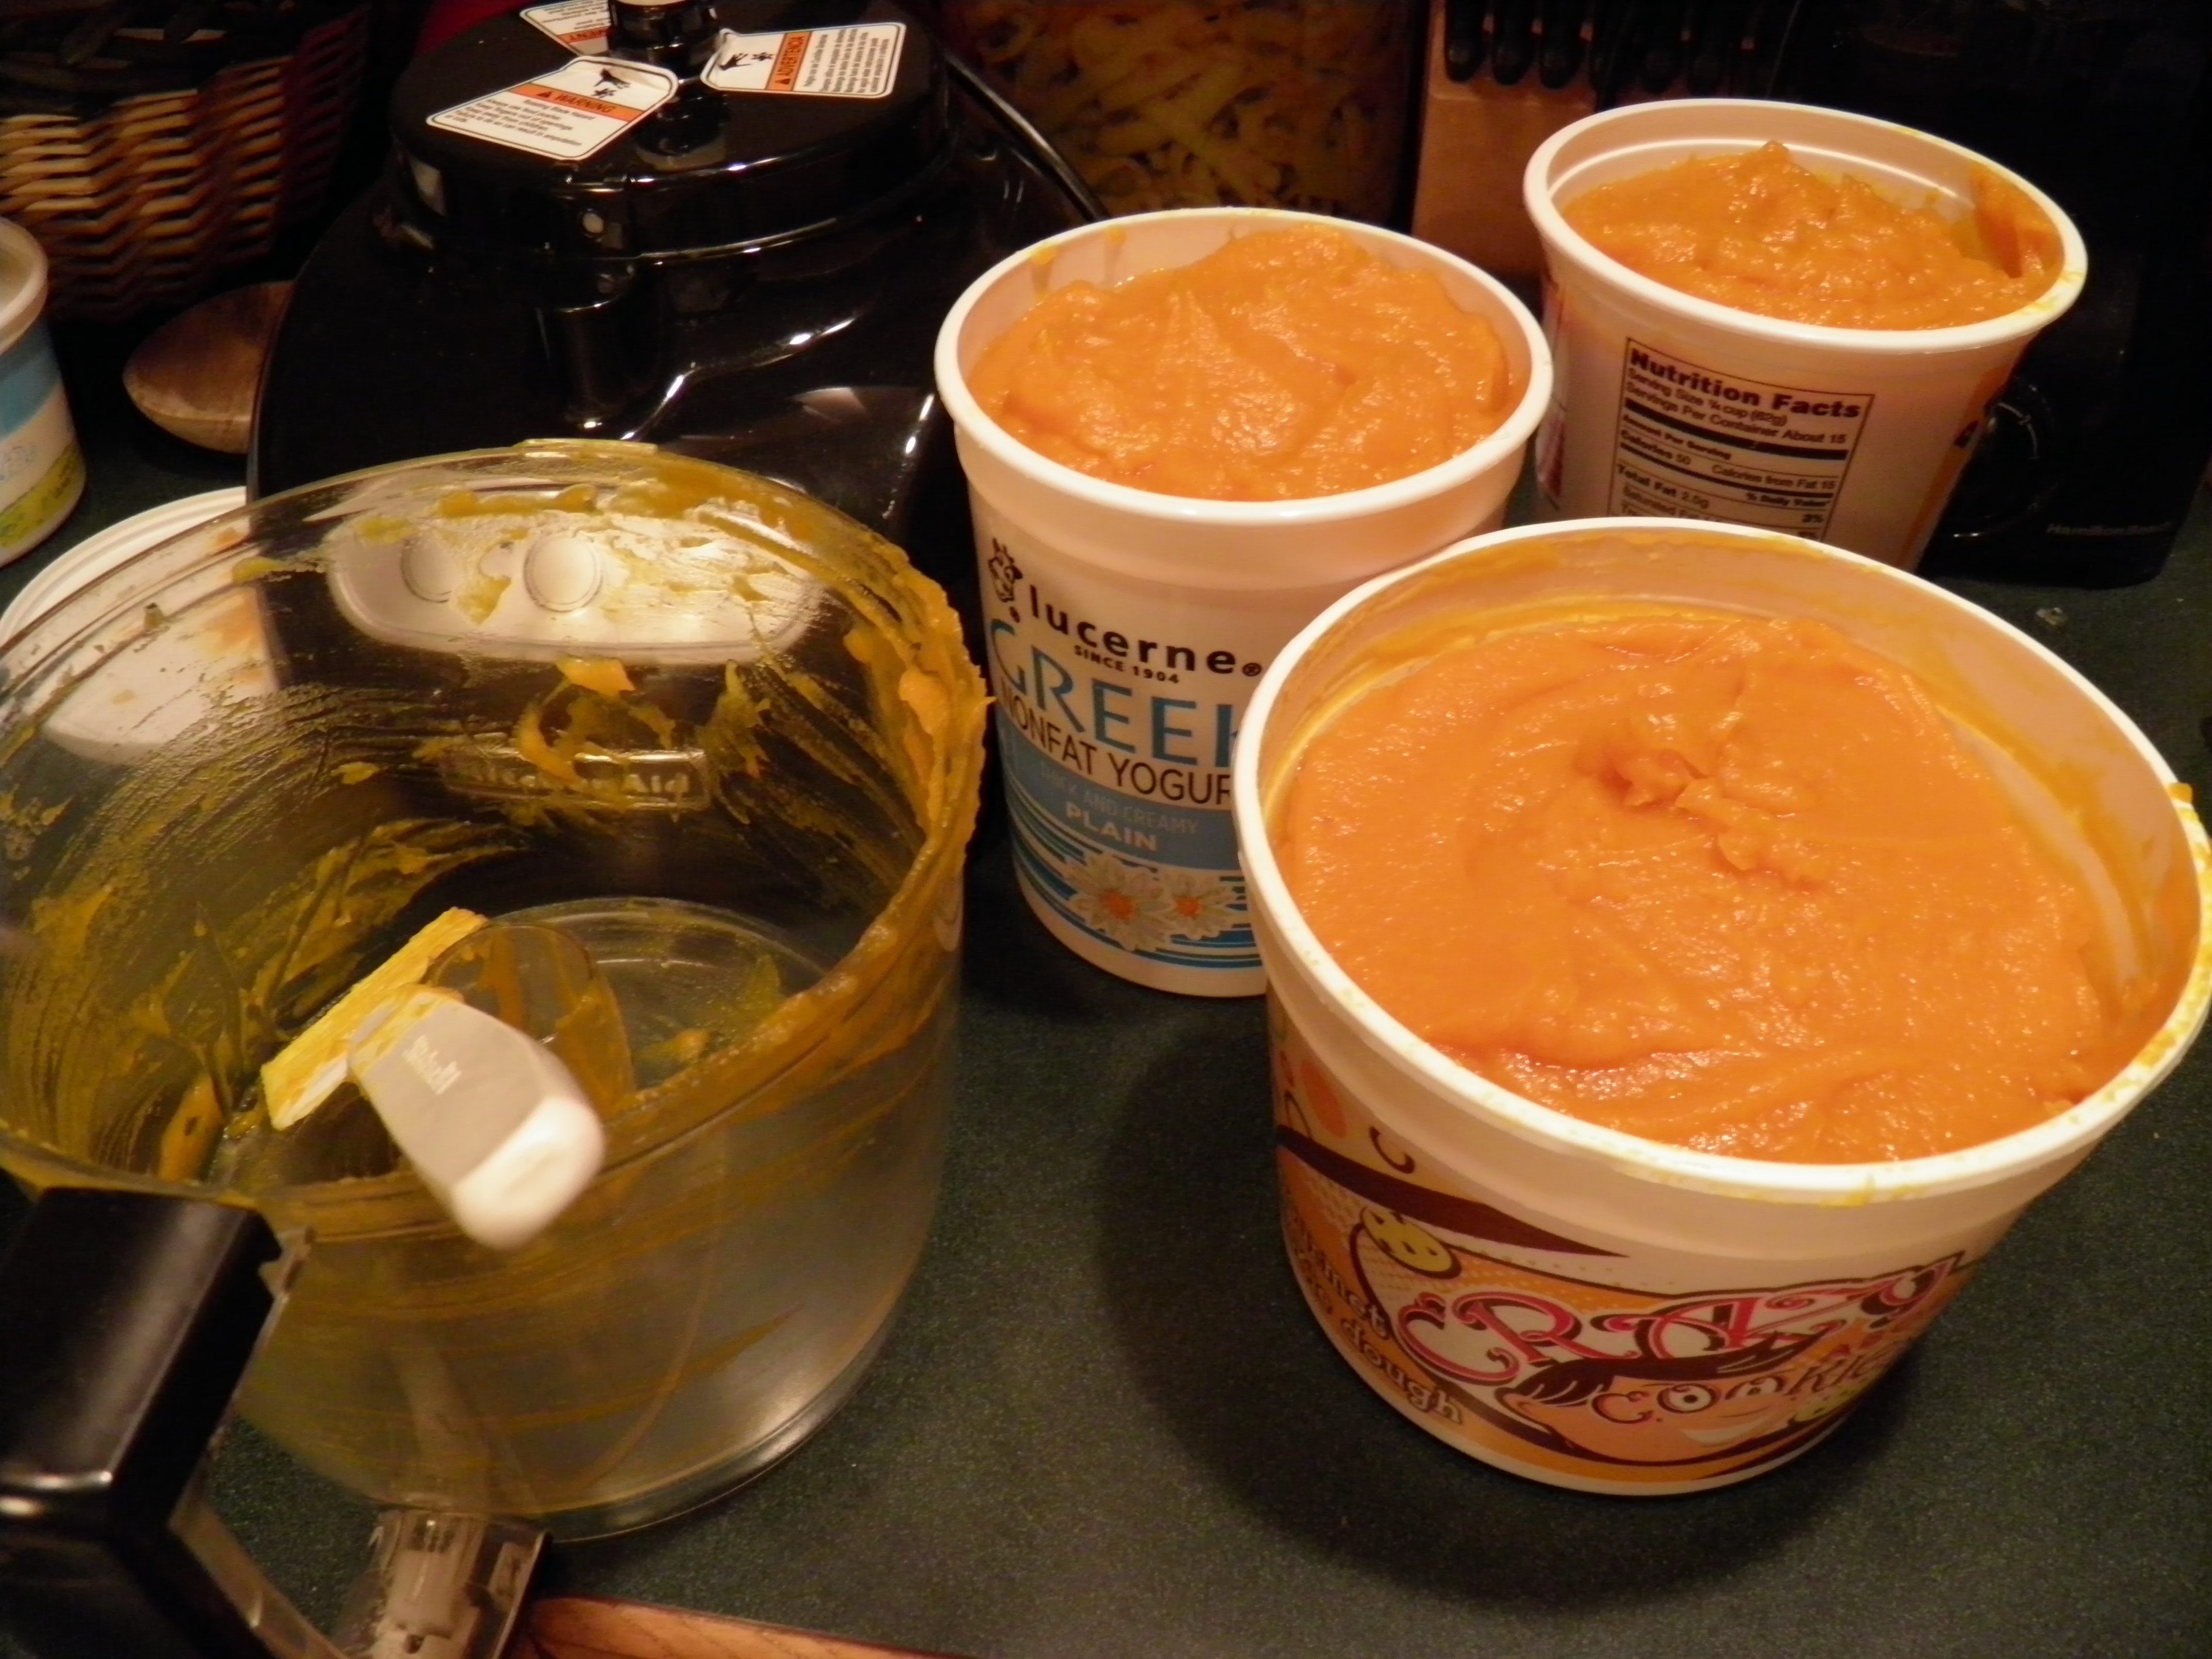
I grow pie pumpkins, and I roast and puree them for pumpkin pie filling.  I use the same recipe I grew up with—it’s on the back of the Libby’s pumpkin can—with one other exception besides growing and roasting my own pumpkins.  Goldie, my sister and pie baker extraordinaire, taught me to double the spices the recipe calls for.  Oh, yeah.  It’s fantastic!  And the home-grown, fresh-roasted puree puts the whole pumpkin pie deal right over the top.  It is sacrilege to put anything except freshly-whipped cream, just barely sweetened and with a touch of vanilla, on top of that pie.  So that’s what we do.

OLYMPUS DIGITAL CAMERA OLYMPUS DIGITAL CAMERA

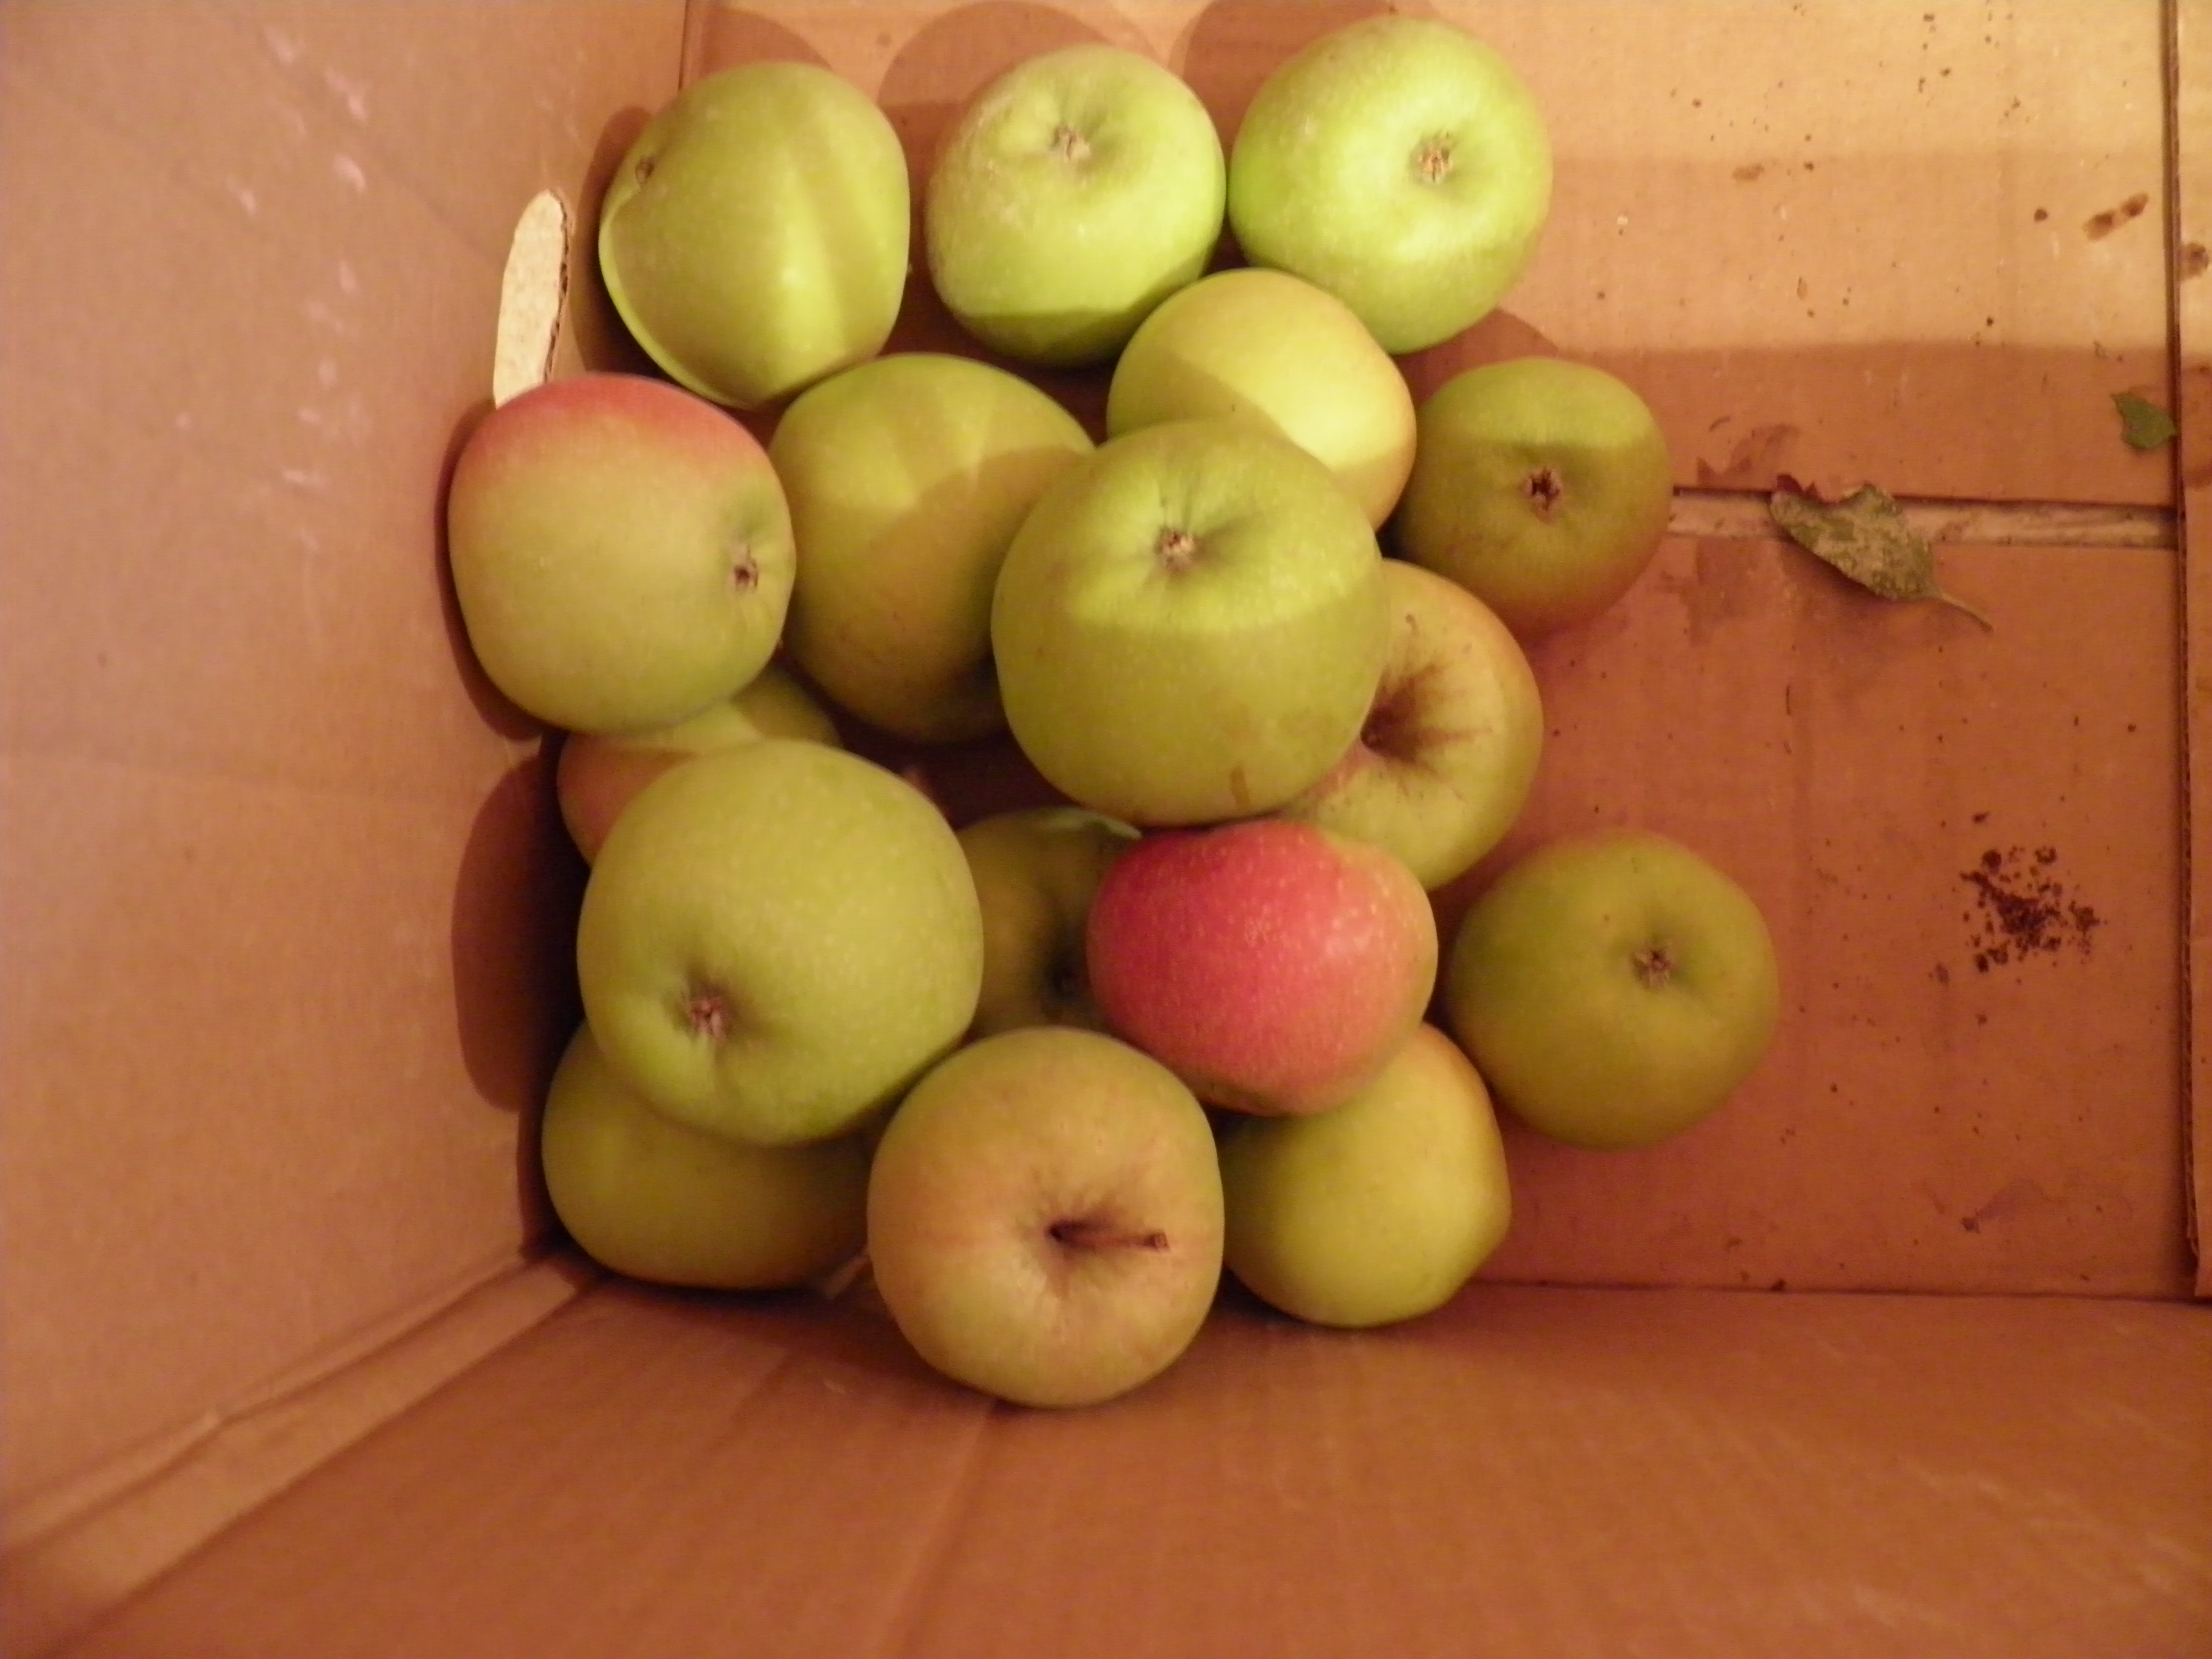
I owe the sour cream apple pie recipe to my good friend, Wes Reid, who brought me one years ago that his partner, Lori, had made for us.  I fell in love with the thing, made it for Thanksgiving that year, and then the whole family fell in love with it too.  Now, it’s the first dessert to disappear.  Sour cream apple pie is in the chess pie family, and it’s topped with a cinnamon streusel that gets crispy under high heat during the last few minutes of cooking.  This is a custard-type pie made with sour cream, eggs, and shredded apples, and while it sounds odd, it is absolutely the bomb, sweet and tart and tangy, and very easy to make.  You’ll find the recipe at the end of this post.  My thanks to Wes and Lori for passing along this recipe from Lori’s family to ours.

OLYMPUS DIGITAL CAMERA

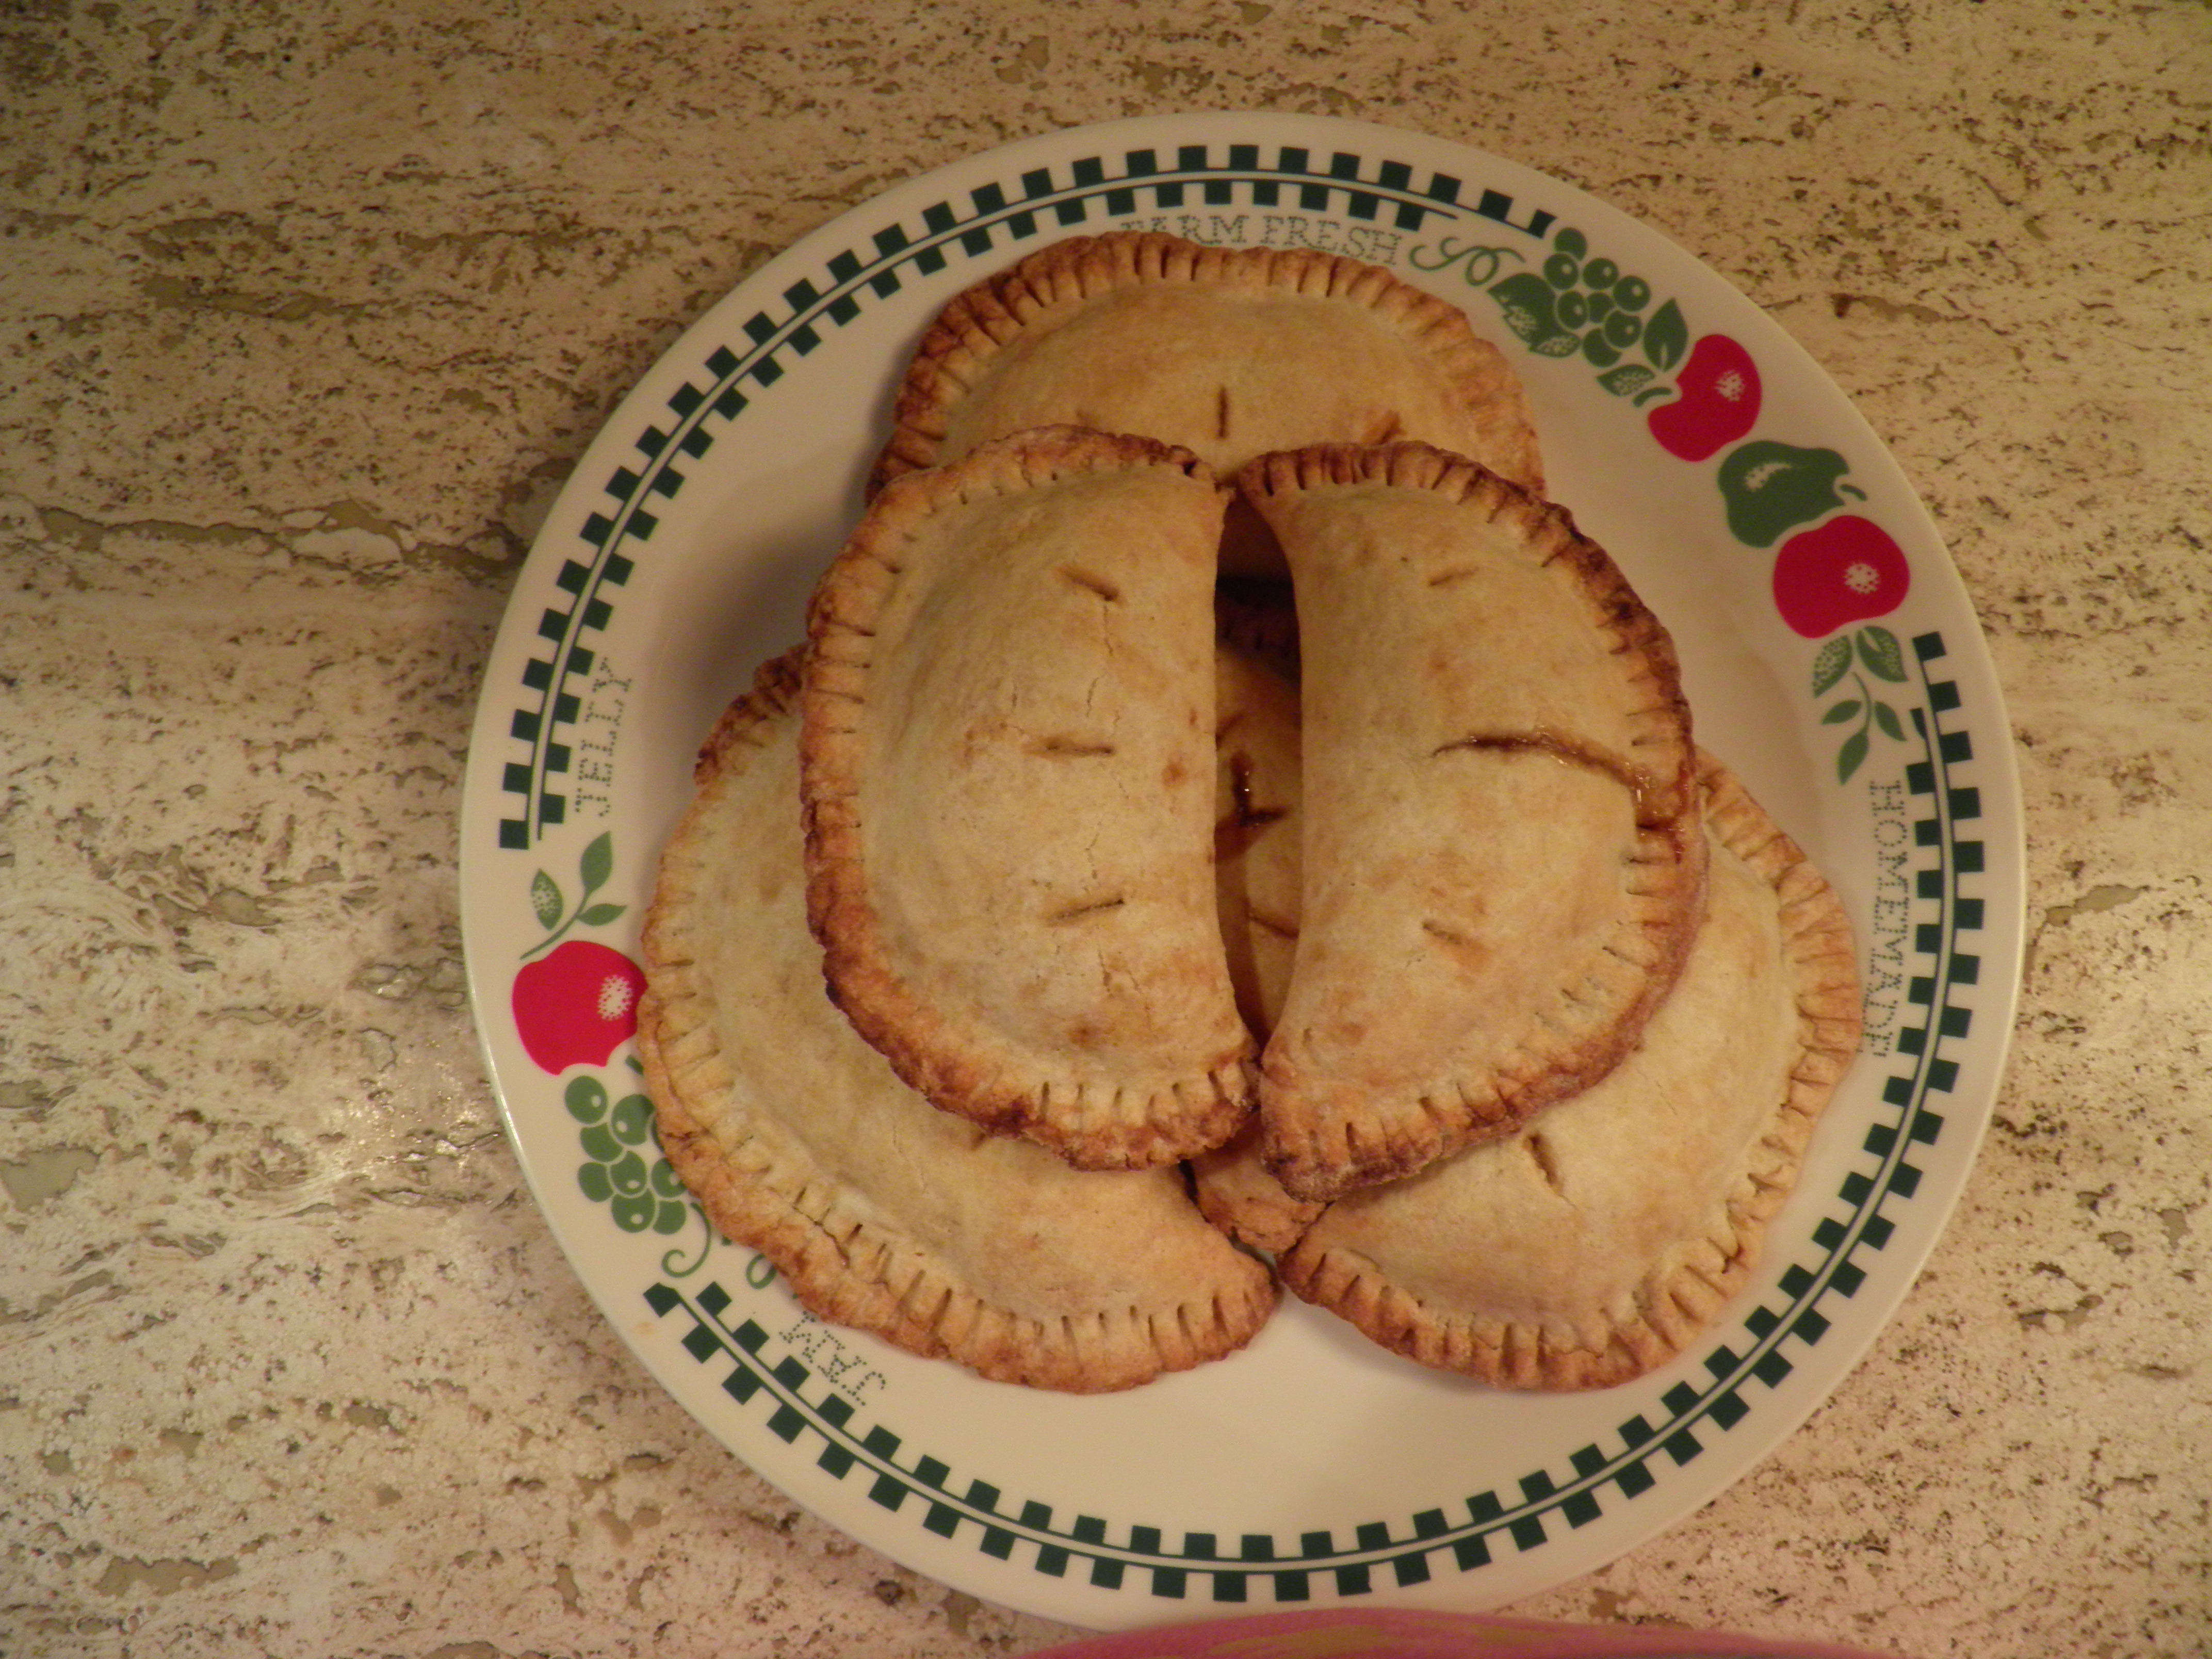
I usually make at least one other pie or dessert.  This year, I’ll be making my new love, pear mincemeat in a gluten-free pie crust.  Follow the links to previous posts that contain these recipes.  Pear mincemeat (no meat) is spicy, tart-sweet, with a great hit of citrus from the whole lemon ground up with the pears and other fruit.  It’s a wonderful filling for the gluten-free crust.  I like to make turnovers because they’re handy, literally, and bake up nicely, but a pie would be just as tasty.  I’ll see how busy I am on baking day.  A pie it’ll be if I don’t have time to form turnovers.  If I make turnovers, I’m thinking I might make a fresh lemon glaze to drizzle over them, to pretty them up a little bit and tempt someone who might be scared of the idea of “mincemeat” or gluten-free.

OLYMPUS DIGITAL CAMERA

It’s standard to ask a question at the end of a post, in an attempt to generate more comments.  I see it so much, it sort of feels like a cheap trick to me, and I’ve resisted the trend until now.  But now, I’m asking because I’m genuinely interested:  What’s going to be on your Thanksgiving table this year?  And if you’d like to share recipes or stories, so much the better.

And now, the recipes, in the order they were mentioned above.   I hope one or more of them makes it onto your Thanksgiving table, either this year, or in the future.

Sweet Potato Casserole

2 ½ lbs sweet potatoes

3 large eggs, lightly beaten

3 T. unsalted butter, melted (plus more for the pan)

2 T. dark brown sugar

1 t. salt

½ t. cinnamon

½ t. ginger

Pinch of nutmeg

Freshly ground black pepper

¼ cup chopped pecans

Preheat oven to 400 degrees.  Place scrubbed sweet potatoes on baking sheet, poke with fork three or four times.  Bake for 45-60 min. or until tender.  Set aside to cool.

Turn oven down to 350 degrees.  Scoop potato meat out of skins and into bowl.  Mash potatoes until smooth.  Add eggs, butter, brown sugar, salt, cinnamon, ginger, nutmeg, and pepper to taste.  Whisk mixture until smooth.

Butter 8X8 casserole dish or pan.  Pour sweet potato mixture into pan and sprinkle top with pecans.  Bake for 30-40 min., until a bit puffy.  Serve immediately.

Sourdough Starter and Brown and Serve Rolls

Sourdough Starter:  Mix 1 cup white all-purpose flour, 1 cup lukewarm water, 1/4 cup plain Greek yogurt, 1 tsp. active dry yeast in large bowl.  Leave out on the counter (or in warm place), covered with a cloth, until bubbling and yeasty smelling.  When mixture is frothy, scrape into a jar or lidded crock and refrigerate.  Starter is ready to use when a clear liquid has risen to the top of the jar.

It’s best to take the starter out the night before you plan to use it and feed it.  To feed starter, place in large bowl and stir in 1 cup of water and 1 cup of flour.  Cover and let sit in a warm place overnight to activate yeast cultures.  After measuring out the starter called for in the recipe, put the “fed” starter back in the jar or crock and back in the fridge.  Use your starter frequently, or at least feed it, or it will die.

Sourdough Brown and Serve Rolls

1 cup milk, scalded then cooled
3 tablespoons sugar
1 teaspoon salt
1/3 cup melted butter
2 tablespoons dry yeast
1 cup of activated (“fed”) sourdough starter
2 small or one large egg
4 ½ cups flour (white or whole wheat)

Mix milk, salt, sugar and butter in a microwave safe measuring cup.  Heat until the butter melts. Let this cool to room temperature. Add yeast and let proof five minutes, then combine with other wet ingredients and 2 cups of flour in bowl of stand mixer.  Let knead on the dough hook for ten minutes.  Add remaining flour in ½ cup increments until the dough just comes together. Turn out into a greased bowl, and proof (raise) for an hour. Make into rolls (makes about three dozen rolls). Place in greased pans a quarter inch apart, and let raise another 45 minutes.

For Brown and Serve: Preheat oven to 250*F and bake for 25 minutes. Let cool, and wrap and freeze (or refrigerate). When you want to serve these, take them out of the freezer and let them thaw for ten minutes, then bake at 425*F for 5-10 minutes.

Note:  An egg wash makes breads brown beautifully.  Simply beat up an egg with a spoonful of water and brush it onto bread before baking.  For the brown and serve option, use the egg wash prior to the second baking/browning.

Sour Cream Apple Pie

One 9” pastry shell, unbaked

2 tablespoons flour

1/8 teaspoon salt

¾ cup sugar

1 egg

1 cup sour cream

½ teaspoon vanilla

2 cups finely chopped or grated peeled apples (tart pie apples are best)

Mix dry ingredients, beat in egg, sour cream, and vanilla until smooth.  Add apples, mix well, pour into pastry-lined pie pan.  Bake in 400 degree oven for 15 minutes, then reduce heat to 350 degrees and bake for additional 30 minutes.

While custard is baking, mix the topping:

1/3 cup sugar

1/3 cup flour

1 teaspoon cinnamon

¼ cup softened butter

Mix well and sprinkle over pie. Return to oven at 400-425 degrees and bake for ten minutes to form streusel crust on top of custard.  Cool completely before cutting.  Store in fridge.

Standard
Gluten-free, Recipes, Side dishes

Conversions III: Gluten-free Cornbread Stuffing

I’m gearing up for Thanksgiving.  I bet you are, too.  I like tweaking recipes, but there are some recipes I don’t mess with.  I should rephrase that:  I am not allowed to change certain treasured family recipes, like my cornbread stuffing.  Both of my children (but especially my daughter, Amy), are adamant that the meal must stay pretty much the same as it was when they were kids.  Frankly, the only reason I’m changing my stuffing recipe is that I’ve changed.  I am no longer eating wheat, and that means I had to find an alternative to my beloved cornbread stuffing.  I’ll still make the traditional bread and cornbread stuffing for the family, but alongside, I’ll make this conversion to gluten-free for me.

The recipe starts with a gluten-free cornbread.  I use an inexpensive gluten-free all-purpose baking flour that I get in the bulk foods section at WinCo.

Gluten-free Cornbread

1 cup gluten-free all-purpose flour blend

1 cup cornmeal

1 tablespoon coconut flour

1/3 cup sugar (I use organic coconut palm–you can use whatever you like)

½ teaspoon baking soda

1 teaspoon salt

1 tablespoon apple cider vinegar

4 eggs

1/3 cup safflower oil

1/3 cup milk

Mix dry ingredients.  Mix wet ingredients, mix into dry.  Grease an 8-inch cast iron skillet. Pour batter into skillet and bake for 20-25 min. at 425 degrees.  (You may also bake the batter in a greased, 8 or 9 inch square pan—bake 20 min.—or in 12 greased muffin cups, fill half-full, bake 15 min.)  Remove and cool five minutes, remove cornbread from skillet by inverting over a plate.

Using a cast iron skillet to bake cornbread is a tradition in my family.  The advantage is that you get a really crispy crust on the bottom and sides, and this is delicious when you’re eating the cornbread as is (or with apple butter or honey, two of my favorites), as well as working beautifully in the stuffing.  That brown, crisp crust gives the stuffing more texture and flavor.  So if you have an iron skillet, grease it up and bake with it.

Another tradition in my family is to have beans and cornbread the night before a big feast day.  This works out nicely because I have leftover cornbread for the stuffing, as long as I make enough (or don’t let anybody have seconds)!

Gluten-free Cornbread Stuffing (Serves 4-6)

2 cups gluten free bread (Elana’s Pantry Paleo Bread) cut in ½ in. cubes and dried in oven on low heat

2 cups gluten free cornbread, crumbled

3/4 cup butter

1 medium onion, chopped

4 medium stalks celery, chopped

1 tablespoon poultry seasoning OR 1 ½ teaspoons dried, crumbled sage, ½ teaspoon dried thyme, 1 teaspoon dried parsley

1 teaspoon salt

½ teaspoon pepper

3 eggs, lightly beaten

1-2 cups chicken stock

Melt butter in saucepan, add chopped onion and celery, cook until tender.  Mix bread cubes and cornbread cubes in large bowl.  Sprinkle with salt, pepper, and herbs, mix.  Mix butter and vegetables into breads, folding carefully to keep cubes from losing their shape.  Carefully fold eggs into bread mixture.  Add enough chicken stock to moisten stuffing mixture.  Don’t let the mixture turn into a paste.  Mix gently to keep bread cubes intact.

The stuffing may be inserted into the cavity of a chicken or turkey or baked in a greased, uncovered casserole dish alongside the bird at 325-350 degrees for 30-40 minutes or until top is browned and crusty.  (Yeah, I know.  Everybody’s scared of cooking stuffing inside the turkey.  All I can say is I’ve been doing it almost 50 years, and nobody has ever gotten sick.  But follow your own inclinations on this one.)

I’ve used this recipe for years with wheat-based bread cubes and cornbread made from half wheat flour and half cornmeal. Here’s a picture of last year’s Thanksgiving turkey with the same stuffing made with wheat bread cubes and traditional cornbread.

OLYMPUS DIGITAL CAMERA

I apologize that there are no pictures of the gluten-free stuffing, but honestly, it looks just like what’s in the picture above.  Unfortunately, I got distracted by football and didn’t get any pictures while I was making the gluten-free stuffing.  Our team lost–another distraction–and as consolation, we ate up the test batch (stuffed into a pair of Cornish game hens) before I could get pictures of it.  Maybe that’s the best testimonial of all.

I’m so happy that I don’t have to give up my treasured cornbread stuffing this year because I’m no longer eating wheat.  I can make the kids happy and satisfy myself at the same time.  Dennis doesn’t care either way; he’s like Mikey.  He’ll eat anything.

Standard
Gluten-free, Main dishes, Recipes

Gluten-free Eggplant Lasagna (with meat)

OLYMPUS DIGITAL CAMERA

Some months ago, I decided to cut gluten and most grains from my diet.  This has meant learning to cook in new ways and with new recipes, and learning to adapt beloved ones, like lasagna.

I love pasta, and I miss it.  It’s really about the only thing I haven’t yet figured out how to make from gluten-free flours.  I hope I’ll have the time to work on that this winter.  A few months ago, when the longing for Italian food got too strong, I went on the hunt for something to fill that craving.  I found a recipe for eggplant lasagna, but the eggplant was there to substitute for the meat, not the pasta.  I wondered:  could oven-roasted eggplant take the place of the pasta in lasagna?  Conveniently, I had eggplants in my greenhouse, so I was able to give the idea a try.  And it’s delicious.  I was surprised that I didn’t miss the pasta at all.  The flavor of the lasagna is authentic, and it fulfills all my cravings for Italian food, without wheat.  Cutting out the pasta cuts down significantly on calories and carbohydrates as well.  This is a protein-rich dish that also contains a lot of vegetables, so while I usually serve it with a salad or another vegetable, we have been known to heat up a square and eat it by itself with no loss of satisfaction.

You can use any ground meat you like in this recipe.  I have used ground beef, turkey, Italian sausage, and ground venison.  You can mix ground meats, and frankly, mixing a little Italian sausage with any other meat is going to add extra flavor and succulence to your lasagna because it adds fat.  You can control the fat in the recipe by using leaner or richer meats, and lower or higher fat cheeses.  For the pictures for this post, I used bear sausage and ground turkey, because that’s what I had on hand.  I also used shredded, low-fat mozzarella out of my freezer. I buy cheese on sale, shred it in the food processor, mix a teaspoon or two of cornstarch into it, and freeze it flat in Ziploc bags.  The cornstarch keeps the cheese from sticking together, so I can use as much or as little as I want from a bag while it is still frozen.

I also make my own ricotta for lasagna because it is easy, and so flavorful, and so much cheaper.  I make ricotta whenever I have milk about to sour or already gone bad, so I’m minimizing waste.  Sour milk makes great cheese.  After the whey has drained away from the cheese, I put the ricotta in the freezer, so again, it’s handy when I want to make a pan of lasagna.  The whey can be saved and used in baking, particularly breads and cakes, instead of water.  You can make your own ricotta out of any kind of milk, from low-fat to full-fat, or even out of half-and-half, if your coffee creamer has gone sour.  But of course, you can buy ricotta cheese if you don’t wish to make homemade.

I’ve always made my own marinara sauce for lasagna, but you don’t have to.  You can buy jarred marinara or spaghetti sauce from the store.  If you do that, I strongly suggest that you add herbs to it to perk up the flavor.  However, marinara is easy, cheap, and quick to make, as you’ll see from the recipe below, so I hope you’ll give it a try and see how much better it is than pre-made, store-bought sauce.  I’m starting with the marinara sauce, because it can be cooking down while the eggplant is roasting.

Easy Marinara Sauce

You can start homemade marinara with either canned tomatoes or tomato sauce (or with fresh tomatoes, if you have the time).  Making the red sauce with canned tomatoes takes a little longer than starting with tomato sauce, but it cooks down while the eggplant is roasting.

1 28 oz. can of whole or diced tomatoes or 2 cups of canned tomato sauce

¼ cup red wine (optional)

1 T. fresh basil, chopped, or 1 t. dry basil, crumbled (more or less according to your taste)

1 t. fresh organo, chopped, or ½ t. dry oregano, crushed (more or less according to your taste)

1 clove garlic, crushed and chopped

½ cup. onion, diced

1-2 tsp. sugar

Salt and pepper to taste

If using whole or diced tomatoes, whirl the contents of the can (or quart jar, if you can your own tomatoes) in blender until smooth.  Place in large pot, add wine, herbs, garlic, onion, sugar and ½ tsp. salt and ¼ tsp. pepper (more or less to your taste) and cook on med. high heat until reduced by half.  Watch out—it spits as it reduces!  If you are starting with tomato sauce, just add the rest of the ingredients and simmer until onions are translucent.  You can add more wine, more sugar, more herbs, more of anything you particularly like.  You can use basil alone if you don’t like oregano, or vice versa.  You can add a tablespoon of fresh, chopped Italian parsley if you have it.  I use a larger quantity of herbs than I’ve specified in the recipe because I love the flavor of herbs, but these amounts are a good place to start.  Play around with the sauce until it suits your taste.  You want to end up with about 2 cups of marinara sauce, so don’t over-reduce.

That’s it!  That’s marinara sauce.  You can make it more complicated, roasting the garlic and adding shredded carrots and other ingredients, or you can buy it in the jar, but what’s the point, when this is so easy?  It is delicious and can form the basis for many an Italian dish that calls for a red sauce.  Now, on to the lasagna.

Roasted Eggplant Lasagna

2 large eggplants

Olive oil

Salt and pepper

Cut tops off eggplant and slice lengthwise into ¼ to ½ in. slices.  Keep them uniform in thickness.  Brush olive oil onto cookie sheet and lay out eggplant slices in one layer; brush with olive oil and sprinkle with salt and pepper.  Roast in 400 degree oven for about 20-25 minutes, or until very tender.  Turn eggplant over half-way through cooking time.

While the eggplant is roasting (and your sauce is cooking down, if you made sauce), it’s time to season and brown the meat.

1 ½ lbs. ground meat (Italian sausage, turkey, venison, beef, bison—whatever you like or have on hand)

Salt and pepper

1 large onion, chopped

1/2 teaspoon garlic powder

1 red or green bell pepper, chopped (optional)

2 cups sliced fresh mushrooms (optional)

2-3 cloves garlic, chopped

2 cups marinara or red sauce (see recipe above) or jarred spaghetti or marinara sauce

2 cups ricotta cheese

1 cup grated parmesan cheese

2 cups shredded mozzarella cheese

3 beaten eggs

Season ground meat with salt and pepper and garlic powder; brown and drain.    Add onion, mushrooms, and bell pepper; cook until onions are translucent; add chopped garlic, cook for one minute.  Set aside.

Mix eggs with ricotta and ½ cup of parmesan cheese, season with ½ to 1 teasp. salt and ¼ teasp. pepper.  Reserve ½ cup of parmesan for top of lasagna.  (As always with my recipes, start with the smaller amount of salt and add more to your taste.  Salt is a highly individual seasoning.)

Place a couple of spoonfuls of marinara sauce into the bottom of an 8×12 or 9×13 pan and spread it around.  (This keeps the eggplant from sticking to the pan.)  Place one layer of roasted eggplant slices on top of sauce.  Stir the meat mixture into the rest of the marinara.  Spread half of marinara/meat mixture on top of eggplant slices.  Top with half of ricotta/egg mixture.  Spread half of shredded mozzarella on top of ricotta mixture.  Top with another layer of eggplant, layer of meat mixture, layer of ricotta mixture, and mozzarella.  Sprinkle reserved parmesan cheese on top. (I always seem to overfill my 8 X12 glass pan, so I put it on a cookie sheet to keep any potential spillage off the bottom of the oven.)

OLYMPUS DIGITAL CAMERA

Bake at 350 for 40 minutes or until dish is bubbling and cheese is browned.

If you can keep your hands off it that long, cool slightly before serving, about 10-15 minutes.  This allows the dish to set up a bit and makes it easier to cut into squares for serving.

OLYMPUS DIGITAL CAMERA

This gluten-and-grain-free lasagna satisfies my every craving for Italian food.  I don’t miss the pasta, and neither has anyone I’ve served it to, including my dear foodie friend, DeAnna, and my son, Joel.  Joel said, “Mom, I’ve never had lasagna like that, but it’s killer!  It’s lighter without the pasta.  I don’t miss it at all.”  If you try it, I bet you won’t either.

Standard
appetizers, Canning, condiment, Recipes

Red Hot Sauce

OLYMPUS DIGITAL CAMERA

I could have titled this post “What To Do With Box-Ripened Tomatoes.”  Fall presents gardeners with something of a quandary:  what to do with all the green fruit that had to be gathered before the first frost.  By this time, most of us in the parts of the country that experience winter have picked our green tomatoes.  We’ve boxed them, and we’ve probably mostly dealt with them.  A couple of weeks ago, I wrote about what I did with my green tomatoes this year.  But there are always some we let ripen in the box.

The first few box-ripened tomatoes are good.  They were the ones so close to ripening on the plants that only a few days or a week or so in the box with other tomatoes, and maybe an apple or banana or two, have brought them good flavor and juice.  They’re fine for eating fresh, in salads, on sandwiches and hamburgers.  But as the days go by, and as the tomatoes that were truly green when picked start to ripen under the influence of the ethylene they (and the banana and/or apple) produce, the flavor starts to decline.  After a few weeks, the tomatoes that ripen don’t have much more flavor or juice than supermarket tomatoes.  And we all know what those taste like.  So what do we do with these tomatoes we saved and cared for and now don’t really want to eat?

OLYMPUS DIGITAL CAMERA

I make sauce.  I make two sauces, and the recipe I choose depends on how many tomatoes I have, which of my two sauces I have left from last year, and what I think I’ll need in the year ahead.  One of the sauces is an all-around pasta/pizza sauce, and I usually freeze it because it doesn’t make much (tomatoes really cook down), and I’m tired of canning by November.  The other is red hot sauce, which could be frozen, I suppose, but is designed to be canned.

I discovered red hot sauce a couple of years ago when my husband was given a whole, uprooted bush of habaneros to bring home to me.  This was a dubious gift—something the giver really just wanted off his hands so he didn’t have to deal with them.  What in the heck was I going to do with approximately 40 habaneros?  I started paging through my trusty Ball Blue Book and found red hot sauce.  It didn’t call for habaneros, but it called for hot peppers and tomatoes, both of which I had in abundance.  Never mind that the peppers were supposed to be “long, hot red peppers” and the tomatoes were supposed to be “red-ripe.”  Mine were red.  Sort of.  They’d been in the box long enough to ripen.  Sort of.  Good enough.

I made the hot sauce with habaneros and my box-ripened tomatoes.  I learned a little something about working with hot peppers along the way.  Yes, I knew that habaneros were about the hottest pepper I would likely ever encounter.  I knew to wear gloves and keep my hands away from my face.  What I didn’t know was that chopping the peppers in the food processor was a no-no.  What I didn’t know was that as soon as I took off the lid, the capsaicin that had been released from chopping the habaneros would rise up and hit me in the face like pepper spray out of a can.  Since I’d never been hit in the face with pepper spray, I didn’t know that it made you cough, and cough, and wheeze for breath, fruitlessly.  I’d heard about the tears, the outpouring of snot from abused mucus membranes, but I’d never experienced them.  It was an hour before I could go back in the kitchen and continue my little experiment.

But I am nothing if not dogged.  It was still pretty fumey in there, and for the rest of the time I worked with the sauce, I coughed and wheezed and hacked and went through a box of tissues.  But I learned that vinegar neutralizes capsaicin, and as soon as I got the vinegar, tomatoes, and peppers all cooking together, the peppers stopped releasing capsaicin, and I started feeling a whole lot better.  I got the food processor and all the tools I’d used on the peppers rinsed out with COLD water, and then washed with dish soap, and the atmosphere in the kitchen improved considerably.

Why am I telling you about my pepper fiasco?  Because I learned some things from that first experience of working with really hot peppers that I’m going to share with you so that you don’t have to learn what it’s like to get hit in the face with pepper spray. (I’m assuming that as a law-abiding citizen, you haven’t already experienced this.)

The red hot sauce turned out beautifully.  I was afraid to taste it, at first.  But having made it, I had to see if it was edible.  There was still heat, but no burn.  The vinegar tames the burn.  It was slightly sweet and the spices made it somewhat reminiscent of ketchup.  But it was nothing like ketchup.  I ended up with 3 half-pint jars.  I gave two of these to my son, who loves spicy.  He was the one who discovered that a better dipping  sauce for a shrimp platter has yet to be found.  And that’s why this year, I once again made red hot sauce with my box-ripened tomatoes.  I’m envisioning shrimp platters at football parties.  For the timid tasters among us, I’ll also make a lemon-basil mayonnaise.  But back to the red hot sauce.

Like pizza/pasta sauce that gets a lot of flavor from wine, herbs, onions, and garlic, red hot sauce is a perfect way of using up those box-ripened, less-than-tasty tomatoes because you’ll add a lot of flavor with the peppers, vinegar, salt, sugar, and spices.

This year, with red hot sauce in mind, I actually planted habaneros in my greenhouse.  I started them from seed in April.  I should have started them in early March.  They are very slow to sprout and then to grow.  They didn’t even start blooming until August, so I knew that it was unlikely I would get ripe peppers.  When my boxed green tomatoes started to get ripe, I checked my habaneros.  There were some small green peppers just starting to turn yellowish.

OLYMPUS DIGITAL CAMERA

Good enough, I decided.  I gathered them.  I also had some jalapenos that I’d gathered from the garden when I picked all the green tomatoes.  And I had a few store-bought Serrano peppers, smaller but hotter than jalapenos.  I needed 1 ½ cups of peppers, chopped.  But wait a minute.  It was the chopping that got me into trouble before.  And it was the vinegar that came to my rescue.  So I devised a plan to keep that capsaicin under control.  What follows is the recipe I used, unaltered from its 1981 Ball Blue Book roots, except for the preparation of the peppers and the cooking time.

Red Hot Sauce

2 quarts cored, quartered tomatoes

1 ½ cups hot peppers

2 cups vinegar

1 cup sugar

2 tablespoons mixed pickling spices

1 tablespoon salt

2 additional cups vinegar

Combine the tomatoes and 1 ½ cups of vinegar in large pot and get them started cooking.  Wearing gloves, and using a knife, cut peppers into chunks and measure.  If you want less heat, seed them before cutting in chunks.  Depending on the variety of pepper you use and the level of heat you’re comfortable with, seeding might not be necessary.  Put the peppers into a smaller pot for which you have a tight-fitting lid.  Pour in ½ cup of vinegar.  Put on the lid, bring just to a boil, reduce to simmer, and cook for approximately 15 minutes or until the peppers are tender.  (Stand back as you lift the lid to test tenderness with a fork.  Some capsaicin will be released into the air, but it won’t be much and shouldn’t be enough to cause any problems.  Although you might have a runny nose.  If you can schedule this on a day when you need some sinus relief, you’ll be a champion multi-tasker.)

Add the peppers and vinegar to the tomatoes and vinegar and cook until tomatoes are soft.  Wearing gloves, run the mixture through a food mill, fine-mesh strainer, or chinois to remove skins and seeds.  Put the resulting juice and pulp back into the pot and add the sugar and salt.  Put the pickling spices in a spice bag or tie in a square of cheesecloth or nylon tulle and immerse in tomato mixture.  Cook, stirring frequently, until thick.  Add remaining 2 cups of vinegar.  This will thin down the sauce again.  Continue cooking until as thick as desired.  (For shrimp dipping sauce, the right consistency is like a thin, pourable ketchup.  It should be thick enough to adhere to the shrimp when dipped, but not so thick that it all comes away on the first shrimp dipped.)  Remove spice bag.

Pour into sterilized, half-pint jars, leaving ¼ inch head space.  Process for 15 minutes in boiling water bath, adjusting for altitude as necessary.  Yield is about 4 half-pints, but it depends on how much you reduce the sauce before putting it in the jars.

Some notes:  It takes a while thicken the tomato sauce.  You can’t turn it up high or it sticks, so it has to be simmered on low, and it can take a couple of hours.  Have something else to do in the kitchen while you’re making this sauce.  You need to be available to stir it so it doesn’t stick, but other than that, it doesn’t require any attention.  And then as soon as you get it thick, you add more vinegar and thin it down again, and you have to cook it down again.  But, NEVER skimp on the vinegar.  I know it’s a lot of vinegar, but the peppers need it, and the sauce needs it to have enough acid to make it water-bath safe.  Also, do add it as directed at two different times in the cooking process.  There’s a reason for this.  Boiling a vinegar solution can evaporate the vinegar’s acetic acid.  And its acid is the reason we use the vinegar.  Adding vinegar at the beginning of the cooking time tames the peppers, but some of the acid cooks out.  Adding more vinegar  closer to the end of the cooking time ensures the sauce’s acidity.  Trust me, the sauce isn’t vinegary.  It’s actually perfectly balanced between heat, sweet, acid, and spice.

Also never increase the amount of peppers in the recipe to get more heat.  That affects the acid balance and can create opportunities for botulism to grow.  Habaneros are plenty hot enough in this sauce, believe me.  And if you want less heat, seed your peppers.  Or use jalapenos.  Or use Serranos for slightly more heat.  Or mix the two.  Or mix it up with a variety of peppers, like I did.  Just don’t exceed the AMOUNT called for in the recipe.

That’s it.  That’s a good way of using up your box-ripened tomatoes.  That’s perfect dipping sauce for a shrimp platter at your Super Bowl party.  That’s red hot sauce.

OLYMPUS DIGITAL CAMERA

All photographs are the intellectual property of the author, are copyrighted, and may not be copied, reproduced, or used in any way without the author’s permission.

Standard
Garden and Greenhouse, Main dishes, Recipes, Side dishes

Pumpkin/Winter Squash Soup

OLYMPUS DIGITAL CAMERA

It’s nearly Halloween, and that means pumpkins are on the market and in the garden.  It also means winter squashes are ripe and readily available.  I grow my own.  You would expect nothing less, would you?   I always have a lot of them, so I’ve had to learn how to store them long-term.  I’ve also learned how to use them in various ways, so we don’t get tired of them before winter is over.  Read on for tips to make sure your squashes get through the winter without spoiling, and for some recipes using winter squash and pie pumpkins.

If you are growing your own, or even if you’re buying pumpkins and winter squashes cheap or on sale, and want to store them, there’s a very simple step you can take to keep them fresh for months.  First, if you’re harvesting out of your own garden, it helps them last longer if you’ll let a light frost kiss them before you harvest.  This hardens the skins, and a hard skin protects the golden goodness inside.  Then lay the squashes out on a deck or patio and hose all the dirt off them.  Let them dry.  At this point, the method for ensuring long storage is the same for home-grown or store-bought.

To a gallon bucket or bowl of warm water, add a cup of white vinegar.  Get a clean rag and an old towel, and line the boxes you’re going to store your squashes in with newspaper.  Wash each squash or pumpkin with the vinegar water, dry thoroughly, and store in boxes, loosely stacked.  You can also store squashes on open shelves if you have a place with the right temperature range where mice or rats or squirrels won’t get to them.  Even though the skins are hard, in the winter, a hungry rodent can do a lot of damage.  It’s a good idea to line your shelves with newspaper, to absorb any oozing from spoilage if it occurs.  But the vinegar bath helps kill off bacteria and mold spores and minimizes spoiling.

The other crucial factor to prevent spoilage in long term storage is the right temperature range.  Colder is not better when it comes to preserving winter squashes.  I learned this the hard way when I tried to store them one year in our pump house, which is kept just above freezing all winter.  The squash and pumpkins developed little black mold spots in January, and within a week or two, I was roasting and freezing like mad to keep from losing them all.  I did a little research and learned that the optimal storage temperature is much warmer, from about 45-55 degrees.  Keeping the squash dry is also important, so a damp, cold basement (or pump house) is not a good storage option.

OLYMPUS DIGITAL CAMERA

Now, I store my pumpkins and winter squash in my laundry room, in wooden boxes, lined with newspaper, that slide under the shelves my husband put up for my canned goods.  The laundry room is unheated except for the freezer that puts off heat when it runs, but the room is well-insulated, so it stays around 50-60 degrees all winter.  That seems to be just about the perfect environment for squash storage.  I harvest my squash after the first light frost burns the leaves of the plants, give them a vinegar water bath, store them in my boxes in the laundry room, and we’re still eating fresh roasted winter squash and pumpkins the following spring.  Which is just fine by me, because I really love the stuff.

The photo below was taken on May 8, 2013 of the box of pumpkins I had left from the 2012 growing season.  (I didn’t weigh them, but I must have grown about a hundred pounds of pumpkins and squash in 2012.)  These were still sound!  (Yes, I think that fact deserves an exclamation point, maybe two.)   In March, I had taken out those that were left and had given them another wipe down with a vinegar wash–just being proactive with possible mold.  In May, I decided it was time to roast and puree what was left and freeze my puree in bags, so now I have pumpkin puree all ready for this fall’s pies, which is fortunate because I didn’t get many pumpkins this year.  Just another lesson from the garden:  this year’s bounty may turn to next year’s dearth, so preserve while you can.

OLYMPUS DIGITAL CAMERA

I like to grow acorn, butternut, and pie pumpkins.  I have tried other squashes, but these are my favorites, and in a garden the size of mine, space is a factor.  I try to use up my butternuts first because they have the thinnest skins and will usually spoil before pumpkins or acorn squash.

My favorite way to eat butternut squash is roasted, of course.  I love roasting butternuts because you can eat the skins.  Just cube up the gutted squash, sprinkle and toss with olive oil, salt, pepper, any crushed or ground herbs you like (I like sage and thyme, but rosemary is also delicious), add a few unpeeled garlic cloves if you like, a sprinkle of apple scrap vinegar or another fruit vinegar (the acid brightens up all the flavors), and roast on a cookie sheet at 400-425 degrees until tender and browned, usually 20-30 minutes.  The roasting time depends on how large your squash cubes or chunks are.  The skin of the squash gets tender and then goes slightly chewy, so you get great texture.  This is a wonderful side dish to any roasted meat.  I like to serve it with oven-fried chicken because both dishes cook at the same temperature.

Acorns squashes store very well because they have such hard skins.  I like acorn squash because of its size and its seeds.  Acorns are just the right size for a meal for two people.  Each person gets a half.  My husband likes them with butter and brown sugar, so I can dress his half with gooey sweetness, and my half gets a drizzle of olive oil and a sprinkle of sage and thyme, salt and pepper.  We each get what we like with no fuss. Roast them at 400-425 degrees until the flesh is tender.  And if you like roasted pumpkin seeds, you’ll like roasted acorn squash seeds.  Actually, even if you don’t like pumpkin seeds, you should try roasted acorn seeds because they are even better than pumpkin seeds.  They are smaller and roast to a crisper, crunchier texture.

The process is the same for pumpkin seeds and all squash seeds, so don’t throw any of them away.  Simply spread the seeds (and a little bit of the flesh or juice will give the seeds more flavor, so don’t rinse them!) on a cookie sheet, drizzle a teaspoon or so of olive oil over them, stir to coat, sprinkle lightly with salt (I like freshly ground sea salt), and roast at 350 degrees for about 15 minutes, stirring after 10 minutes.  Roast until golden brown.  These are a nutritious and delicious snack that my grandchildren, daughter-in-law, and husband love.  I keep a bowl of roasted squash and pumpkin seeds on the coffee table all winter long.

I love pie pumpkins, and they also store very well.  I use them for pumpkin pie, pumpkin bread, pumpkin spice muffins, pumpkin pancakes, and pumpkin soup.  There are many ways to handle a fresh pumpkin for cooking.  Some people roast them whole and then peel and scoop out the seeds.  Because I like to roast the seeds and get them crunchy, this is not the method I use.  I used to cut them open, clean out the seeds, quarter and steam them, and then run through the chinois to remove the skins.  This works if you’re processing a lot of pumpkin for freezing (pumpkin puree has been deemed unsafe for home canning), but you don’t get that wonderful roasted flavor.  Roasting is what makes your homemade-from-scratch pumpkin pie or soup so superior to what you can make with what comes out of a steel can from the store.  So, now I quarter my pumpkins, clean out and set aside the seeds for roasting later, and put the quarters on a cookie sheet and into a 425 degree oven until they are soft.  I take them out, let them cool, then scoop the flesh away from the skins and put it in the food processor to puree.  (The skins go into the compost bucket.)  At this point, the puree can be used in a recipe in the same proportion as the canned pumpkin you buy.  Or, you can make soup with it, which is a winter staple in our home.

OLYMPUS DIGITAL CAMERA

Here’s my recipe for pumpkin soup, and keep in mind that you can substitute any orange-fleshed winter squash, such as acorn or butternut, for the pumpkin.  You’ll get a slightly different flavor, but it will be delicious with whatever kind of squash you use.  Don’t use huge, grocery store jack o’lantern pumpkins for this soup—they are too stringy.  You can sometimes use smaller grocery store jack o’lantern pumpkins, but pie pumpkins, acorn squash, butternut, or any other yellow or orange-fleshed winter squash are better.  You can mix varieties as you like.

After your pumpkin or squash is roasted and pureed as above, follow directions below for making the soup.  (You can also use canned pumpkin, and the soup will taste good, but it won’t taste quite as fresh or rich as when you roast your own.)

Roasted Pumpkin/Winter Squash Soup

OLYMPUS DIGITAL CAMERA

1 quart pureed pumpkin or squash

2 cups chicken stock/broth

1 tablespoon olive oil, or butter, or canola oil

¼ cup finely chopped onion

1 fresh jalapeno, finely chopped (deseeded, if you don’t like the heat)

1 stalk celery, finely chopped

1 clove garlic, minced

1 tablespoon fresh ginger root, grated (if not available, substitute 1 teaspoon powdered, dry ginger)

1 teaspoon salt

½ teaspoon black pepper

½ teaspoon ground coriander

¼ teaspoon ground allspice

1 tablespoon dried or fresh chopped parsley (fresh is always better)

1 teaspoon poultry seasoning

¼ teaspoon red pepper flake (optional for those who like more heat)

½ cup half & half

For serving:  ½ cup plain low-fat yogurt or sour cream; ¼ cup roasted, salted sunflower seeds.  Makes about 4 servings (cereal bowl size).

To the pureed pumpkin or squash, mix in chicken stock (I use homemade or low sodium canned) and start heating on low in a large pot with a tight lid.  Stir frequently to keep the natural sugars in the pumpkin/squash from causing the soup to stick.  As the soup heats, it starts to bubble like a volcanic mud pot, so keep it covered and be careful when you remove the lid to stir.

In a sauté pan, heat oil or butter.  Add onion, jalapeno pepper, celery and minced garlic.  Saute on medium heat until vegetables are soft.  Add fresh grated ginger root, if available.

At this point, you’ll have to decide how smooth you want your soup to be.  I like it silky smooth, so I put my sauteed vegetables into the pumpkin mixture and use my immersion blender on it until the vegetables are just tiny specks in the soup.  If you don’t have an immersion blender, and you want your soup smooth rather than slightly chunky, put a small amount of the pumpkin mixture into a blender or food processor along with the sauteed vegetables and whiz until smooth, then add back into the soup.  If you want more texture in your soup, add the vegetables without blending and proceed to seasoning.

If not using fresh ginger, you can add 1 tsp. dry ginger at this point.  Add about ½ tsp. of salt (taste as you go so you can get the seasoning right for you), ½ tsp. black pepper, ½ tsp. ground coriander, ¼ tsp. ground allspice, 1 T. dried or fresh chopped parsley, and 1 tsp. rubbed poultry seasoning.  (I grow and dry my own herbs, so instead of poultry seasoning, I use about a teaspoon of dried, crumbled sage, and a half-teaspoon of dried thyme.  If there’s no snow in the garden, I substitute fresh herbs, but I’m careful with fresh sage. It’s a strong flavor.)  Taste and add more salt and pepper or other seasonings as necessary.  If you like more heat, you can add a little crushed red pepper flake.  I like the different layers of heat in this soup from the fresh jalapeno, ginger, and black and red pepper.

As soon as soup is hot and bubbling like lava, add about ½ cup half & half.  Reheat almost to boiling and serve. (Do not boil after adding the half & half because the cream will separate. It still tastes fine, but it doesn’t look as pretty.)

For serving:  I like to add a dollop of plain, low-fat, homemade yogurt (sour cream is also good) to the middle of my bowl and sprinkle it with about a tablespoon of roasted, salted sunflower seeds. Then when I eat it, I get a little yogurt and sunflower seeds in my spoon along with the soup.

This is a very filling (and nutritious) soup, and you can make it relatively low-fat by using low-fat chicken stock, coconut, olive or canola oil instead of butter, fat-free half & half instead of regular, and low-fat or non-fat yogurt or sour cream in the topping.

Because I grow my own pie pumpkins and winter squash, and have learned how to store them all winter, I have a plentiful and tasty supply of Vitamin A through the winter and into spring.  I hope I’ve inspired you to try it for yourself.

All original text, photographs, and the pumpkin/winter squash soup recipe are copyrighted and may not be copied or reproduced without the author’s permission. 

Standard
Beverages, Canning, condiment, Recipes

Raspberries: Cordial, Jam, Vinegar

OLYMPUS DIGITAL CAMERA

Have you ever heard that expression “to warm the cockles of the heart”?  I don’t know where I first ran across it, but I suspect it was in Little Women, one of my favorite books as a child and still a favorite.  I have something to warm the cockles of your heart this winter (whatever cockles are or wherever they are—this stuff is sure to warm them), and it’s not hard to make:  raspberry cordial.

Some time ago, I posted an old recipe for blackberry cordial, which is a wonderful, mildly-alcoholic beverage appropriate for an aperitif or dessert drink.  Just this past week, during a two-day berry-processing fest, I decided to try the recipe with raspberries.  And I am here to tell you that it was a complete success.  I’m so excited to share this and two other recipes with you.   Following the cordial recipe, I have a recipe for raspberry jam using the pulp left over from juicing, and a recipe for raspberry-infused vinegar, should you have more leftover pulp than you need for jam.

Now, a caveat.  This cordial recipe makes three 750 ml. bottles of cordial, with some left over in another bottle.  (If you choose to drink the leftovers rather than bottle it, who am I to judge you?)  It is entirely possible and as easy as . . . well, pie . . . to cut this recipe down, should you not happen to have access to enough raspberries to make 9 cups of juice.  Simply divide the recipe by 3, and you only need 3 cups of juice, about 3/4 cup of sugar, and 1 cup of vodka.  Simple.  And lest you worry that you need fresh raspberries to make this luscious drink, let me reassure you.  I made it using my frozen berries.  In fact, frozen berries render more juice than fresh berries do.

What I cannot tell you is the volume or amount of frozen berries you’ll need if you are buying them frozen from the store.  I used about 2 gallons of my frozen berries to make 9 cups of juice.  I used the leftover pulp to make jam, and oh boy, was it good!  So don’t throw that pulp away.  I have two more recipes to help you use every last bit of those raspberries.  I’m guessing that you’ll need about 3 or 4 large packages of frozen berries to get 9 cups of juice.  Look at the volume listed on the packages, if you’re buying frozen raspberries, and try approximate at least two gallons of berries.

There are other recipes out there for similar drinks.  Most of them require a long infusion time and several steps to come up with a drink that is safe for consumption.  Because this recipe calls for pasteurization of the juice, it is safe to drink immediately, and the flavor is exceptional.  I hope you enjoy this, as well as the blackberry cordial.

OLYMPUS DIGITAL CAMERA

Raspberry Cordial

9 cups raspberry juice (cook berries for 5 minutes, then strain through cheesecloth-lined colander to remove seeds)

2 ½ cups sugar

1 cup vodka

OLYMPUS DIGITAL CAMERA

Bring raspberry juice and sugar to boil; reduce heat and simmer for 8 minutes.  Remove from heat and cool 10 minutes.  Add vodka and mix.  Cool to room temperature and bottle in clean bottles with tight-fitting lids.  (Old, clean liquor bottles work well.)  Stores indefinitely.

Raspberry Jam

OLYMPUS DIGITAL CAMERA

To each cup of raspberry pulp and seeds left from straining the juice, add 1/2 – 3/4 cup sugar and 1/2 tablespoon lemon juice.  (Please notice that this is substantially less sugar than is required for a recipe that uses commercial boxed or bottled pectin.)   To 3 – 6 cups of this mixture, add one cup of apple pectin stock.  Cook on medium high heat until pulp is glossy and thick, about 20 min. (Taste frequently to test for the level of sweetness that you want, and add sugar as needed.)   Test for doneness by placing a dab on a plate that has been in the freezer until well-chilled.  Replace plate in freezer for a minute, then check to see if jam is firm.  If so, spoon into sterilized jars, seal,  and process in water bath for 5 minutes.

Raspberry-Infused Vinegar

If you have more raspberry pulp than you want to convert to jam, or less than you need for a good batch of jam, try an infused vinegar.  This is so easy, it’s ridiculous.  Just fill a pint or quart jar 3/4 full of raspberry pulp and top off with white vinegar, apple cider vinegar, or your own homemade apple scrap vinegar.  If you use homemade vinegar, store your infusion in the fridge; if you use store-bought, you can leave the infusion in a cool, dark place.  Because there is no way to test the acidity of your homemade vinegar, it’s best to be safe and keep it refrigerated.  Let it sit several weeks, then strain through several layers of cheesecloth and bottle.  Voila!  Raspberry vinegar (or blackberry vinegar, should you make the blackberry cordial).  I did both, during my recent berry-processing marathon.  Raspberry infusion on the left, blackberry on the right.

OLYMPUS DIGITAL CAMERA

May the cockles of your heart be warmed this winter with berries.

All original text, photographs, and the cordial recipe are copyrighted and may not be copied or reproduced without the author’s permission. 


Standard
Canning, Garden and Greenhouse

Green Tomatoes

OLYMPUS DIGITAL CAMERA

It happens every year.  I plant lots of tomatoes because I love them, and because I grew up on the northern coast of California, in the fog belt, where tomatoes are a nearly-impossible dream.  I’ve lived for the past 27 years in northeastern California, where the growing season is just long enough to grow wonderful tomatoes, if you set them out early under cover.  And every summer, I eagerly await the first ripe tomato, congratulating myself when it’s earlier than the year before, consulting other area gardeners and, of course, bragging just a little when my tomatoes ripen before theirs.  And then, it’s October, and guess what?  There are loads and loads of green tomatoes that won’t get a chance to ripen.  What to do?

“Let them go, Mom,” my son says.  He worries about me, how much I’m doing, how the work affects my back.  He thinks I’m doing too much.  But I can’t let them go.  I can’t deliberately waste food.  There are things I can do with those green tomatoes.  And I have a food processor.  Have food processor, will chop.

Everyone knows about fried green tomatoes.  They are delicious.  I really like them.  But when you have 30-50 lbs. of green tomatoes, there’s no way you can eat them all fried before they start to spoil.  So I’ve been investigating recipes for green tomatoes for some years, especially since I started growing heirloom tomatoes.

OLYMPUS DIGITAL CAMERA

First, it should be noted, some of the tomatoes will box-ripen.  I put mine in a cardboard box lined with newspaper and put it on a layer of towels (in case of leakage) in the coldest room in the house, which is pretty cool.  I can tell which ones will ripen; they are usually a pale orange or streaky orange and green when they’re picked.  Some of these will have enough flavor to eat fresh in salads and sliced on burgers and sandwiches.  I’ve learned that if I want the tomatoes to ripen faster, it helps to put a couple of apples and a banana in the box and cover it with newspaper.

OLYMPUS DIGITAL CAMERA

But I’ve found that after a few weeks, the tomatoes that started out looking green and developed some color before I got to work on them don’t really develop much flavor.  These I leave in the box as long as I can and then cook them down and run them through my chinois, add herbs, onions, garlic, wine, and sugar, and make sauce, which I freeze because by then I’m so tired of canning, I can’t stand to can one more thing.  And the reason I’m so tired of canning at that point is that I’ve been canning green tomatoes.  Lots and lots of green tomatoes.

I’ve canned dilled green cherry tomatoes, sliced sweet pickled green tomatoes, spicy dilled sliced green tomatoes, spicy piccalilli (a green tomato relish) and sweet green tomato relish.  I still have plenty of the above on my shelves from previous years.  I like them all, but this year, I wanted to try something different.

This year, I made green tomato salsa verde.  And I may never do anything else with all my future green tomatoes.  It is that good.  I made two kinds, a blended version from a recipe on a WordPress blog called bunkers down.  I plan to use this for enchilada sauce:  enchiladas made with chicken and Monterey jack cheese, smothered in this green tomato salsa verde.  Yum.  The other version, a Ball recipe, is chunkier, more like chip-dip salsa, and is delicious with tortilla chips, just like any other salsa.  It’ll be wonderful on tacos, enchiladas, and burritos, too.  (I like handheld food.)  Both salsas have just the right amount of heat.  I would reduce the amount of salt in the blended version, but I’m pretty salt sensitive.  If you like more heat, turn it up with hotter peppers.  (Never increase the amount of peppers to get more heat.  That will affect acidity levels and create spoilage concerns.)

OLYMPUS DIGITAL CAMERA

If you’ve got loads of green tomatoes and are looking for a way to use them, I recommend these two recipes.  But save a few for frying.  What’s October without fried green tomatoes?

Standard
Desserts, Recipes

Conversion: Gluten-free Pie Crust

I’ve got a gluten-free recipe for you this week, a gluten-free pie crust.  I thought I’d share it now, so that you can do your own experiments with the recipe before Thanksgiving.

Pie was something I thought I’d have to give up when I decided, in May, to cut gluten and wheat products and most grains most of the time, out of my diet.  I am not a celiac, thank God, but I did hope that going gluten-free would address some of my health issues.  I have arthritis in nearly every joint in my body, and over the past few years, I’ve put on some belly fat that does my back, hips, knees, and feet no good at all.  I also have serious stomach issues from taking anti-inflammatory drugs for twenty years.  And each year for the past five, at my annual check-up, my blood sugar numbers were a little bit worse, despite the basic goodness of a diet rich in garden vegetables and lean meats. I hoped that ditching the GMO-laden wheat that permeated my diet, in the form of homemade whole-wheat breads, etc., would address some of these issues.

But it was hard to think of giving up pie in my quest for better health.  Really hard.  Cake, I can take or leave, but I love pie.  I love all the possibilities for fillings, and I love the crust.  Some people don’t like crust.  I do, when it’s done right, and it’s tender and flaky.  And just a year or so ago, I’d finally found a whole-wheat crust I actually liked.  So, in a quest for gluten-free pie crust, I looked around on the internet and found some recipes for ground nut pie crusts which are suitable for custard-type fillings.  Well, that’s all well and good.  I do like custard pies, and Thanksgiving pumpkin pies would work with a nut crust.  But what was I to do about my cherished sour cream apple pie, and traditional apple pie, and peach pie, and apricot pie, and blackberry pie (and those filling packets I made up for the latter four and either froze or canned)?

I found some expensive flour blends.  By the time I paid the shipping on them, the price tag on one pie would be more than I could stomach.  Not an option for this thrifty gal.  More research, and I found some recipes for making your own gluten-free flour blends with which you can make a rollable pastry crust.  But where was I going to find things like potato starch?  I live in a very rural area of Northeastern California.  We do some of our shopping in Reno, and I’d managed to find almond flour in the bulk foods section at WinCo in Reno.  I’d look there for the ingredients for making a flour blend, I thought.

And to my great delight, in the bulk section at WinCo, I actually found a gluten-free baking flour blend that had many of the ingredients of the make-it-yourself flour blends I’d found recipes for online.  Great.  I bought a couple of pounds of it, brought it home, stashed it in a jar in the fridge, and then realized I had no idea how to use it.  What ratios, what additions, what liquids?  No clue.  I searched WinCo’s website and found many other recipes for the items I buy in bulk at WinCo, but nothing for this gluten-free flour blend.  It was a new product this summer, and I guess nobody has gotten around to posting any recipes for it.  So it was up to me.

I like experimenting, and I’ve been cooking long enough to know how to substitute similar ingredients, so I thought I’d be able to figure this out.  The first thing I did was to look up gluten-free flour blends from mass producers.  I wanted to see what the ingredients in their flours were, and what recipes they had posted.  I found a King Arthur gluten-free baking flour recipe.  The ingredients in the flour were not an exact match to the flour I’d purchased, but close.  So I decided to use that recipe in the same proportions, with the same additions, only substituting the WinCo gluten-free baking flour.  And it worked!  I really thought I’d have to tweak the recipe, experiment more, but it worked, first rattle out of the box.  I’ve made the pie dough twice now, and I have to say, it is easier to work with than traditional pie dough.  It rolls beautifully, and it bakes up nicely.  It does not taste good raw (I think it’s the fava bean flour in the mix that doesn’t taste good raw), and that’s going to disappoint my grandchildren next time they help me bake a pie, but it’s very good when baked.  It isn’t as flaky as traditional pie dough, but it is tender, and there’s no bean flavor at all when the crust has been baked.  And it is economical.  I can’t tell you now how much per pound I paid for it, but I remember how delighted I was to find a gluten-free flour that cheap, after the online research I’d done.

Gluten-Free Pie Crust

(makes one 9” crust, can be doubled for two crusts)

1 ¼ cup gluten free baking flour (from WinCo)

1 tablespoon sugar  (I’ve used white sugar and organic coconut palm sugar, both were good)

2 teaspoons cornstarch

½ teaspoon xanthan gum (also available at WinCo in the bulk section)

½ teaspoon kosher salt

6 tablespoons cold butter, cubed

1 large egg

2 teaspoons lemon juice or vinegar

Use a metal pie pan:  spray with cooking spray or lightly grease.  Whisk dry ingredients or combine/pulse in food processor (see note).  Cut/pulse butter into dry ingredients until crumbly. Whisk egg and vinegar together until foamy.  Add to dry mixture and mix until dough holds together in rough ball.  Add 1-3 T. cold water, if necessary.  (If I use large eggs, I find about 2 T. water necessary.  If I use an extra-large or jumbo egg, I need to use less water, maybe only a tablespoon.)

Shape into disk, wrap in plastic, and chill 1 hr. (or as long as overnight).

OLYMPUS DIGITAL CAMERA

Rest 15 min. at room temp before rolling.  Roll on plastic wrap or silicone mat, heavily floured (I used brown rice flour).  For top crust, brush with milk, half & half, or cream, and sprinkle with Demerara sugar (optional).

For custard pies, blind bake at 375 about 25 min.  Use weights (dry beans or rice) to keep crust from puffing.  Remove weights, bake an additional 10-15 min. or until lightly browned.  Cool before filling.

For fruit pies:  Bake at 425 on bottom rack for 20 min., then move to middle rack and lower heat to 350; bake until crust is browned and filling is bubbling.

For meat pies (like chicken pot pie):  Omit most or all of sugar.  Try adding a tablespoon of finely chopped fresh herbs or a teaspoon of finely crumbled dry herbs to dry ingredients before mixing.

Note:  If you have a food processor, use it!  It makes the whole process much faster and easier.  Just makes sure your butter is really, really cold.  You can cut it into cubes and then stash it in the freezer for a few minutes while you assemble the rest of the ingredients.  If you are using a food processor, with your finger on the pulse button, add the liquid ingredients as the motor is running.  Stop mixing when the mixture rolls up on itself in a ball.  Don’t overmix.  You’ll heat up the butter and your dough won’t be as tender. The flour will absorb the liquids as it rests in the fridge.

With the one 9-inch crust, I made 8 pear mincemeat-filled turnovers (click link for the pear mincemeat recipe in a previous post).  I think they look beautiful, and they taste so good.  This is definitely a Thanksgiving-worthy recipe.

OLYMPUS DIGITAL CAMERA

Standard
Canning, Recipes

Apple Butter: Autumn in a Jar

OLYMPUS DIGITAL CAMERA

I am an apple butter fanatic.  I love the stuff.  No, I LOVE the stuff.  I learned to love it, as I did so many other things, because my mother made it.  I would like to say that I learned to make apple butter at my mother’s knee, but that isn’t true.  The truth is, I had to teach myself to make apple butter because before I thought to get my mother’s recipe, she was gone.

I searched Mama’s recipe box, which came to me some years after her death.  The recipe wasn’t there.  I searched my recipe box, which she started for me when I married.  It wasn’t there.  I turned to the Ball Blue Book that she gave me when I married (along with my granite-ware water bath canner and Presto pressure canner that I still use).  Mama thought of her Ball Blue Book as her canning bible, as I do, so I thought she’d probably used one of the recipes in the book.  I thought I knew which one, as she always started with applesauce that we had cooked down and rubbed through the big cone colander ourselves.  I knew that after one disastrous scorching incident, she had always cooked her apple butter down in the oven.  Reducing the apple butter in a low oven keeps it from scorching.  And oh boy, does it make the house smell good!  But when I had that first batch going in the oven, something didn’t seem right.  It didn’t smell quite the way I remembered.  After cooking it a few hours to meld the spices with the applesauce and sugar, I gave it a taste.  And it definitely didn’t taste like Mama’s apple butter.

At this point, I was going on memory alone, since I no longer had any of Mama’s apple butter to compare.  But I added spices, and I got something that first year that tasted closer to what I remembered.  The next year, I started with less sugar, because I knew Mama’s tastes, and they were similar to my own.  Both of us have always preferred tart to sweet, and since apple butter sweetens as it reduces, I knew I could start with less sugar and add more if necessary.  The second year’s batch was much better, much more like I remembered.  Every year, I’ve refined my recipe, until now I have something that tastes like my mama’s apple butter every time.  So here it is, and here’s to you, Mama.  Thank you for everything, always, and in this particular instance, thank you for apple butter.

OLYMPUS DIGITAL CAMERA

Spicy Apple Butter

6 quarts unsweetened applesauce

¼ cup lemon juice

2 cups sugar

2 ½ tablespoons cinnamon

1 teaspoon nutmeg

½ teaspoon allspice

¼ teaspoon cloves

Mix all ingredients together in Dutch oven and bring to boiling over low heat on stovetop.  Place uncovered in 300 degree oven and bake, stirring occasionally, until reduced by about half.  (See note below on cooking method.)  Butter will be thick and dark brown.

OLYMPUS DIGITAL CAMERA

Taste during the cooking process and add sugar or additional spices to taste.  Be careful of cloves—it’s a very strong flavor that can overpower the other spices.

When the butter has reduced so that it will mound on a spoon, it is ready to be canned.  Prepare jars and boiling water bath; sterilize jars in boiling water bath for 10 min.  Bring apple butter to boil on stove top over low heat, and watch out for spitting.  Fill sterilized jars with boiling apple butter, leaving ¼ inch head space.  Process for 10 minutes in boiling water bath.  (Use altitude chart for elevations above 1000 ft.)  Yield:  about 6 pts.

Rule of thumb for yield:  Whatever amount of applesauce you start with, you’ll get roughly half of that in apple butter, so 6 qts. of applesauce yields about 6 pts. of apple butter.  You’ll get a little more or less, depending on how far you reduce it.

Cooking methods:  Lots of people cook their apple butter down all day or overnight (or all day and overnight) in a crock pot.  You can do this.  It will reduce.  But it will not have the same flavor as apple butter cooked down in the oven.  Oven-roasting produces that deep, dark, rich flavor and a color like melted chocolate.  Crock pot cooking cannot match that flavor, although it is more convenient and energy efficient.  I usually make applesauce during the day, then cook my apple butter all night in the oven.  Sometimes I lower the temperature to 250 degrees if I think I will not be canning the apple butter very early in the morning, so it doesn’t over-reduce.  Always bring the butter back up to boiling on the stove top before putting it in the jars.

Apple butter is wonderful on biscuits, on cornbread, and on freshly-baked bread, but it also elevates a piece of toasted store-bought bread to new heights.  My children loved apple butter and peanut butter sandwiches and took them to school for lunch.  It’s also delicious spread on pancakes before the maple-syrup pour, or stirred into a batch of pancake batter for some spice and texture.

To me, apple butter is the quintessential fall flavor.  It’s autumn in a jar.  It’s also a sensory link to my mother.  When I make apple butter, I can see Mama bending over the oven, her round face flushed with heat and delight, stirring, tasting, approving.

All original text, photographs, and the apple butter recipe are copyrighted and may not be copied or reproduced without the author’s permission. 

Standard
Canning, Desserts, Recipes

Pears, pears, pears!

OLYMPUS DIGITAL CAMERA

I’ve done it again.  I’ve scavenged too much of a good thing.  (For more on my scavenging habits, see the post “Scavenger.”)  This time, it was pears.  I haven’t canned pears in years; now I remember why!  But I was inspired by some recipes I saw made up online, so I put the word out on my community Facebook page that I was looking for pears to can.  And folks generously responded.  Three people, and later a fourth, let me know I could pick their pears.  As I always do, I’ll be bringing something back to them when the pear craze has left me.  As of this writing, I have spent four days working with pears.  The photo below shows some of the pears sitting underneath the dining room table (which is covered by my husband’s grandmother’s hand-crocheted tablecloth).

OLYMPUS DIGITAL CAMERA

The first recipe, pear mincemeat, comes from Tina Harrington’s Facebook page, Cooking on the Sagebrush Sea.  I don’t know where she found it.  I found a similar recipe in my 1981 Ball Blue Book, which my mama gave me when I was married (along with a water bath canner and pressure canner).  The Ball recipe, however, calls for vinegar, and Tina says she doesn’t like the vinegar-based mincemeat.  I was so glad she talked me out of the vinegar, because after I made her recipe, I found it hard to imagine how adding vinegar could improve it.  The beauty of pear mincemeat is that you don’t have to peel the pears.  Simply core them and chop them in the food processor.  This is the perfect recipe for very ripe pears that wouldn’t peel and can well in halves, or for too-green pears that wouldn’t have enough flavor to can.  I made pear mincemeat out of the first box of ripe pears.OLYMPUS DIGITAL CAMERA

Day One

Pear Mincemeat
7 pounds pears
1 pound raisins
1 whole lemon
1 T each of cinnamon, nutmeg, clove, and allspice
1 tsp. fresh grated ginger
6 3/4 C sugar  (or less, to taste: for a double batch, I used 9 ¾ cups)

In a food processor with a blade attachment, chop the cored and quartered pears, the raisins, and the whole lemon (ends and seeds removed). Add the spices and sugar and cook about forty five minutes until it’s thickened. Process in water bath canner for 25 minutes, leaving a half inch headspace.  This can be done in pints or quarts.  A quart is enough to make one nine-inch pie.

As usually happens when I decide to make a recipe I’ve never made before, I didn’t have enough of something I needed, in this case, raisins.  I live 14 miles from town, and I didn’t have time for a raisin run, for crying out loud!  So I taxed my brain and came up with a substitute.  Last year, I dehydrated some prune plums I was given, and I left them in the dehydrator too long.  They are so dry and hard, it would take teeth and jaws of steel to chew them, and even then, I’m not so sure.  I stuck them in the freezer last fall while I tried to figure out what to do with them.  Ta-da!  I got those babies out, rehydrated them in some warm water while I cored pears (and yes, rehydration was necessary because even the food processor blade couldn’t chop them otherwise; I’d already tried that) and then drained the prunes and added them to the mix in the food processor.  The flavor is excellent.  If I make this recipe again, I might sub in prunes for half the raisins on purpose.

Day Two

Pears in Dark Ginger Syrup, and other good things

The next batch of recipes comes from Rebecca, the Foodie with Family.  With twenty pounds of pears, I made her three-in-one pear recipes.  It took me all day to peel that many pears, and I worked in batches because I didn’t want the pears I’d already peeled to darken.

Rebecca’s recipes are so smart for several reasons.  First, they use up all the ingredients you use to prepare the pears.  How many times have I looked at the water I’ve used to treat the fruit for darkening and thought, look at all that good juice going to waste!  Well, with Rebecca’s recipes, it doesn’t.  It’s turned into “juice” and canned, and it tastes really, really good!  Her pear halves in dark ginger syrup recipe is smart because even though you dunk the pears in a lemon water bath (which becomes “juice” when you’re done), if you are slow, like me, your pears will still start to darken a little before you have enough ready to can several jars.  The dark ginger syrup takes care of that.  It’s made with raw sugar (or light brown sugar if you don’t have any raw or prefer not to buy it) so it’s dark, and it hides the little bit of browning that would otherwise show through a clear syrup made with white sugar.  And the ginger is delicious.

That syrup is so good, you just have to can up what’s left over after you’ve canned your pears.  I usually have syrup left over after canning fruit.  I save it and use it again if I’m going to can more of that fruit, or sometimes I use it in a different fruit (like using the syrup left from canning Purple Prince plums to give a little color and more flavor to white peaches), but sometimes it sits in the fridge and spoils.  Now I have two sealed jars of dark ginger syrup which I can open up and further reduce, if I so choose, for pancakes and waffles, or I can add it to any number of fizzy drinks or mulled wine, or I can drizzle it over ice cream or pie.  So smart!

And finally, the “juice.”  I made a double batch of pears in dark ginger syrup, so my acidulated water was extra juicy.  I had a few pears that were really darkened, so those were the ones I left in the water to cook up the juice.  I saved the pulp from the juice for pear butter, which I was making the next day with the pears that were too ripe or too compromised by bruising and bugs to can in halves.  I got a quart and a pint of juice, beautiful stuff, and a cup left over to start off my pears for pear butter.  For somebody like me who has a thing about cutting down on waste, Rebecca’s recipes are so welcome.  I hope you’ll check out her Three-in One pear recipes.

I would add one thing to Rebecca’s three-in-one pear recipes to make them four-in-one.  Pear vinegar!  Yes, save those pear peelings.  Let them age and brown in a bowl (covered if you have a fruit fly farm in your kitchen like I currently do) while you work with the pears.  Then, when you’re done with everything else, put your pear peelings (and cores if they aren’t wormy) in a large, clean jar, and cover the peels with distilled water.  Don’t overfill the jar! Pears ferment quickly, so leave several inches of head space.  Put the jar on a plate in case of spillage while fermenting.  Cover the mouth of the jar with some breathable fabric, secured with a rubber band or twine, to keep the fruit flies out, and stir every day.  In 6-8 weeks, you’ll have pear vinegar.  See my previous post, “Waste Not, Want Not,” for more instructions for making fruit scrap vinegars.

OLYMPUS DIGITAL CAMERA

Finally, pear butter, which took two days.  My hands were so tired, and the right one so swollen from canning three-in-one pears the day before, that the final box of very ripe, bruised, and worm-damaged pears had to be processed simply.  Pear butter was the answer.  It could have been pear sauce, but I knew that I would be so slow in getting the pears cut up that they would darken more than I’d want for sauce.  So butter it was, since it cooks for a long time and darkens as it cooks.

I had to core most of these pears because they were wormy.  I think the best way to do this is to quarter them; then, with a paring knife, it’s easy to cut out the core and any bad spots.  For pear sauce or butter, there’s no need to peel if you’re going to run them through a strainer.  If you have perfect pears, no worms, there’s no need to core, either.  Just quarter them (or cut them in chunks if they’re very large pears) and get them into a large pot with either water, apple cider or juice, or pear cider or juice, about half an inch, in the bottom of the pot.

I had some of the pear “juice” left from processing pears in dark ginger syrup the day before, about a cup of it, and that went in the bottom of the pot to keep the pears from sticking until they started to render their own juice.

Don’t turn the heat under the pot on high.  The pears will scorch to the bottom.  Use a medium heat and stir frequently, as in about every five minutes.  If your pears aren’t juicy, you may need to add more liquid, but don’t add any more than is absolutely necessary to keep your pears from sticking, because for pear butter, you’ll have to cook out all the liquid you add, and then some, to get the thick, rich consistency of a fruit butter.

I don’t recommend peeling your pears before you cook them because the pectin in the skin helps give the butter a glossy look and thicker consistency.  It’s best to buy a strainer or simple colander and pestle (this one came from an antique store for $8!) and rub them through to remove skins and cores.  It doesn’t take long, and it’s a good workout for your arms.

OLYMPUS DIGITAL CAMERA

I had the best help with this one.  My grandkids came over after school and helped run the cooked pears through the chinois (or cone colander, as I grew up calling it).  They enjoyed a bowl of pear sauce as a reward while I added the sugar and spices and put the sauce on to cook down into butter.  (Then we went out to the garden and picked apples, so you can guess what the subject of a future post will be.)

OLYMPUS DIGITAL CAMERA OLYMPUS DIGITAL CAMERA

Day Three

Pear Butter

11 lbs. ripe pears, cored if necessary, quartered, cooked until soft, and strained to remove peels and cores. (I had about 6 qts. when cut up and cored, 4 qts. sauce after cooking and straining.  If you want to stop at this point and can pear sauce, simply follow the directions in any canning book for canning applesauce.  For pear butter, keep going!)

To strained pear sauce, add:

2 cups sugar

1 T. cinnamon

2 t. nutmeg

1 t. cloves

1 t. allspice

1 t. fresh grated ginger (or ½ t. dried, powdered ginger)

The amount of sugar and spice you add is really according to individual taste.  I don’t like things very sweet, and I do like them spicy.  Taste your sauce/butter after a few hours in the oven or crock pot.  If it isn’t sweet enough, add more sugar.  For this recipe, I started with one cup of sugar and added another cup about halfway through cooking.  That was perfect for my taste.  But you might like things sweeter or not as sweet as I do, so start with less and add more as you go.  The same with spices.  If you don’t like a lot of spice, reduce the amounts given here and taste, adding more if you want it spicier.  Be careful with cloves.  It’s a powerful flavor, and one that I love, but if you use too much, it will overpower the pears and the rest of the spices.

Bring all ingredients to a simmer over medium heat in a large, oven-safe pot.  Bake in 300 degree oven until thick and reduced by one-third to one-half.  You can do this in a crock pot; many people do, but I don’t think the crock pot gives the same flavor that roasting in an open pan in the oven does.  But it’s up to you which way you want to cook your butter down.  I don’t recommend boiling it down on the stove; both pear and apple butters are prone to scorching when cooked on the stove top, although it is faster.  Typically, I cook my butters down for about 18 hrs, part of that time overnight, when I’ll lower the temp on the oven to 225 degrees.  Then when I get up in the morning, if it’s not quite ready to can, I’ll raise the temp back up to 300 while I get the canner and jars ready.  Usually, it’s ready by then.  When the butter is thick and dark and tastes rich and spicy, and it will mound in a spoon, it’s ready to can.

OLYMPUS DIGITAL CAMERA

Wash jars and start water bath canner heating.  You will need about 5 pt. jars for this amount of pears, if you have reduced the butter down by one-third to one-half.  I always prepare a few extra jars, just in case.  Some fruits are larger, heavier, and juicier than others, and some people get impatient and don’t reduce as much as they should!  Always sterilize your jars in your boiling water bath canner for 10 minutes before adding the butter to the jars.  Bring the butter up to boiling on the stove top.  This is a thick product, so leave ½ to ¼ inch headspace in the jar.  I leave ½ inch.  Seal with heated flats and rings and process in boiling water bath for 10 min. if below 2000 ft. elevation.  Consult an altitude chart for adding time for higher elevations.  This recipe makes about 5 pts.

OLYMPUS DIGITAL CAMERA

The flavor profile of this pear butter is very similar to that of the pear mincemeat, but without the lemon of the mincemeat, and with a smooth, buttery texture.  Spread this stuff on homemade bread or biscuits, and it’ll be heaven in your mouth, honey.  I guarantee it.

Altogether, I spent 4 days processing about 40 lbs. of pears.  There are still a few green ones left that will slowly ripen in the box.  I might make a pear crisp if we don’t eat them all out of hand.  But not right away.  For now, I’m just going to gaze at those jars of pear mincemeat, pears in dark ginger syrup, dark ginger/pear syrup, pear juice, and pear butter, and anticipate all the pear goodness we’ll get to eat this winter.

All original text, photos, and the pear butter recipe are the author’s own work and are copyright protected.  You may not copy or reproduce in part or in whole without the author’s permission.  

Standard