Garden and Greenhouse

Taking Stock

Late August is the season when as a gardener, you know what you did right, and what you didn’t do so right. It’s proof time, and the outcome is different every year. Soil conditions, weather, insect populations, irrigation problems, cultivation (or lack of it): all these things can affect a garden’s production. This year, because I was away from home for over two months, altogether, in May, June, and July, I didn’t have high expectations from my garden. But the garden has proved, once again, that it can hold its own as long as it has water and just a little bit of care now and then.

Because I got the tomatoes in late, not enough fruit will ripen to can big batches of charred tomato salsa, which will disappoint the family because they love the stuff, but since the beginning of August, we have had plenty of tomatoes to make fresh salsa and eat any way we choose, so I’m pleased with my tomato output. The plants are doing well considering the jumble on the greenhouse floor in spring and setting them out into the garden late. The Cherokee Purple heirlooms haven’t produced a whole lot outside, but the one plant I put in the greenhouse is going wild. And oh, the flavor! They are certainly rivals for the Brandywines in flavor. I have huge Brandywines almost ready to pick.

OLYMPUS DIGITAL CAMERA OLYMPUS DIGITAL CAMERA

Rainbows, another heirloom, are starting to ripen as well.

OLYMPUS DIGITAL CAMERA

The San Marzano plants are loaded with small green fruit, but I suspect many of them will end up box-ripening unless we get a long Indian summer through October. I’ve started a bag in the freezer for them, since they are ripening just a few at a time. At some point, I’ll have enough in the freezer to try a batch of sauce with them.

OLYMPUS DIGITAL CAMERA OLYMPUS DIGITAL CAMERA

We are eating the cherry tomatoes and Sun Golds almost daily.

OLYMPUS DIGITAL CAMERA

When I came home from Britain, I noticed that I had an insect problem in my greenhouse. Black ants had started an aphid farm on some of my peppers. I tried spraying the aphids with a 50% vinegar solution as recommended online. It killed most of them, but it also damaged the leaves on the plants. And then the ants redoubled their efforts, and in a day or so, had spread aphids to all the peppers and eggplants in the greenhouse. Aphids are covering everything except the Cherokee Purple tomato. I conceded the battle. I can’t find the ant nest, or I’d pour boiling water on it, and I won’t use chemicals. So I won’t be getting many eggplants or peppers this year, and I’m going to have to figure out what to do about those ants at some point. It’s probably going to mean digging up the planter box after the plants die to expose the nest.

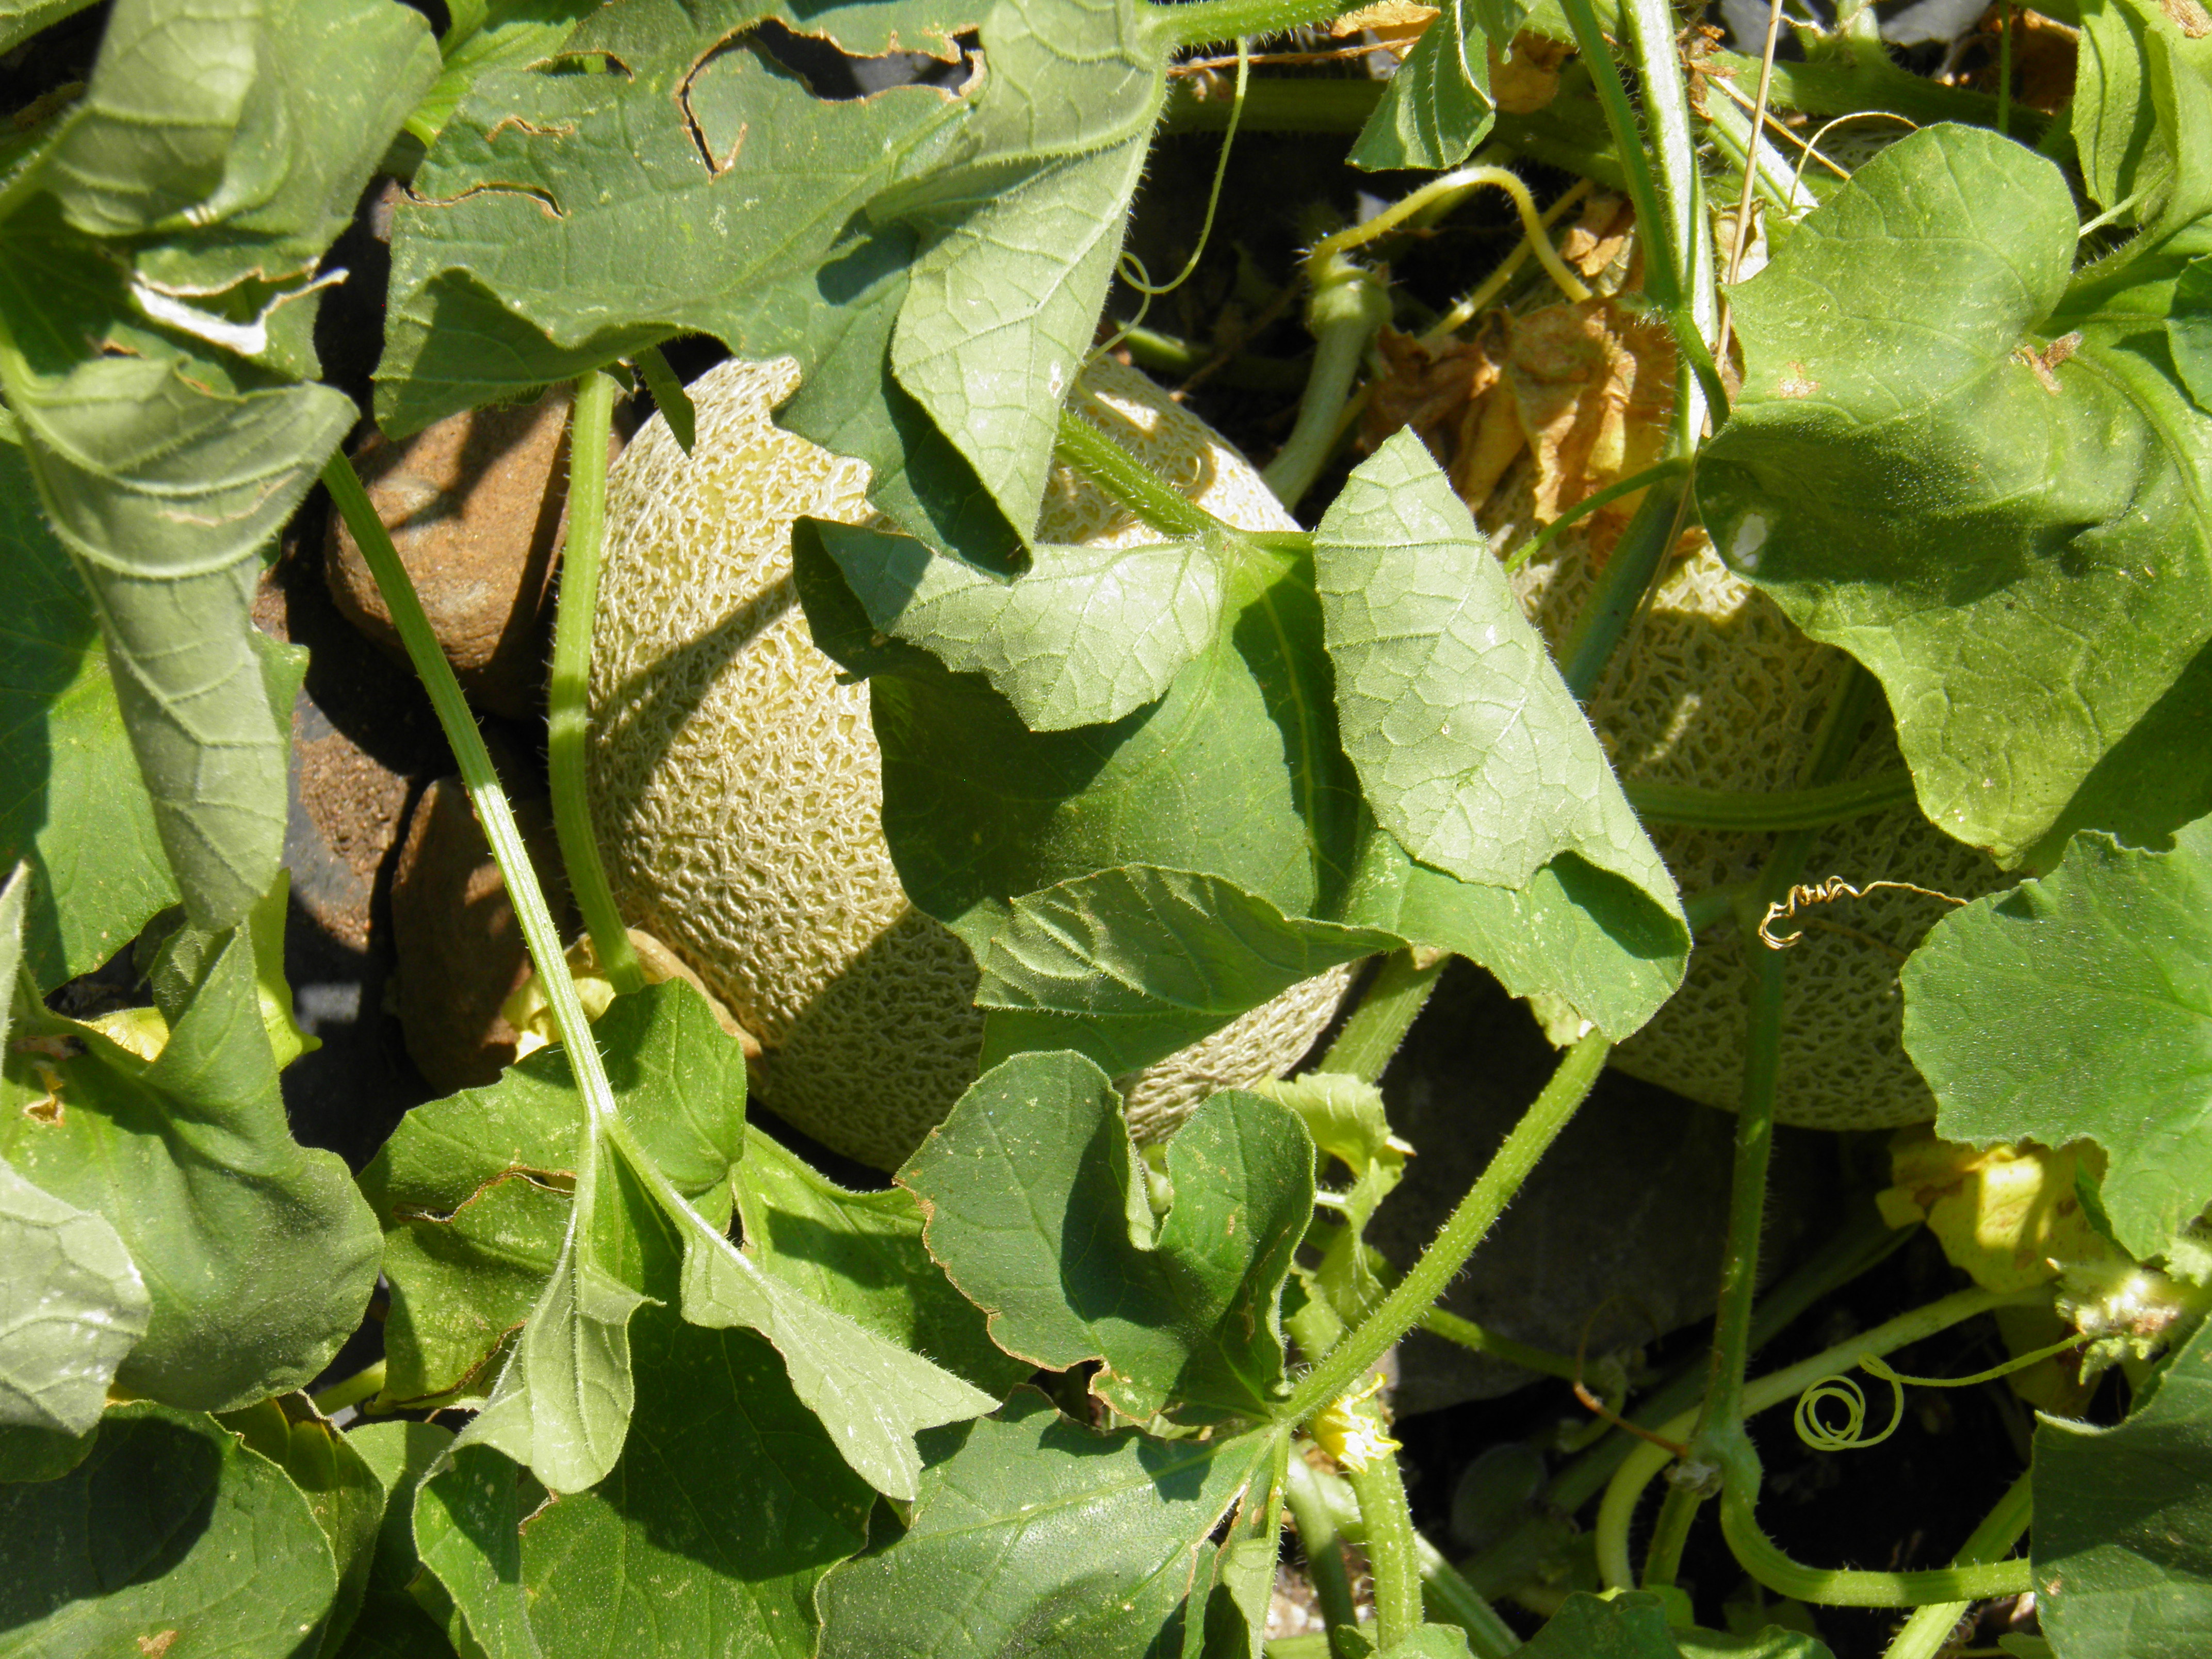
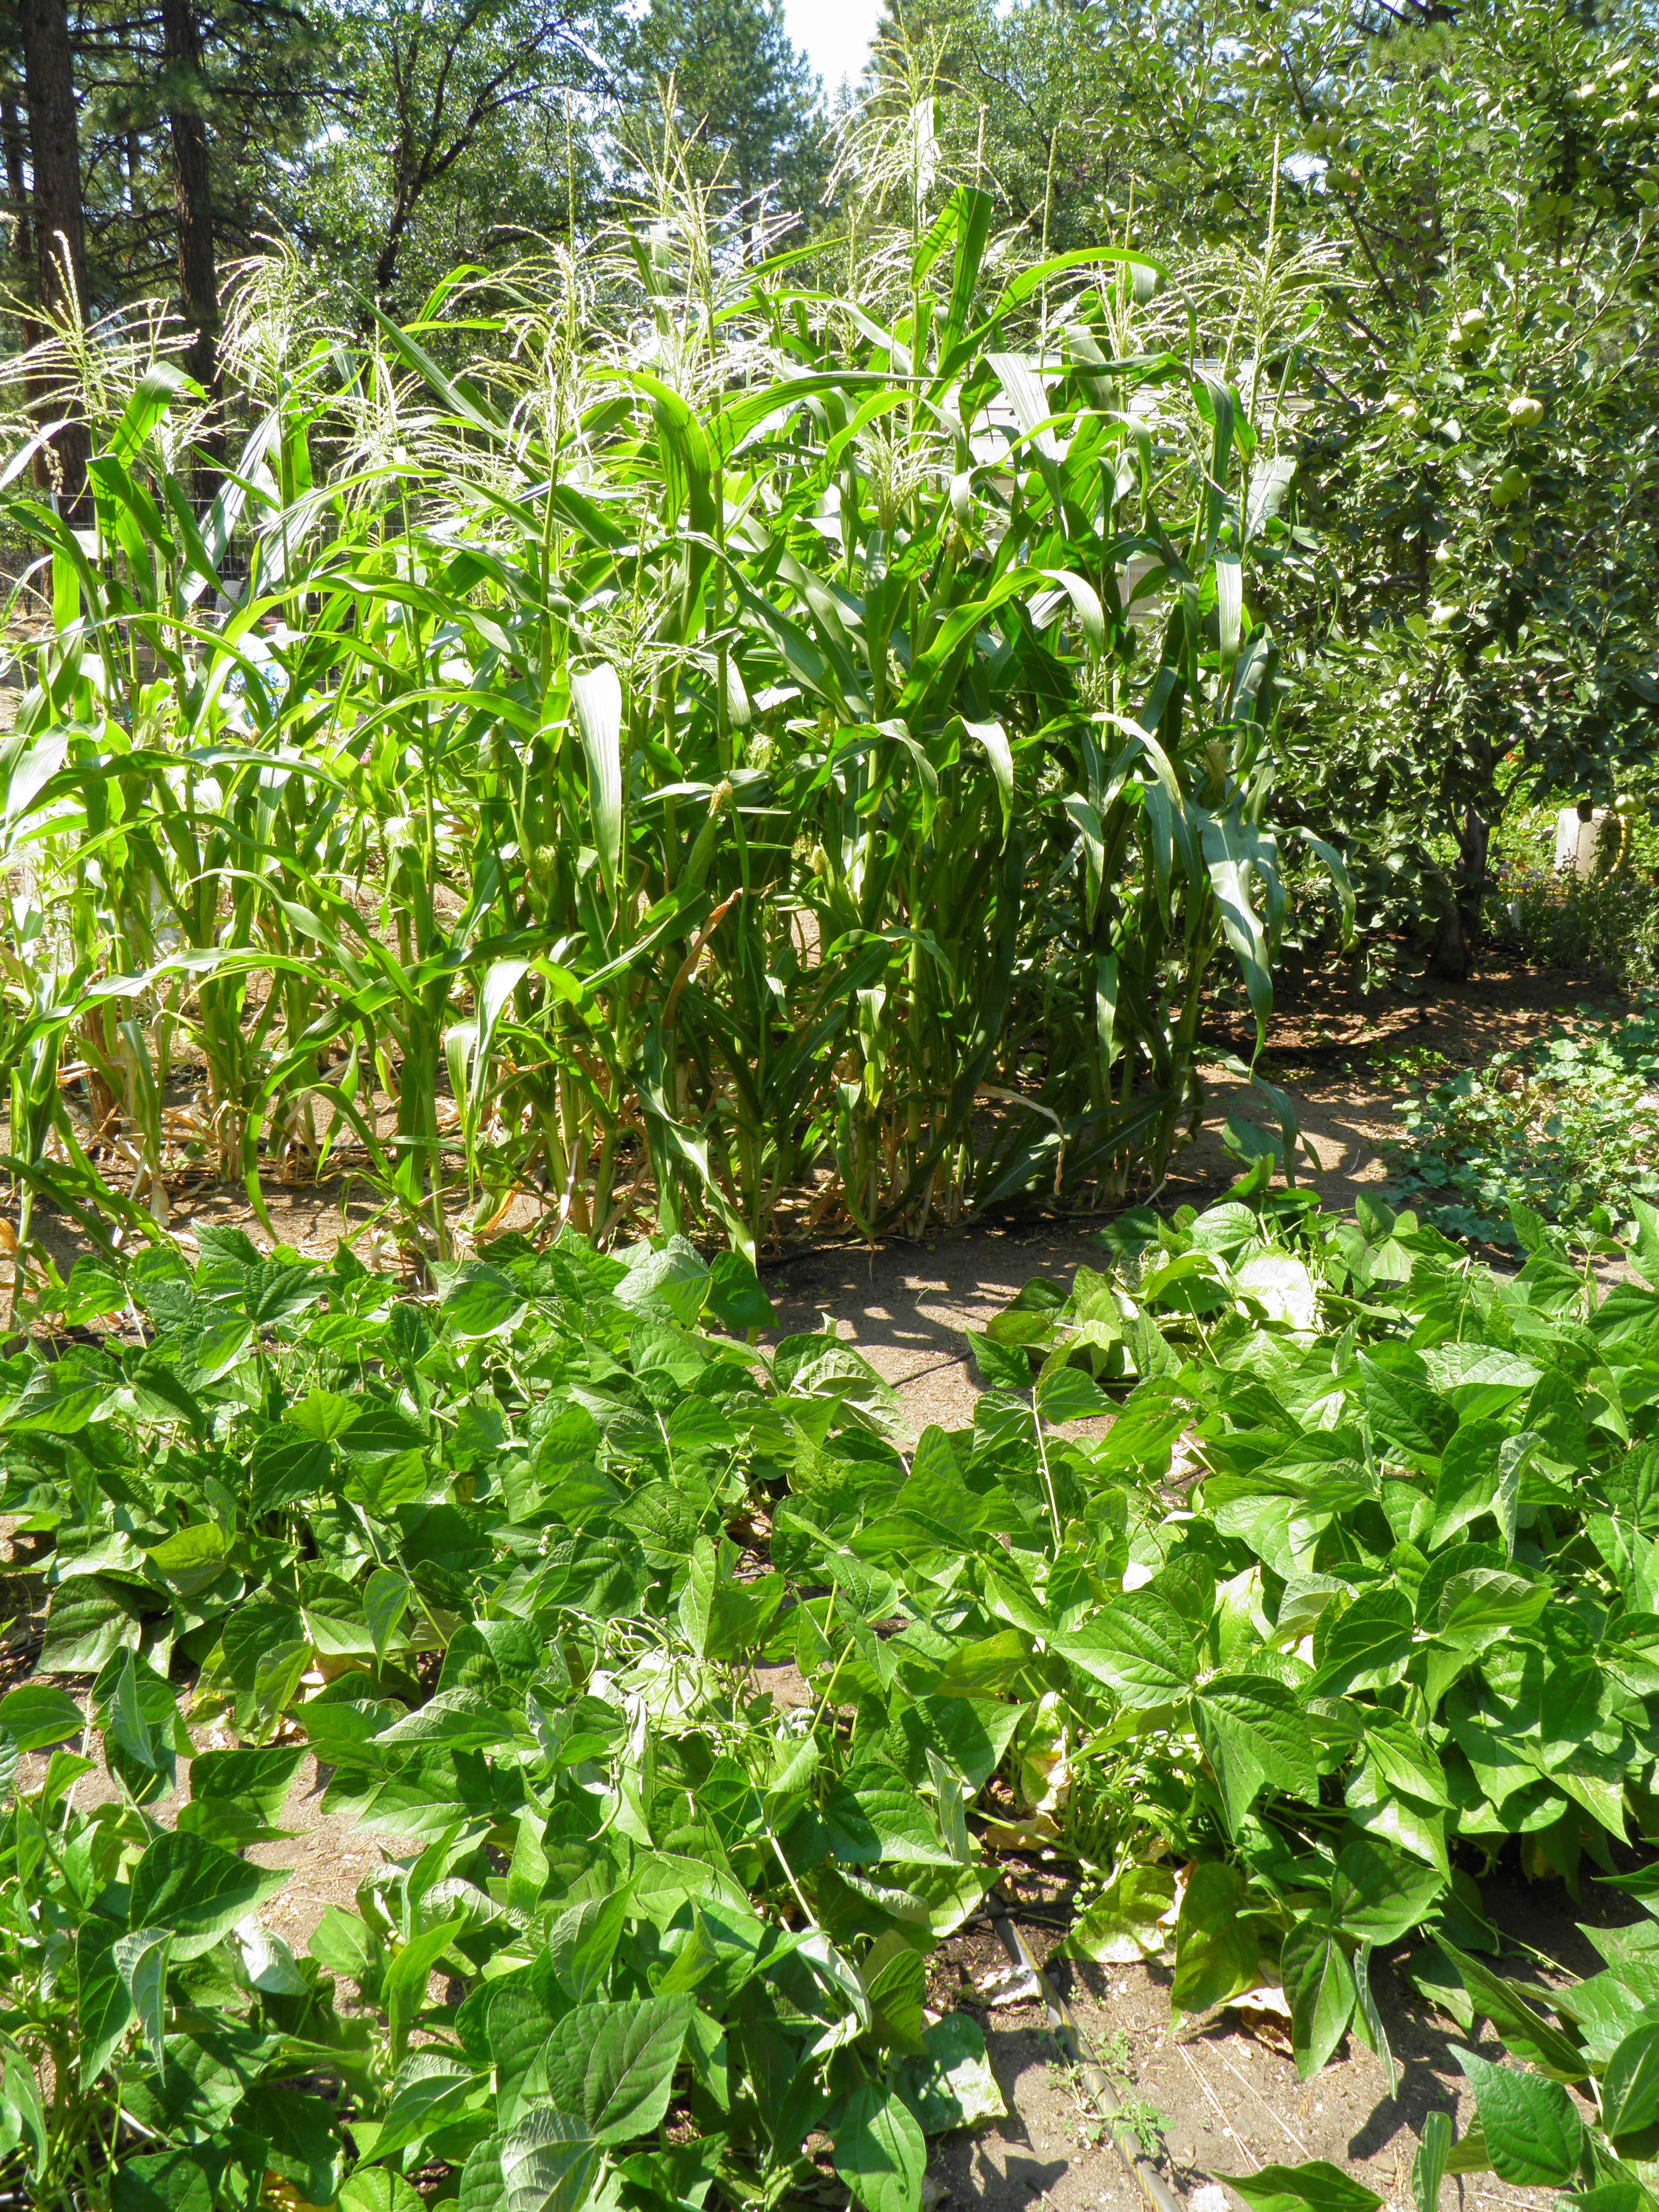
One crop that’s not doing as well as it normally does is the Minnesota Midget cantaloupes. I picked the first ripe one a few days ago, but there are not nearly as many on the vines as is usual for these prolific bearers. I don’t think they like the spot I put them in because they are getting too much shade from the tomatoes in the morning and from the berries in the afternoon, but I was a little short on space after my grandson asked me to grow some corn.

OLYMPUS DIGITAL CAMERA OLYMPUS DIGITAL CAMERA

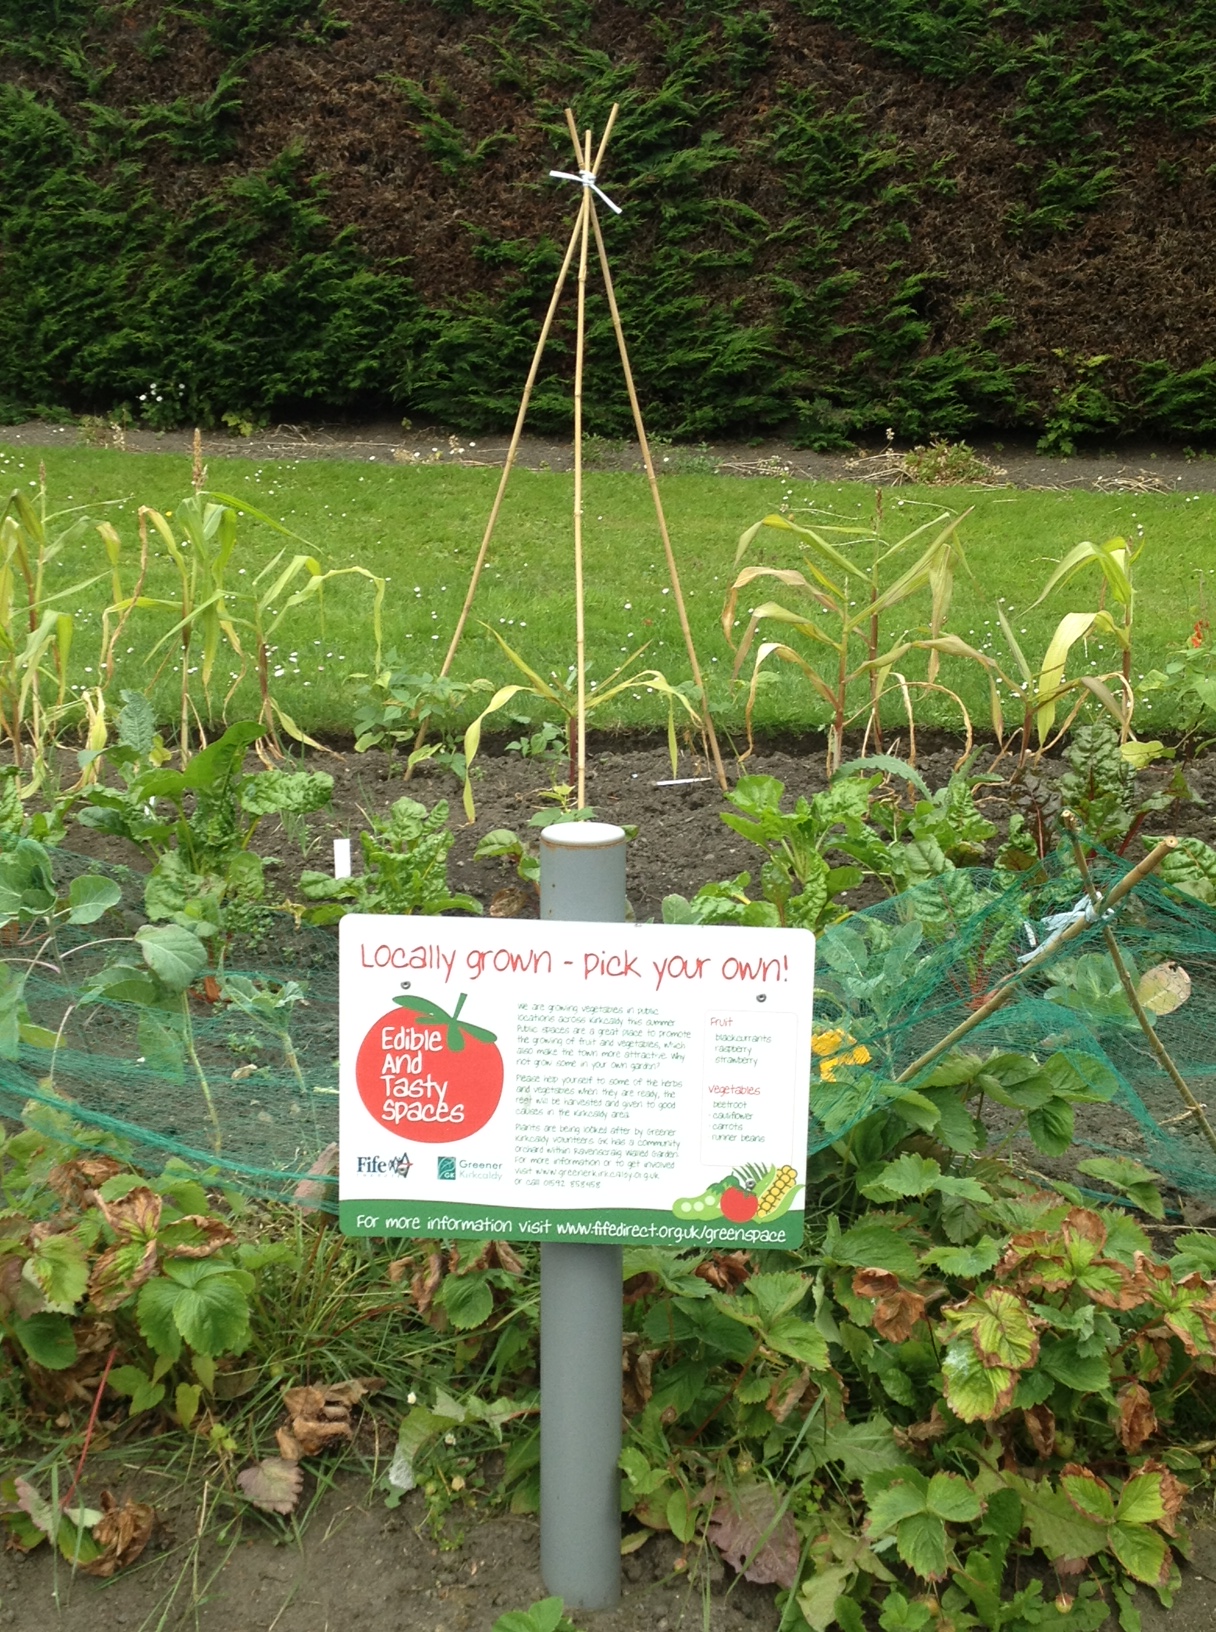
So the cantaloupes were kicked out of their sunny spot for corn, which seems to be doing pretty well, better, at least, than it normally does in my partly-shaded garden. We have picked a couple of ears and should be picking more this week.

OLYMPUS DIGITAL CAMERA

I don’t know what happened to my potatoes this year, but they were pretty sad-looking when I got home from Denver at the end of May. I didn’t have any straw to mulch them with, and they seemed to miss it. Then Dennis left the back gate open on the day he came to pick me up in Reno after I got back from Britain. A doe and her fawns meandered through and ate many of the potato plants down to stubs. (Much to my surprise, she did little other damage, only cropping a few volunteer tomatoes and nibbling some raspberry leaves.) I have been digging a few potatoes as I want them for cooking, but I don’t think we’re going to have many to store this year for the winter. I’ve shut the water off to them so they don’t rot in the ground before I get them all dug. It’s time to get my grandson out there with me. He loves to dig potatoes. I planted Yukon Golds, Yukon Gems, and red potatoes from last year’s crop. It’ll be interesting to see how the Yukon Gems did. They were a new variety for me.

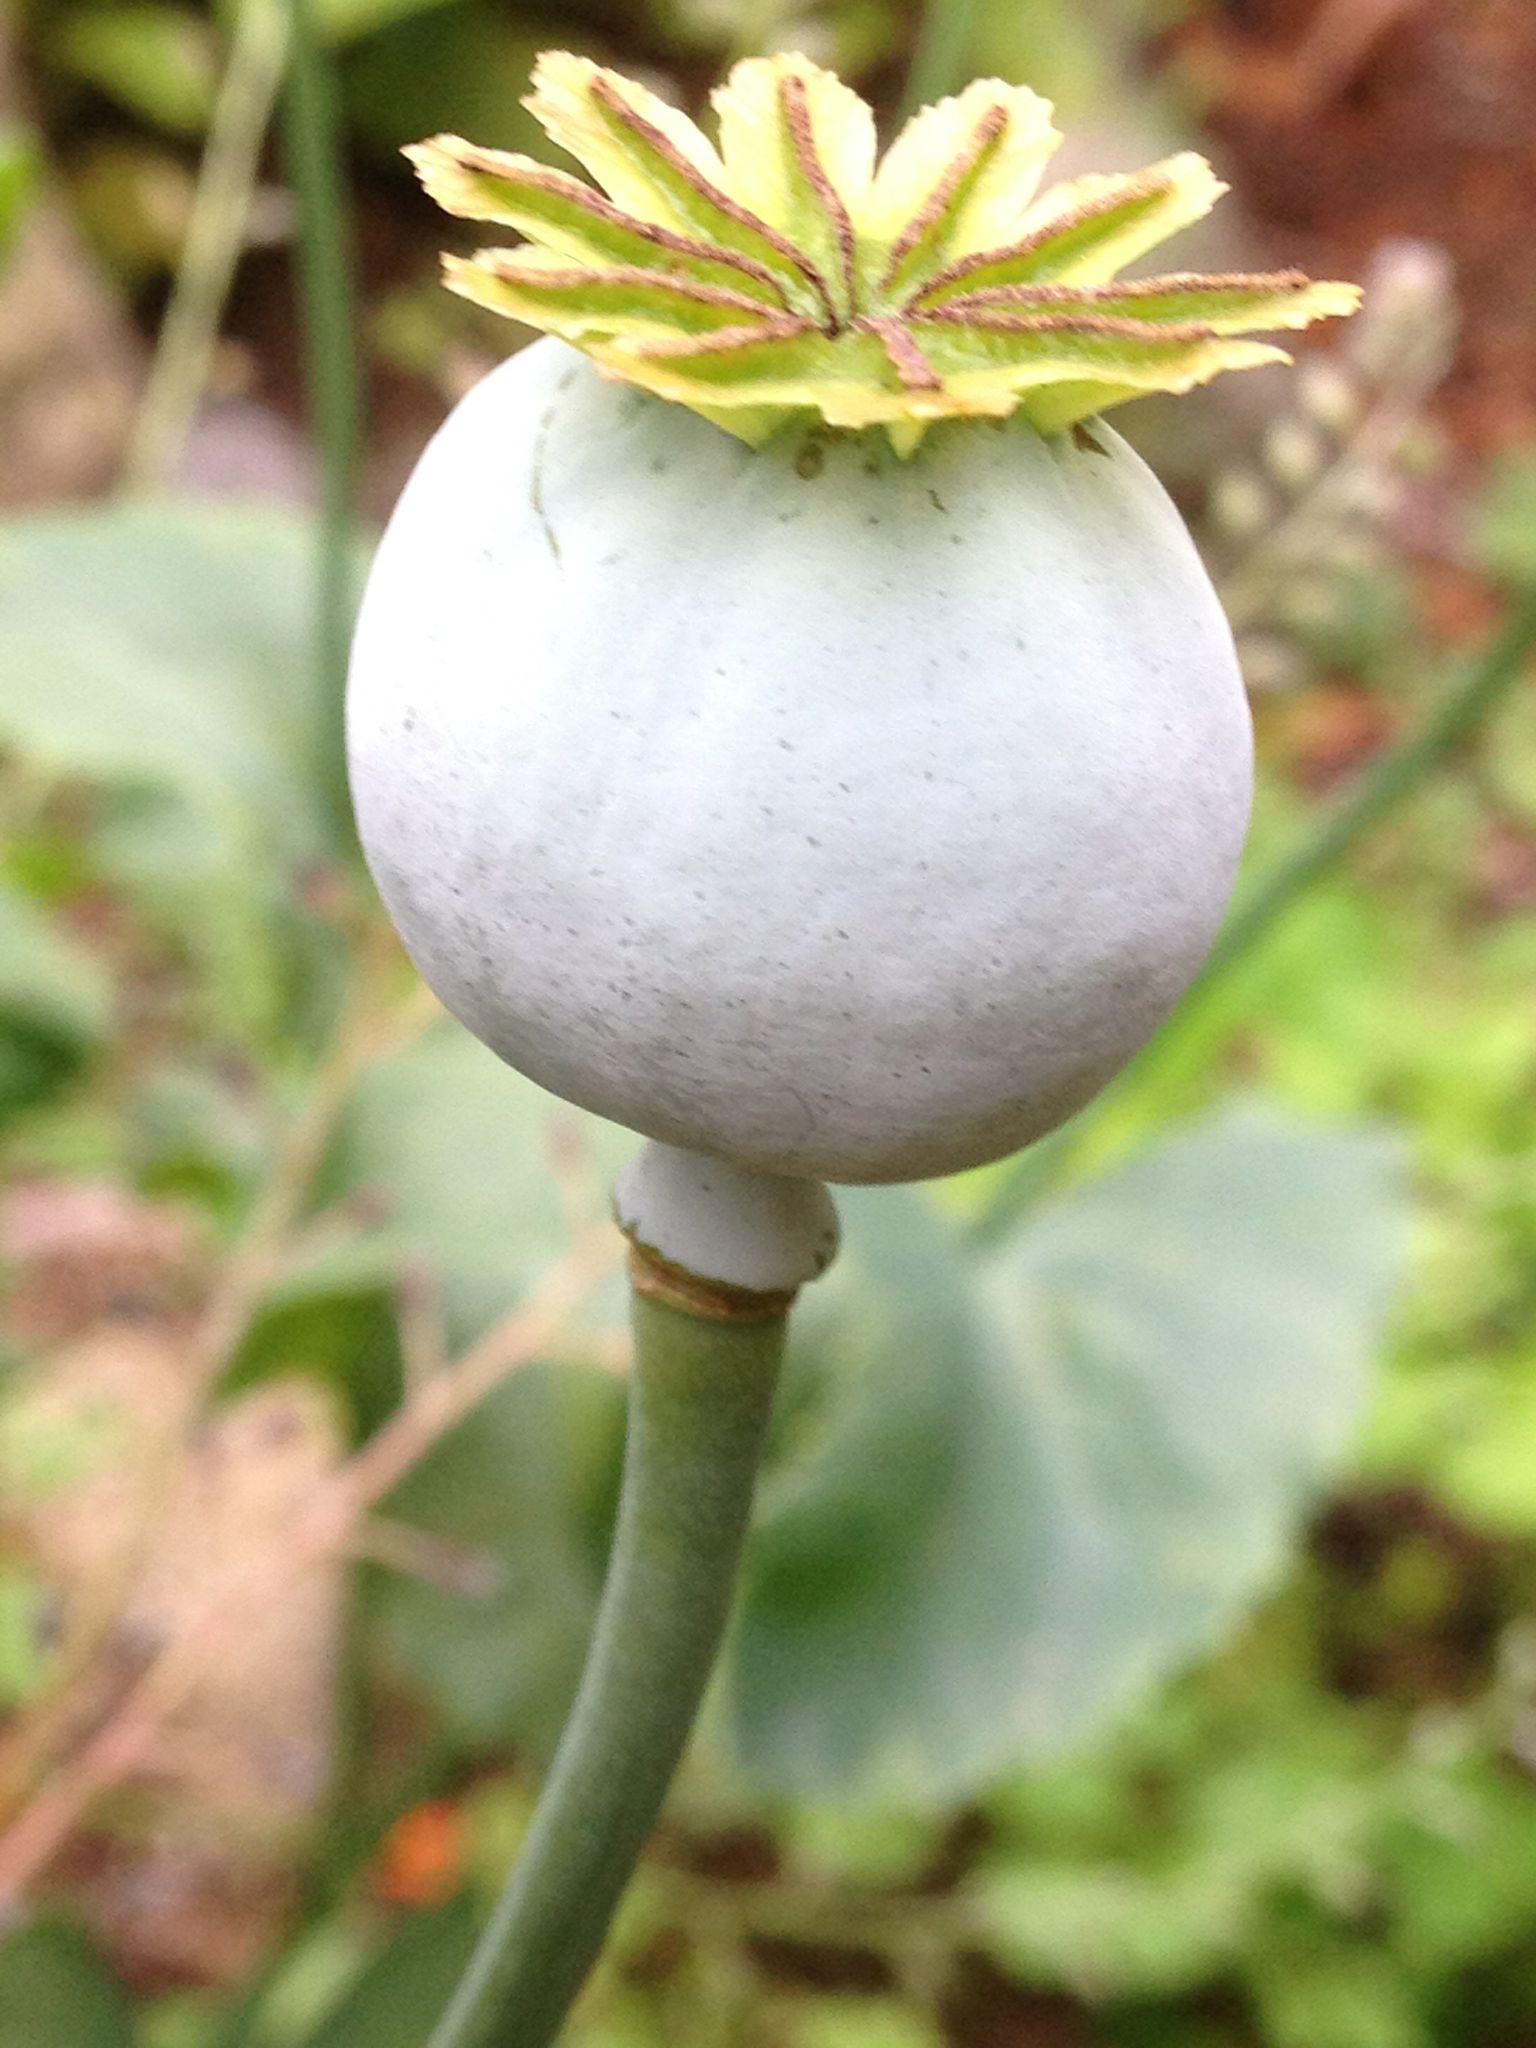
It’s also looking like I won’t have any pumpkins and very few winter squash this year. I deliberately did not start many plants this spring because I have so much pureed pumpkin and squash in the freezer from last year and the year before, I didn’t need a big surplus this year. I will have a few acorn squash which I love stuffed and roasted with sausage (click on the link for the recipe in another post), but I’ll be surprised if I have more than a couple of butternuts, and I don’t see even one pie pumpkin out there on the three plants I put in. I think they didn’t like being shaded by the blackberries. In a garden the size of mine, with as many trees as we have around, you can’t make everyone happy when practicing crop rotation!

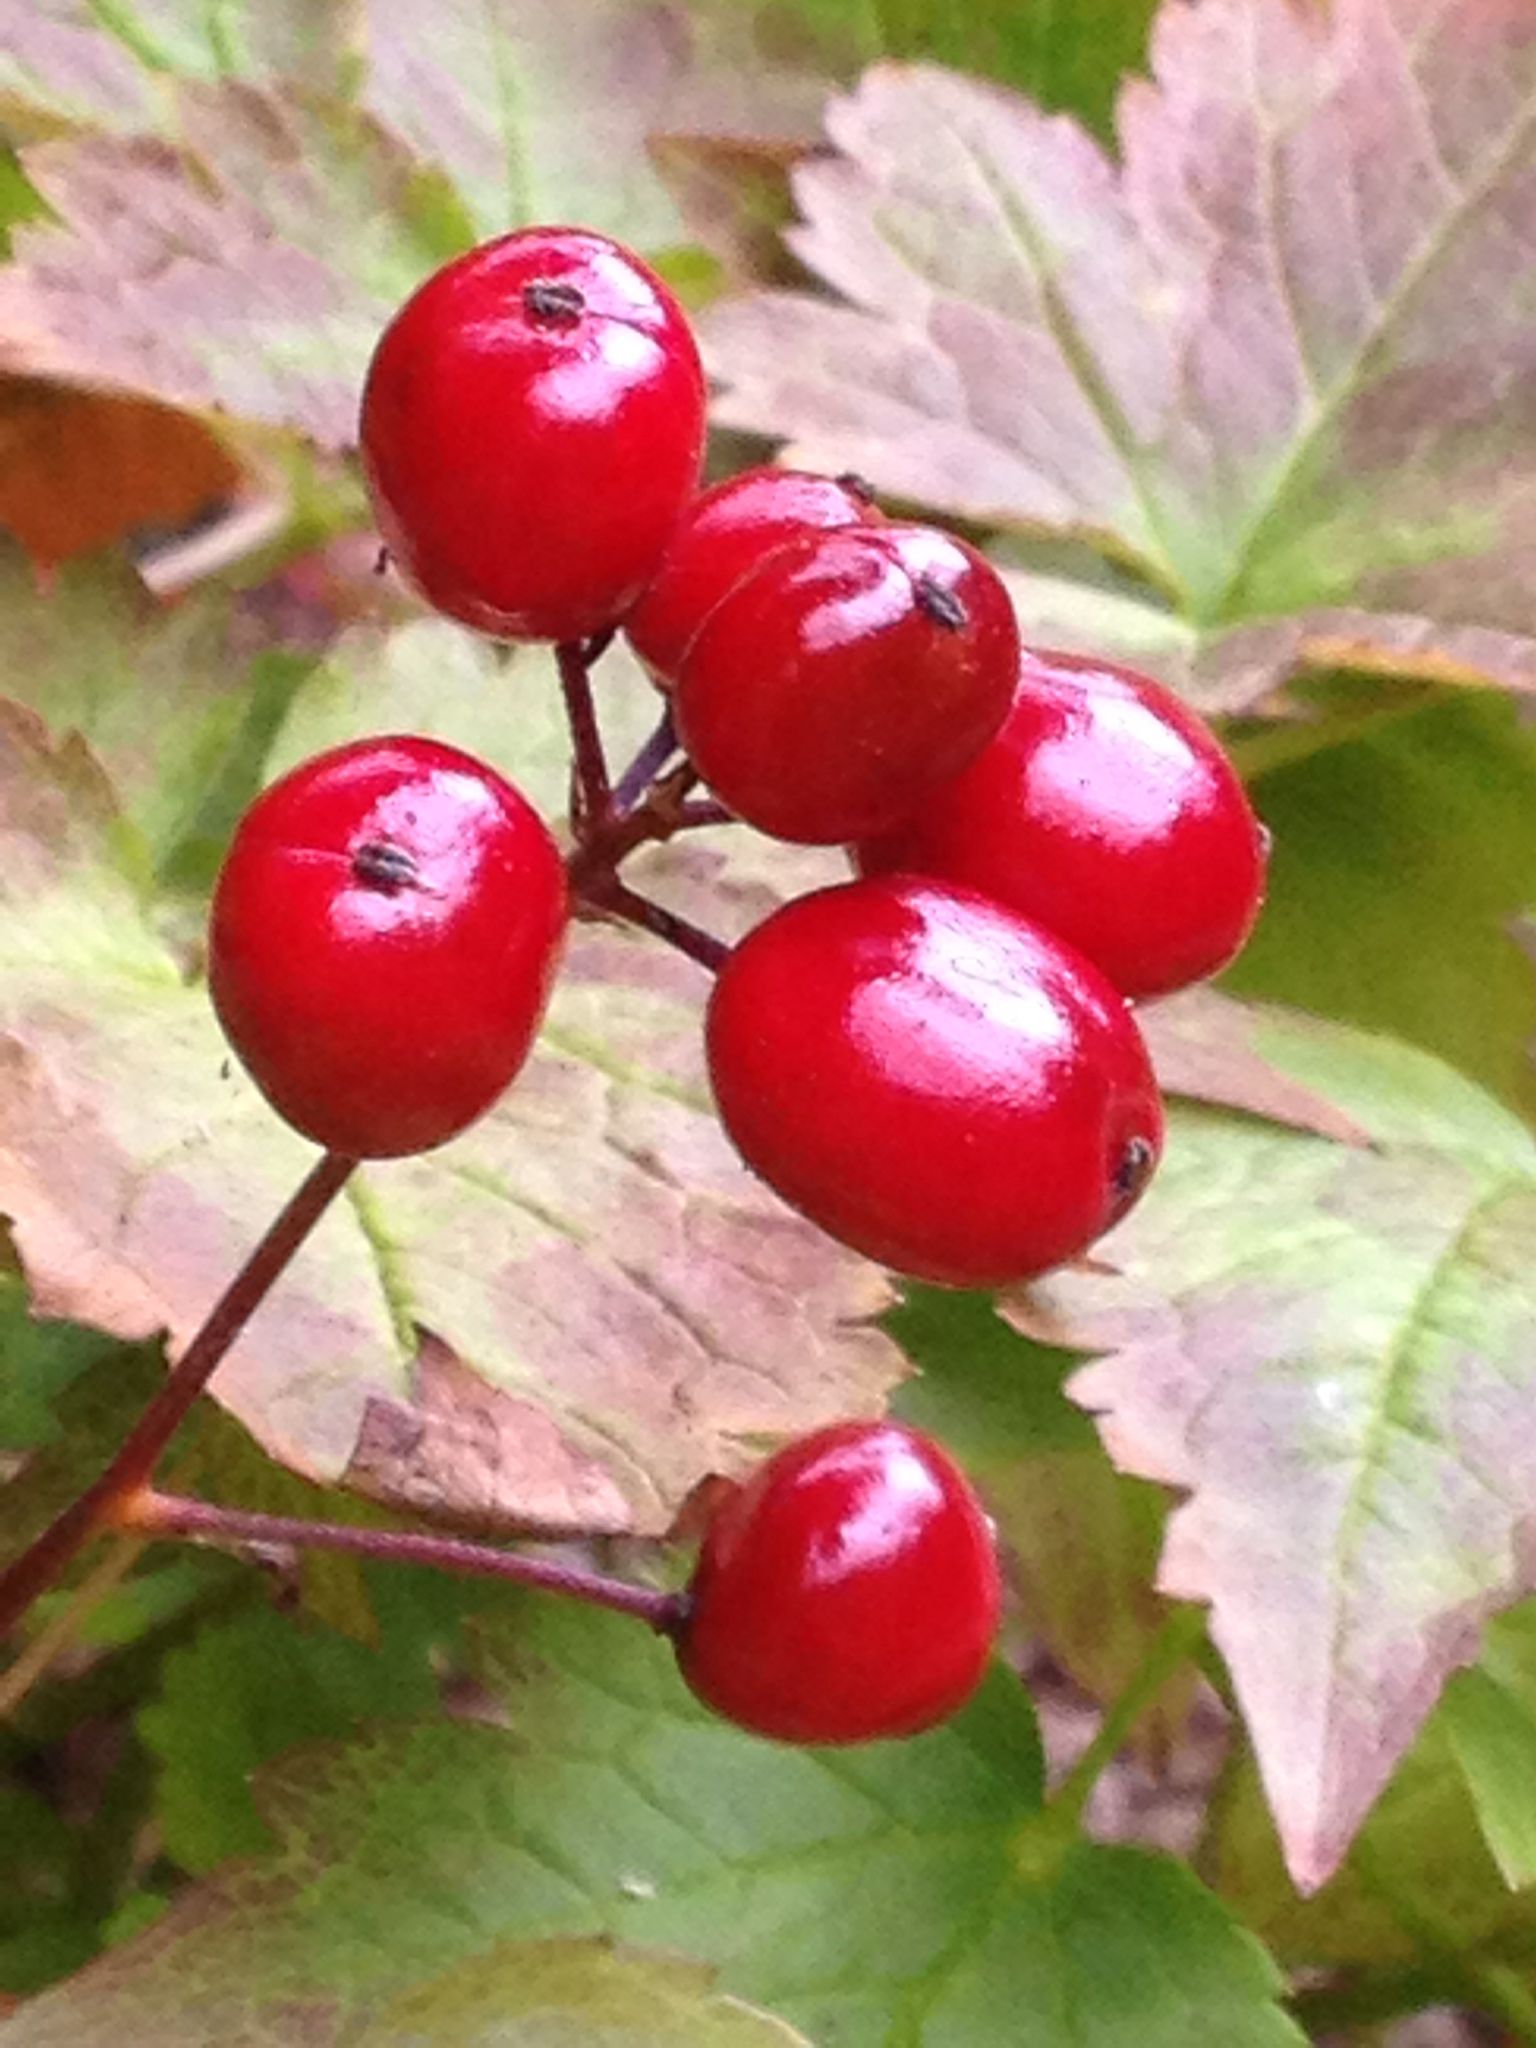
But the berries produced well this year, and the freezer is full of raspberries, boysenberries, blackberries, loganberries, and a few strawberries. There is so much fruit in the freezer, I don’t know where we’ll put a deer or bear if Dennis is successful in his hunting this year.

OLYMPUS DIGITAL CAMERA OLYMPUS DIGITAL CAMERA

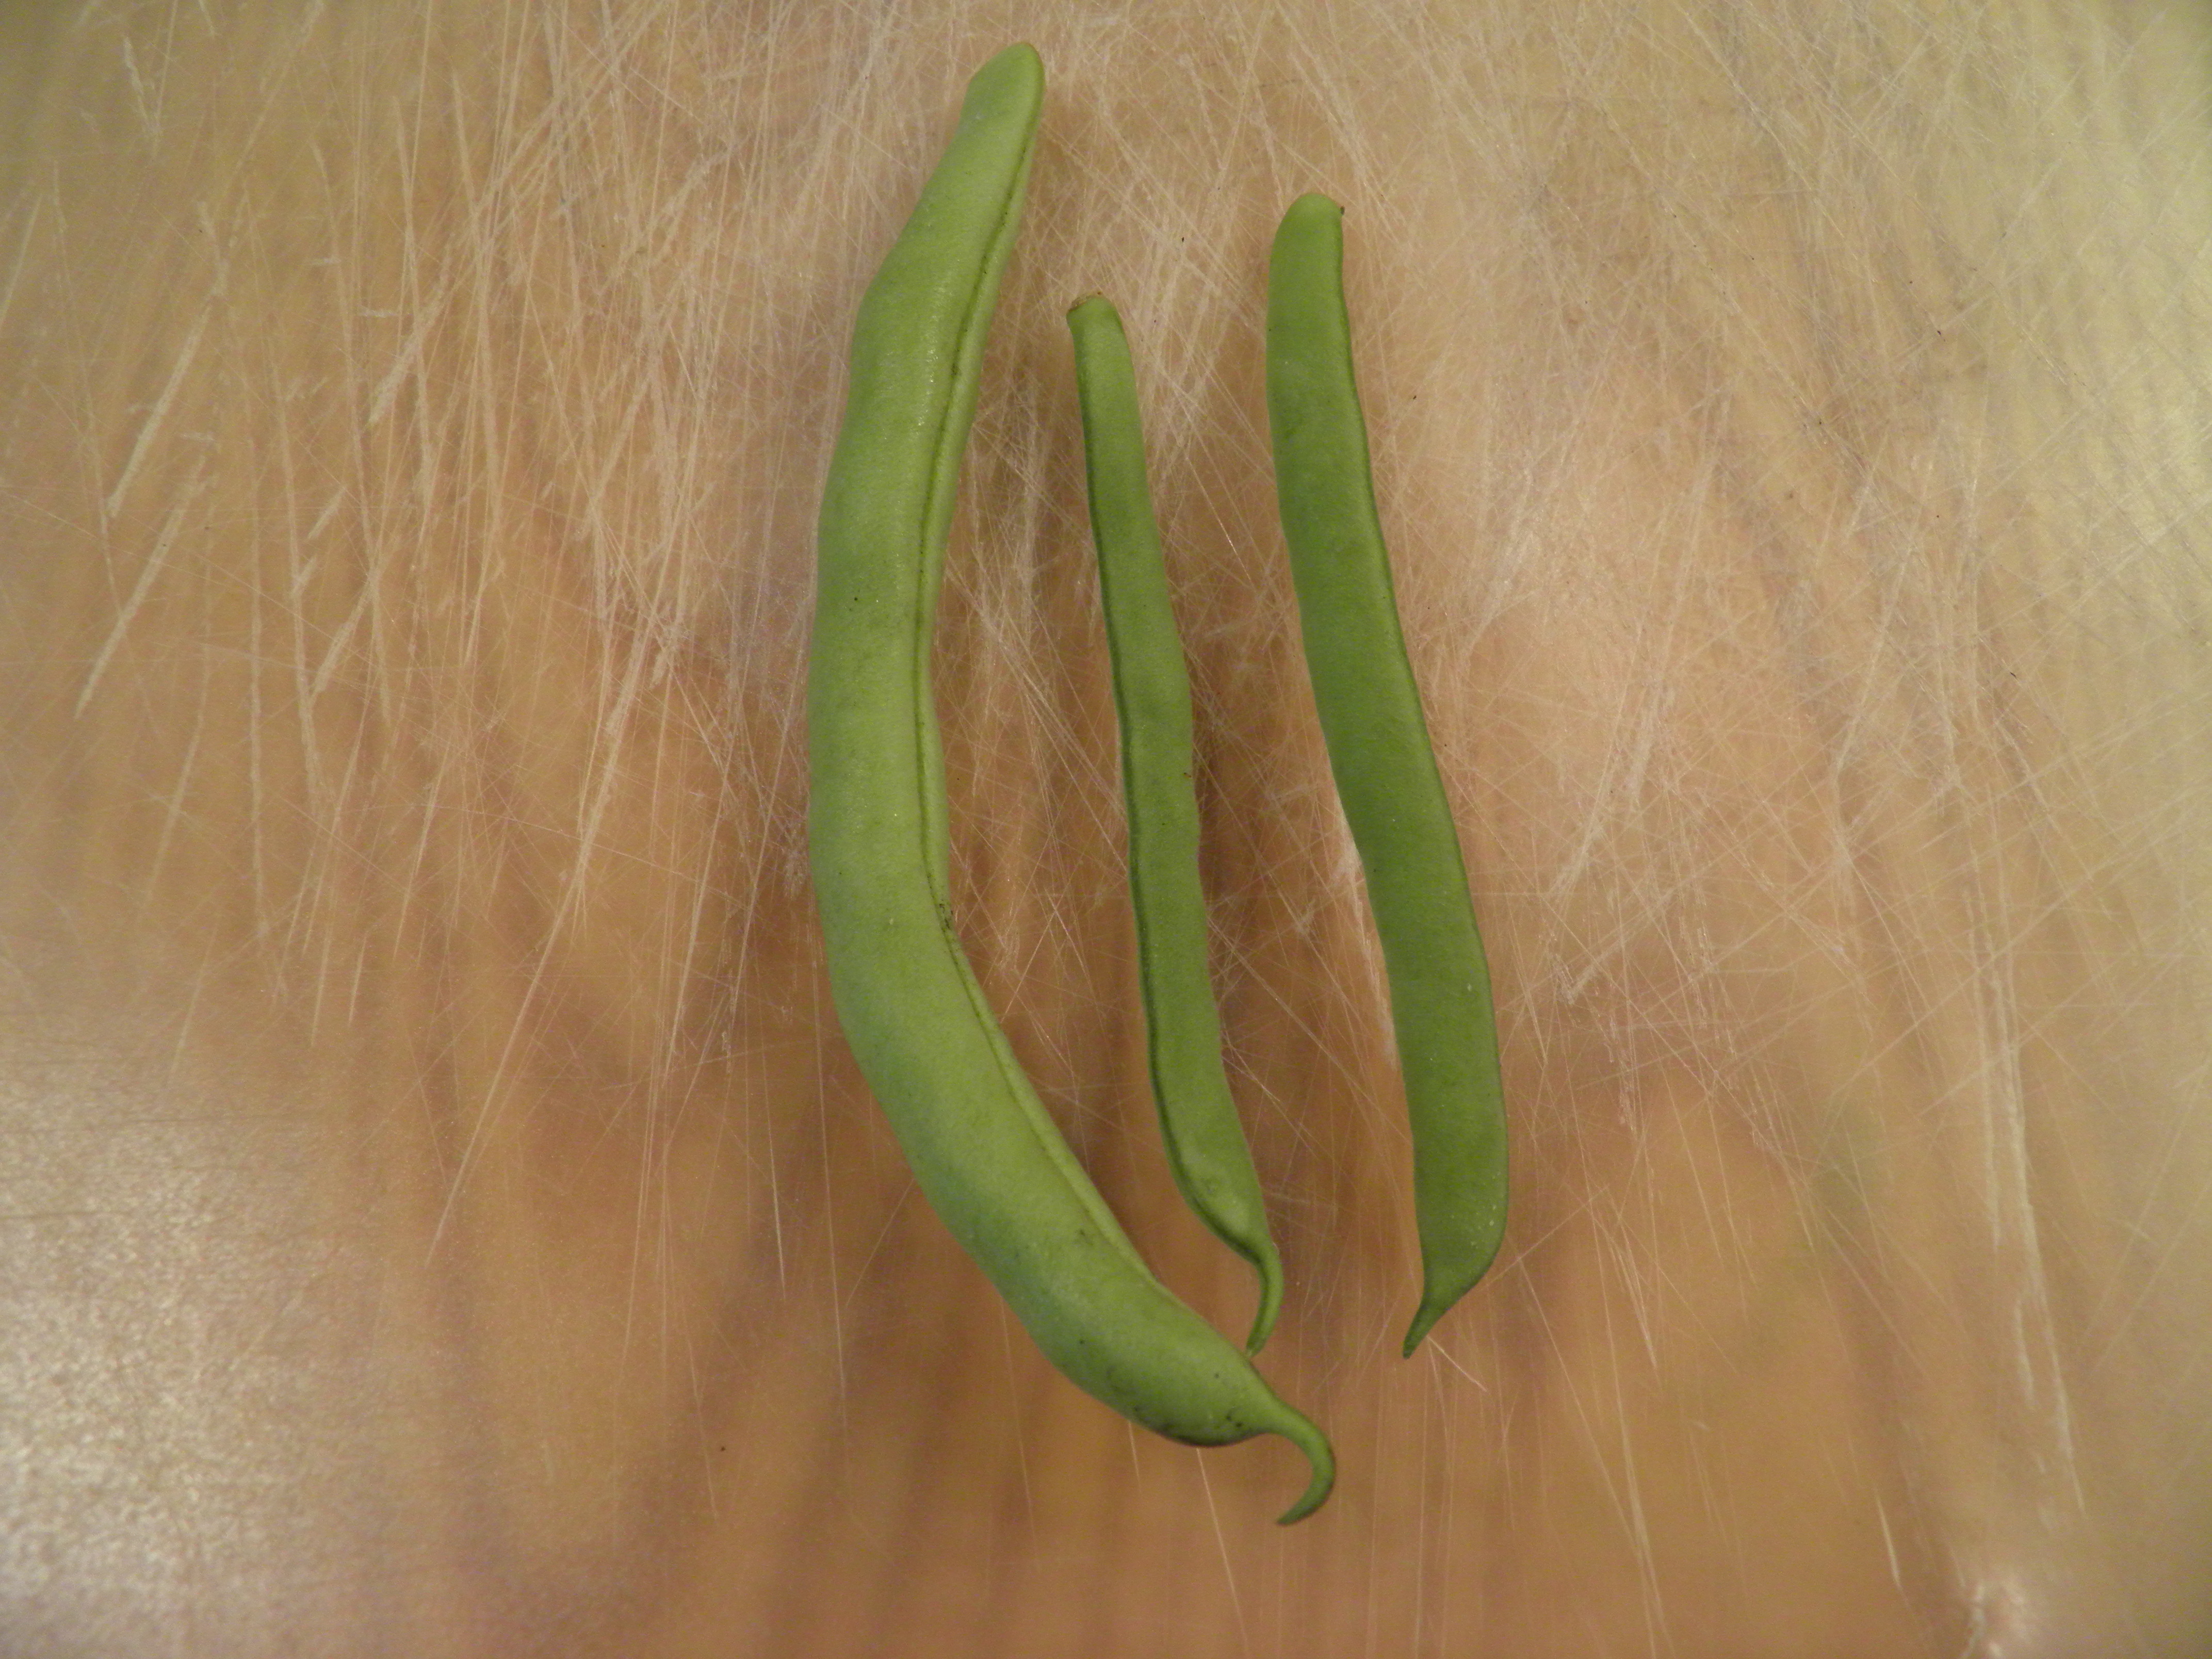
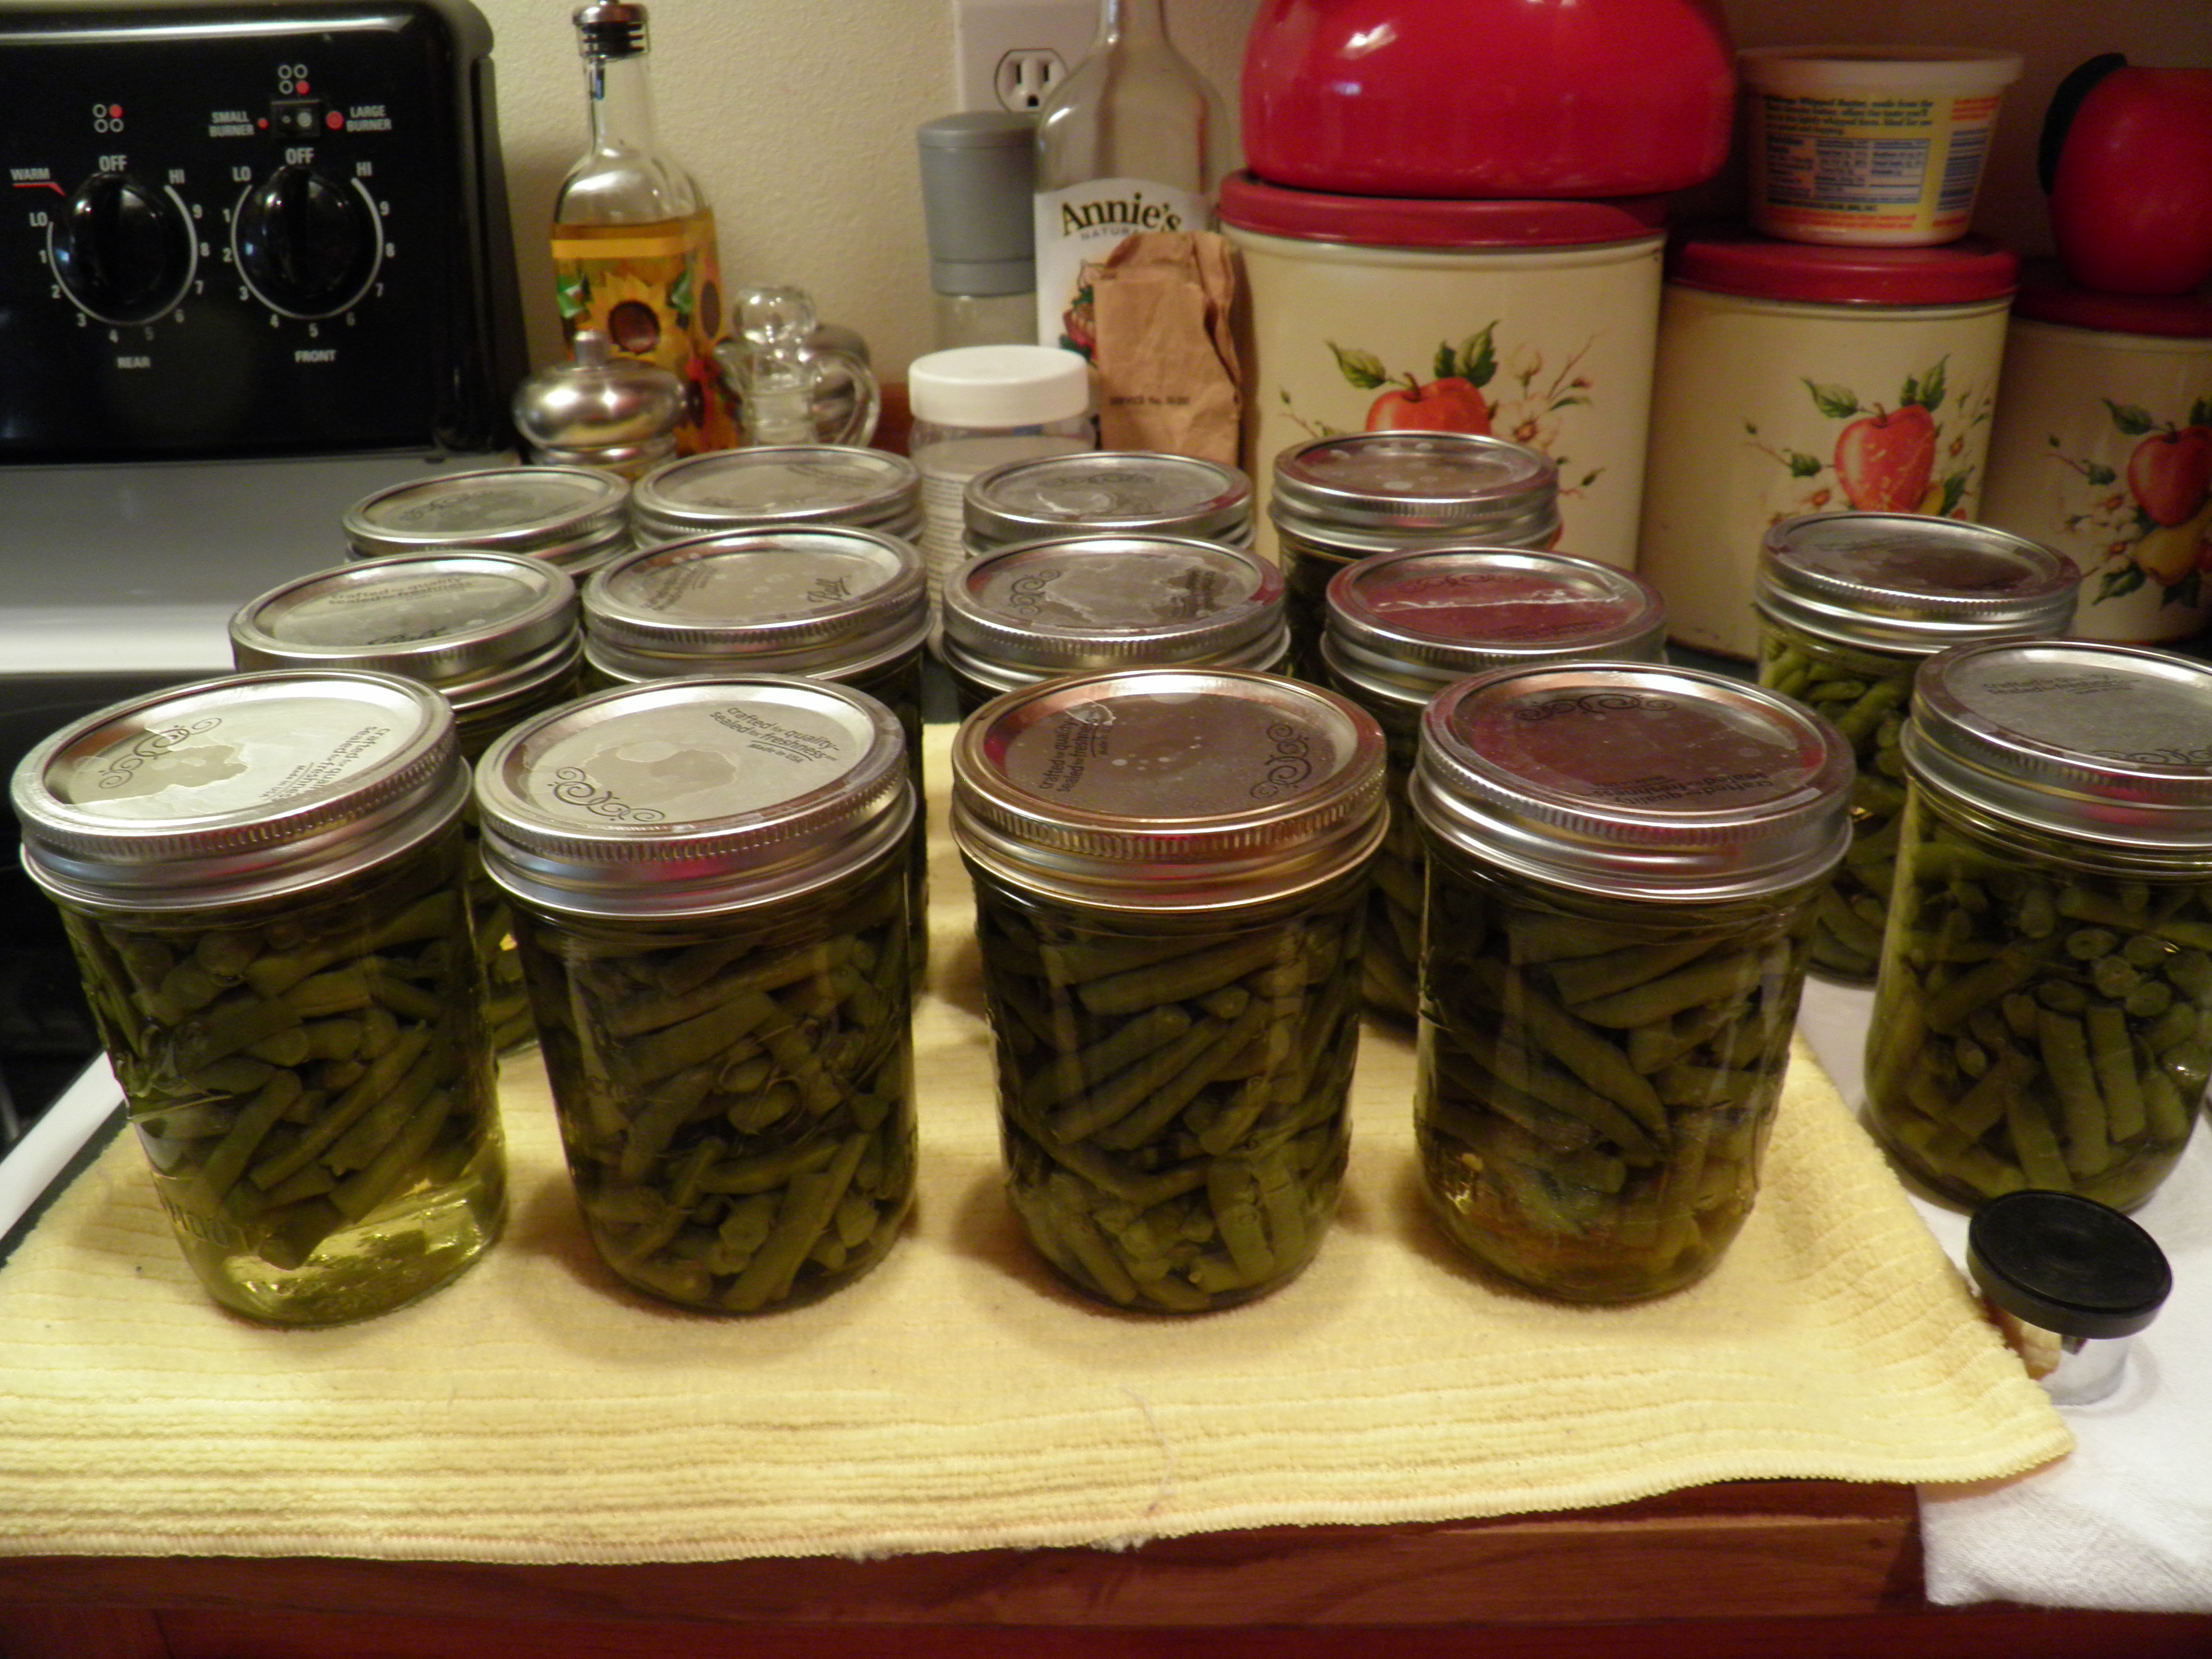
Also, the green beans did better this year than they have in several years. They are still producing, and I expect to have put up four canner loads by the time this is published.

OLYMPUS DIGITAL CAMERA

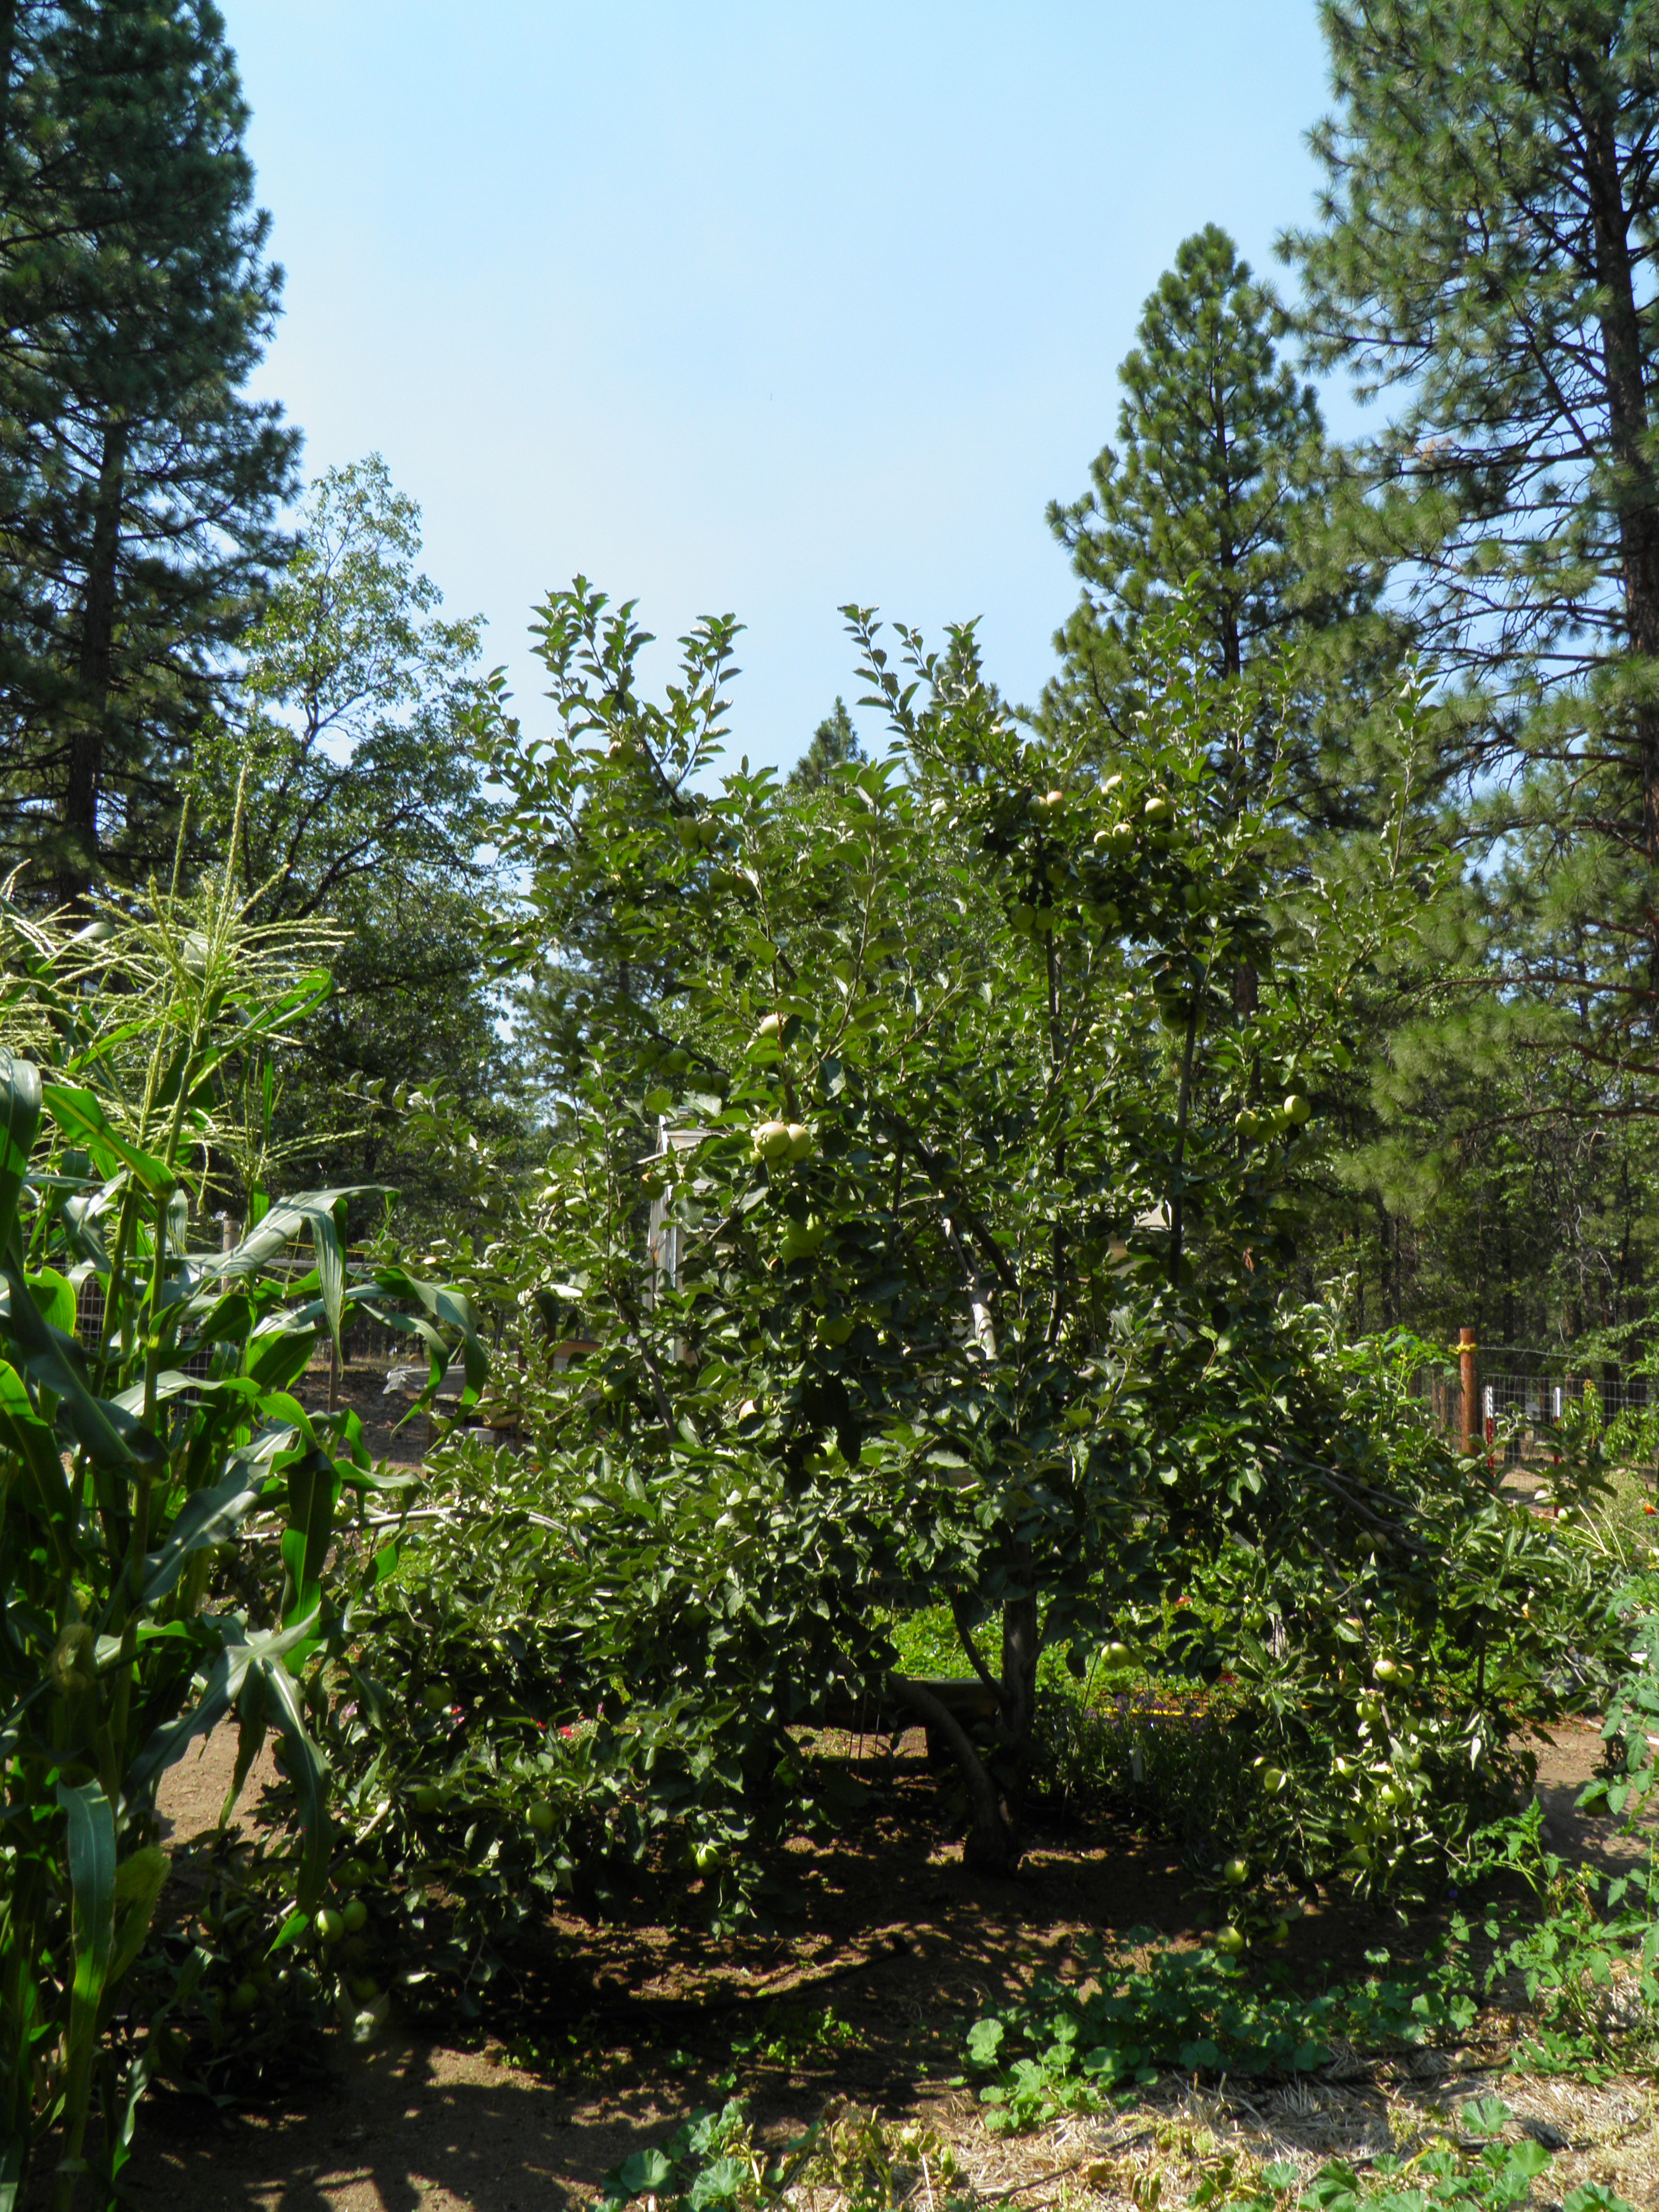
And the little apple tree is loaded. I didn’t expect so many apples after the fairly severe pruning we gave it late this spring, but the tree seems to be liking its new haircut.

OLYMPUS DIGITAL CAMERA OLYMPUS DIGITAL CAMERA

I also still have beets in the ground, and I am hoping they will hold until the weather cools enough for roasting because I do not need to can any more beets. There are carrots still in the ground as well, although if the grandkids have their way, there won’t be many left before long! Also, lettuce is volunteering again from plants I let go to seed this spring, and there might be time to have a few fresh salads before frost.

All in all, I’m quite happy with how my mostly-neglected garden grew this year. It’s given me more in produce than I was able to give it in time and attention. I can’t say the same about most other things in life, and that’s worth thinking about.


Standard
Canning, Side dishes, Uncategorized

Dilly Beans and Pickled Beets

Update 8/5/15:  I had a question from Lisa recently about why her dilly beans might have turned out mushy.  It occurred to me that a word or three about the size of the beans might be appropriate to the post, and I have a picture to illustrate.  In the picture, the bean to the left is too big.  It will be tough if “dillied.”  A bean this size can be pressure-canned or cooked for a while with ham or bacon and onion or garlic, and it will taste great.  But I would not freeze it or “dilly” it.  The bean in the middle is too small.  You can dilly a bean this size if you wish, and I sometimes fill in the little spaces in the jar with beans this size, but they can over-process quickly.  I would not pressure-can a bean this size, because it will be mushy, but this size is perfect for freezing (you only blanch beans for 3 minutes when freezing).  The bean on the right is just right! (Sound familiar?)  This bean is about the thickness of a pencil (good old #2 like we used in school), and will not get mushy in the jar with a 10-15 minute processing time.  It’s also the perfect size for the tall, 12 oz. jelly jars I like to use for dilly beans.  I hope this is helpful.

OLYMPUS DIGITAL CAMERA

OLYMPUS DIGITAL CAMERA

My green beans are coming on, and my first preservation priority with green beans is a pickle. My two favorite pickles are beets (which I canned a couple of weeks ago) and dilly beans, which I canned just a few days ago. My recipes for both are a bit different from most of the ones you see in canning books and online.

Most of the dilly bean recipes call for cayenne pepper or crushed red pepper. But a few years ago, a good friend of mine, Chris, let me taste her dilly beans with jalapeno peppers, and I was hooked. In a further modification of my own, I began to use serrano peppers instead of jalapenos. For one thing, they’re just a bit spicier, and for another, they take up a lot less room in the jar than jalapenos, therefore leaving more space for the beans.

I’ve also modified my pickled beet recipe, sort of merging two recipes to create a flavor I like better than either of the originals. So here you go—my two favorite pickles.

OLYMPUS DIGITAL CAMERA

Spicy Dilly Beans

2 lbs. washed, fresh green beans, trimmed on blossom end to fit jar size

4 Serrano peppers, washed, stems trimmed

4 cloves garlic

4 heads fresh green dill or 4 teaspoons dried dill seeds

2 ½ cups water

2 ½ cups vinegar (5% acidity)

¼ cup pickling/canning salt

Sterilize clean pint or 12 oz. jars in boiling water bath canner for 10 min. Pour boiling water over jar flats, keep hot. Trim stems on peppers back to bright green. With tip of sharp knife, cut two small slits in each pepper, making sure to get all the way into the inner cavity with the knife. Fill hot jars with green beans, making sure that beans fit all the way down inside jar and come up no higher than ¼ inch below lip of jar. Leave room for one garlic clove and one serrano pepper, and the dill, in each jar. If using dried dill seeds, use 1 teaspoon per jar. Bring water, vinegar, and salt to boil, pour boiling brine over beans to within ¼ inch of tops of jars. Wipe rims with clean, damp cloth or paper towel, position jar flats, close with rings, and process in boiling water bath for 10 minutes (add processing time according to altitude chart, if needed). Remove from canner and let cool at least 12 hours before testing seals. Any jars which don’t seal may be stored in the refrigerator for a month, then eaten. This recipe makes about four pint jars or five 12 oz. jars.

Notes: Never let brine continue to boil while filling jars. This may affect acidity levels in the brine and could cause a spoilage problem. Fill jars, and when you’re almost done, turn the heat on your brine mix up high to bring it to the boil.

For canning, make sure the vinegar you are using is 5% acidity. I ran across some white vinegar not long ago that was 4% acidity, and it cannot be used for canning. You may use white or apple cider vinegar for this recipe, but be aware that most white vinegar is made from corn, and nearly all corn these days is both genetically-modified and sprayed with pesticides. I use apple cider vinegar because while apples are sprayed, at least I’m not using a GMO. Besides, I like the flavor.

If you have to trim your beans quite a bit to make them fit the jars, there are a couple of things you can do with the trimmings. Of course, you can cook those trimmings up for dinner (I like them with a little bacon and onion). Or, you can put the short pieces (minus the very blossom end tip), into a separate jar and treat them just like the long dilly beans. Then, those short pieces can be added to salads or chopped for tuna salad. There’s no need to throw them away!

I like to use the tall, 12 oz. jelly jars for dilly beans because I don’t have to trim quite as much off the beans to make them fit.

And a final note on peppers: Serranos are readily available, usually right alongside jalapenos, in your market. I can nearly always find them at Grocery Outlet even in the winter time, grown in California.  They are one of my favorite peppers to grow in our short growing season here, good in salsa and about anything else you’d want to use a hot pepper in.

OLYMPUS DIGITAL CAMERA

Pickled Beets

3 quarts peeled, cooked, small beets (see below for how to cook and peel beets for this recipe)

1 ¾ cups sugar

2 sticks cinnamon

1 tablespoon whole allspice berries

½ tablespoon whole black peppercorns

1 ½ teaspoons pickling/canning salt

3 ½ cups vinegar (5% acidity)

1 ½ cups water

How to cook and peel beets: Beets must be scrubbed free of any dirt or small stones that like to cling to the roots. (I’ve found that pulling my beets in the evening and letting them soak in cold water all night makes it easier to clean them). Leave the tap roots on, and trim leaves and stems, leaving two inches. (This prevents the beets from bleeding as much color into the water when they are cooking.) Place beets in large pot and cover with boiling water. Bring to boil and cover, reducing heat to medium. Cook beets until tender, and the only way to know they’re tender is to stab them with a fork, but try not to stab them until you’re pretty sure they’re tender, as this releases their color and juice into the water. Small beets take about 20 minutes to get tender, larger beets can take up to 45 minutes. Remove beets from cooking water to colander; let beets drain and cool to touch before trying to peel them. To peel beets: with a sharp paring knife, slice off the top, taking off stems, and then scrape knife down toward the root. If the beet is fully cooked, the skin will come right off. The skin of the beet is dull when cooked; the flesh of the beet will be shiny. It helps to have a damp paper towel handy to wipe off beets after peeling. Cut off tap roots. If using small beets, cut into quarters. If using large beets, cut into 1 ½ inch chunks or quarter and slice.

Pickling Directions:

In large saucepan, combine sugar, water, vinegar, cinnamon sticks, allspice berries, peppercorns, and salt, bring to simmer, cover and simmer 15 minutes. Remove cinnamon. Bring liquid to boiling before pouring over beets in jars.

Pack cooked, peeled, cut beets into clean, hot pint or half-pint jars, leaving ¼ inch head space at top of jar. Cover beets with boiling brine (include allspice berries and peppercorns), leaving ¼ inch head space. Cap with hot flats and rings, and process in boiling water bath for 30 minutes (adjust processing time as needed for high altitudes). Cool for at least 12 hours before testing seals. Any jar which doesn’t seal may be stored in the refrigerator for a month, then eaten.

Notes: I use beets of all sizes, however they come out of my garden, but I like the smaller beets, up to about 2 inches in diameter, best for pickling. They only need to be cut into quarters. I often use larger beets for this if that’s what I have, but they have to be cut up into smaller pieces before putting them in the jar. I like them in chunks, but they can be sliced as well. Quarter and then slice large beets into ¼ inch slices. Just a warning, I find the slices tend to crumble a bit when being removed from the jar.

This recipe uses a bit less sugar than the original Ball Blue Book recipe does, and I’ve added the peppercorns, which are a feature of the recipe for pickled beets in Canning for A New Generation, a canning book I just love. The black peppercorns give a nice depth of flavor and just a bit more spice to the traditionally sweet-spiced beets. I love that little bit of heat with the sweet.

As with the dilly bean recipe above, you may use either white vinegar or apple cider vinegar. I prefer apple cider vinegar for the reasons mentioned earlier.

These two pickles are always on our Thanksgiving table. To me, a big holiday dinner isn’t complete without a pickle plate, and a pickle plate isn’t complete without dilly beans and pickled beets.


Standard
Beverages, Canning, Desserts, Recipes, Uncategorized

Blackberry Time

OLYMPUS DIGITAL CAMERA

It is blackberry time, and we are busy trying to get caught up with our picking after being away for five days.  And it rained all day yesterday, so if we don’t pick quickly, the berries will rot from too much moisture.  So, instead of an original post this week, I’m going to repost a recipe I shared last year, in case anyone else is dealing with an abundance of blackberries.  Just remember, the berries can be frozen (don’t even wash them unless they are dusty) in gallon freezer bags and juiced later.  They will render more juice after the freezing and thawing process.  This recipe came from my sister’s father-in-law, who went by “Tip,” thus the name of the recipe.  This stuff was a big hit at my 40th high school reunion last weekend!

OLYMPUS DIGITAL CAMERA

Tip’s Blackberry Cordial

9 cups blackberry juice

2 cups sugar

3 cups vodka or brandy


Bring blackberry juice and sugar to low boil and simmer for 8 minutes. Cool for 10 minutes and add vodka or brandy. Pour into clean bottles (brandy or vodka bottles work well for this) and cap tightly. Stores indefinitely.

Standard
Canning, condiment, Recipes

Vanilla-Infused Cranberry-Rhubarb Butter

There are such things as happy accidents, even in the kitchen. This is the story of one.

I have been cleaning out the freezer to make room for the current crop of berries: raspberries, blackberries, boysenberries, loganberries. I always freeze these berries before making jams or other kinds of preserves from them for a couple of reasons. One, I’m too busy in the summer when they’re ripe to deal with them; two, they render more juice after being frozen and thawed. So in my quest to make more space in the freezer, I found a quart bag and gallon bag of rhubarb which I’d sliced and frozen I will not say how long ago. Let’s put it this way—I considered throwing it away, but just couldn’t bring myself to do it. Surely there must be some way to use it, I thought. I started trawling the internet for rhubarb jam recipes, but all of them called for fresh stalks, and I wasn’t sure how frozen would work. Then I came across a couple of rhubarb syrup recipes. Ooooh, that should work, thought I. While I was in Denver with my daughter, we’d paid a visit to the Ikea store and found some rhubarb syrup for making cocktails and spritzers. It was very good. So the thought of using my old rhubarb for syrup struck a chord. The recipe I settled on is at http://www.thekitchn.com/recipe-rhubarb-syrup-pantry-recipes-from-the-kitchn-84304#recipe.

However, as usual, I can’t leave well enough alone. I had eight cups of previously frozen rhubarb, and I put it on to cook with less than the amount of water called for in the recipe because when it thawed, the rhubarb released a lot of water. I used the amount of sugar called for in the recipe but doubled it because I had twice the amount of rhubarb.   And I threw a vanilla bean in the pot because I have some beans that must be used soon, and because I saw a rhubarb jam recipe that called for a vanilla bean, and I thought, why not?  I got the rhubarb, sugar, vanilla bean, and water simmering on the stove and went out to pull beets. (I also pickled beets the day I made the cranberry-rhubarb butter.) By the time I came back, the rhubarb had really broken down. As in, it was thick! How was I going to make syrup out of this stuff? Also, it was an unattractive beige-y green color. I wanted it red. Most of my rhubarb is not red, so I am used to the greenish color in pies, but in a syrup, I wanted red. Also, if I was going to make jam out of the pulp, as suggested in the recipe, I wanted it to be a toothsome color. Beige-y green is not toothsome. So I threw in a handful of red plums from the orchard tree and a handful of boysenberries Dennis had just brought in. They made no difference at all to the color and no discernable difference in taste.

What did I have, bar food coloring, to turn this rhubarb mess red? Well, beets, but I didn’t think that combination would taste all that great. I went back to the freezer. Didn’t I have a bag of cranberries in there somewhere? Yes, I did. I’d bought extra cranberries at Thanksgiving and frozen them, thinking I’d try some kind of cranberry jam at some point. I had about a quart. I started throwing them in by the handfuls, hoping to see some change in color, until I had thrown in the whole bag. At that point, I tasted the mess and decided that it needed more sugar, although I could have lived with it as it was. I added another cup of sugar. I still wasn’t satisfied with the color, so back to the freezer I went. Wasn’t there a bag of whole cranberry sauce in there? I made too much at Thanksgiving and froze the extra in sandwich bags, then put them in a gallon bag to keep them together. I’d been using it up one bag a time with roasted Cornish game hens. Yep, there it was, the last bag, about a cup and a half of cranberry sauce (which is just cranberries, sugar, and water). I threw that in the pot as well, and finally, as it melted, I had a nice reddish color.

All right, what was I going to do with this stuff now? It had been cooking for some time at this point, and was looking very jam-like, but fibrous, from the broken down rhubarb. It tasted delicious, and at this point, I knew I had a winner in the taste category, but I wasn’t sure what the final product would be. I decided to see if I could get a little syrup out of it, because I thought it would please my daughter. I couldn’t find my jelly bag (remember, I’ve been gone from home for a month—I found it later that day at the bottom of a basket of clean laundry, and for the life of me, I still can’t remember what I used it for before I left!), so I had to improvise with some nylon tulle stuffed into a cone colander. I left the cranberry-rhubarb stuff dripping and went on to work on my beets.

After a couple of hours, with the beets boiling, I returned to the stuff. I had about 2 ½ cups of red syrup in the bottom of the pan under the colander—good enough, says I. I removed the syrup, bottled it in a jar, and got it processing in the water bath canner, while I started rubbing the solids through the colander. I do this the old-fashioned way, with a hardwood pestle. I gave my Squeezo Strainer to my son. I just like the process with the pestle, the way I grew up doing it with my mom.

I ended up with 7 1/2 pints of what I’m calling vanilla-infused cranberry-rhubarb butter. That’s because the consistency of it reminds me very much of apple butter and pear butter: smooth and spreadably thick, rich, glossy, and, by the way, delicious. The pectin in the rhubarb and cranberries thickens and glosses up the butter, just the way apple skins and pear skins do with those kinds of butters. It’s tart-sweet, just the way I like preserves, and you can taste both the cranberries and the rhubarb. Who knew that would be such a great combination? I didn’t. But, yum. Here’s the recipe, should you be inclined to try this yourself.  And by the way, the beets turned out beautifully too.  You can see some of the heirloom beets in the front row of the pic below, cranberry-rhubarb syrup and butter on the right.

003

Vanilla-Infused Cranberry-Rhubarb Syrup and Butter

8 cups sliced rhubarb, along with any juice (mine was frozen, then thawed)

4 cups cranberries (mine were also frozen)

1 ½ cups of homemade cranberry sauce (see directions below)

1 split vanilla bean

5 ½ cups sugar

3 cups water

Boil all ingredients together until rhubarb and cranberries are soft. Taste and add more sugar by ½ cup measure until desired sweetness is reached. Remove vanilla bean. If you wish to render syrup, pour the fruit and juices into a jelly bag and hang until it stops dripping. Syrup can be processed as is in sterile pint or half-pint jars in water bath canner for 10 minutes, or thickened by boiling and reducing, then processed for 10 minutes in boiling water bath canner.

OLYMPUS DIGITAL CAMERA

For butter: Strain the fruit mixture through a cone colander or other strainer to remove fibers and cranberry skins. If the resulting mash is not thick enough, it can be reduced on the stove top or in the oven until desired thickness is achieved. (I recommend a 300-degree oven, as reducing on the stove top leads to splatters on walls, as my kitchen will attest.) Reheat to boiling, spoon into sterile, hot pint jars and process in water bath canner for 10 minutes.  Always adjust processing times for your altitude, if necessary.

OLYMPUS DIGITAL CAMERA

Now, if you’re not making whole-berry cranberry sauce at Thanksgiving, why not? It’s simple, delicious, and you will know exactly what three ingredients go into it!

Homemade Cranberry Sauce

12 oz. bag of whole cranberries

1 cup water

1 cup sugar

Heat water and sugar to boiling, add cranberries, watch ‘em pop! Bring to boil, lower to simmer for 10 min. Remove pan from heat and cool to room temperature to allow sauce to thicken before refrigerating. This stuff keeps forever in the fridge, and it can be frozen and thawed months later.

Standard
Great Britain trip pics

Amy’s Close-ups

Here are a couple more of Amy’s close shots with her i-phone.  The first is a cute little mushroom or toadstool that I wish I could rotate but can’t.  The second is moss growing on stones at the Clava Cairns.   For more about our visit there, go to the travel blog at http://www.jeanlfrench.com.

securedownload-102   securedownload-82


Standard
Great Britain trip pics

Amy’s Flower Pictures

When I get home, the second thing I am going to do is download pictures I have been taking of gardens over here in the U.K.  (The first thing I am going to do is check on my garden.)  It is killing me that I can’t yet share pictures of Sarah’s garden at the Old Vicarage in Wellington.  It was just lovely, and Graham showed me around and let me taste various things from cherries and berries to a smooth – skinned English cucumber fresh from their greenhouse.  But for now, here are some pictures Amy has taken of various wildflowers and others growing on walls the moor, and ruins.  Enjoy.


securedownload-57   securedownload-83   securedownload-56   securedownload-157   securedownload-28   securedownload-22   securedownload-17   securedownload-21 Continue reading

Standard
Great Britain trip pics

In London

At Le Cordon Blue cafe where culinary students sell their wares, near Truckles at the Pied Bull where we ate lunch before visiting the British Museum.  I found a lovely little basement garden in the square.

securedownload    securedownload-1   securedownload-2


Photos by Amy French (because we have tech issues and I cannot load any of mine)!


Standard
Garden and Greenhouse

From Denver with Love

Today’s post is coming to you from Denver, with love:  love for those of you who have been kind enough to follow this blog, love for gardens in general, and love for this city which is dedicated to beautification through plants.  I have written a new article for Real Media about edible landscaping.  Included in the article are some pictures of edibles mixed with ornamentals taken in the Cherry Creek area of Denver.  I’ve linked the article for you here:  http://thisisrealmedia.com/2014/06/24/garden-in-the-city-by-jeanie-french.

I wish I had time to take more pictures, but we are busy getting our daughter’s apartment packed up and ready to move west, and we’re finishing up the details for THE BIG TRIP to the U.K. and Ireland (departing Sunday, June 29th!).  I’ll be posting pictures of English, Welsh, Scottish, and Irish gardens to this blog, and pictures of other sights from the trip on my other website at www.jeanlfrench.com  so you can follow along with Amy and me if you’d like.  This will be my last post from the States for a month!

For now, here are some additional pictures that illustrate the way edibles can be mixed with ornamentals to form a beautiful landscape.


OLYMPUS DIGITAL CAMERA OLYMPUS DIGITAL CAMERA OLYMPUS DIGITAL CAMERA

OLYMPUS DIGITAL CAMERAOLYMPUS DIGITAL CAMERAOLYMPUS DIGITAL CAMERA

Standard