
I did something today that I thought I should pass along to all who might be in the midst of a kitchen renovation or who are contemplating one.
It’s sort of a no-brainer to label your boxes thoroughly and comprehensively when you pack up the contents of your kitchen before you start tearing out the cabinets. One thing I wish I’d done is label the sides of the boxes rather than the tops. If you label tops and then stack the boxes, you can’t tell what’s in the lower ones unless you wiggle the boxes around (risking a collapse), or move them, and some of them are darned heavy. If the boxes are labeled on their sides, it’s much easier to tell what’s in them when you are looking at a stack of three or four boxes. But that’s not my main tip for the day.
Packing up is no fun, but I love unpacking and putting things away. I love figuring out where things are going to go, and how I can best organize my space. So before I started unpacking boxes today, I printed out the drawings that the cabinet company (Gold Run Cabinet and Door Co. in Susanville, CA) gave me when Maurice emailed me with the estimate and work-up. When I had drawings for both sides of the kitchen on paper, I sat down with a pencil and labeled each cabinet on the drawings with what I thought I wanted to put in it.

OLYMPUS DIGITAL CAMERA
My boxes are heavy, and I really wanted to minimize lugging them around unnecessarily. I also didn’t want to put a bunch of stuff in a cabinet and then decide that wasn’t what I wanted to put in that cabinet after all. I’m recovering from an extended bout with the flu, and I’m not feeling all that up to snuff. I didn’t want to expend any more energy than I absolutely had to.
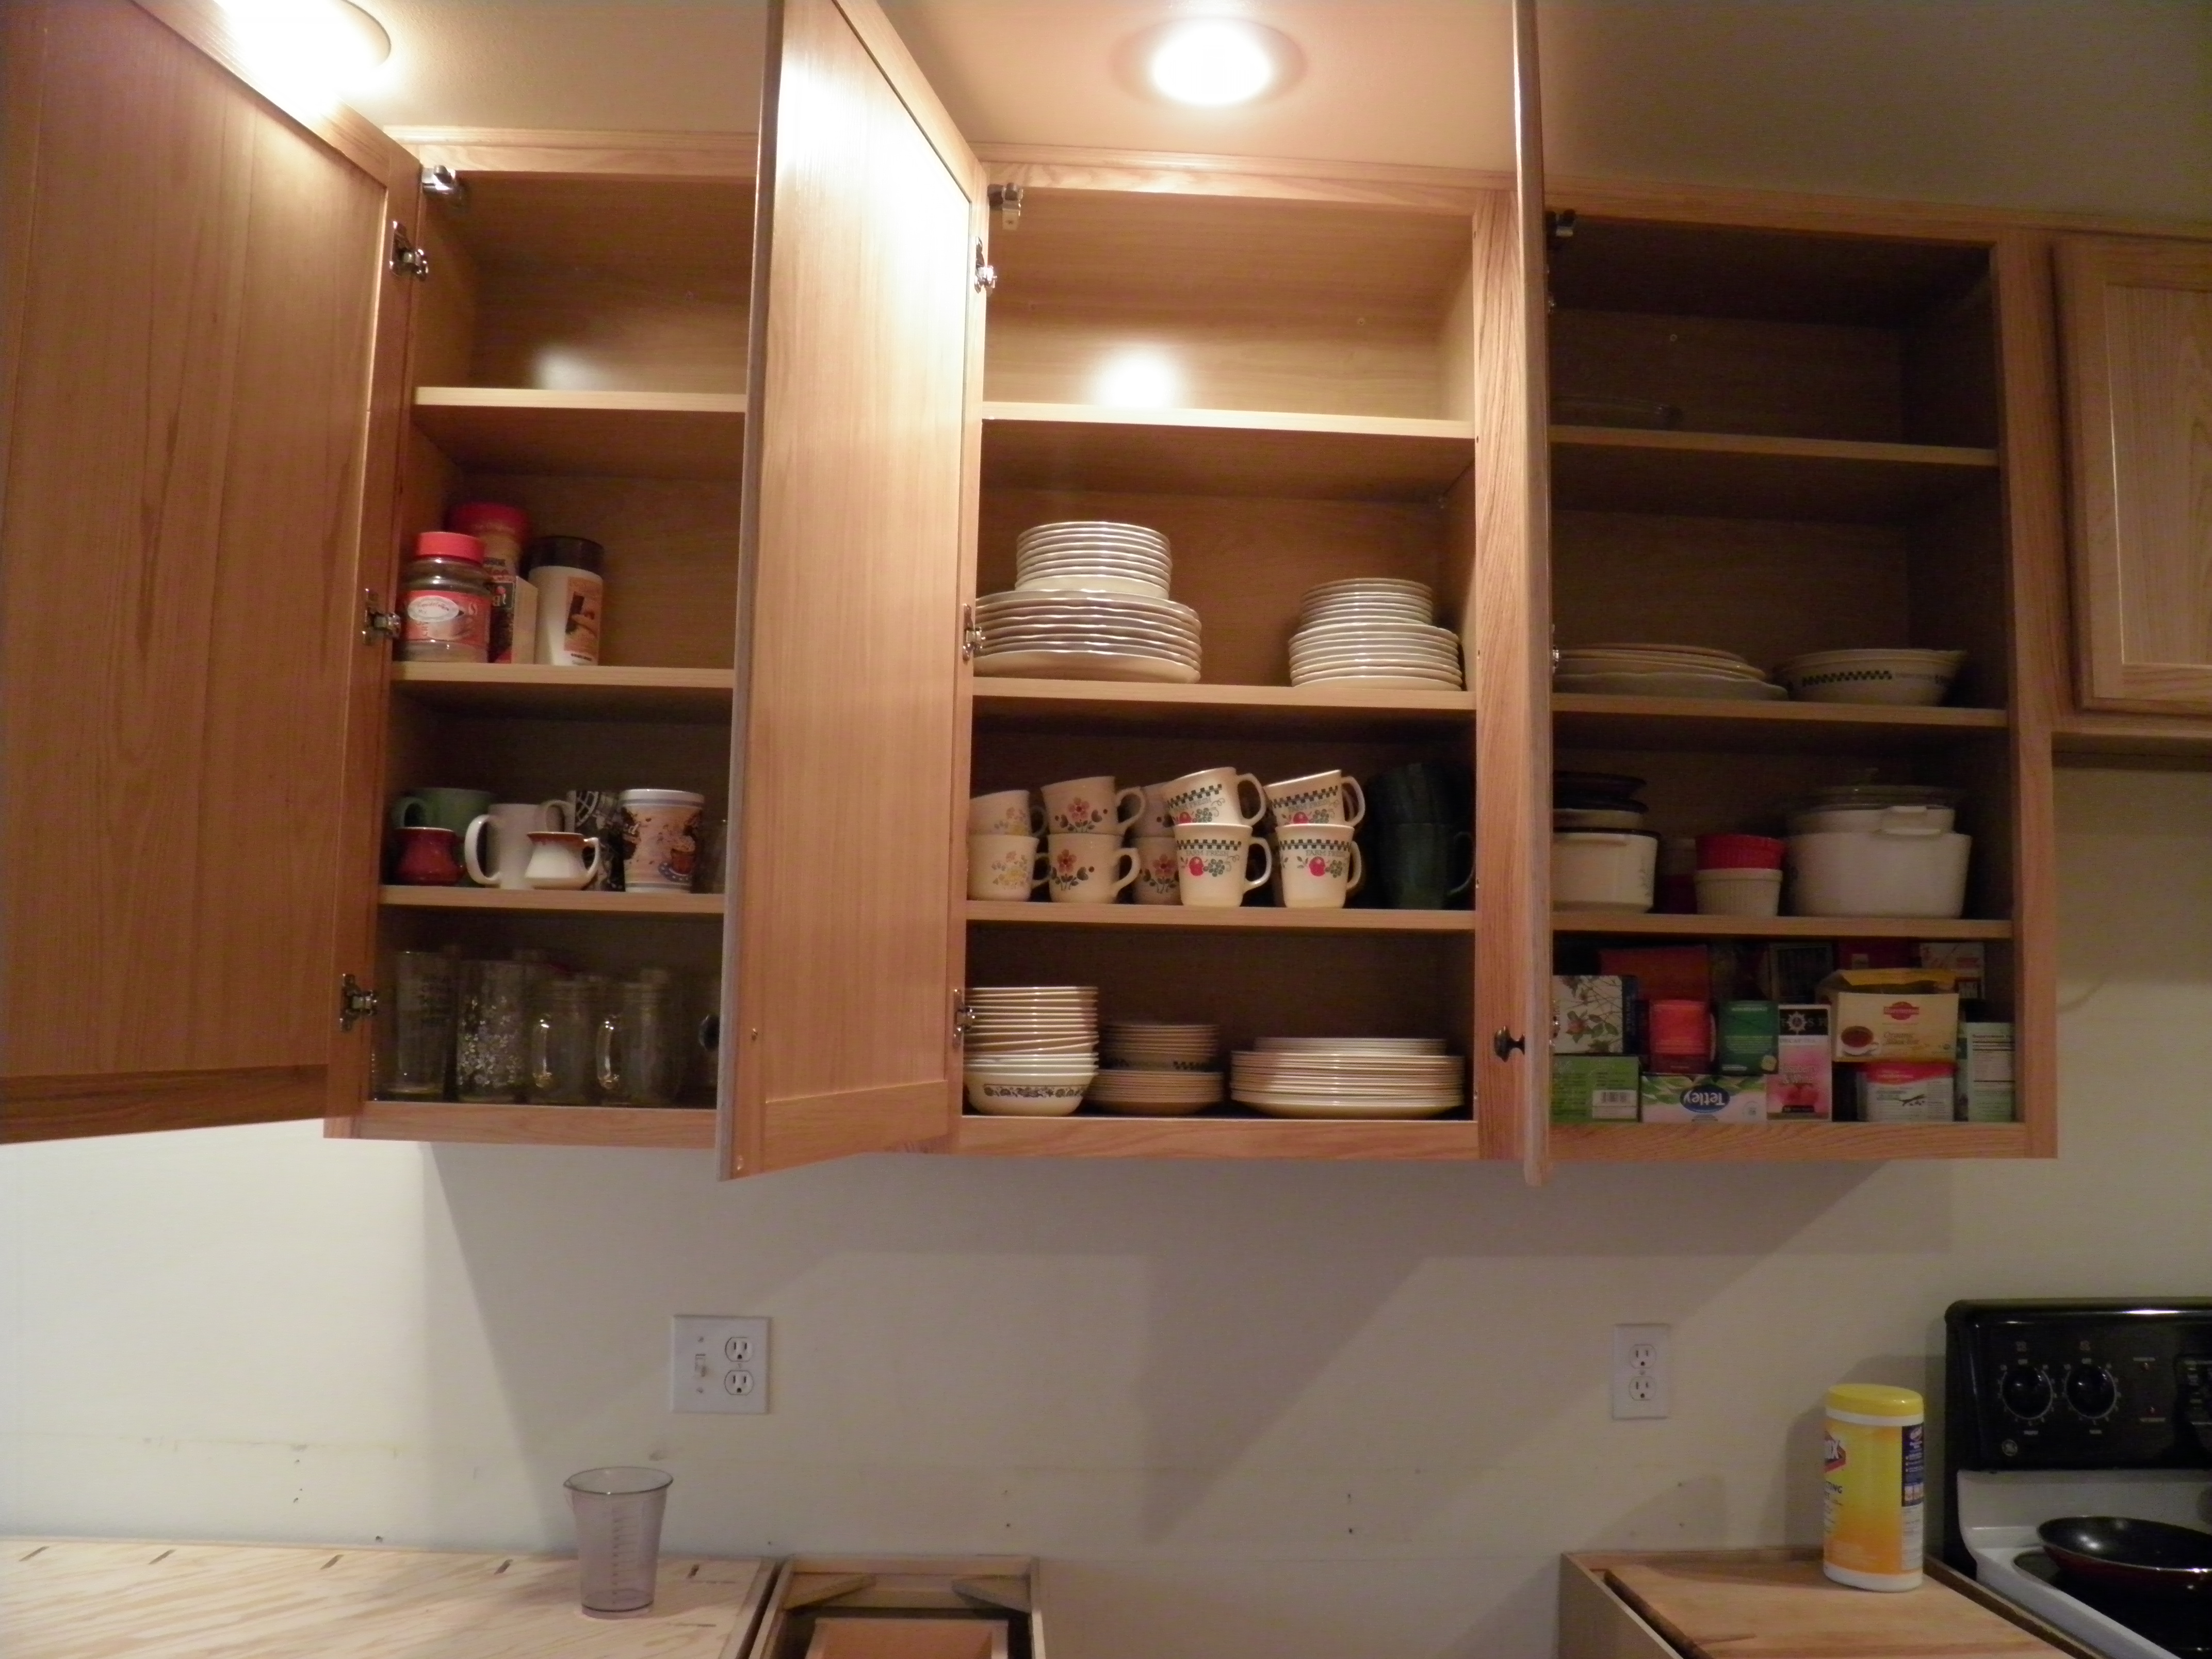
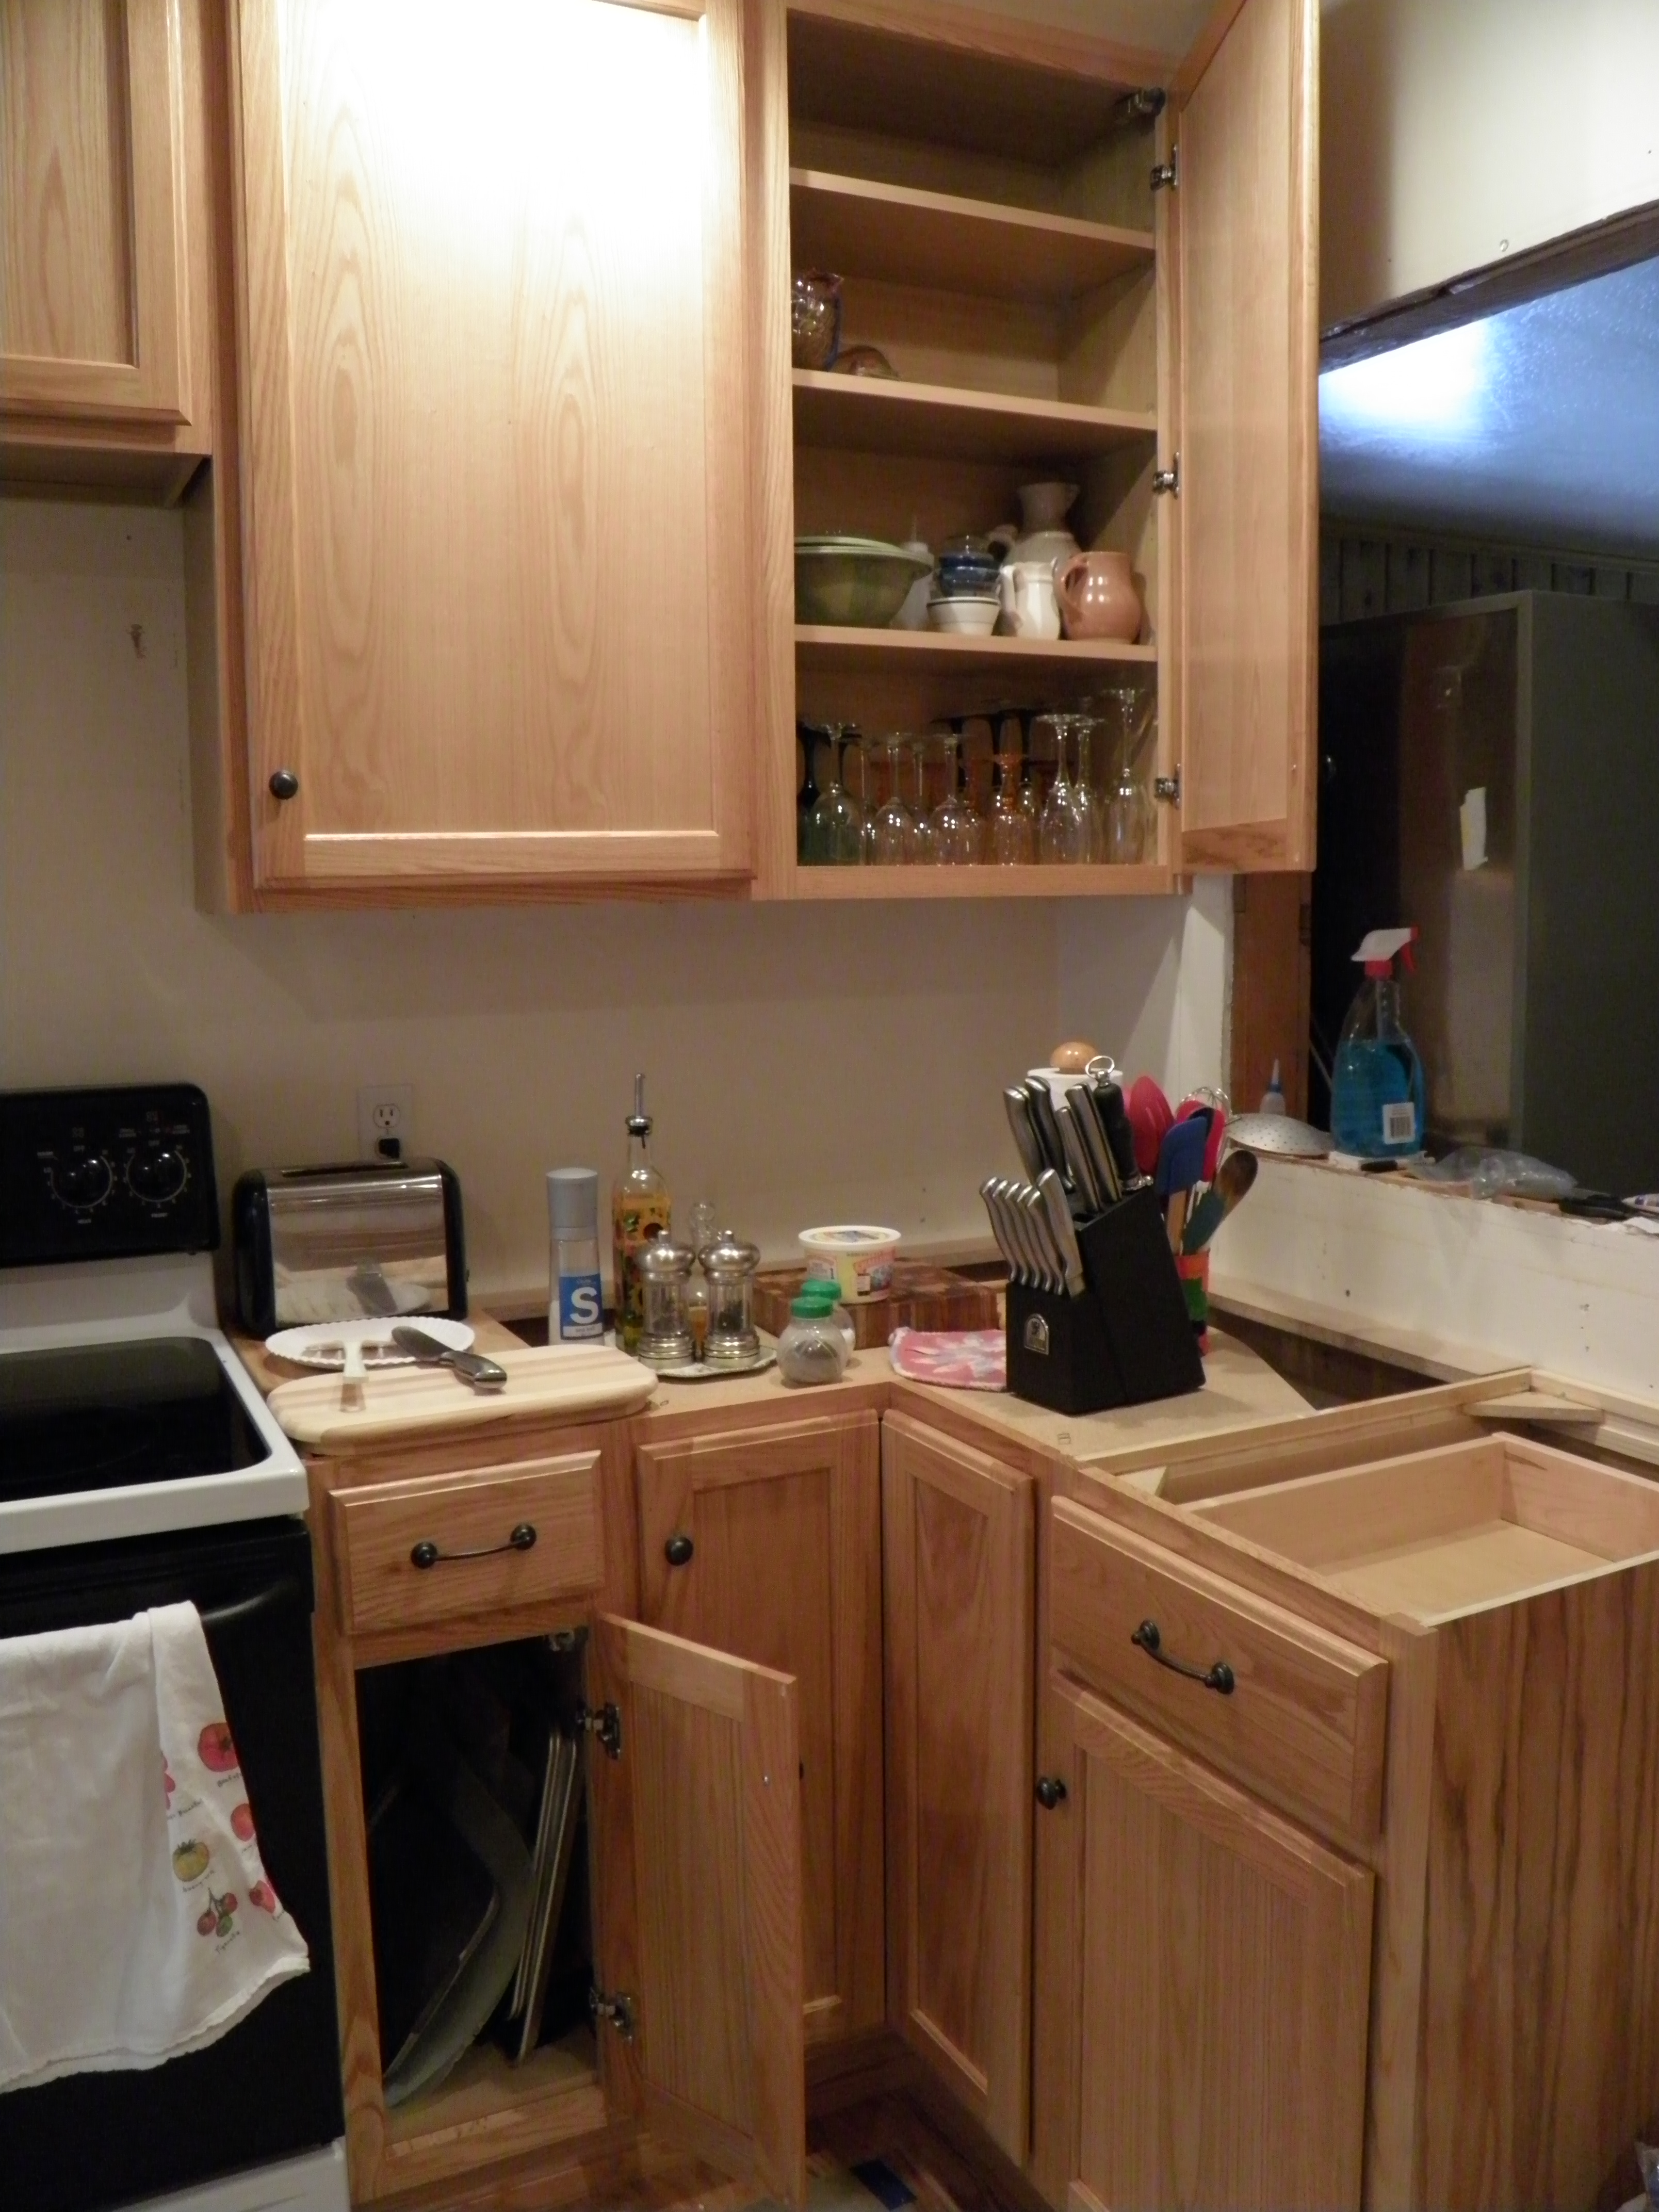
With my doodled plan in hand, I was able to locate the boxes I wanted to unpack today (with some wiggling and moving the top ones, hence my first tip) and know where that stuff was going to go. These new cabinets are so tall that I can only reach the bottom two or three shelves on the uppers unless I climb up on the step stool. With the step stool, I can reach the top two shelves. I know that only the things I don’t use often will go up on those top shelves, so today, I focused on the lower shelves of the uppers on the sink side, putting away drinking glasses, dishes, coffee mugs, tea and coffee, wine glasses, casserole dishes, and serving dishes.
OLYMPUS DIGITAL CAMERA
OLYMPUS DIGITAL CAMERA
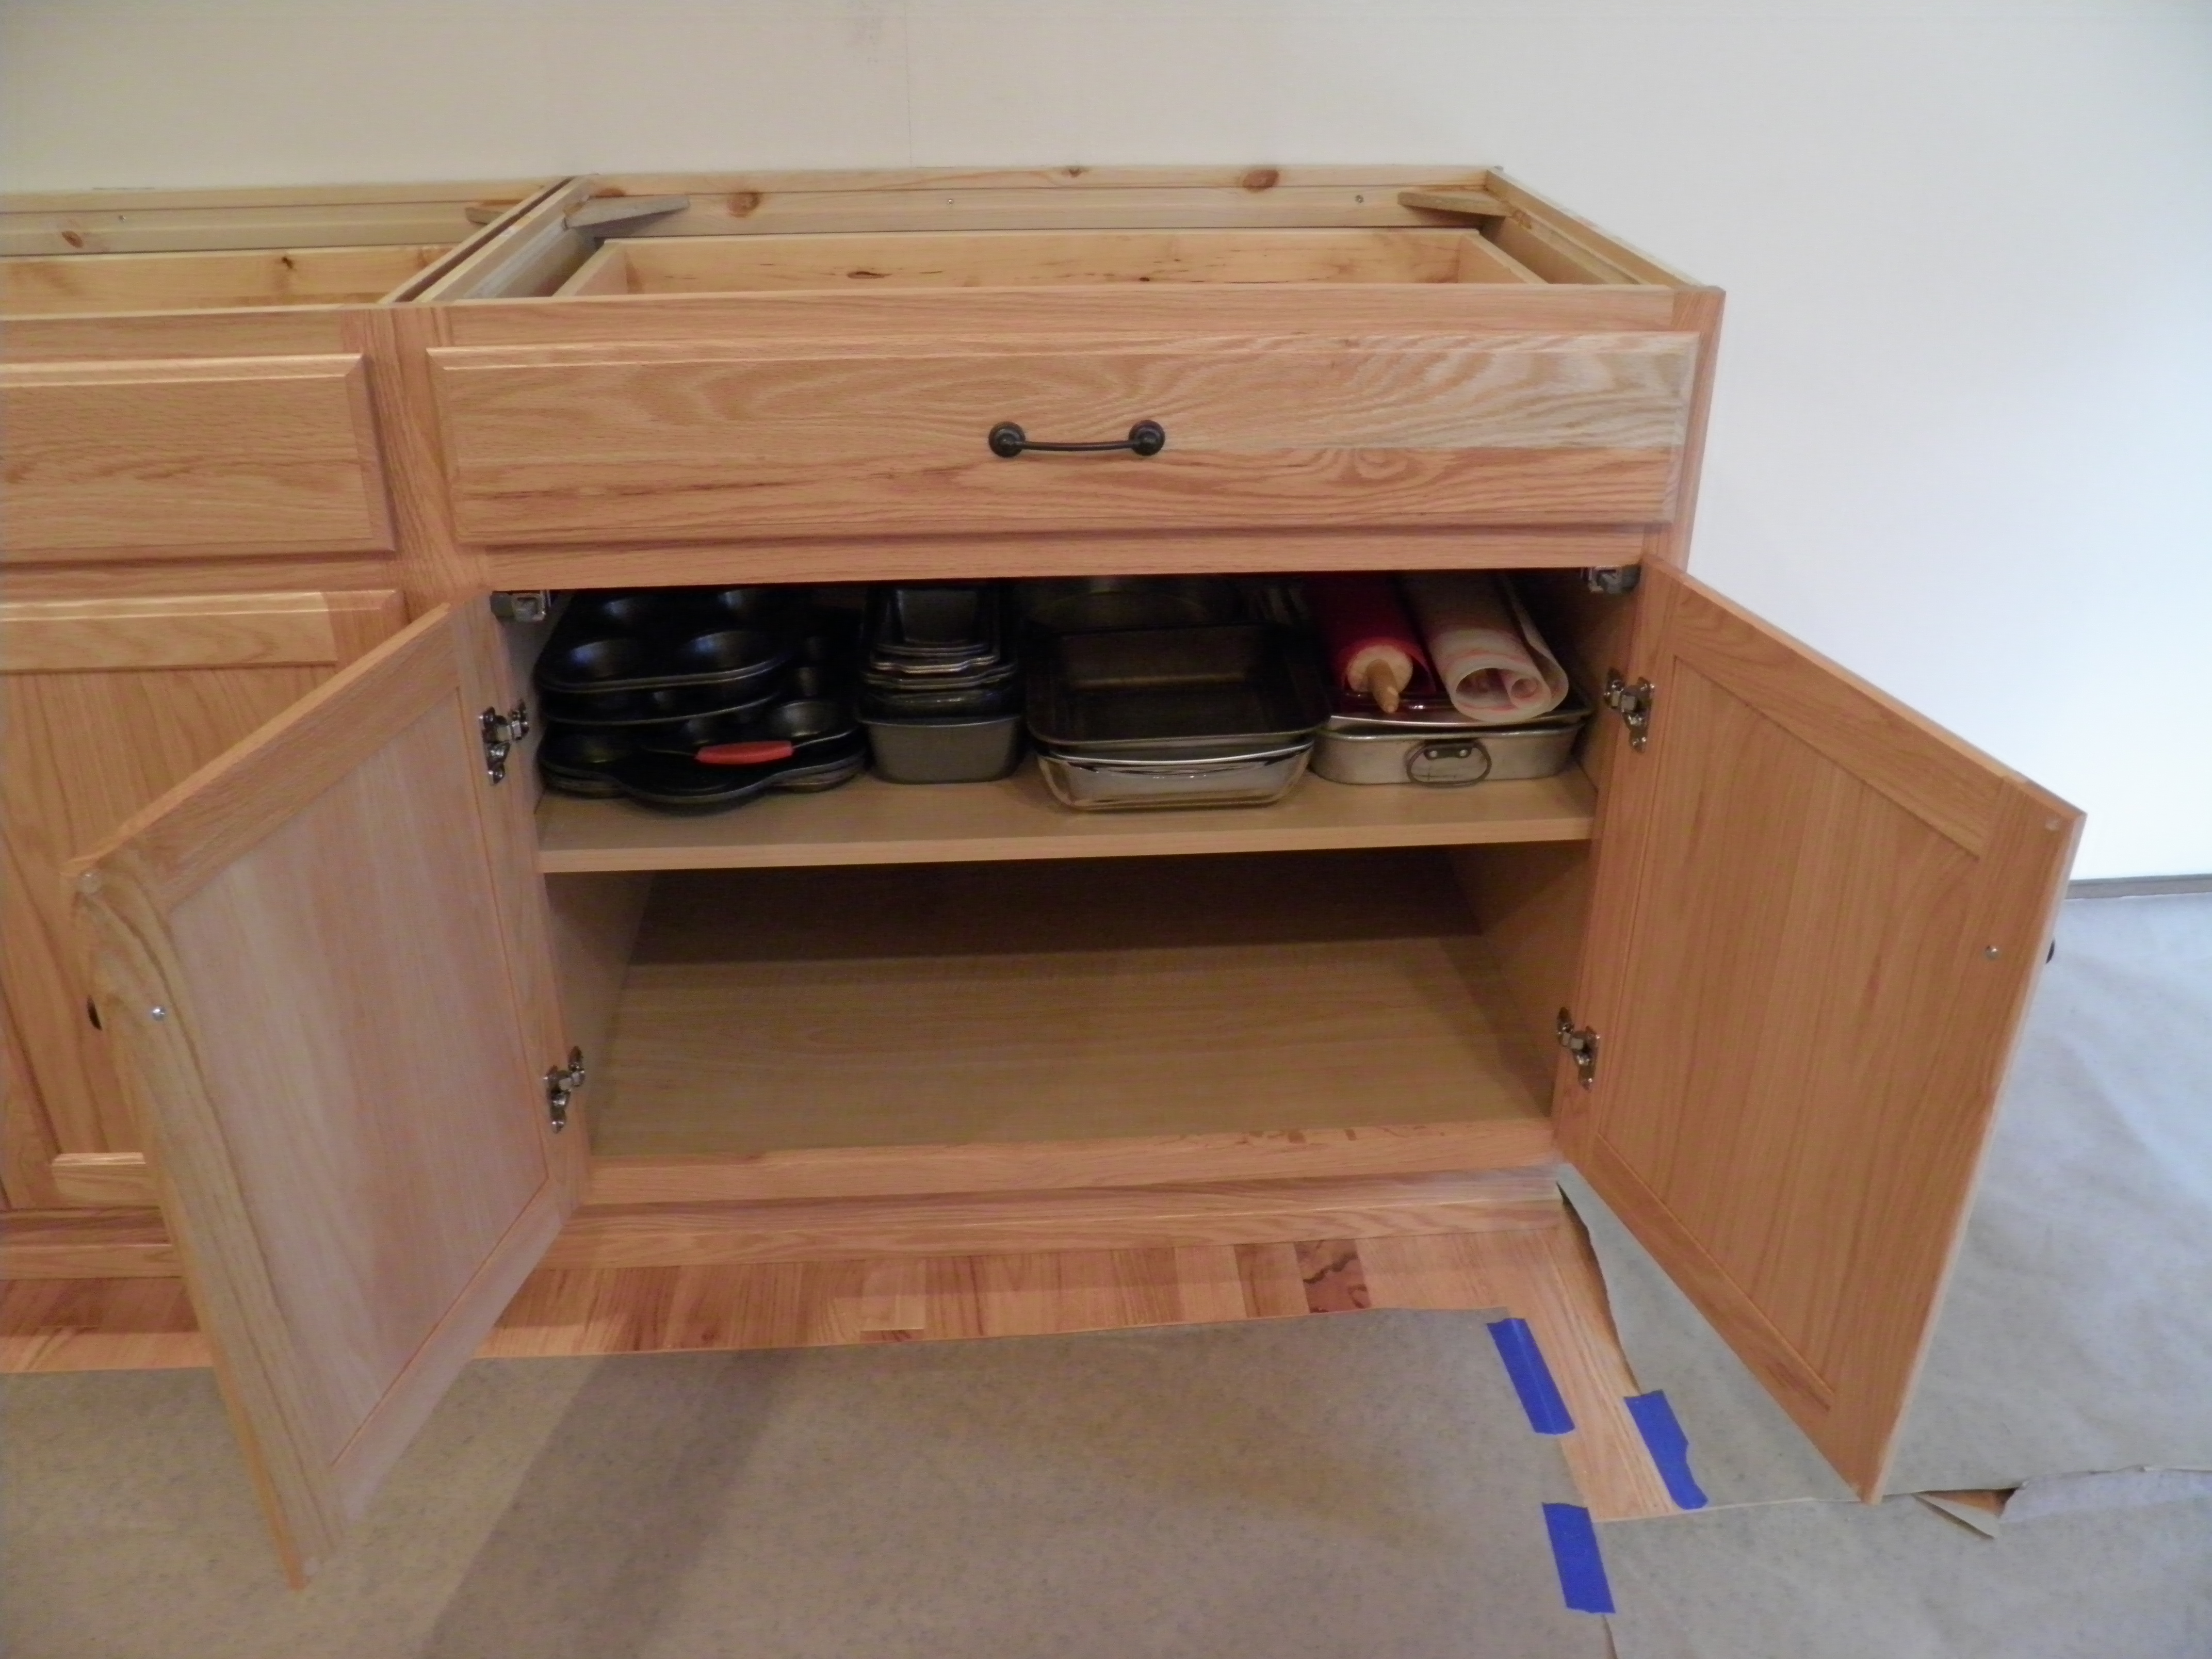
I can’t put away a lot of things in the lower cabinets because I don’t have my roll-outs yet. I’m ordering after-market roll-out shelves for several of the lower cabinets (and for my spice cabinet which is the upper just to the right of the stove), and there’s really no point in loading stuff into the cabinets and then having to take it out again to install the roll-outs. I also can’t put anything away in any of the drawers until the countertops are installed. So I’m mainly focusing on the uppers, but I did put away one box of baking pans because I kept tripping over it in the living room when I’d come around the corner in the dark!
OLYMPUS DIGITAL CAMERA
I still have a lot of stuff to put away, but with my drawings and notes, I know I can put things away efficiently and with a minimum of effort. And that’s important to me as I continue to recover from the flu.
If you are doing a kitchen renovation or thinking about one, keep in mind that those drawings the cabinet shop gives you will be really helpful in the unpacking and stowing away process.
