
I love finding ways to use scraps. I’ve written about using apple scraps for vinegar making and pectin stock, and meat scraps and bones for meat broth or stock. I’ve also explored ways to use dried tomato skins leftover from canning tomatoes and making salsa. This week’s post is also about using scraps to make something delicious. I referred to roasted vegetable stock with brief directions in last week’s post, so it occurred to me to devote a little more space to it.
For years, I threw my vegetable peelings and trimmings in the compost pile, or when we had chickens, into the chicken bucket. And those are good ways to use vegetable waste. But you can do something else with them before they go to the garden or the chickens. You can make stock.
I remember reading, a long time ago, about pioneer women who kept stockpots simmering on their wood-heated cookstoves all the time. The stockpot was never empty because any sort of meat or vegetable scrap went into the pot along with water to replace whatever might be used or might evaporate. This was common practice when the woodstove was kept going nearly all the time for cooking and baking and heating purposes.
With the advent of electricity and gas for cooking, the simmering stockpot has fallen out of favor. Most of us buy stock or broth in cans or cartons, rather than make it ourselves. But it is so easy to make, takes very little time, and adds a flavor to soups, stews, beans, rice, etc. that you just won’t get out of a can or carton from the store. And you don’t have to read a label on homemade stock to see if there’s anything in it you don’t to consume, like monosodium glutamate, a common additive in canned and boxed stocks.
You might not think a few carrot peelings, onion scraps, and celery bottoms and tops would amount to much, but if you follow this simple procedure, I guarantee you won’t believe the flavor of the stock you’ll get: fully vegetable with a rich roasted taste. When you use it in a dish, this stock adds such deep flavor, it’s hard to believe it came from vegetable scraps.
When you are making salads or soups or stews, or whatever you’re cooking which requires you to prepare the holy trinity of vegetables, simply save your carrot ends and peelings (scrub the carrots first with a brush), clean celery trimmings, and onion tops (not bottoms because dirt can hide in the root ends) and any tough outer layers, and freeze them in a gallon-sized zip top bag. When the bag is full, you have enough vegetable matter to make stock. You can make stock out of other vegetables too. You might want to have a bag of onion and pepper trimmings, or some other combination. Think about the dishes in which you might want to use the stock, and bag up your vegetable scraps accordingly.
Then, when you have at least a full gallon-sized bag (it’s hardly worth it to do it sooner), thaw your vegetable scraps. Drizzle a tablespoon of oil (I never use “vegetable” oil any more because it is mostly soybean oil, so I usually use olive oil) onto a large cookie sheet, and spread your thawed scraps out. Drizzle a little more oil on top of the vegetables, not more than a tablespoon, and toss them to spread the oil around a little. You may need a second sheet to get them spread thinly enough, depending on how big your baking sheets are. Sprinkle the vegetables with about a ½ teaspoon of kosher salt and ¼ teaspoon of finely-ground pepper.
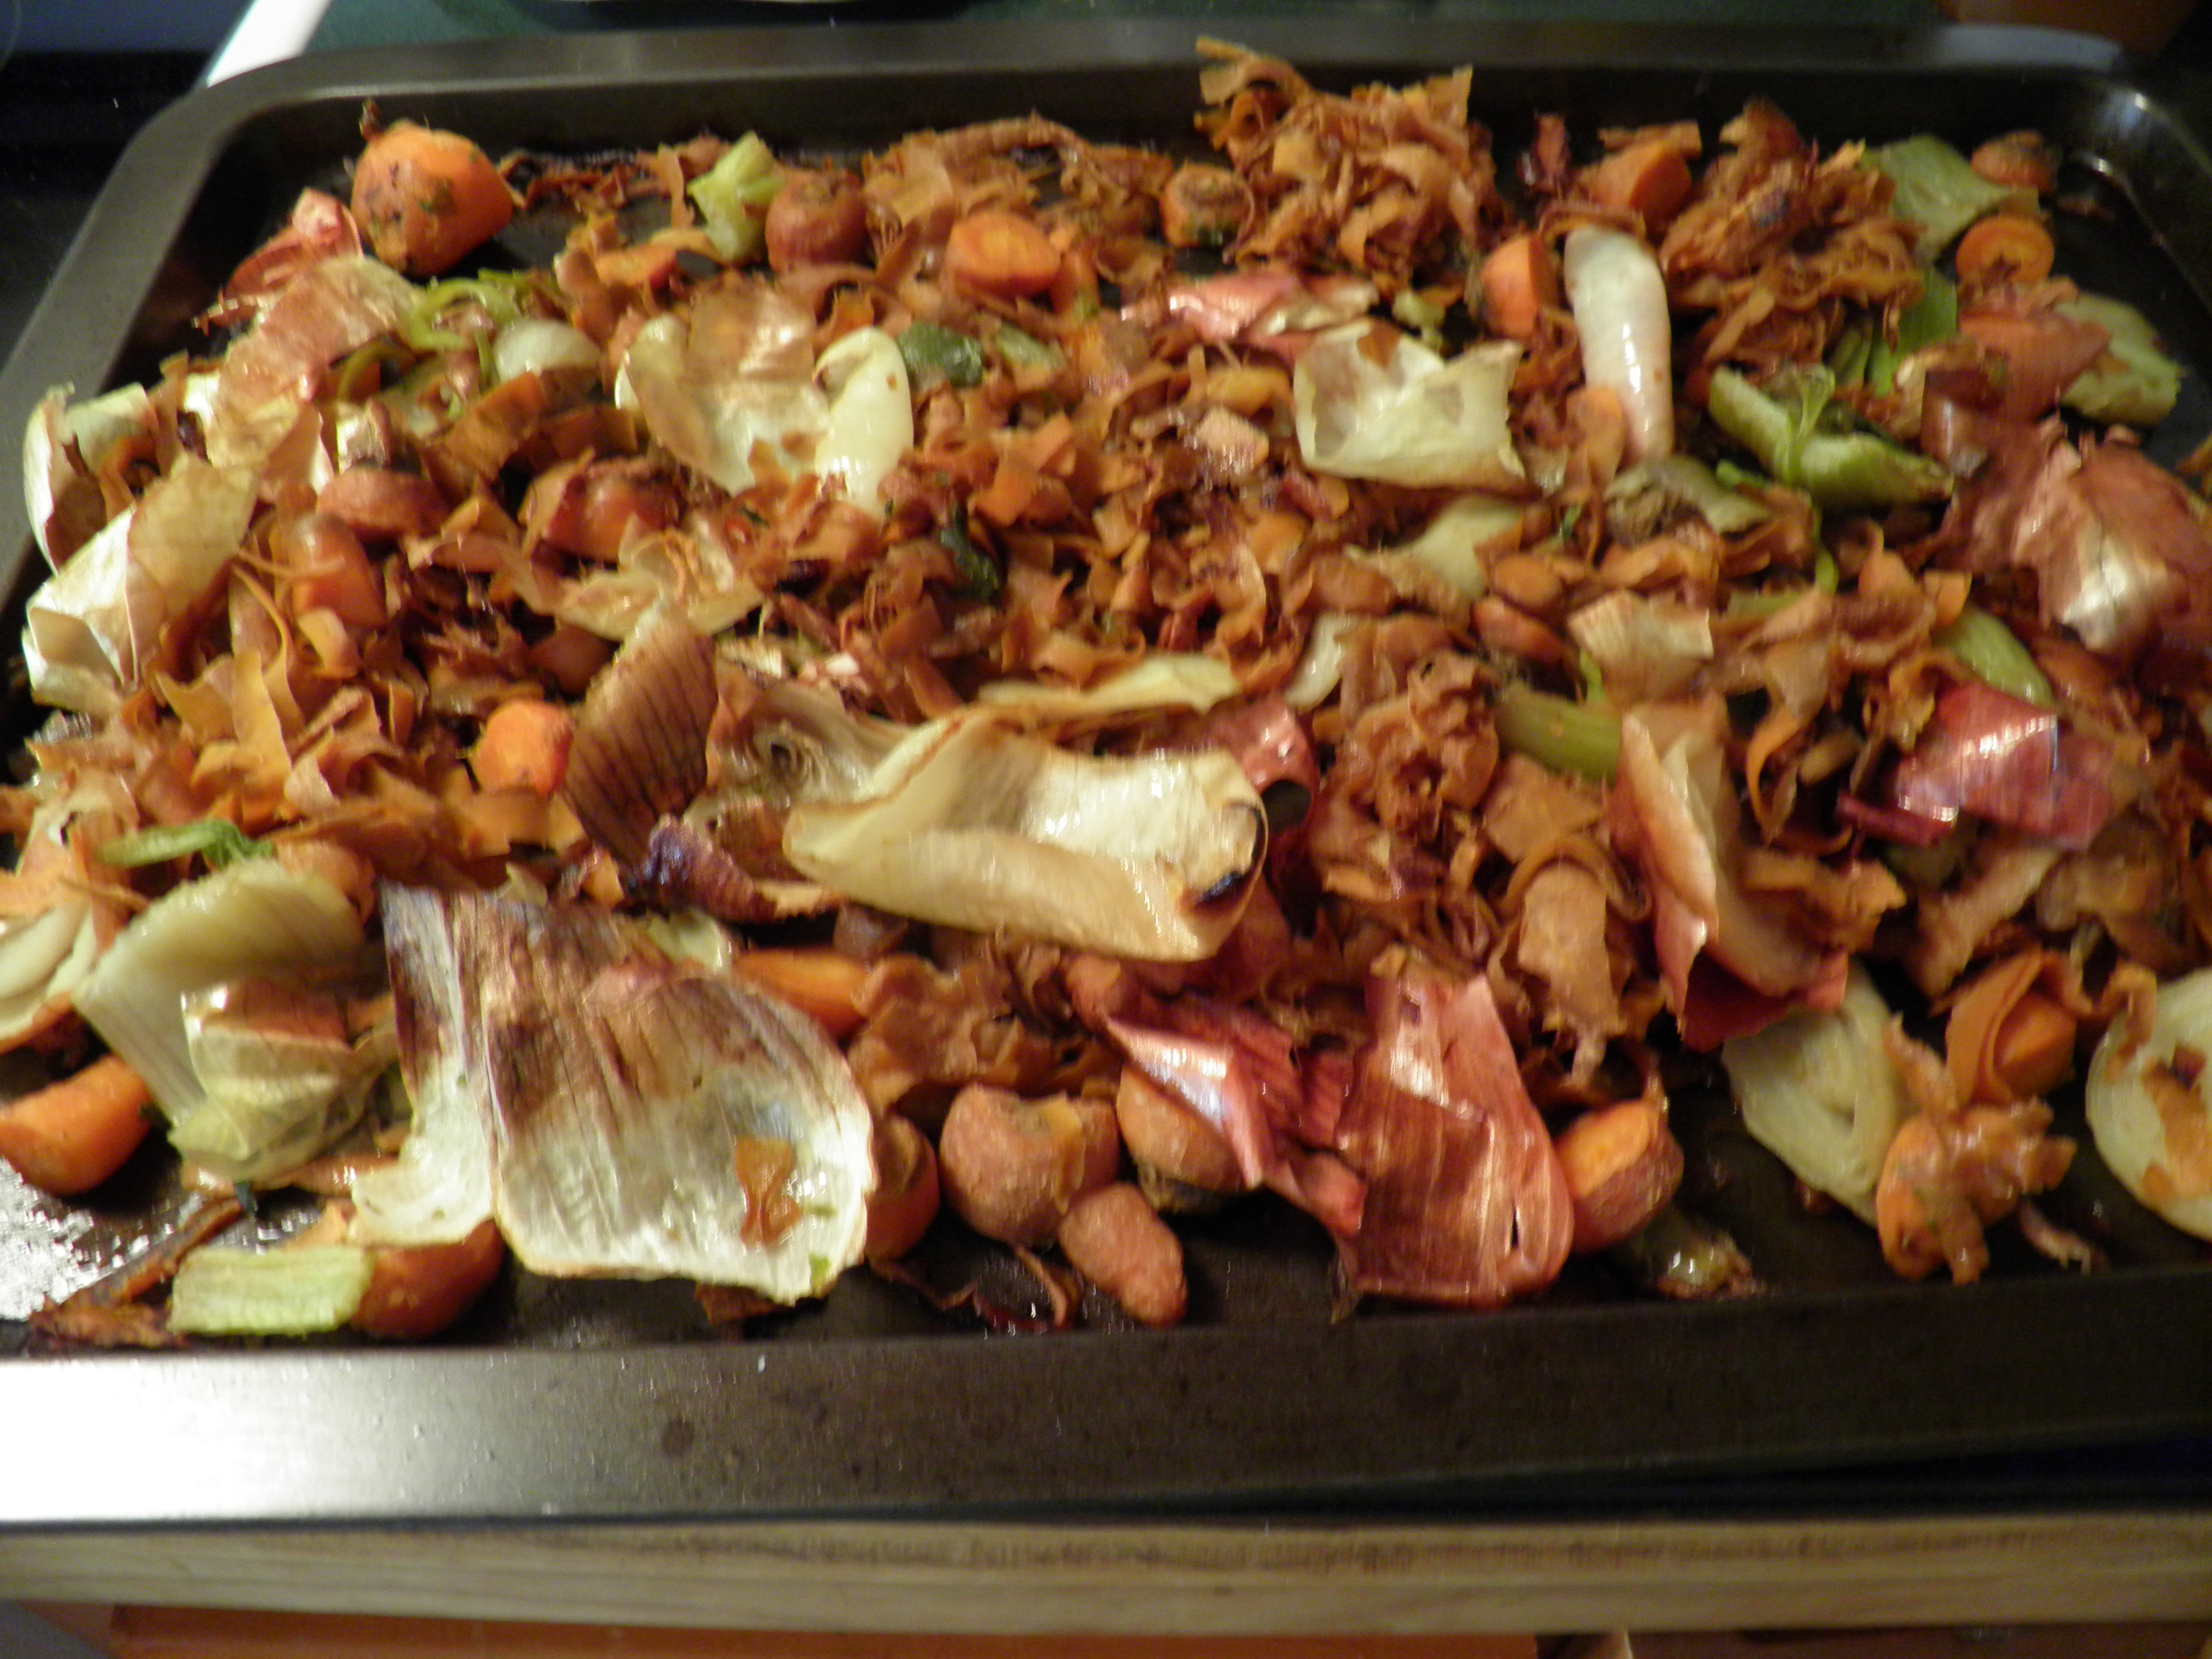
Roast your scraps at 425 degrees until they are deeply browned but not charred. (If a few pieces char, try to pick them out. They do not add a nice flavor to the stock.) Stir them and spread them out again after roasting for 10 minutes. Stir again every five minutes until the vegetables are really nice and brown. It might take up to 30 minutes or even longer, depending on how wet your scraps are.

Scrape the browned scraps into a large stockpot and just cover them with water. Adding seasoning at this point is a matter of personal preference. I like my stock very lightly salted so that I can be sure it won’t add too much salt to whatever dish I’m using it in. You can always add salt, but you can’t take it back once it’s in the pot. To about two quarts of water, I add one teaspoon of salt and ¼ teaspoon of pepper. The stock will taste under-salted at first but as the liquid reduces, the salt will remain and the salt flavor will intensify. You can add more salt if you wish, but be careful, because whatever dish you are using the stock in will likely have its own seasoning requirements, so you can get too much salt in a dish if your stock is fully salted.
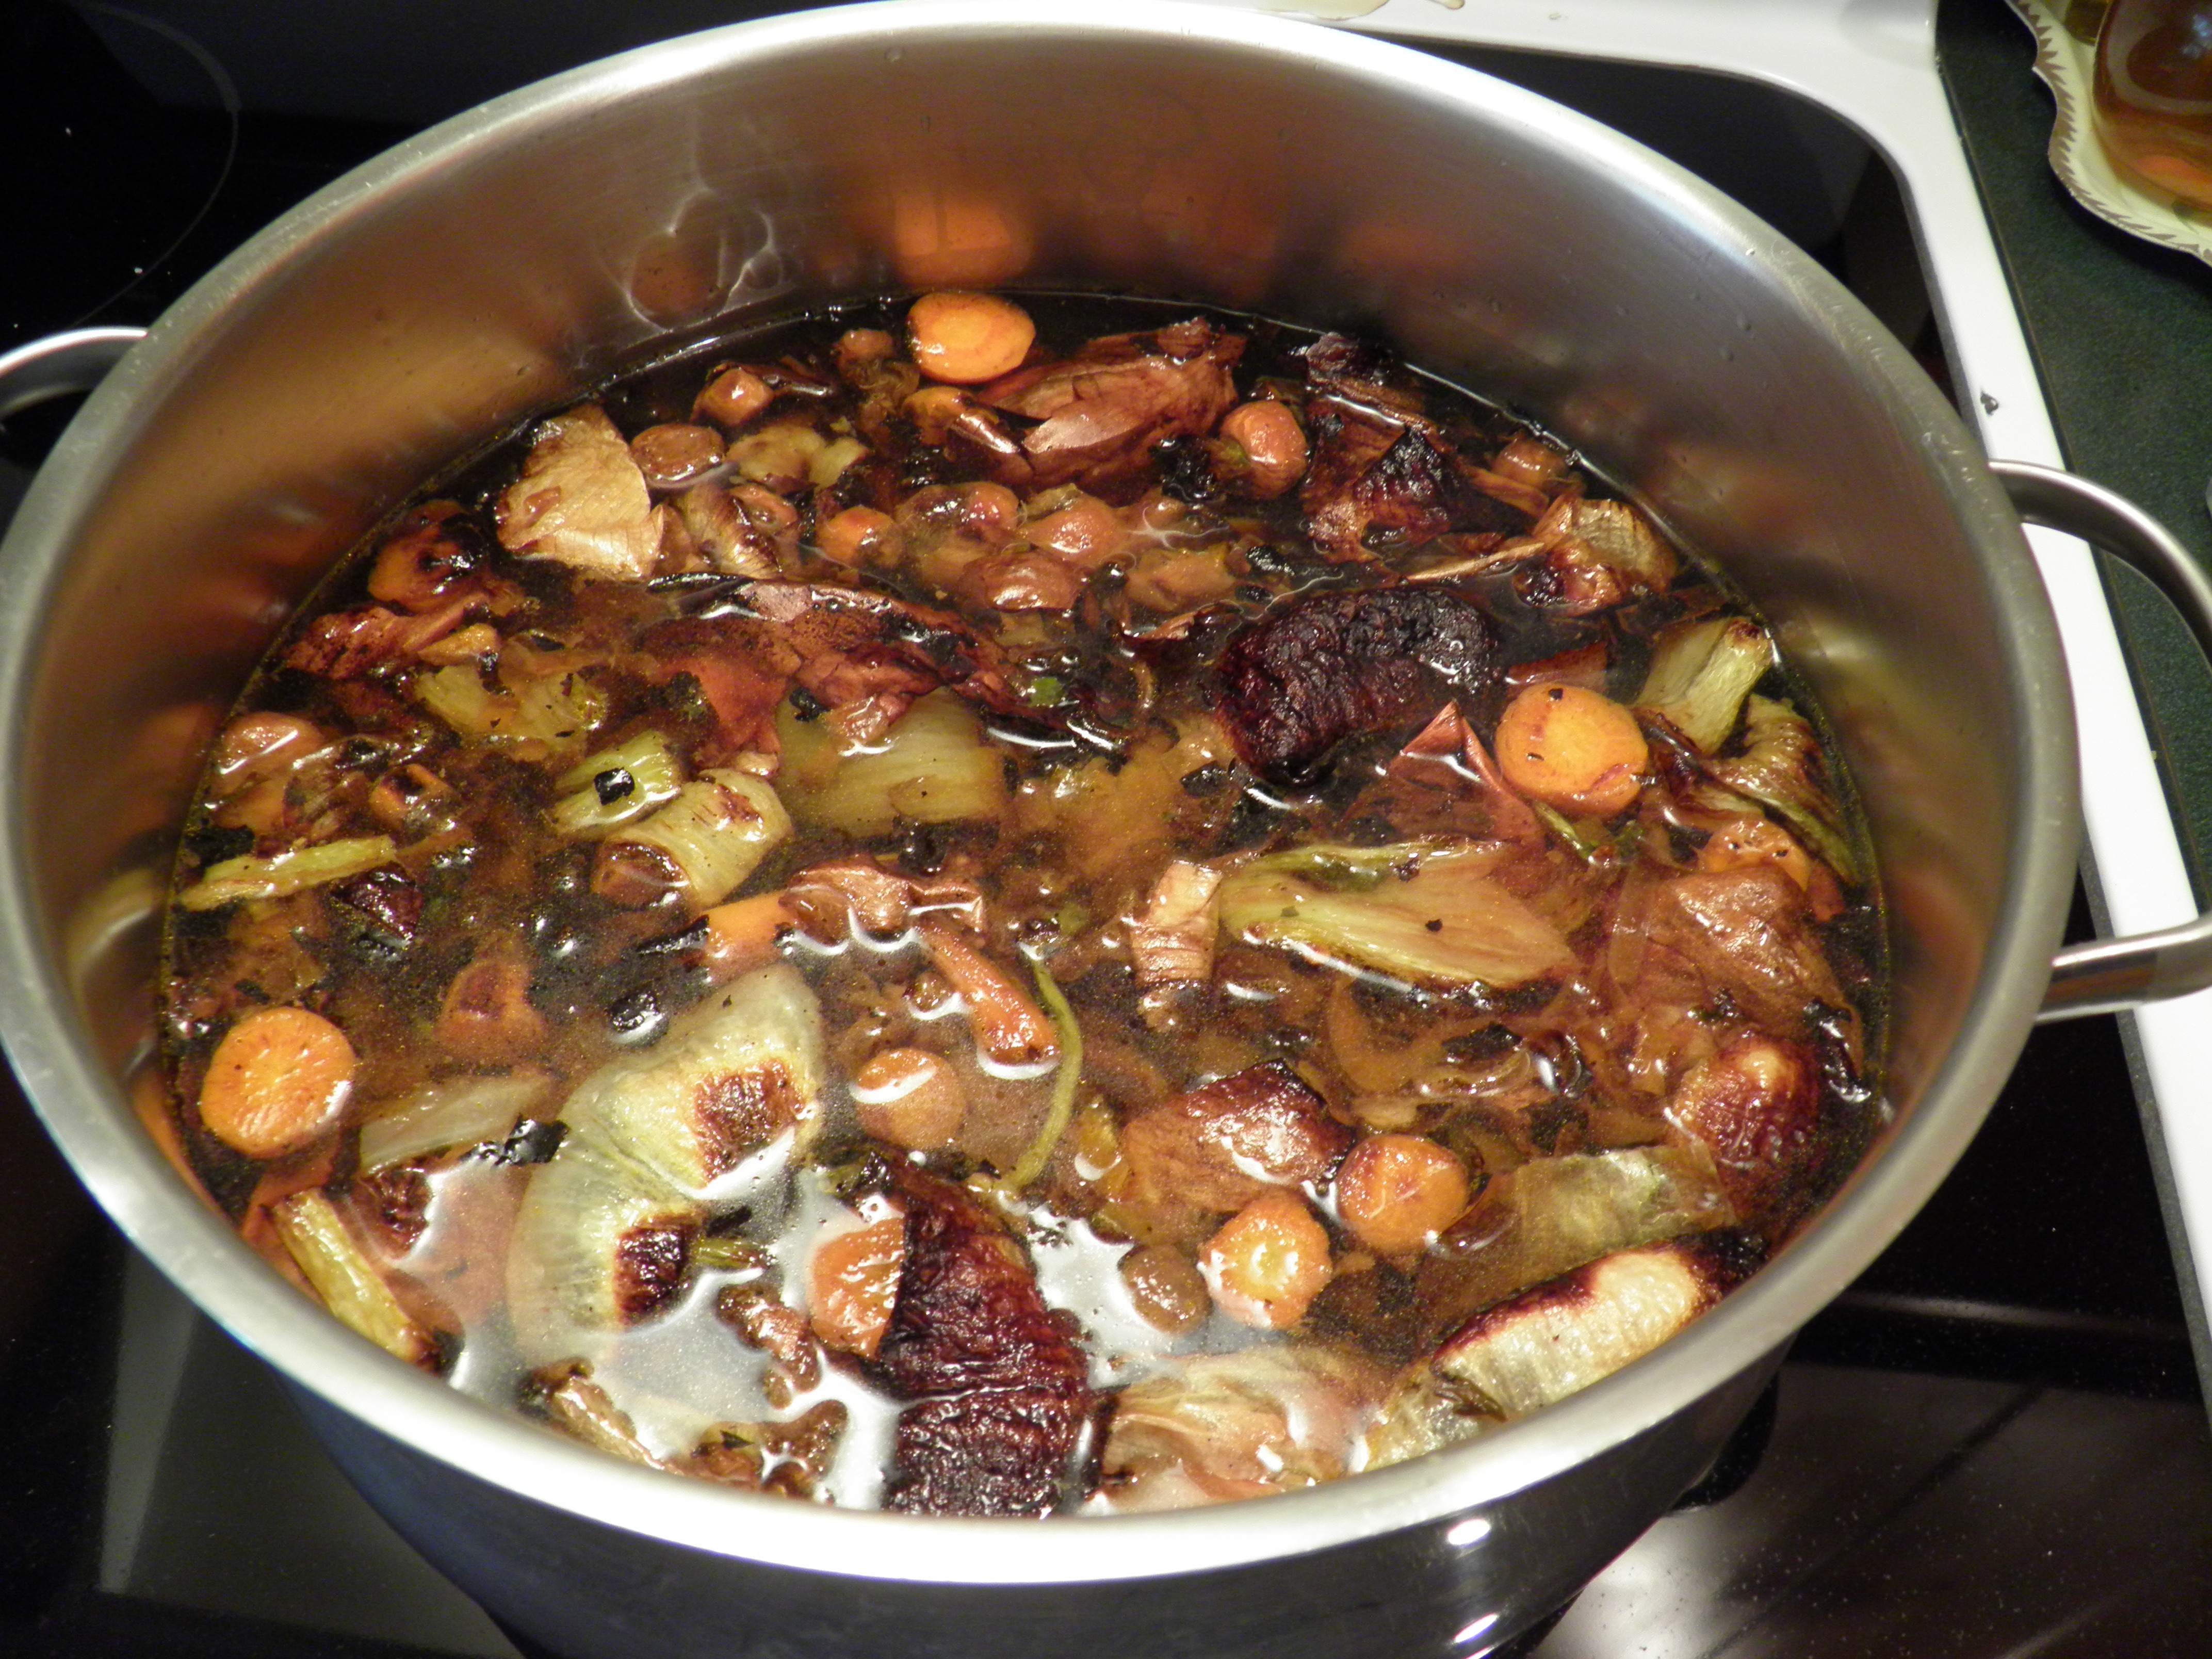
Bring the stock to boiling and then reduce the heat, cover, and simmer for at least an hour. The longer you cook the stock, the richer the flavor will become as it reduces, but of course, you don’t want it to boil down to nothing! If you want a reduction, you can strain off the stock, pressing well on the scraps to get all the liquid out of them, then pour the stock back in a clean pan to boil down by half or more. This will make a highly concentrated stock that you would use in a dish that doesn’t require much liquid but needs strong flavor. If you want to make a reduction, you need to be very careful about how much salt you add to the stock at the beginning of the cooking process because none of it will go away, and your reduction will become saltier and saltier as the liquid evaporates. I don’t typically make reductions because most of the dishes I use stock in require more liquid than a reduction provides.

When you’re satisfied with the color and flavor of the stock—and remember, unless you are making a reduction, it won’t taste salty, so what you’re looking for is intense vegetable flavor—you can strain it through a wire mesh strainer or a cheesecloth-lined colander. I strain mine into a 2-quart measuring cup to make it easy to pour into freezer bags after it has cooled. You can use the stock right away, refrigerate it for a few days, or freeze it. It can also be canned, but I don’t bother because I don’t make that much at a time, and I know I’ll use it up fairly quickly. I freeze my stock in 2-cup measurements in quart zip-top bags, laid out flat on a cookie sheet, so they stack nicely in the freezer when frozen. Sometimes, I gather four or five quart bags together into an old, washed, gallon-sized bag, to keep them together and make it easier to find them in my over-stuffed freezer.
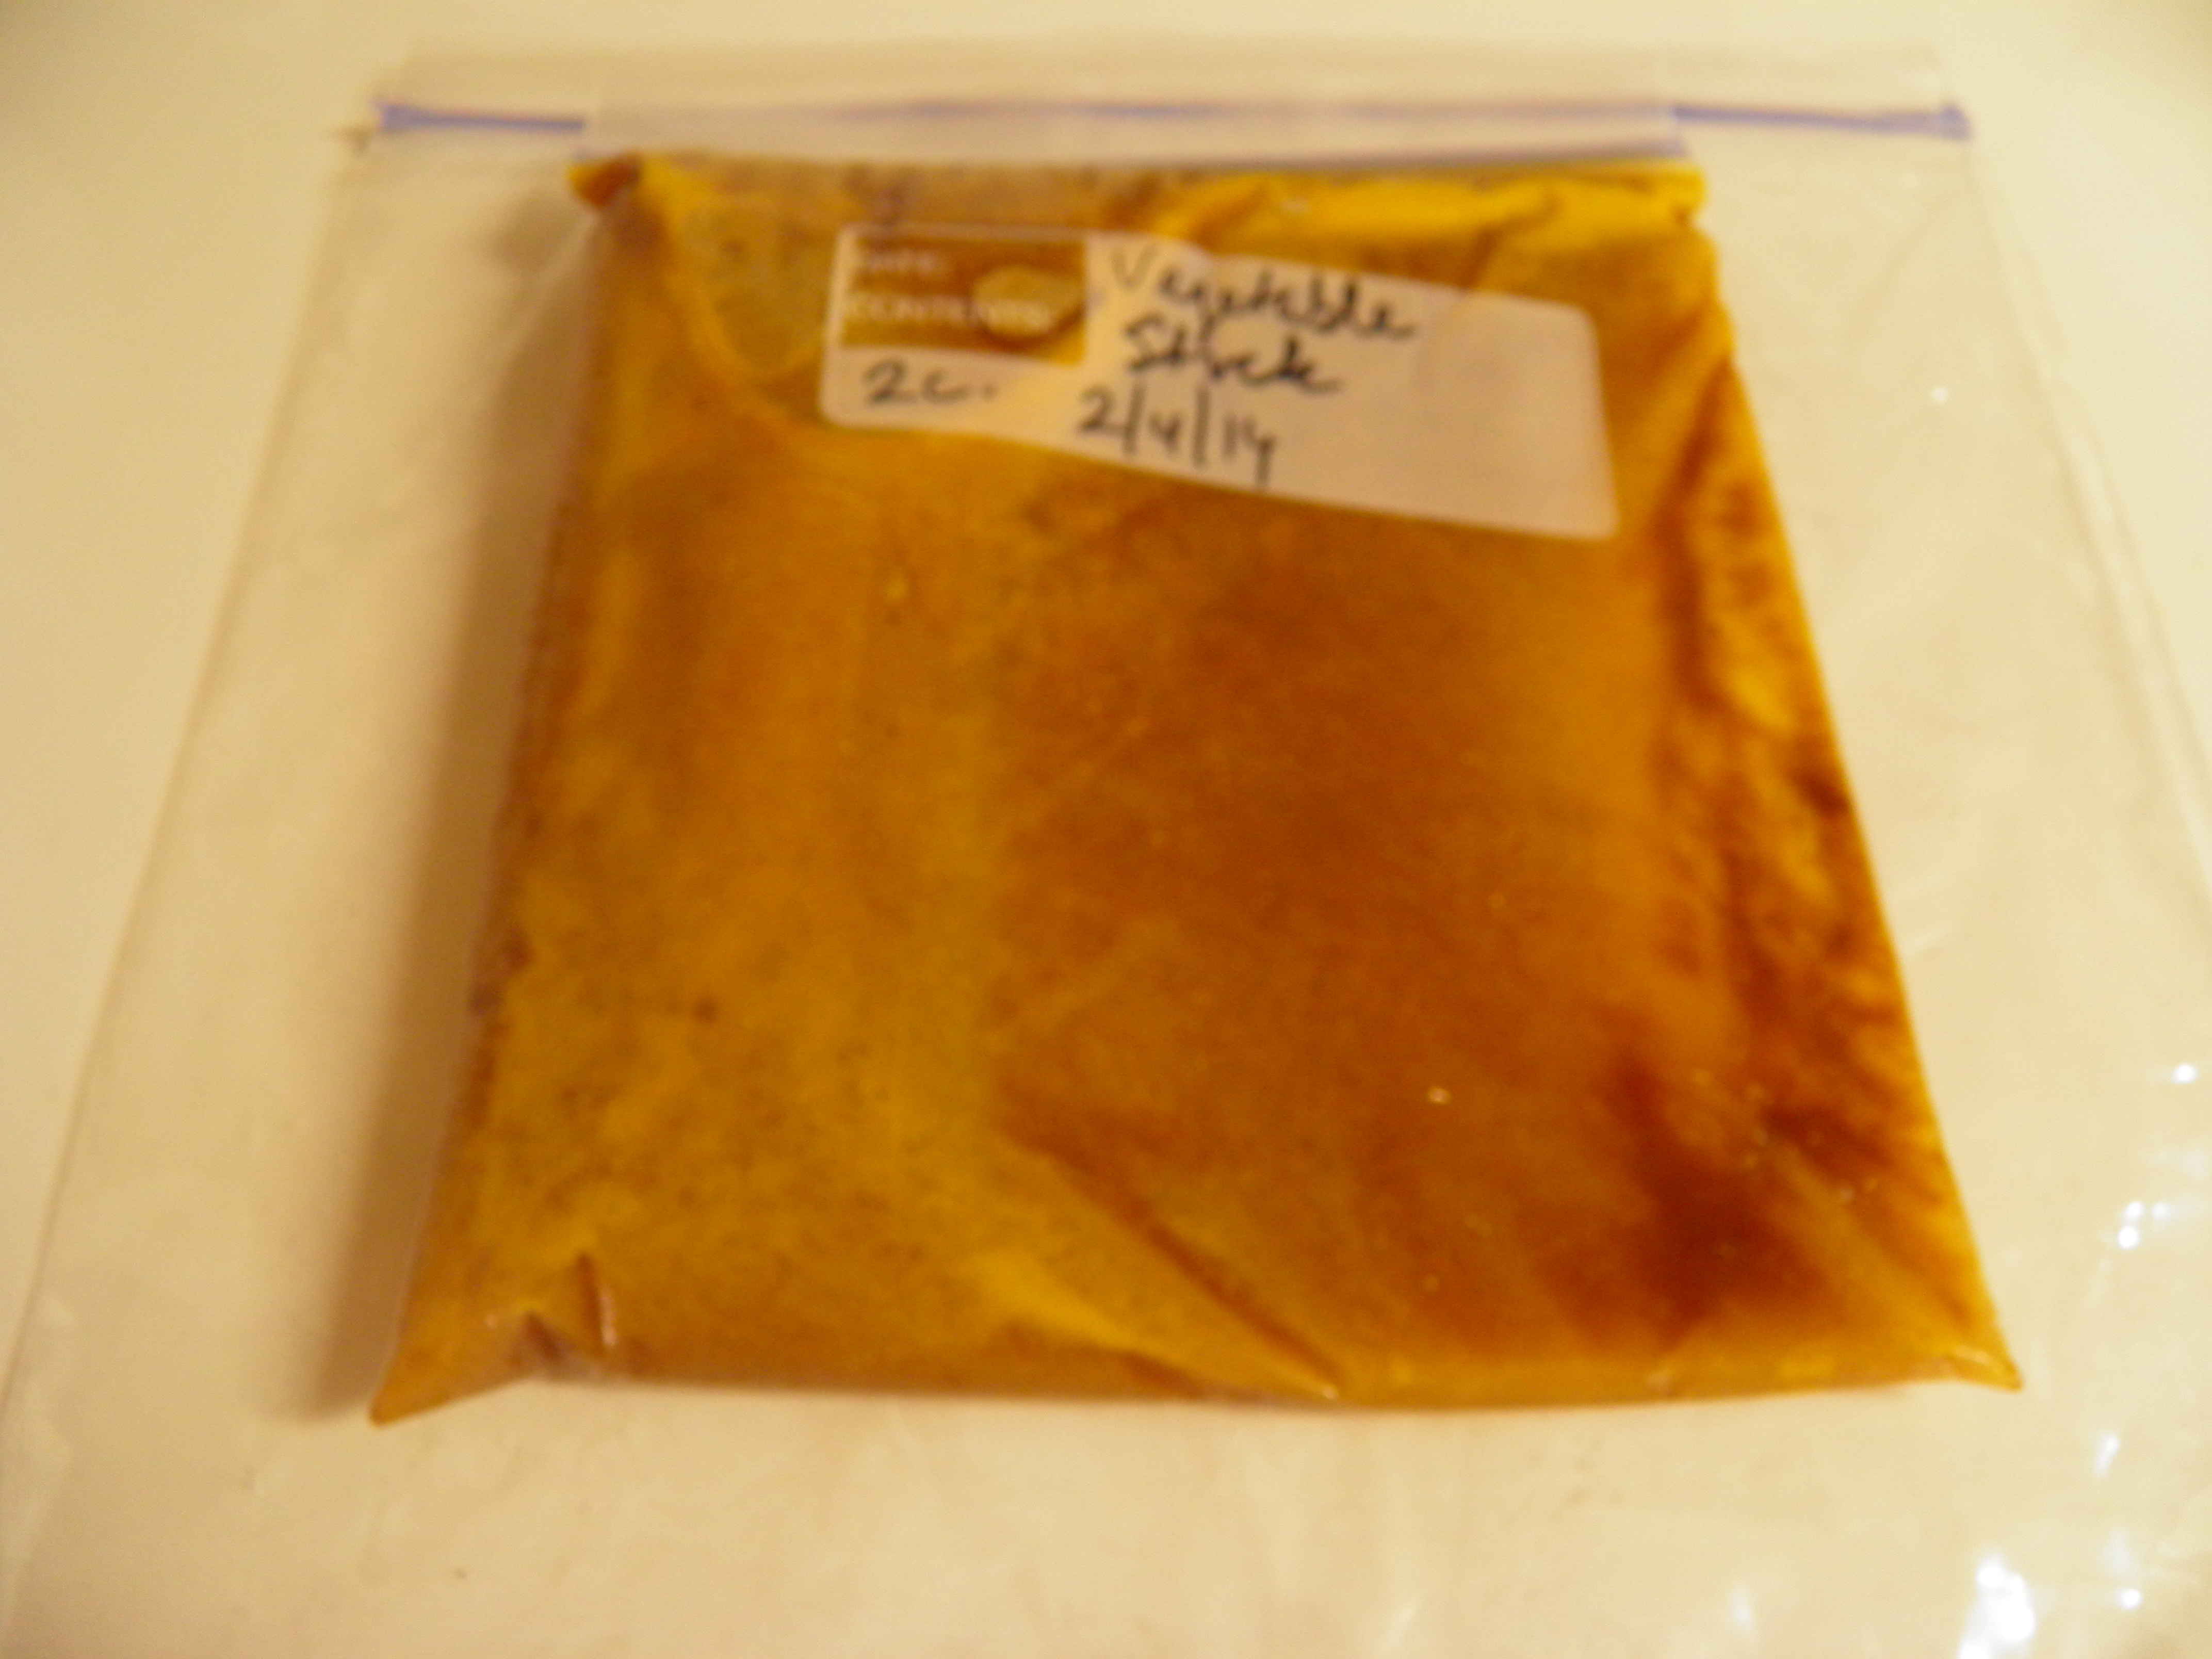
Most vegetable stocks are light in color and flavor. Because the vegetables in this stock are roasted brown, this stock has more color and more flavor than what you’ll buy in the store. This will affect the color of whatever dish you put it in, so if you’re going for a light-colored dish, you won’t want to use this stock. If you’re going for richness and flavor, this stock is a winner.
I made two quarts of roasted vegetable stock two weeks ago, and I have already used three bags of it. I used one bag in my Bear and Mushroom Fricassee with Creamy Polenta, one bag in another batch of my Spicy Sausage and Lentil Soup last week, and one bag in Bear Stroganoff with homemade sour cream, which will probably be the subject of next week’s blog. I only have one bag of frozen stock left, and I’m itching to make more.
Of course, after the stock is strained, you can still feed the scraps to your chickens or pigs or add them to the compost pile. I think that’s something to feel pretty good about. Waste not, want not.

Ummmm, I almost always roast my bones. Why did it never occur to me to roast my veggies? Thanks for the tip.
Probably because you rarely see it in directions for stock-making. Usually, we’re told to just throw veggies in the meat stock. It just occurred to me one day that if roasting bones and meats gives deeper flavor, and roasting things like winter squash and pumpkins and potatoes makes them taste better, then why wouldn’t roasting veggies for stock make it taste better too? And I’m telling you, Kelly, you wouldn’t know there’s no meat in the making of this stock. It has that much flavor.
This sounds really yummy. Thanks for the idea and description.
Glad you liked it, Shari. 🙂
Pingback: Fun with Dairy: Homemade Sour Cream | Garden, Forest, Field