
Update: December 21, 2014
I’ve updated again! For making, feeding, storing, and maintaining your ginger bug, scroll down. For the best ginger ale recipe and fermentation method, please click on Ginger Ale Update.
Update: February 21, 2014
I’ve been experimenting with the ratios and mixtures and fermenting times, and so far, my best result has been with my Sweeter Ginger Ale recipe given below. I made some more with this mix this week, with only one alteration (I used only 2 tablespoons of fresh ginger in the hot mix with the sugar and water), and I ended up with the best batch ever. I fermented it for 3 days by the heater, so it was nice and warm, and then when I had lots of small bubbles for a day and big bubbles for two days, I put it into the fridge without opening the jug. I was using the glass gallon juice jug in the pictures below. That seems to be the ideal container. I chilled the jug in the fridge for a day before opening it, and I had so much carbonation when I opened it the next day, it sounded like a bottle of store-bought soda that had been shaken and then opened. It didn’t spew, though! I strained off a glass, and it had so much carbonation, it sat there and fizzed in the glass like a store-bought soda. The flavor was delicious, gingery but not overwhelmingly so like some previous batches have been. I’m so pleased with the recipe now, I wanted to share my update with you all.
I should also mention that I’ve been experimenting with how the ginger bug reacts after being stored in the fridge. I’ve gone ten days between feedings, and my bug still seems healthy. I always take it out and let it warm up for a few hours before I feed it, then let it sit overnight to work before I stash it in the fridge. I have also noticed that it does just fine when I feed it only a tablespoon of raw sugar with a tablespoon of water occasionally if I am building up the volume of my bug before making a batch of ginger ale. I did this when I was running low on ginger, and since it looked like there was plenty of ginger in the jar, I figured all the bug probably needed was a little sugar to feed the yeasts. That seems to be the case. I will continue to do this, feeding my bug every other time with just raw sugar and water, because I find that it becomes a little too strong with ginger otherwise. End of update! Original post (with Sweeter Ginger Ale recipe below) follows.
Original post:
As some of you know, I’ve been learning more about fermenting and culturing foods lately. I’ve made yogurt and apple scrap vinegar for years. Now, I’ve moved on to homemade ginger ale. And it’s pretty darn good. Dennis liked it, and while he’ll eat anything, he’s a bit picky about beverages, so his is an important endorsement.
I followed another blogger’s process (Wellness Mama), but I, and others, found the written directions somewhat confusing. It was necessary to scroll through all the comments and read the contributions of followers to figure it all out, so I’ve decided to write the process down myself, using what I’ve learned about fermenting other foods, and hopefully making it clearer for myself and for a few other folks who want to try making their own fermented beverages.
Now, why make your own ginger ale rather than buying it? For one thing, you won’t be getting any high fructose corn syrup in your homemade ginger ale. You can sweeten it with whatever you like if it’s not sweet enough for you as is. Secondly, because it is naturally fermented and carbonated, it contains some probiotic material that is good for your gut. And finally, it contains real ginger, which has long been known as a healing agent, particularly good for stomach troubles. And, I would add, it’s kind of fun to make. Well, if you’re into food-related science experiments like me.
This is a two-step process. First you have to make what’s known as a ginger “bug.” I assume it’s called a bug because it is actually alive. (Mmwha-ha-ha-ha . . . translation: evil laugh.) All the bug is, really, is an environment to keep the beneficial bacteria responsible for fermentation alive and well. After you have the bug going, and it’s thriving, you’re ready to make ginger ale, another step in fermentation that produces the bubble and fizz of carbonation. Oooh, fun stuff.
You need some containers, one for the bug, and one for the ginger ale. For the bug, a quart glass jar is fine. You need some nylon tulle, some breathable fabric, or a coffee filter (just as if you were making vinegar) and a big rubber band off a bunch of broccoli to hold your breathable fabric or coffee filter on the mouth of your jar. For the ginger ale, you need a bigger jar. Contrary to the original instructions from Wellness Mama, a half-gallon jar will not work. The liquids add up to more than two quarts. If you have a gallon-sized glass juice jug, or something between a half-gallon and a gallon, that will work. You need a jar or jug with a tight-fitting lid to capture the fizz.
Ginger Bug
In your clean quart jar, combine:
2 cups of water
2 tablespoons of grated or chopped fresh ginger root (peeled if not organic)
2 tablespoons of sugar
You can use whatever sugar you have on hand. I used raw sugar, and it worked very well, but others say you can use white table sugar; some recommend adding a teaspoon of molasses for color, flavor, and minerals if white sugar is used. Sugar feeds the organisms on the raw ginger that create fermentation.
A word on water. Some folks use filtered or bottled distilled water, and I would do this if I had chlorine in my water. I have hard well water, and it worked just fine.
Cover your quart jar with the breathable material, secure it, and place it somewhere warm. My kitchen was cold when I started the bug, so I kept it near the heating stove, where it stayed about 78 degrees. A warm, not hot, temperature encourages the growth of yeasts, etc. in your ginger bug. If it’s cold, you’re more likely to get mold than fermentation, and you’ll have to throw it out and start over if you get mold. Mold does not taste good. This is what it looks like when you have the bug going.

Now, every day for five days, add 1-2 tablespoons of grated or minced ginger root, 1-2 tablespoons of sugar, and 1-2 tablespoons of water to your bug, stirring well. Some folks say you shouldn’t use a metal spoon, but this is just silly because you use a metal knife or food processor to chop the ginger. Stirring with a metal spoon isn’t going to harm your bug, but if you are worried about it, by all means, use a wooden or plastic spoon. (I wouldn’t use a silver or iron spoon, but who uses spoons like that to stir things like this anyway?) The thing to remember is to use the same proportion of ginger to sugar to water each day. Cover the bug, put it back in its cozy spot, and go on about your business. In a day or two, you should start to see some foaming or bubbling, maybe hear a little hissing, see a little fizzing when you stir the bug. That means your bug is fermenting, and all those little organisms (bugs) are growing. Yay! After five days of this, you are ready to make ginger ale. (When you have used some of your ginger bug for ginger ale making, you need to add back ¼ cup of water, 2 tablespoons of sugar, and 2 tablespoons of fresh chopped ginger to the bug before storing it.)
But first, it is important not to let your ginger bug sit at room temperature more than about 5 days after it starts to ferment, because it could start to turn to vinegar (move from alcoholic fermentation to acetic fermentation) after that time. If you want to hold your bug at readiness and not make ginger ale right away, you can put a tight lid on the jar and stash it in the fridge indefinitely, as long as you take it out and feed it once a week.
To feed your ginger bug, bring it out of the fridge, bring it to room temperature, add a tablespoon of minced/grated ginger, a tablespoon of sugar, and a tablespoon of water. Let it sit out at least 8 hours in its cozy place, then it can be refrigerated again. If you are using your ginger bug after resting in the fridge, take it out 8 hours before you want to use it to make ginger ale, feed it, and let it sit and get warm and active before adding it to the ginger ale ingredients. Now, here are the directions for making ginger ale.
Homemade Ginger Ale
In a large sauce pan, heat:
2 tablespoons of grated or minced fresh ginger root (peeled if desired or if not organic)
½ cup sugar (raw/demerara, organic, or if white sugar is used, add 1 tablespoon molasses as well)
½ teaspoon sea salt (kosher salt is fine, and I don’t imagine that plain table salt would adversely affect the ginger ale)
3 cups of water (filtered or distilled if you have chlorinated water or if you think the mineral content of your water would produce a nasty taste)
Simmer for about 5 min. to dissolve sugar and infuse the water with the ginger.
Add:
5 cups of cool, filtered water (if filtering is necessary)
½ cup fresh lemon or lime juice or combination thereof
½ cup ginger bug
Make sure the water/sugar/ginger mixture is cool before adding ginger bug. (You don’t want to cook the bugs!) Mix well. Pour into large jug and cap tightly. (Again, a half-gallon jar will not work. With 8 cups of water, ½ cup of juice, ½ cup of ginger bug, you have at least 9 cups of liquid, and that won’t fit in a half-gallon jar.)
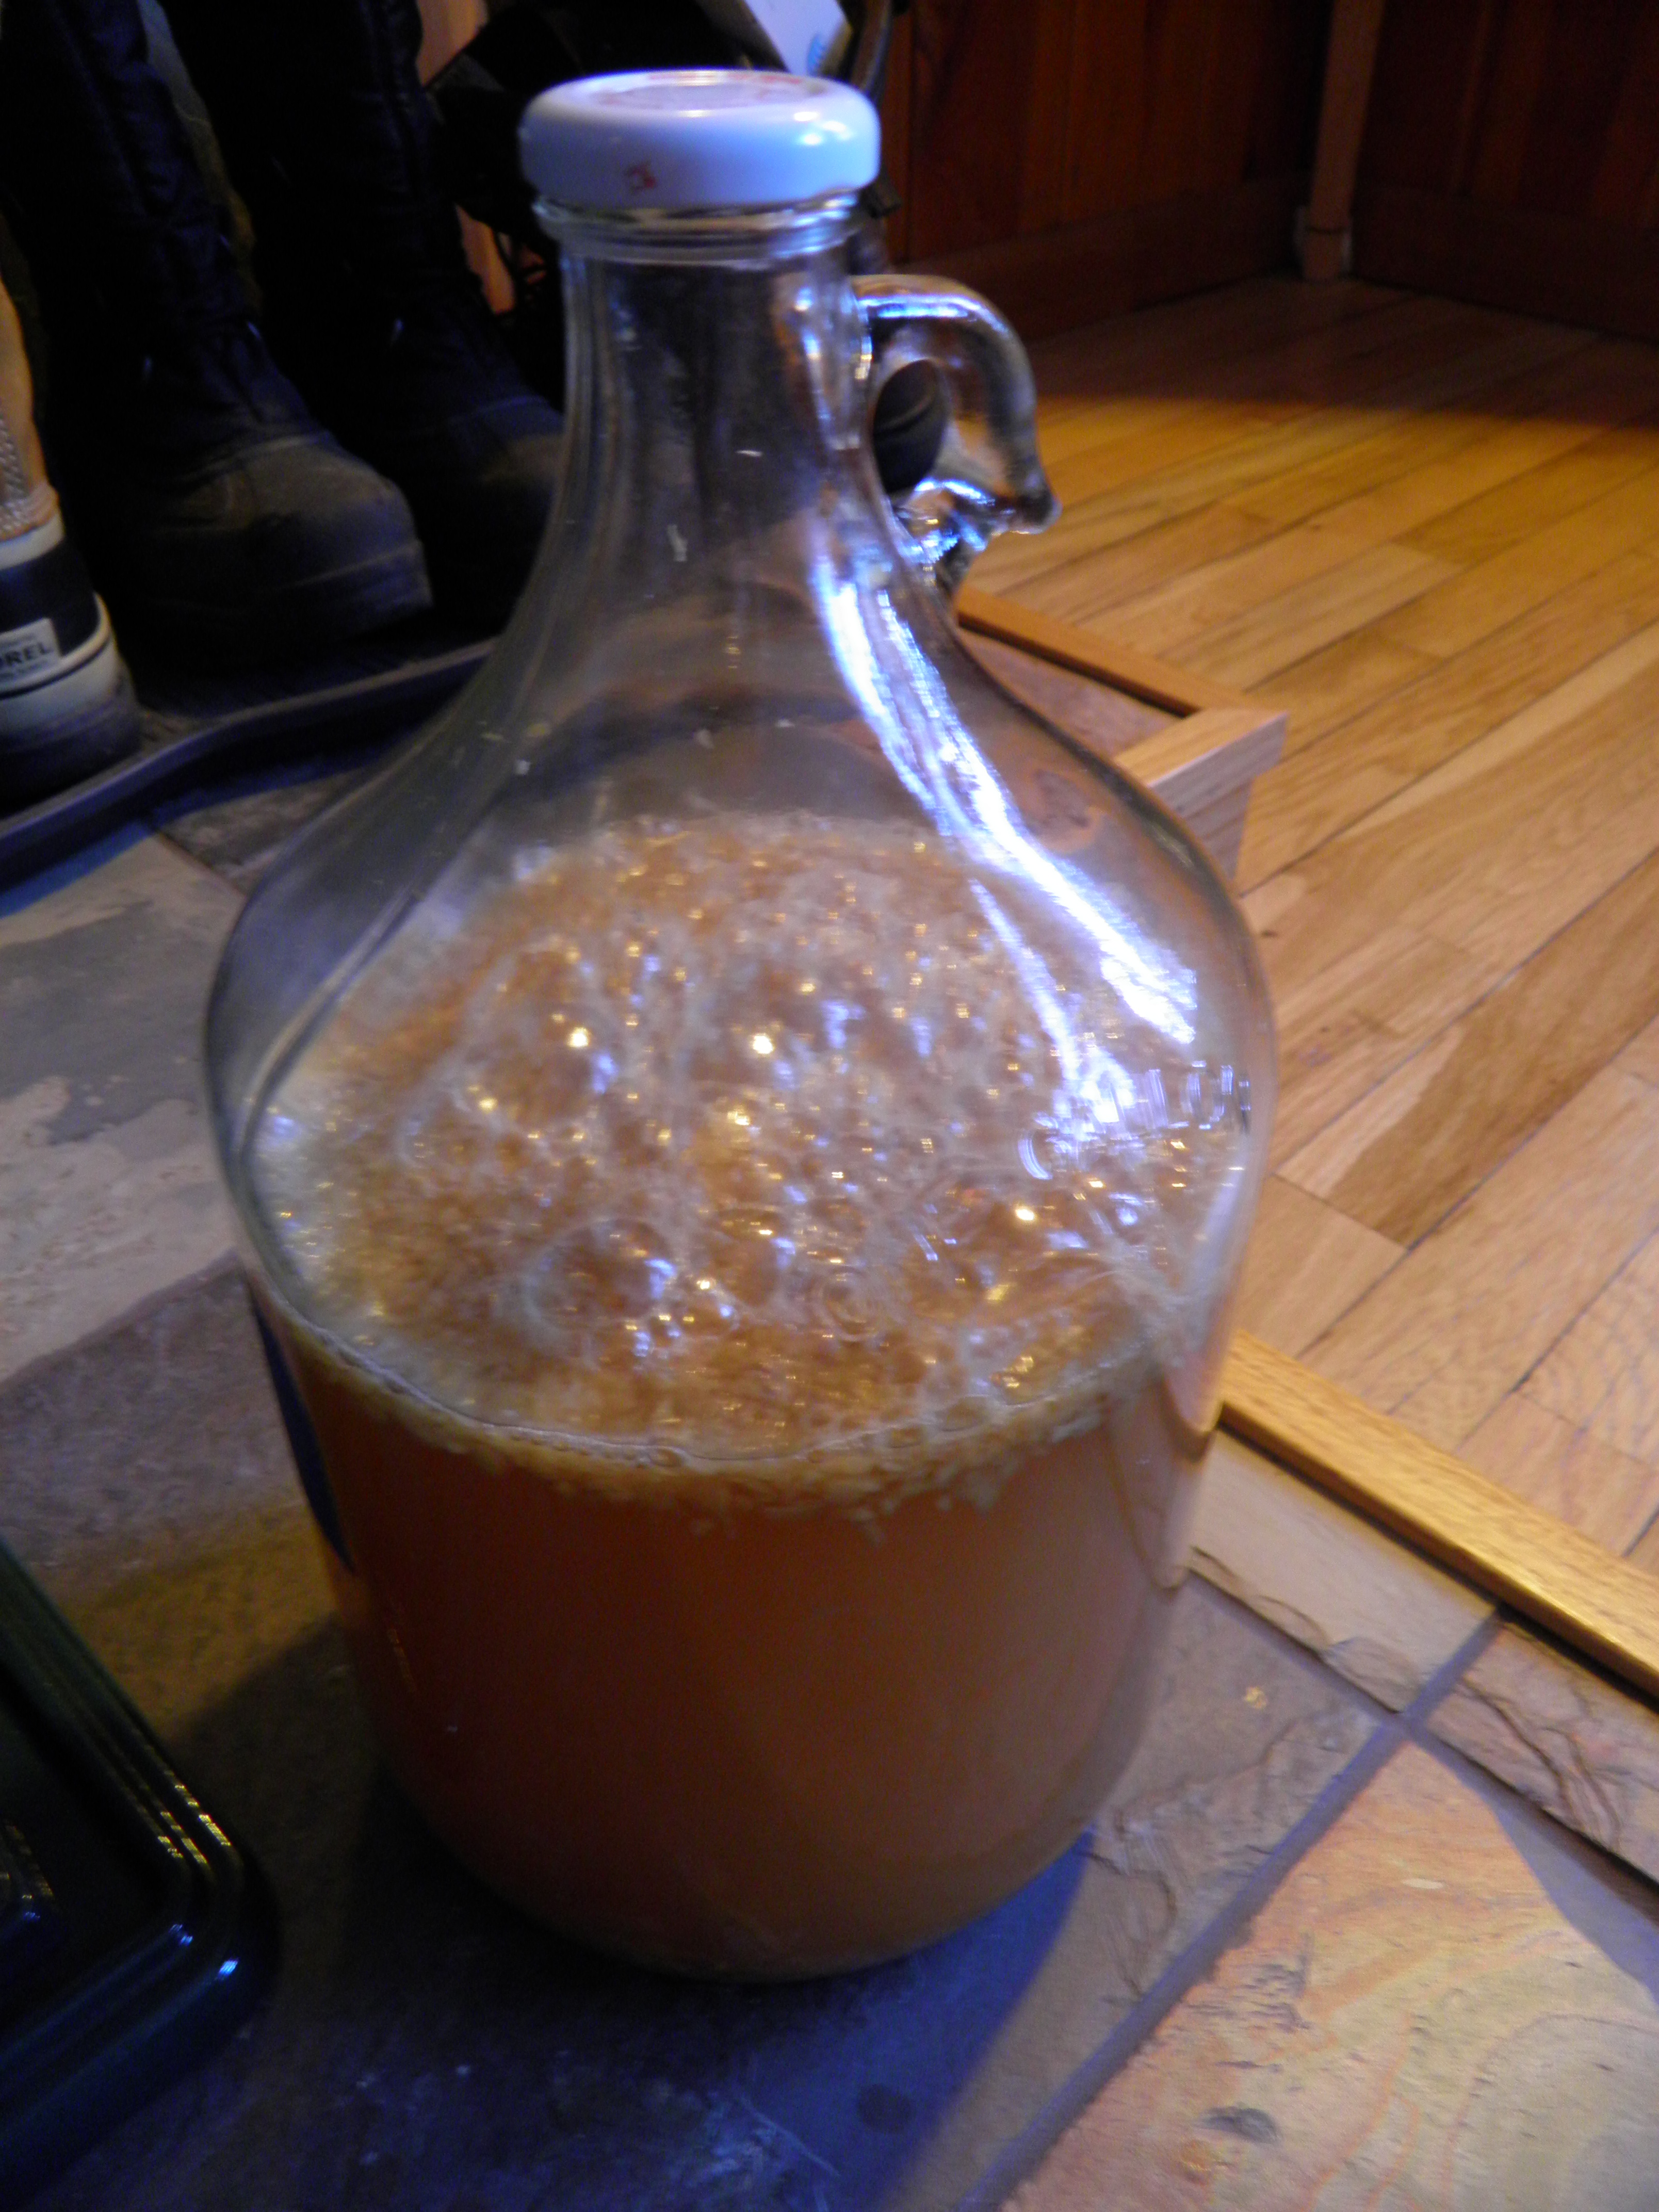
Put this tightly capped jug in the warm, cozy place, and let it sit. If your ginger bug has fermented properly and is active, the ginger ale should begin to bubble within a few hours. Here’s what mine looked like (my second batch).
Let it sit until bubbles just begin to diminish. At this point, it’s ready to drink. Chill the jug well before opening.
Now, here’s what’s going to happen when you open the lid on your ginger ale. Just as with commercial sodas, there will be a loss of carbonation as soon as you open the jug. I got a big hiss of escaping gas when I opened the lid on my gallon juice jug. I tried to tighten it back down, but the gas kept escaping. For this reason, it’s best not to open your ginger ale until you are ready to drink it, and then to pour it quickly through a strainer (so you aren’t chewing little bits of ginger, but save the ginger because you can use it in your next batch of ale) into glasses loaded with ice and whatever else, if anything, you want to put in the ginger ale (various kinds of alcohol spring immediately to mind) and drink it up right away. If there is any left over, pour it off straight away into a smaller bottle and cap tightly. It will not be as fizzy when you open it, but it will still taste good. Here’s what my first batch looked like after I strained it off out of the big gallon juice jug. (I saved the ginger and put it in the second batch with some additional fresh ginger to feed the fermentation.)

It should be stored in the fridge, where it will keep indefinitely. If stored at room temperature, it will eventually become alcoholic. (Yeasts + sugar + time = booze.)
I should say a few words here about sweetness. This stuff is not sweet. It was not sweet enough for my son and husband until I stirred about a teaspoon of raw sugar into it. It was sweet enough for me as is, and very refreshing. But when I wanted something a little sweeter, I stirred about a half teaspoon of raw sugar into mine. I also tried it with a little Splenda, which I use very sparingly these days, and it was quite good.
Because I wanted to see if I could produce a batch that would be sweet enough out of the jug for the family, I altered the recipe a bit. Wellness Mama’s instructions add that you can adjust the volume of the recipe by using a ratio of ¼ cup sugar per 1 quart of water and adding ¼ cup ginger bug for each quart of water used. I followed these directions for increasing the volume of my second batch but doubled the sugar and kept the amount of lemon/lime juice the same, since the first batch was very acidic.
Sweeter Ginger Ale
Simmer for 5 minutes:
1 quart water
4 tablespoons minced ginger
1 cup raw sugar
1 teaspoon sea salt
Add:
2 qts. cool water
½ cup lemon or lime juice (I used about ¼ cup lemon and ¼ lime juice)
¾ cup ginger bug
Mix well and pour off into gallon jug; cap tightly. Let sit in warm place for 2-3 days. Chill and strain before drinking.
I should note that this mixture bubbled up very quickly, producing a lot of carbon dioxide the very first day, but was not as fizzy as my first batch when the jug was opened.

Given my experience with making vinegar (which also ferments), I believe it was the added sugar in this mix that caused a faster fermentation. I also think that for great fizz, the mixture should have been drunk immediately, rather than chilled and stored for two days, as I did. It’s also possible that the cap on my jug released carbonation. I am using a glass gallon-sized apple juice jug with a metal, screw-on lid. A bottle with a bail closure and rubber seal on the stopper might work better to contain the carbon dioxide.
These ratios produced a slightly sweeter ginger ale that no one needed to add sugar to, and everybody liked. My son-in-law, who was born and raised in Nigeria, says he grew up drinking something very similar. He was particularly appreciative of my homemade ginger ale and wants me to make it again for New Year’s Eve, when his mother and nephews will be visiting with us.
Wellness Mama cautions against over-fermentation to prevent the bottle from exploding. Frankly, I think this is highly unlikely unless the bottle was made of very, very thin glass and the lid were truly air-tight. This stuff would be more likely to blow the lid off. However, I also think that if a jug is going to blow its lid, it’ll be because it doesn’t hold enough space for the gas. When that space is full and gas is still being produced, it has to exhaust somehow.
I liked my first batch of ginger ale made following Wellness Mama’s directions, but we all liked the second batch best, made with more sugar and less lemon/lime juice. I think it would be fine to eliminate the citrus juice altogether, and just add a twist of lemon or lime to the glass before drinking.
For my next batch, I think I’ll start with the original instructions, double the sugar, reduce the water by one cup, eliminate the citrus, and see if it will almost fill but not overflow a half gallon jar. I’m curious to see if I will get more fizz from an almost full jar when it is opened.
At any rate, I’ll have fresh, homemade ginger ale for Christmas Day and New Year’s Day. How fun is that? For this nutcase food nerd/amateur scientist, it’s pretty darn fun.

Thank you! This clears up so many questions. I look forward to future adventures…
As do I!
Pingback: How to make Natural Ginger Ale… | huttriverofnz
Oh this is much easier to follow than the other one I looked at. Thanks, Jeanie!
Pingback: Glazed Pork Roast with Chinese Plum Sauce | Garden, Forest, Field
Pingback: Ginger Ale Update | Garden, Forest, Field