
We sure know how to stretch out a renovation! As some may or may not remember, we started working on the kitchen at the end of January 2016. We had so many delays with the countertops, the kitchen wasn’t usable until May 2016. By then, we were busy with the garden, the spring raking and burning of pine needles, and all the other maintenance jobs involved with a three-acre property with lots of trees and old buildings on it. (Dennis and Joel put a metal roof on the old house we call the barn last fall.) So the kitchen went on hold as soon as it was usable, and the backsplash tile, mastic, and grout sat in a corner for the rest of the summer, the fall, and the winter. I really thought we’d get to it before Spring 2017, but best-laid plans and all that.
Just after Easter, Dennis finished laying the backsplash tile. I wanted to share what we learned about laying backsplash with the kind of tile we used.
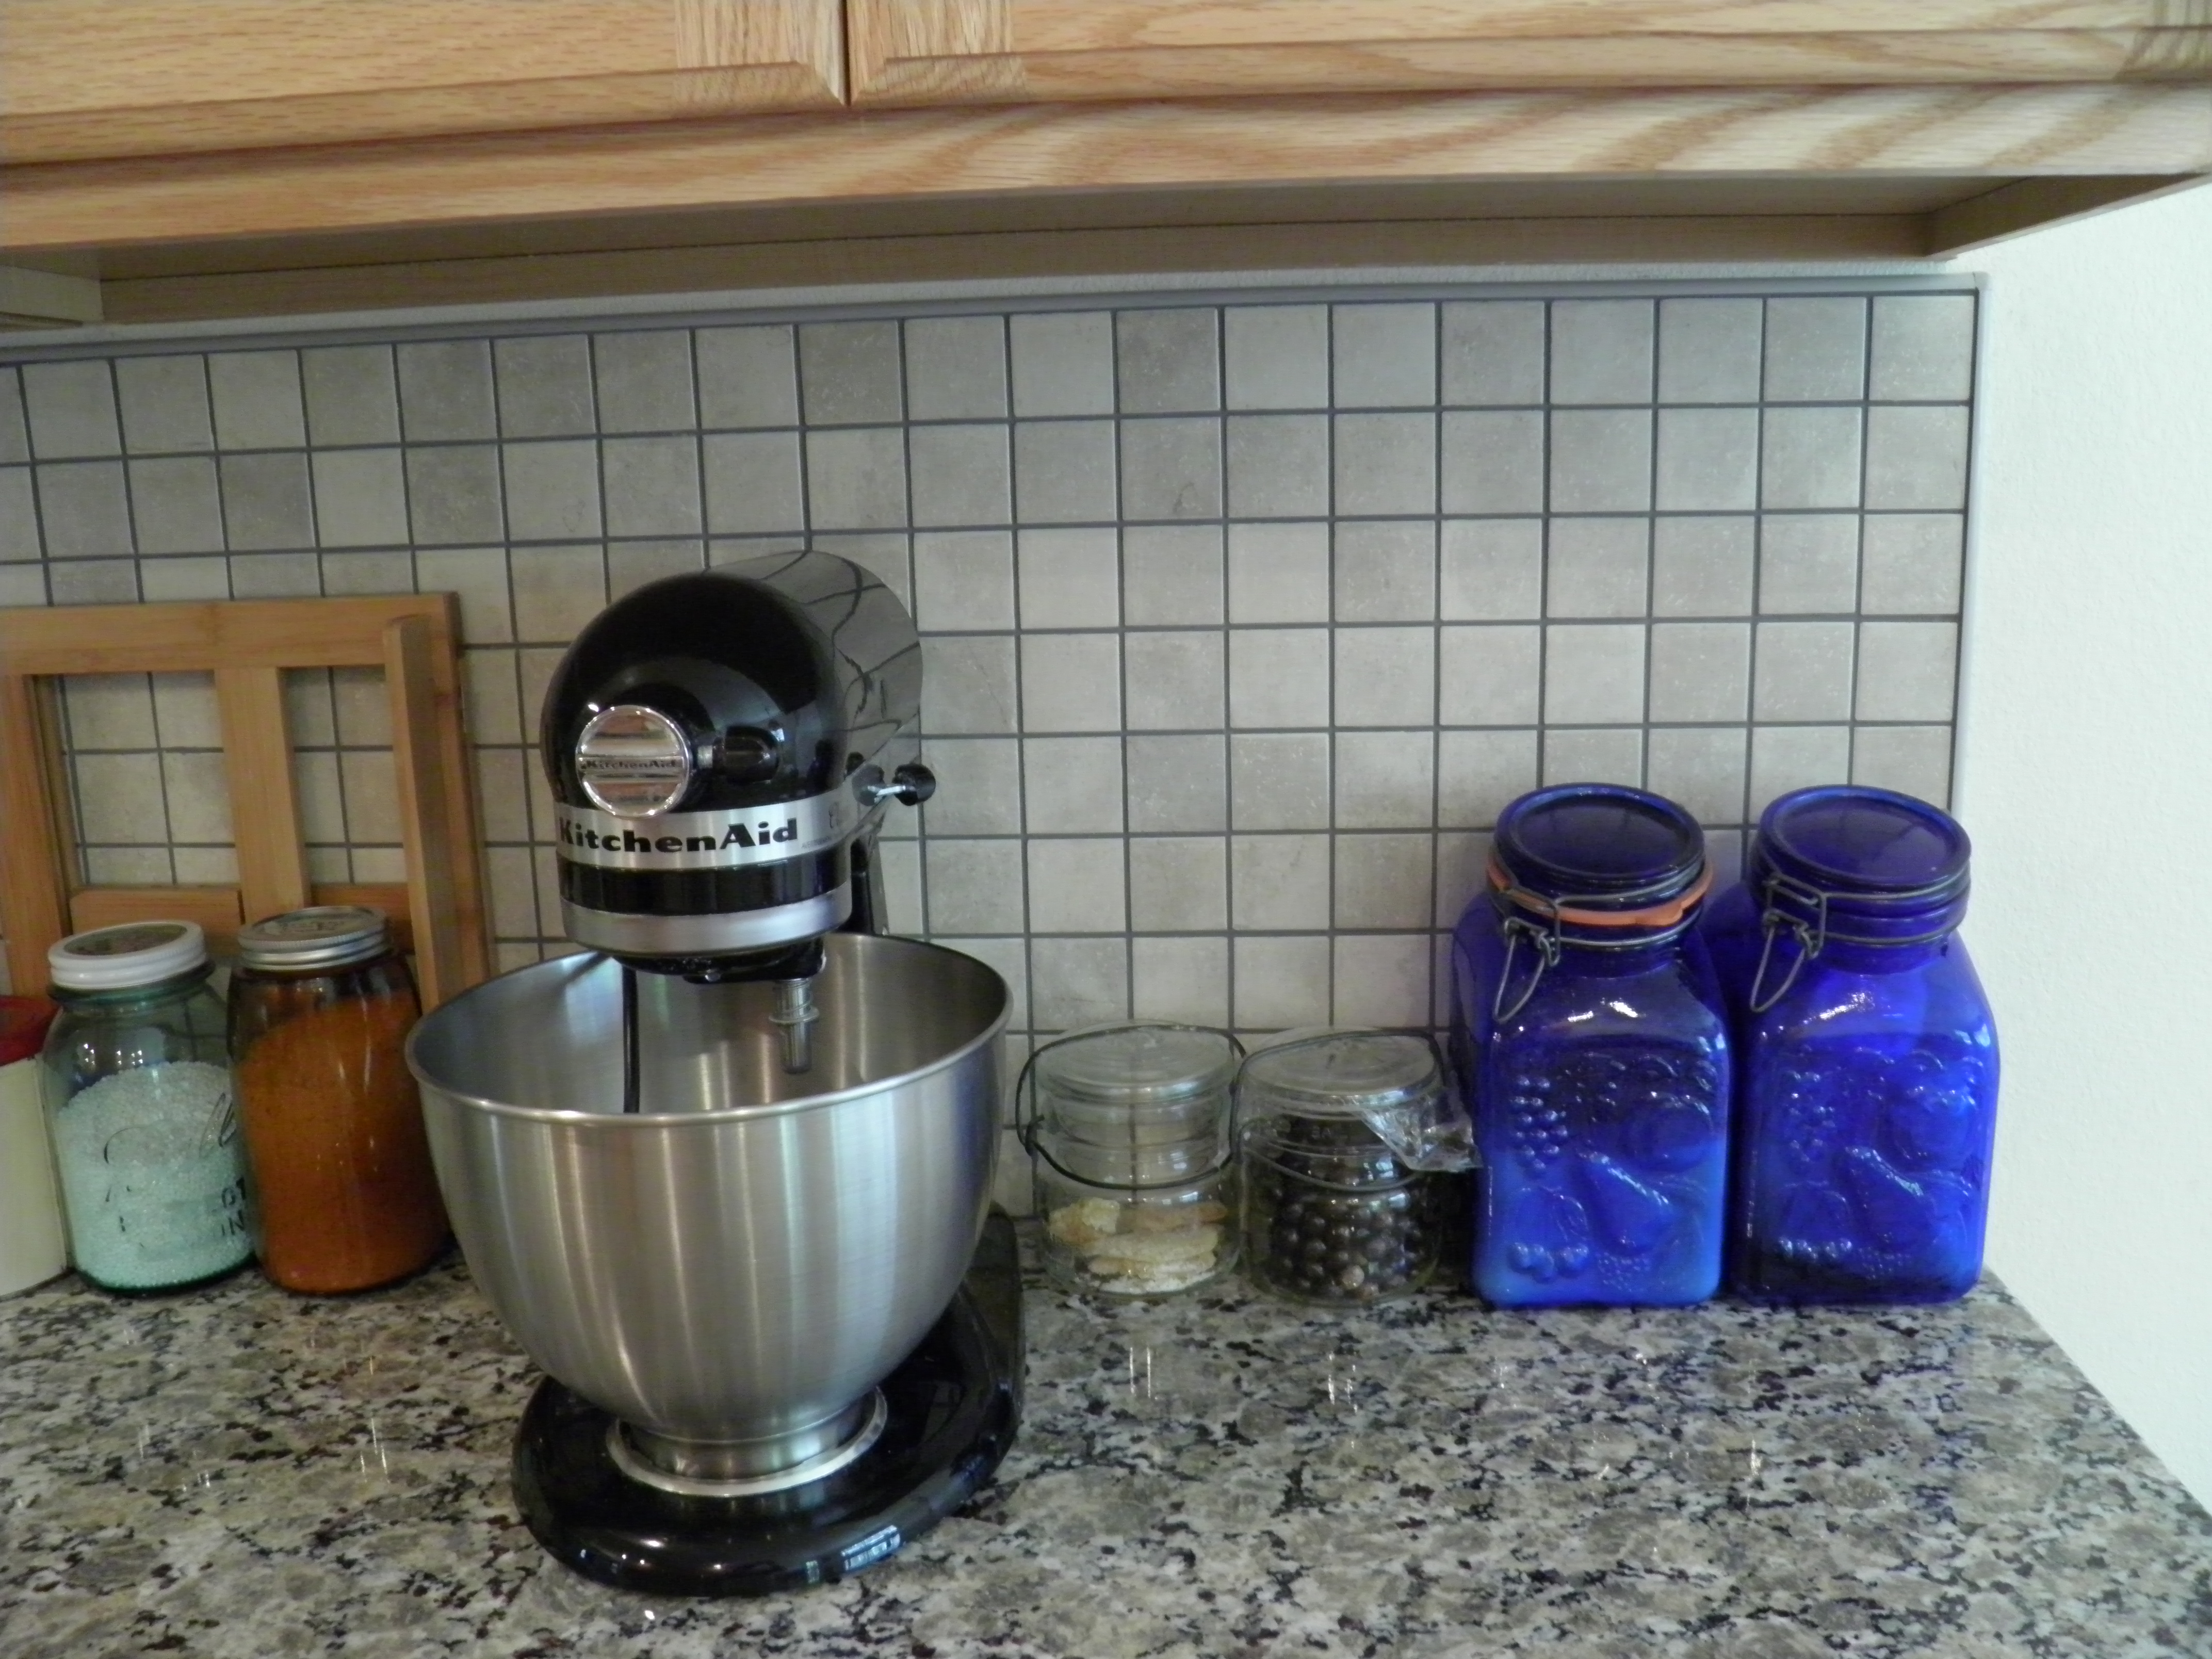
The only tiling Dennis has ever done was on our hearth a decade or more ago. He used big slate tiles on that job, and it came out quite nicely. He was nervous about tiling such a large area in the kitchen: two long walls and two short end walls. I don’t have pictures of all of it because I can’t keep it all clean enough at the same time to take a picture, but I will when the entire project is finally finished. (We still have to finish the pass-through slab and install it, and repair the wall where we cut it.) This is what I call my baking station. All my flours, sugars, and other baking paraphernalia are stored in the cabinets above and below, and my vintage canisters, bread board, and stand mixer can stay here on the counter. I love my baking counter!

OLYMPUS DIGITAL CAMERA
Because Dennis was nervous about the tile job, he thought using those 12’X12’ mosaic squares, with the tiles attached to a web backing, would be easier than laying the subway tile I wanted. He thought it would be less work and there’d be less chance of messing up the lines. Just the opposite turned out to be true. This is the small subway tile I liked.

OLYMPUS DIGITAL CAMERA
We talked it over and decided that the best approach would be to tackle one section at a time, get the tile up and grouted, before moving on to the next section. That way, not all the counter space would be out of commission at the same time, and it would help to avoid having all the kitchen counter paraphernalia (canisters, toaster, bread board, coffee maker—you know, all that stuff you keep on your counters) in a pile in the living room. (The living room has enough piles already.)
So Dennis started on my baking station. It’s about a six-foot long section of counter. He covered the counter top and started applying mastic to a small section. We’d been advised to use mastic rather than thin-set because we were going over a painted surface instead of tile board. Mastic dries out faster than thin-set, so you have to work quickly or work in small sections. Dennis soon found out he wasn’t going to be working quickly.
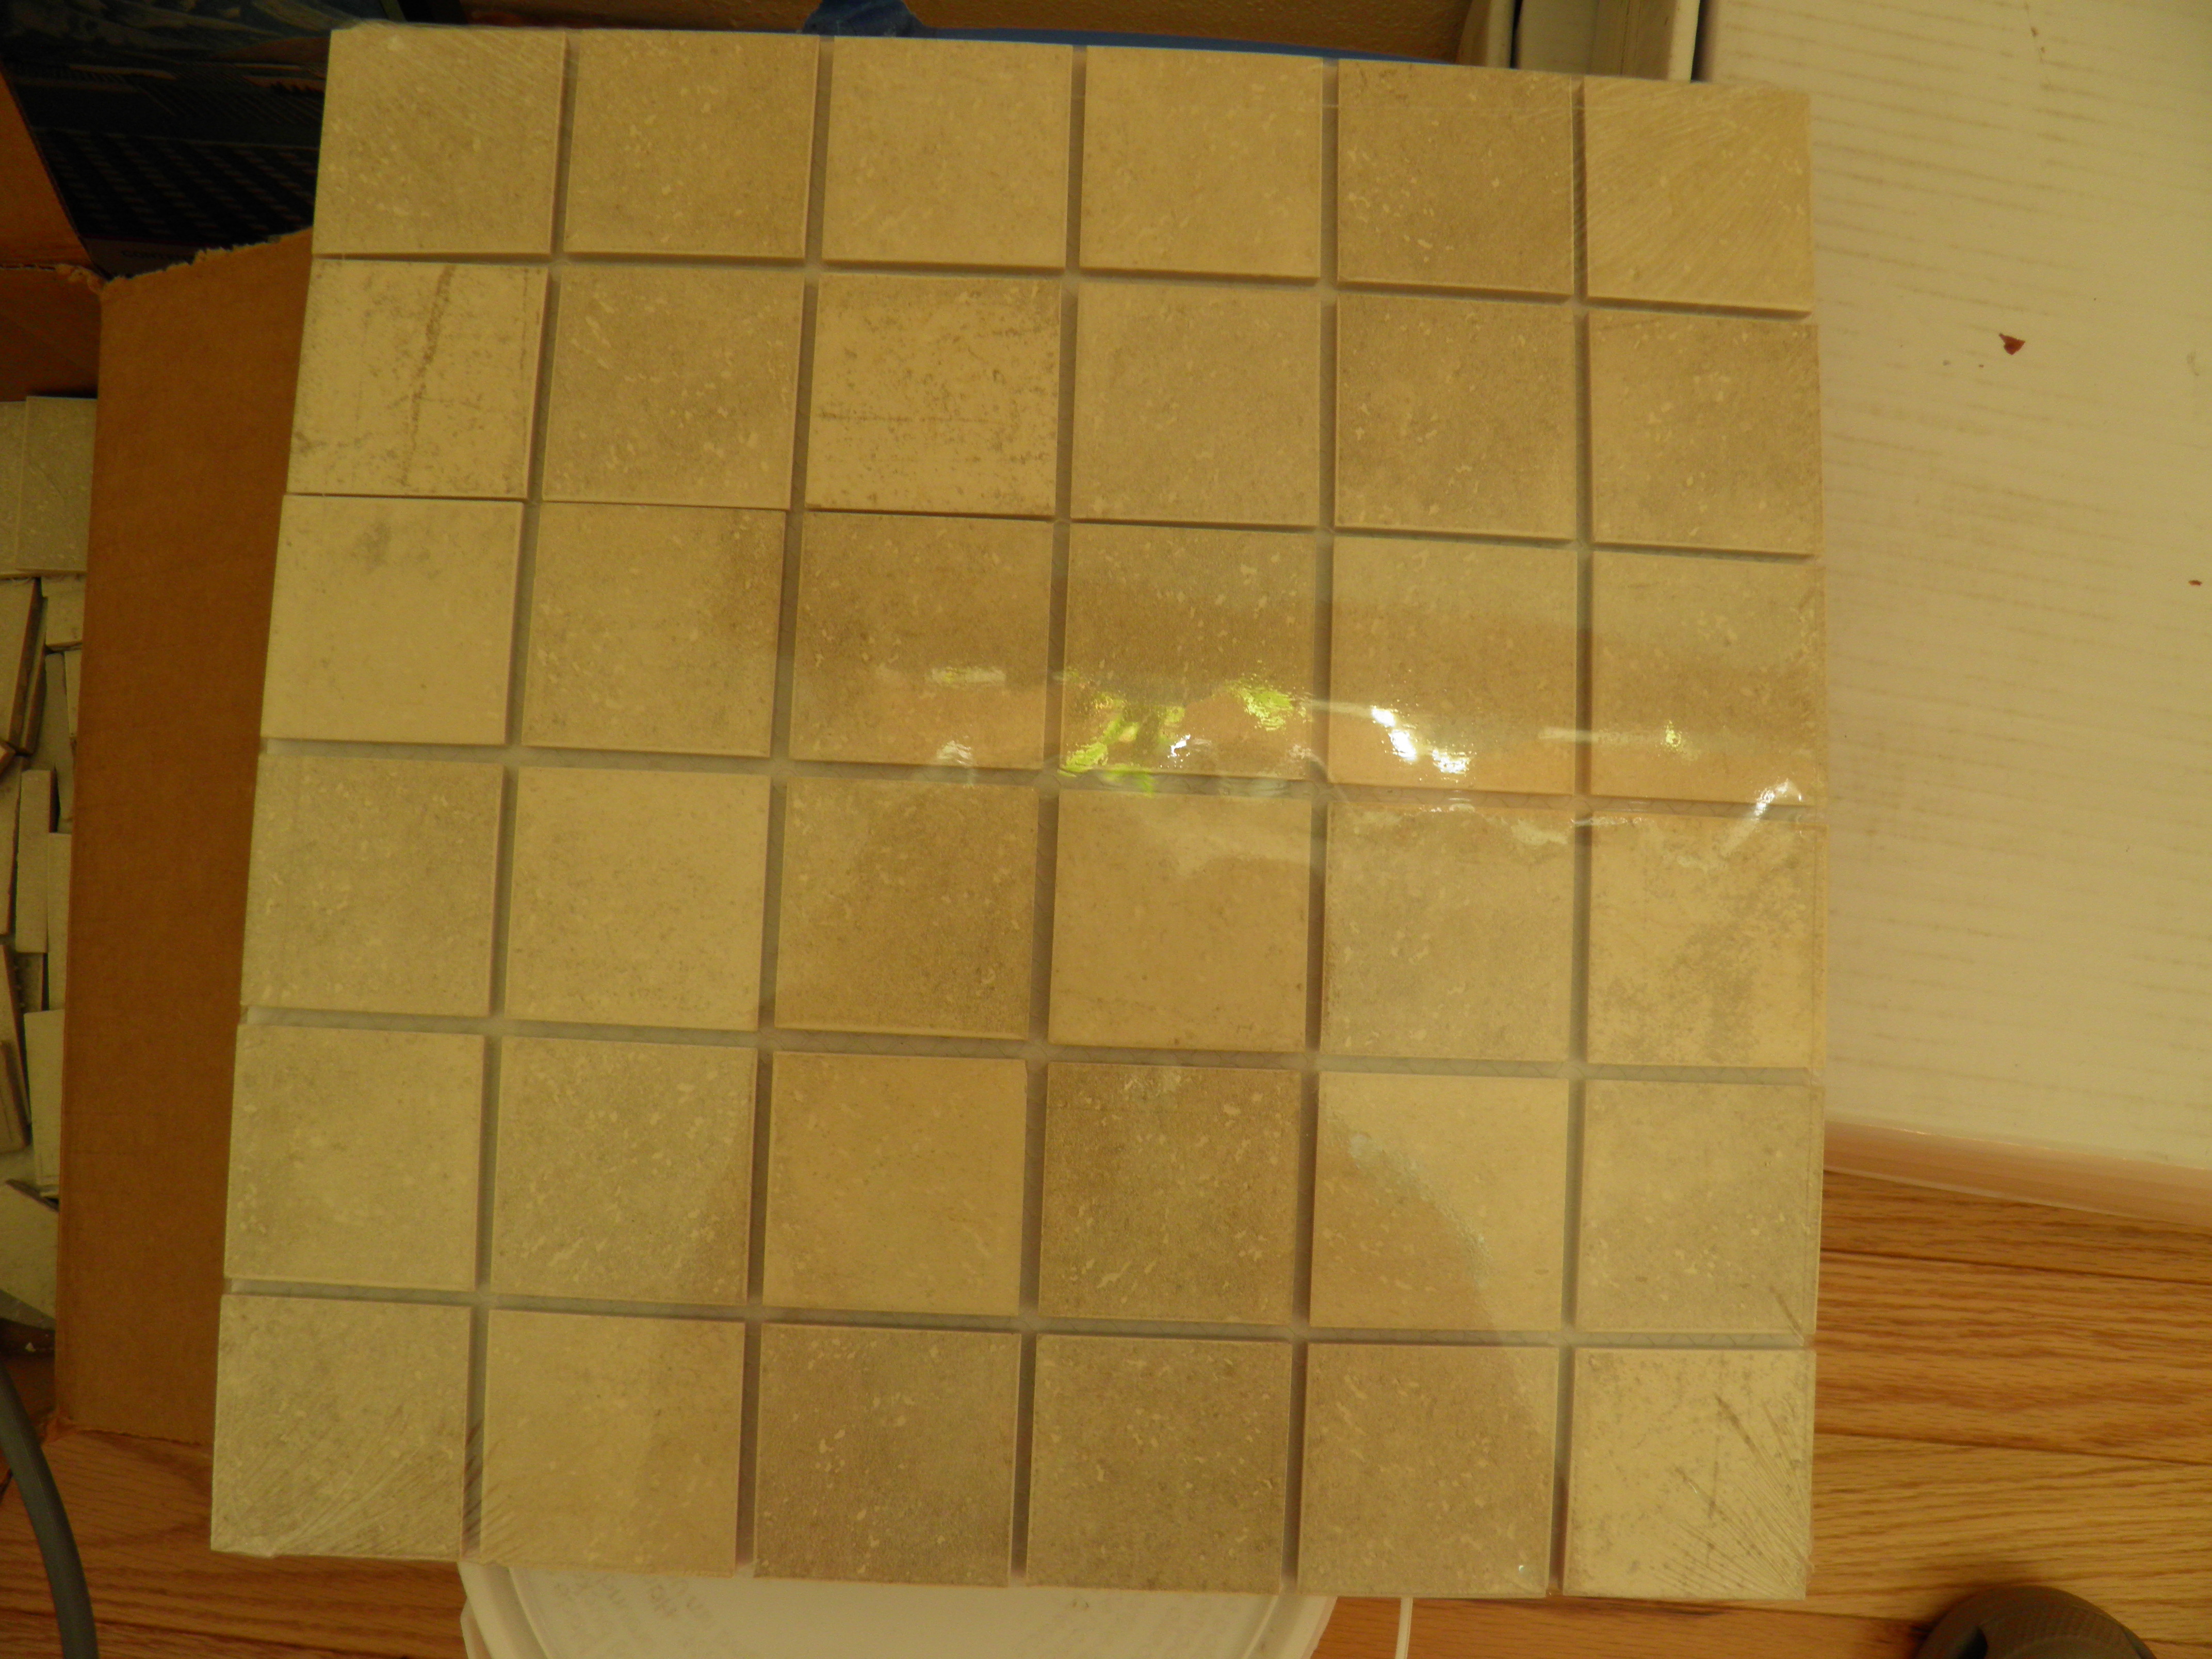
The tile we chose, once subway tiles were off the board, was a 12’X12’ mat of small 2” square tiles. They were reasonably priced at Floor and Décor, and they looked good with the granite countertop, a classic, plain backdrop for a rather busy stone counter.
OLYMPUS DIGITAL CAMERA
Dennis was happy. He thought he could put up a mat, put the tile spacers at each corner of the mat, and then put up another mat, and so on, keeping the lines straight with the spacers around the mats. He thought it would go pretty fast. He got all that first section up, painstakingly slowly (a whole day of labor), trying to get it right, let it dry the required time, and then grouted it. And that’s when all the mistakes showed up.
Lines between mats were crooked, lines within the mats were differing widths. There were places so bad, he had to remove tiles and mats and redo it. He re-tiled about a third of that first section. He learned that when working with mats of tiles that will eventually have grout lines between them, you have to put a spacer in between every single tile. You can’t depend on the mat to space the tiles evenly. (It might be different with glass strip mosaic tiles. I don’t know. I didn’t like any of those with my busy countertops.) As you can see in the picture above of the mat, the tiles are not necessarily perfectly applied to the mat. Each mat contains 36 tiles. I can’t even remember how many bags of spacers he went through before, near the end, our son came over and said, “Oh, Dad, you’re supposed to take those out. They make a little hook thingy to pull them with.” By that time, all but the section behind the stove and the short wall under the pass-through were done. Grouted over. I said, “Heck with it. Leave them in. You have enough to finish, and they are small enough to grout over.” We couldn’t see them at all after the grout was applied. Here is the worst part of the baking station after the repairs were made and the tile grouted. I’m happy with it.
OLYMPUS DIGITAL CAMERA
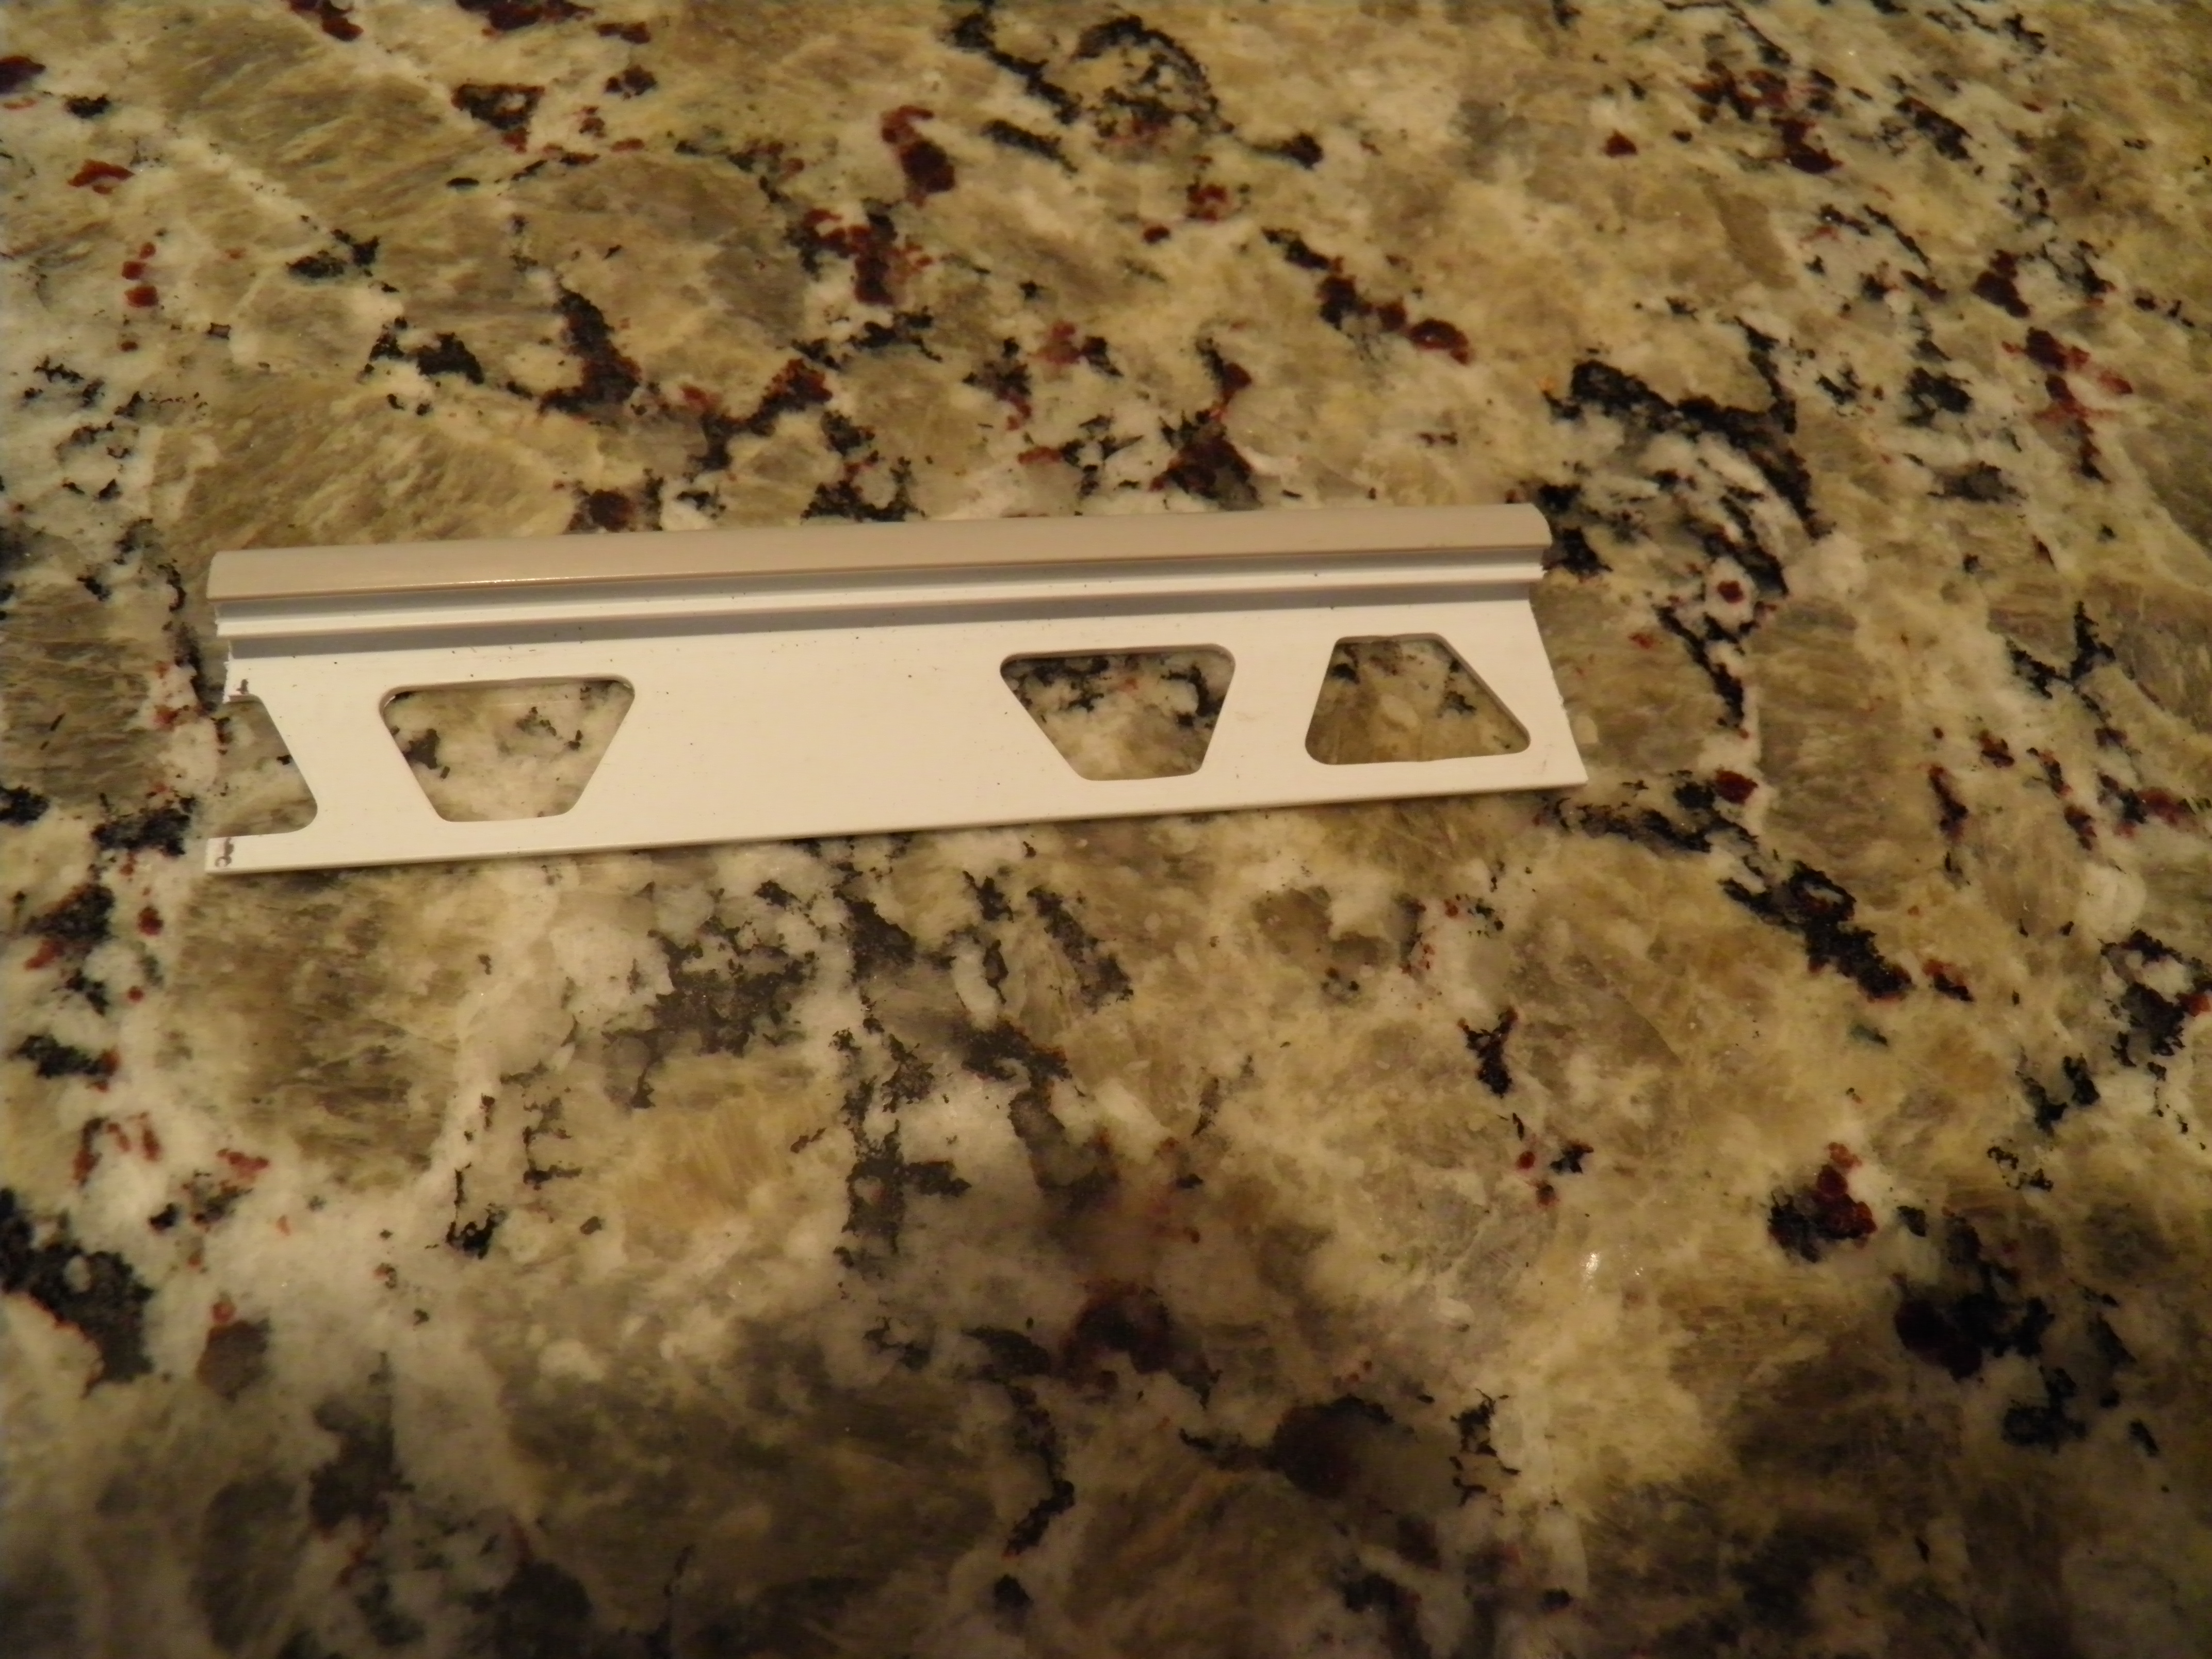
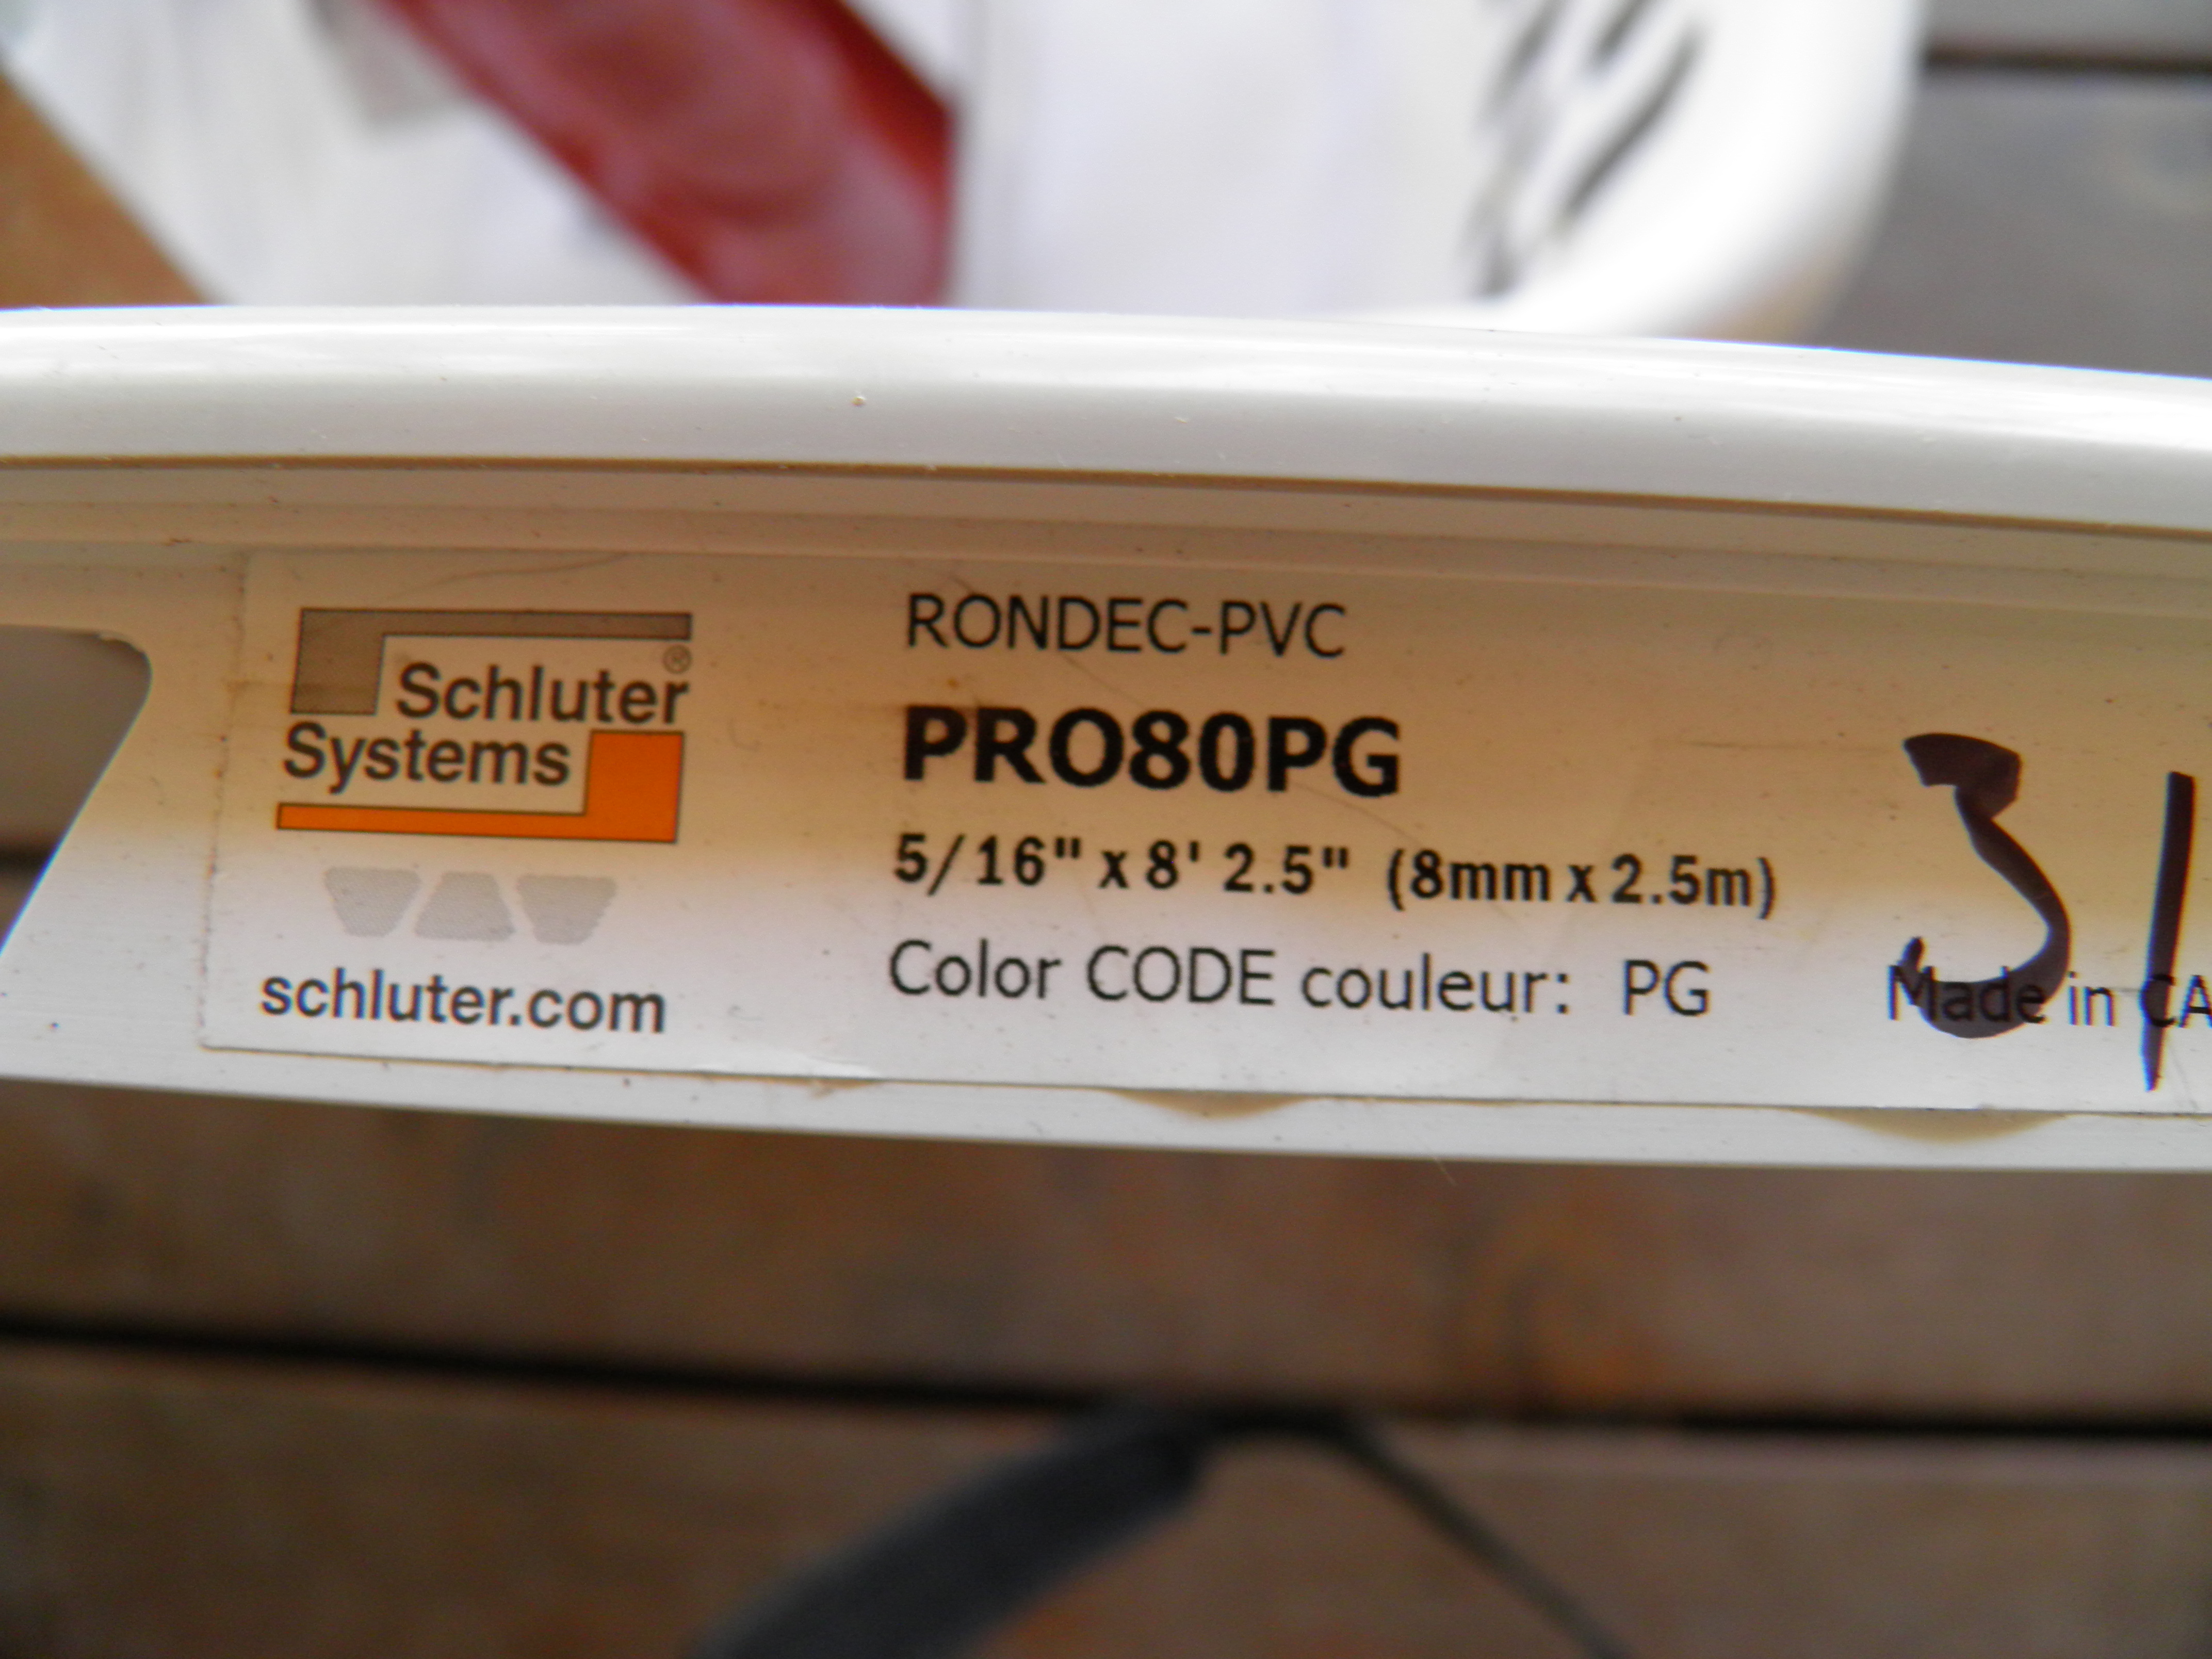
Dennis finally admitted that laying subway tile would probably have been easier and less time-consuming. I think it took him two weeks to completely finish the job with caulk in the seam between the tile and the edge finishing product we used. (It’s nice that all this stuff, grout and caulk, comes color-matched.) The edging strip is made of PVC and creates a finished edge for tiles which don’t come with bullnose or tapered edge pieces. (We thought of edging after we’d purchased ten boxes of tiles for which bullnose was not available!) This edging is made by Schluter Systems, and it was fairly easy to use, Dennis said. It gives a finished look to the backsplash and was inexpensive compared to bullnose tile. The edging goes up on the mastic and the last row of tiles goes over the bottom of the edging.
OLYMPUS DIGITAL CAMERA
OLYMPUS DIGITAL CAMERA
In general, I really like the way the backsplash tile and dark grout look against the granite countertops and the light oak cabinets with their dark hardware. The tile job isn’t perfect, but the tile in my daughter’s brand-new house, which was laid by professionals, isn’t perfect either. In the end, Dennis took the time to fix his worst mistakes, and the kitchen walls look very nice. More importantly, when I start making jam this summer, I’m going to be able to clean that backsplash easily instead of scrubbing paint (along with jam) off the walls.
Next, we have to start cutting and finishing the pass-through countertop and shelves. That’s going to be a big job, because it’s a big juniper slab. We may be working on that for several months. Wish us luck!
