
I usually like to write up my wild culinary adventures right away, but when you’re camping, you’re not likely to have an internet connection capable of handling a big upload (or is download?). That was the case with our five days in Cleone, California, a tiny hamlet just a couple of miles north of Fort Bragg in Mendocino County.
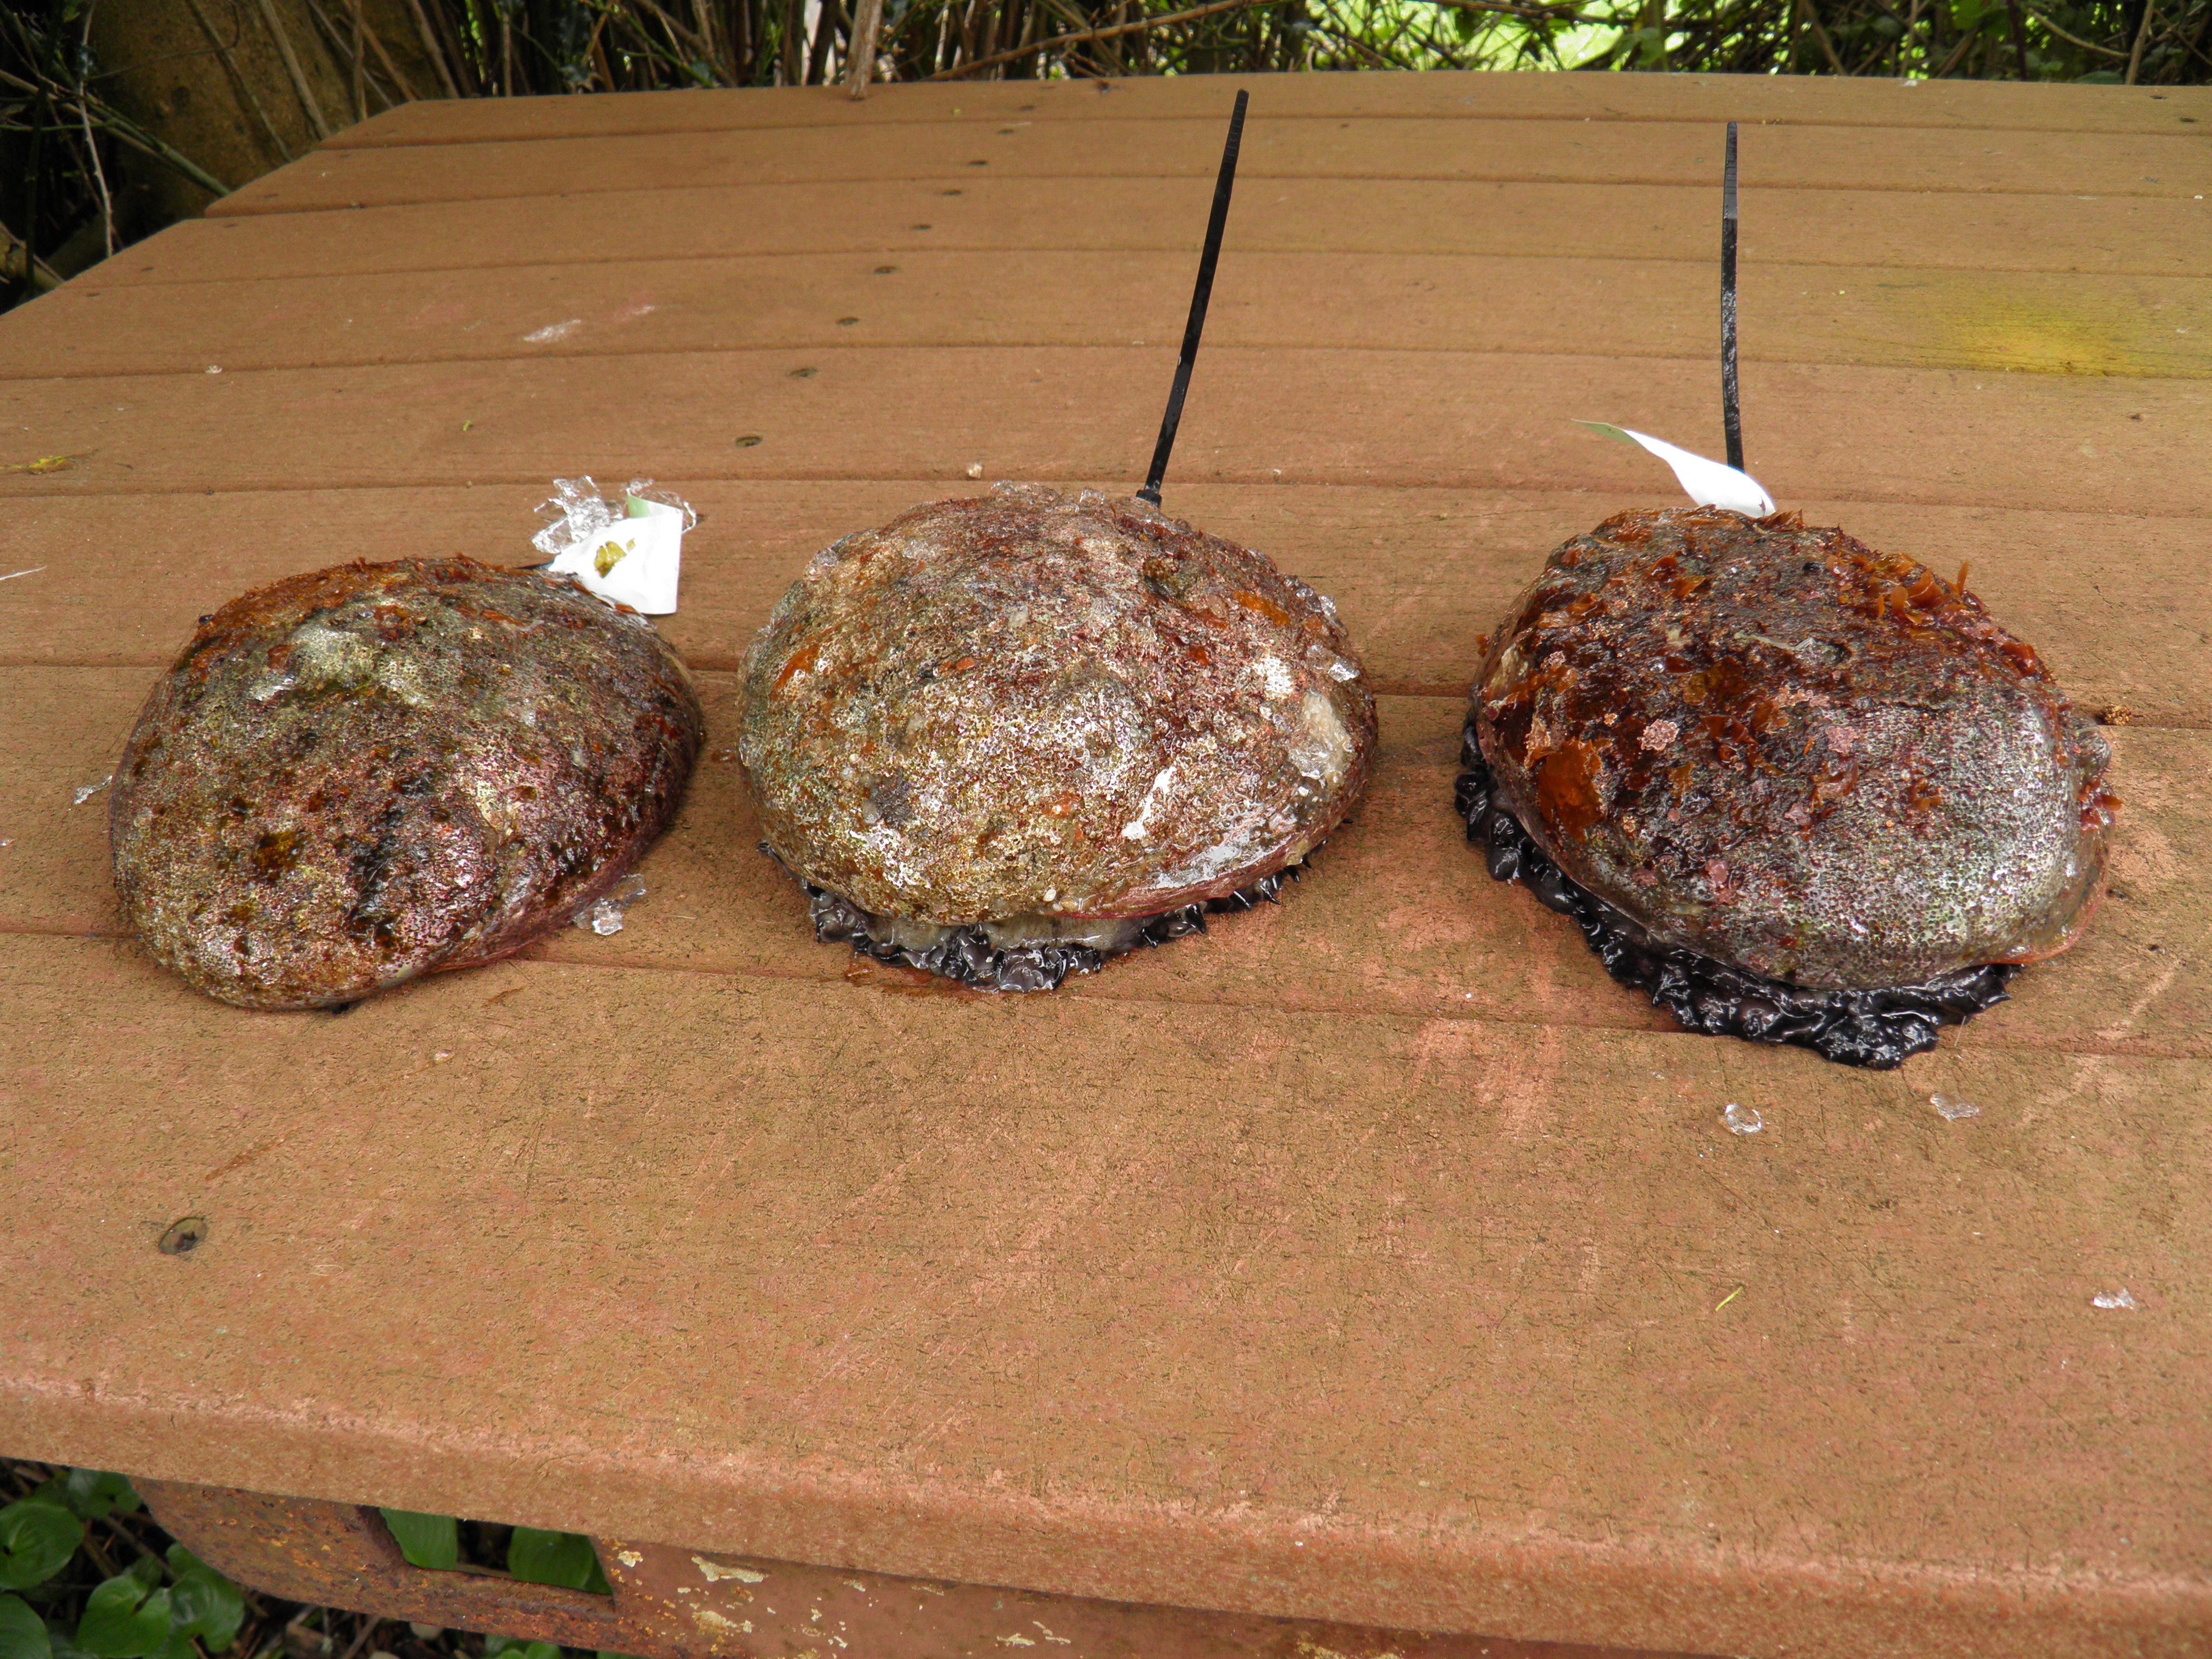
We go to Mendocino County (and camp in Cleone) at least once a year, twice if we can manage it, so Dennis can dive for abalone. For those who don’t know, abalone is a shell fish, but not a fish. It’s basically a big sea snail. They look disgusting and taste divine when prepared properly. So today’s post is about preparing abalone the way we like it best, and we’ve tried many different methods.
OLYMPUS DIGITAL CAMERA

OLYMPUS DIGITAL CAMERA
For the past couple of years, we’ve been camping in April with our dear friends, Karen and Louie Fortino, as a birthday celebration for Dennis and Karen, whose birthdays are only days apart. It’s a good excuse to get together with friends we don’t get to see that often. They live within two hours of the coast. For us, it’s an eight-hour drive, but the haul is worth it.
Many years ago, Louie taught us a method for breading and cooking abalone. It’s the best. Louie’s a fabulous Italian cook, and this is the way he prepares squid for calamari. It works equally well with abalone. But before you get to the breading, there are some essential steps to take to make sure the abalone is tender enough to chew.
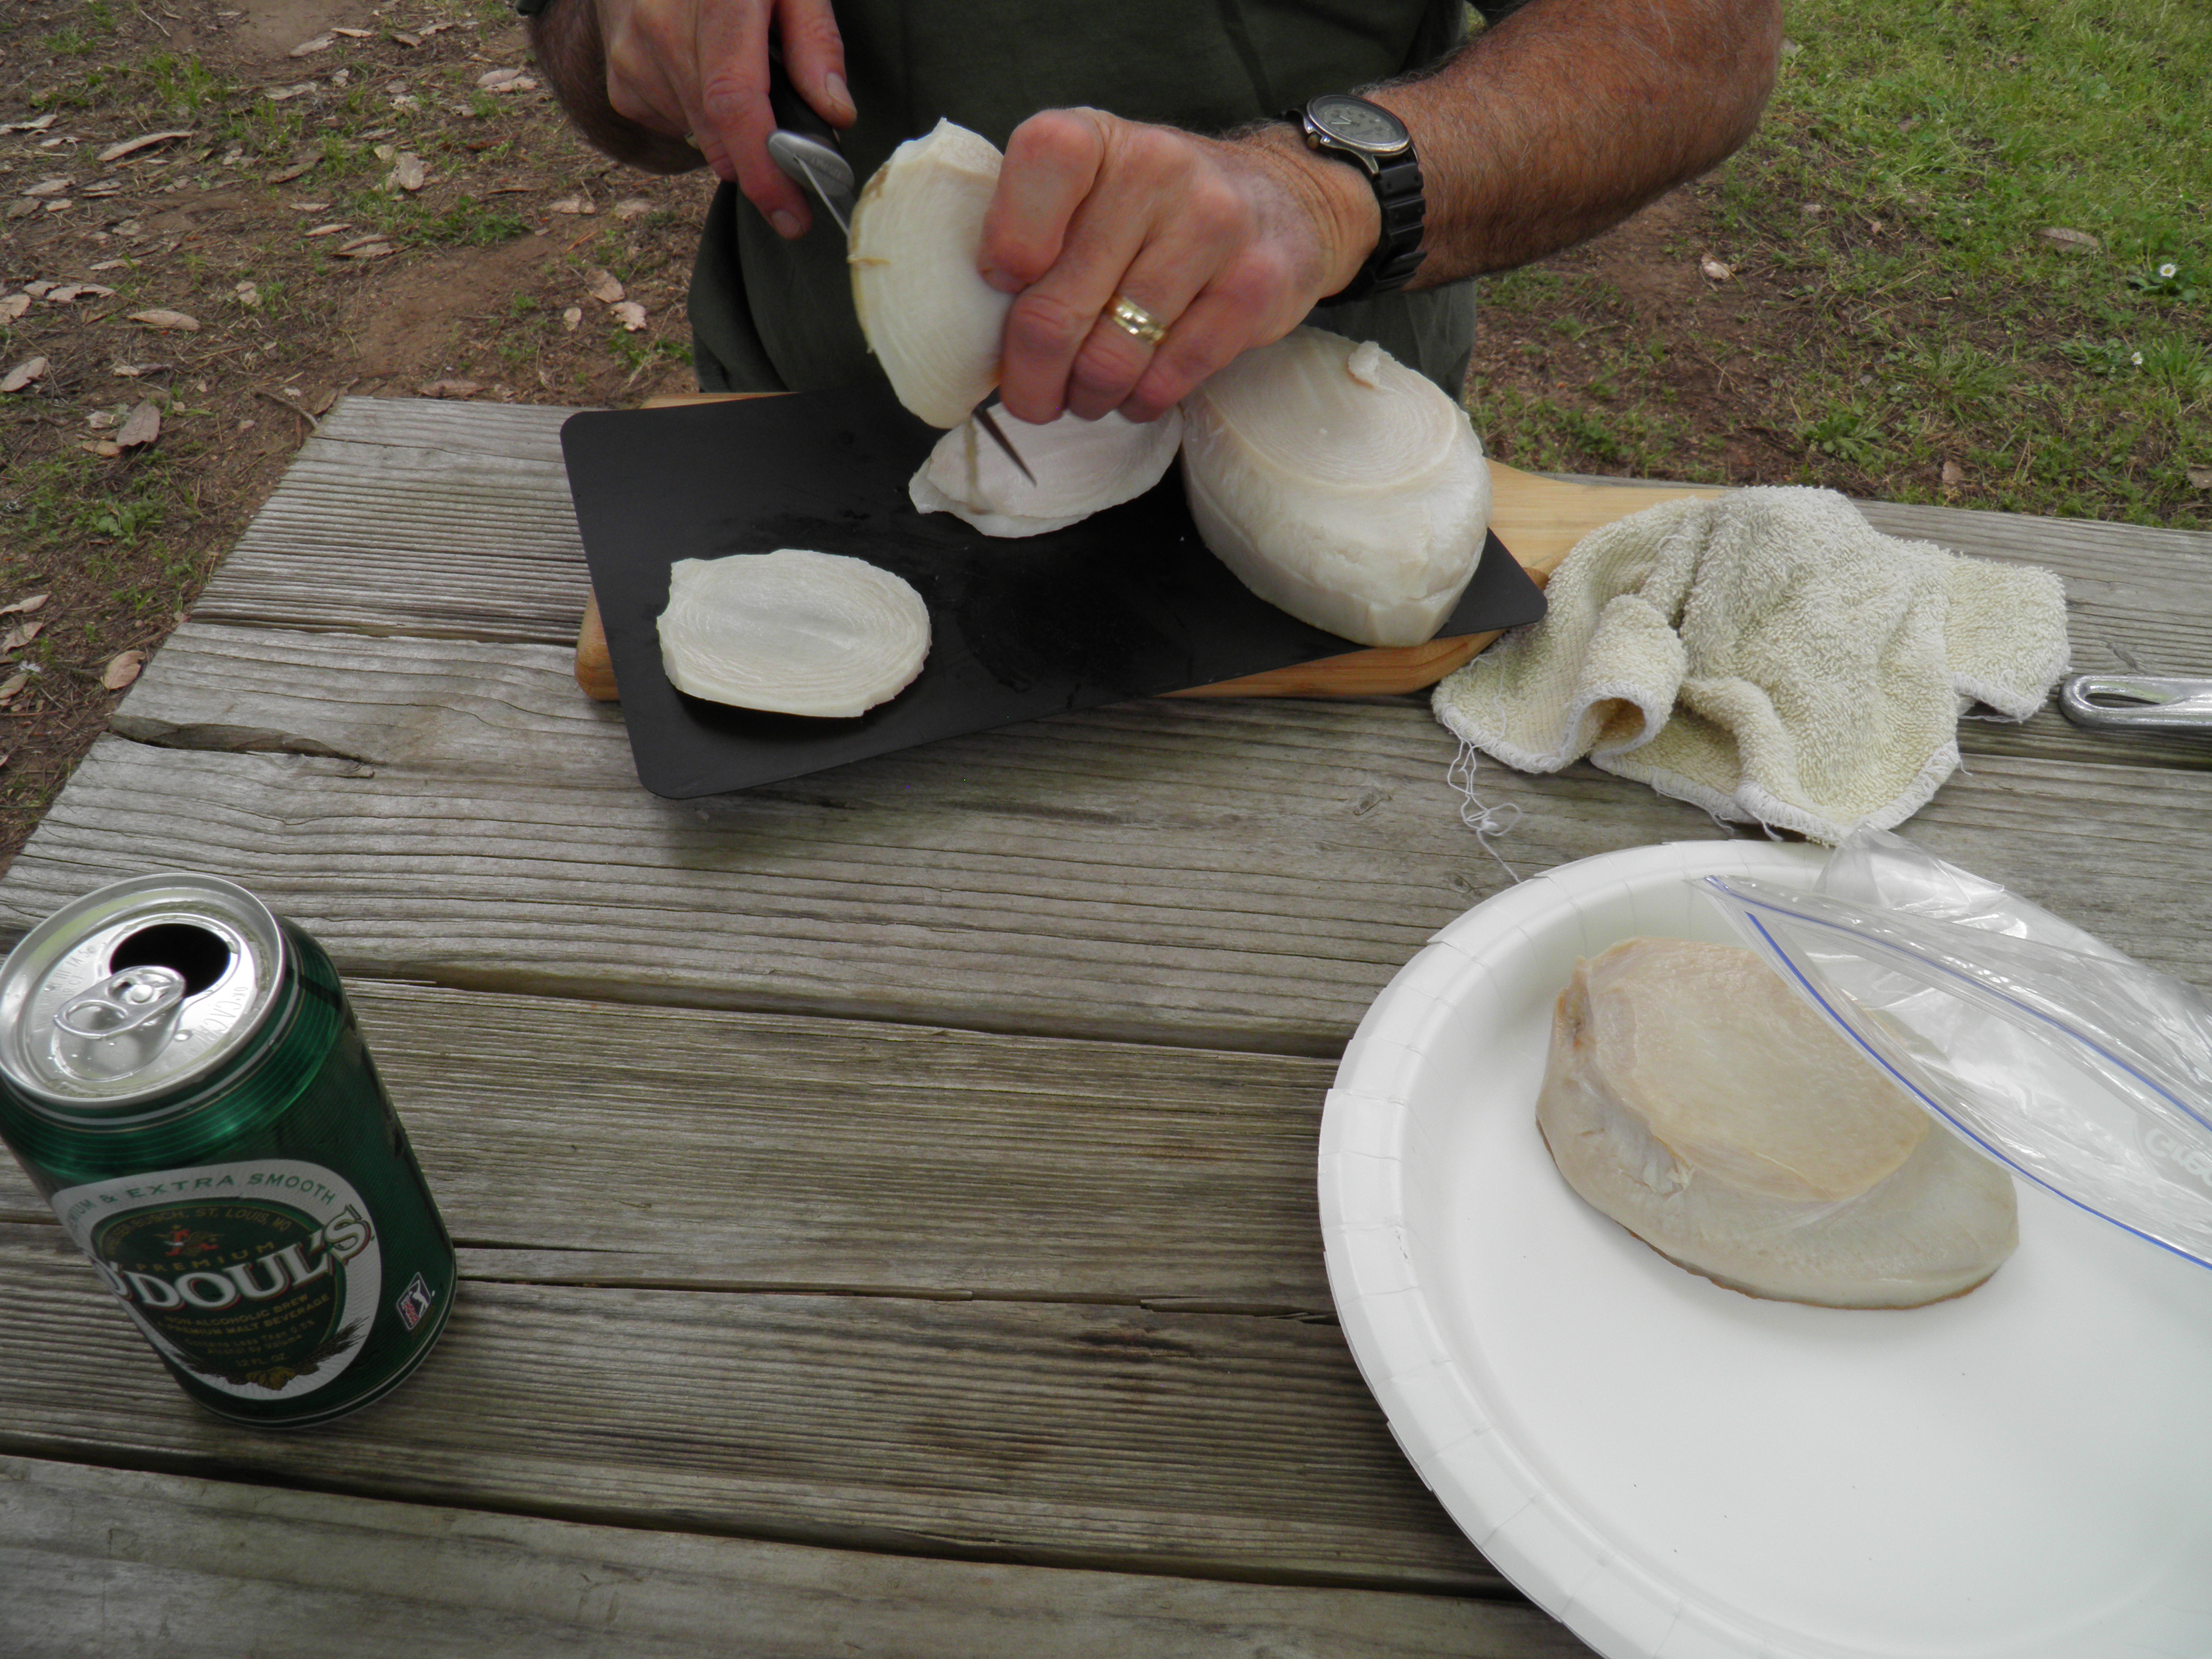
First, Dennis pries the abalone out of the shell, cleans away the gut (full of ground kelp), and trims off the black “lips” around the edge of the creature. These lips are actually the abalone’s feet. They help it move around on the rocks on which it lives under the surface of the sea. The meat is pounded a few times with an ab iron (the tool used to pry the abalone off the rock) or a mallet, or even a two by four, if that’s all that’s handy. This helps that incredibly strong muscle to relax. Then the meat is rinsed clean, sliced thin into steaks, and pounded again, this time with a meat mallet, bumpy side down. It’s necessary for the abalone steaks to be tenderized this way, and Dennis usually pounds them until he can see the muscle fibers breaking down.
OLYMPUS DIGITAL CAMERA

OLYMPUS DIGITAL CAMERA
Then it’s time for breading. When we’re camping, we set up the breading station as follows:
*Put a cup of white flour in a paper plate and spread it out (for gluten-free abalone, I use brown rice flour here and homemade gluten-free breadcrumbs, seasoned the same way I season wheat flour breadcrumbs).
*Beat 3 eggs with a 3 tablespoons of water in a shallow bowl (or large paper plate) Mix with a half cup of chopped, fresh parsley if you have it.
*Pour a cup of Italian-seasoned breadcrumbs into another paper plate and spread them out (my recipe below). If breadcrumbs are store-bought, add ¼ cup of grated Parmesean cheese and mix well.
This is enough breading for two medium abalone, which is enough abalone, with sides, for four hungry adults. The abalone steaks are dipped first in flour, then in the egg-parsley mixture, then in the seasoned bread crumbs. After breading, they should be laid out in single layers on paper plates, waxed paper, plastic wrap, what-have-you, so that the breading doesn’t get soggy.
We usually have two people working the cooking process, one to bread and one to fry. (Louie did the breading this time, and Dennis did the cooking, while I sat by the fire and drank wine with Karen!) As soon as breading starts, the cook should start heating some olive oil in a large skillet. (Regular olive oil, not extra-virgin, is best for frying because it has a higher smoke point, but all I had this time was EV, and you just have to watch the temperature of the oil and clean the pan between batches.) When the oil is hot but not smoking, it’s time to fry.
It only takes a few minutes to fry breaded abalone steaks. By the time the breading is browned, the meat is tender and done. It’s ideal to put the cooked abalone on a cooling rack and cover with paper towels to keep it warm, but when we’re camping, we just put it on paper towels in a paper plate and cover it loosely with foil to keep it warm. If done right, the breading won’t become soggy while the rest is cooking.
Abalone is best fresh out of the ocean, but it can be removed from the shell, cleaned, and frozen in water (or a mixture of water and milk, Louie says) in freezer bags and eaten later. We don’t bring it home any more. It’s eaten on the spot!
We’ve tried other ways of preparing abalone. It doesn’t have much flavor on its own, so it needs the seasoning in the breading, in my opinion, for best taste. Dennis used to bread it in cracker crumbs, but the Italian bread crumbs are much better. We’ve tried it sautéed in garlic and butter. Blah. We’ve tried it rolled in a flour and cornmeal mixture like fish. Blah. We’ve tried it in panko. Blah. We’ve tried it grilled. Blah and yuck. Basically, we’ve tried every way anybody who dives for abalone has said it’s good, and we’ve always come back to Louie’s calamari method. It’s simply the best.
My apologies for the lack of photos with this post, but when you’re about to eat a once-or-twice-a-year delicacy, photos are the last thing on your mind! I had to jump up and grab my camera just as we were ready to dive in, and I didn’t get pictures of the breading and cooking process because I was drinking wine with Karen. 🙂

OLYMPUS DIGITAL CAMERA
Homemade Italian Seasoned Bread Crumbs for Abalone Breading
*4 cups dry breadcrumbs
*1 cup grated Parmesan cheese (I do use the fine stuff in the green container for this)
*1/4 cup crushed, dried oregano
2 tablespoons crushed, dried basil
2 tablespoons crushed, dried parsley
1 teaspoon salt
1 teaspoon pepper
1 teaspoon paprika (optional)
Mix all ingredients thoroughly. Store in cool, dry place in airtight container. Can be stored in fridge or freezer if tightly sealed.
I save heels, stale bread, hot dog and hamburger buns, dry ends of French bread—whatever I have—in the freezer until I have a gallon bag of it. Then I dry it in the oven at 170-200 degrees. I cool it, then run the pieces through the food processor with the blade in place. I store this in ziplocs in the freezer and make up a batch of seasoned bread crumbs before we go to the coast.
For gluten free breadcrumbs, save the heels and stale pieces of bread and dry and grind them as above. Then season away!
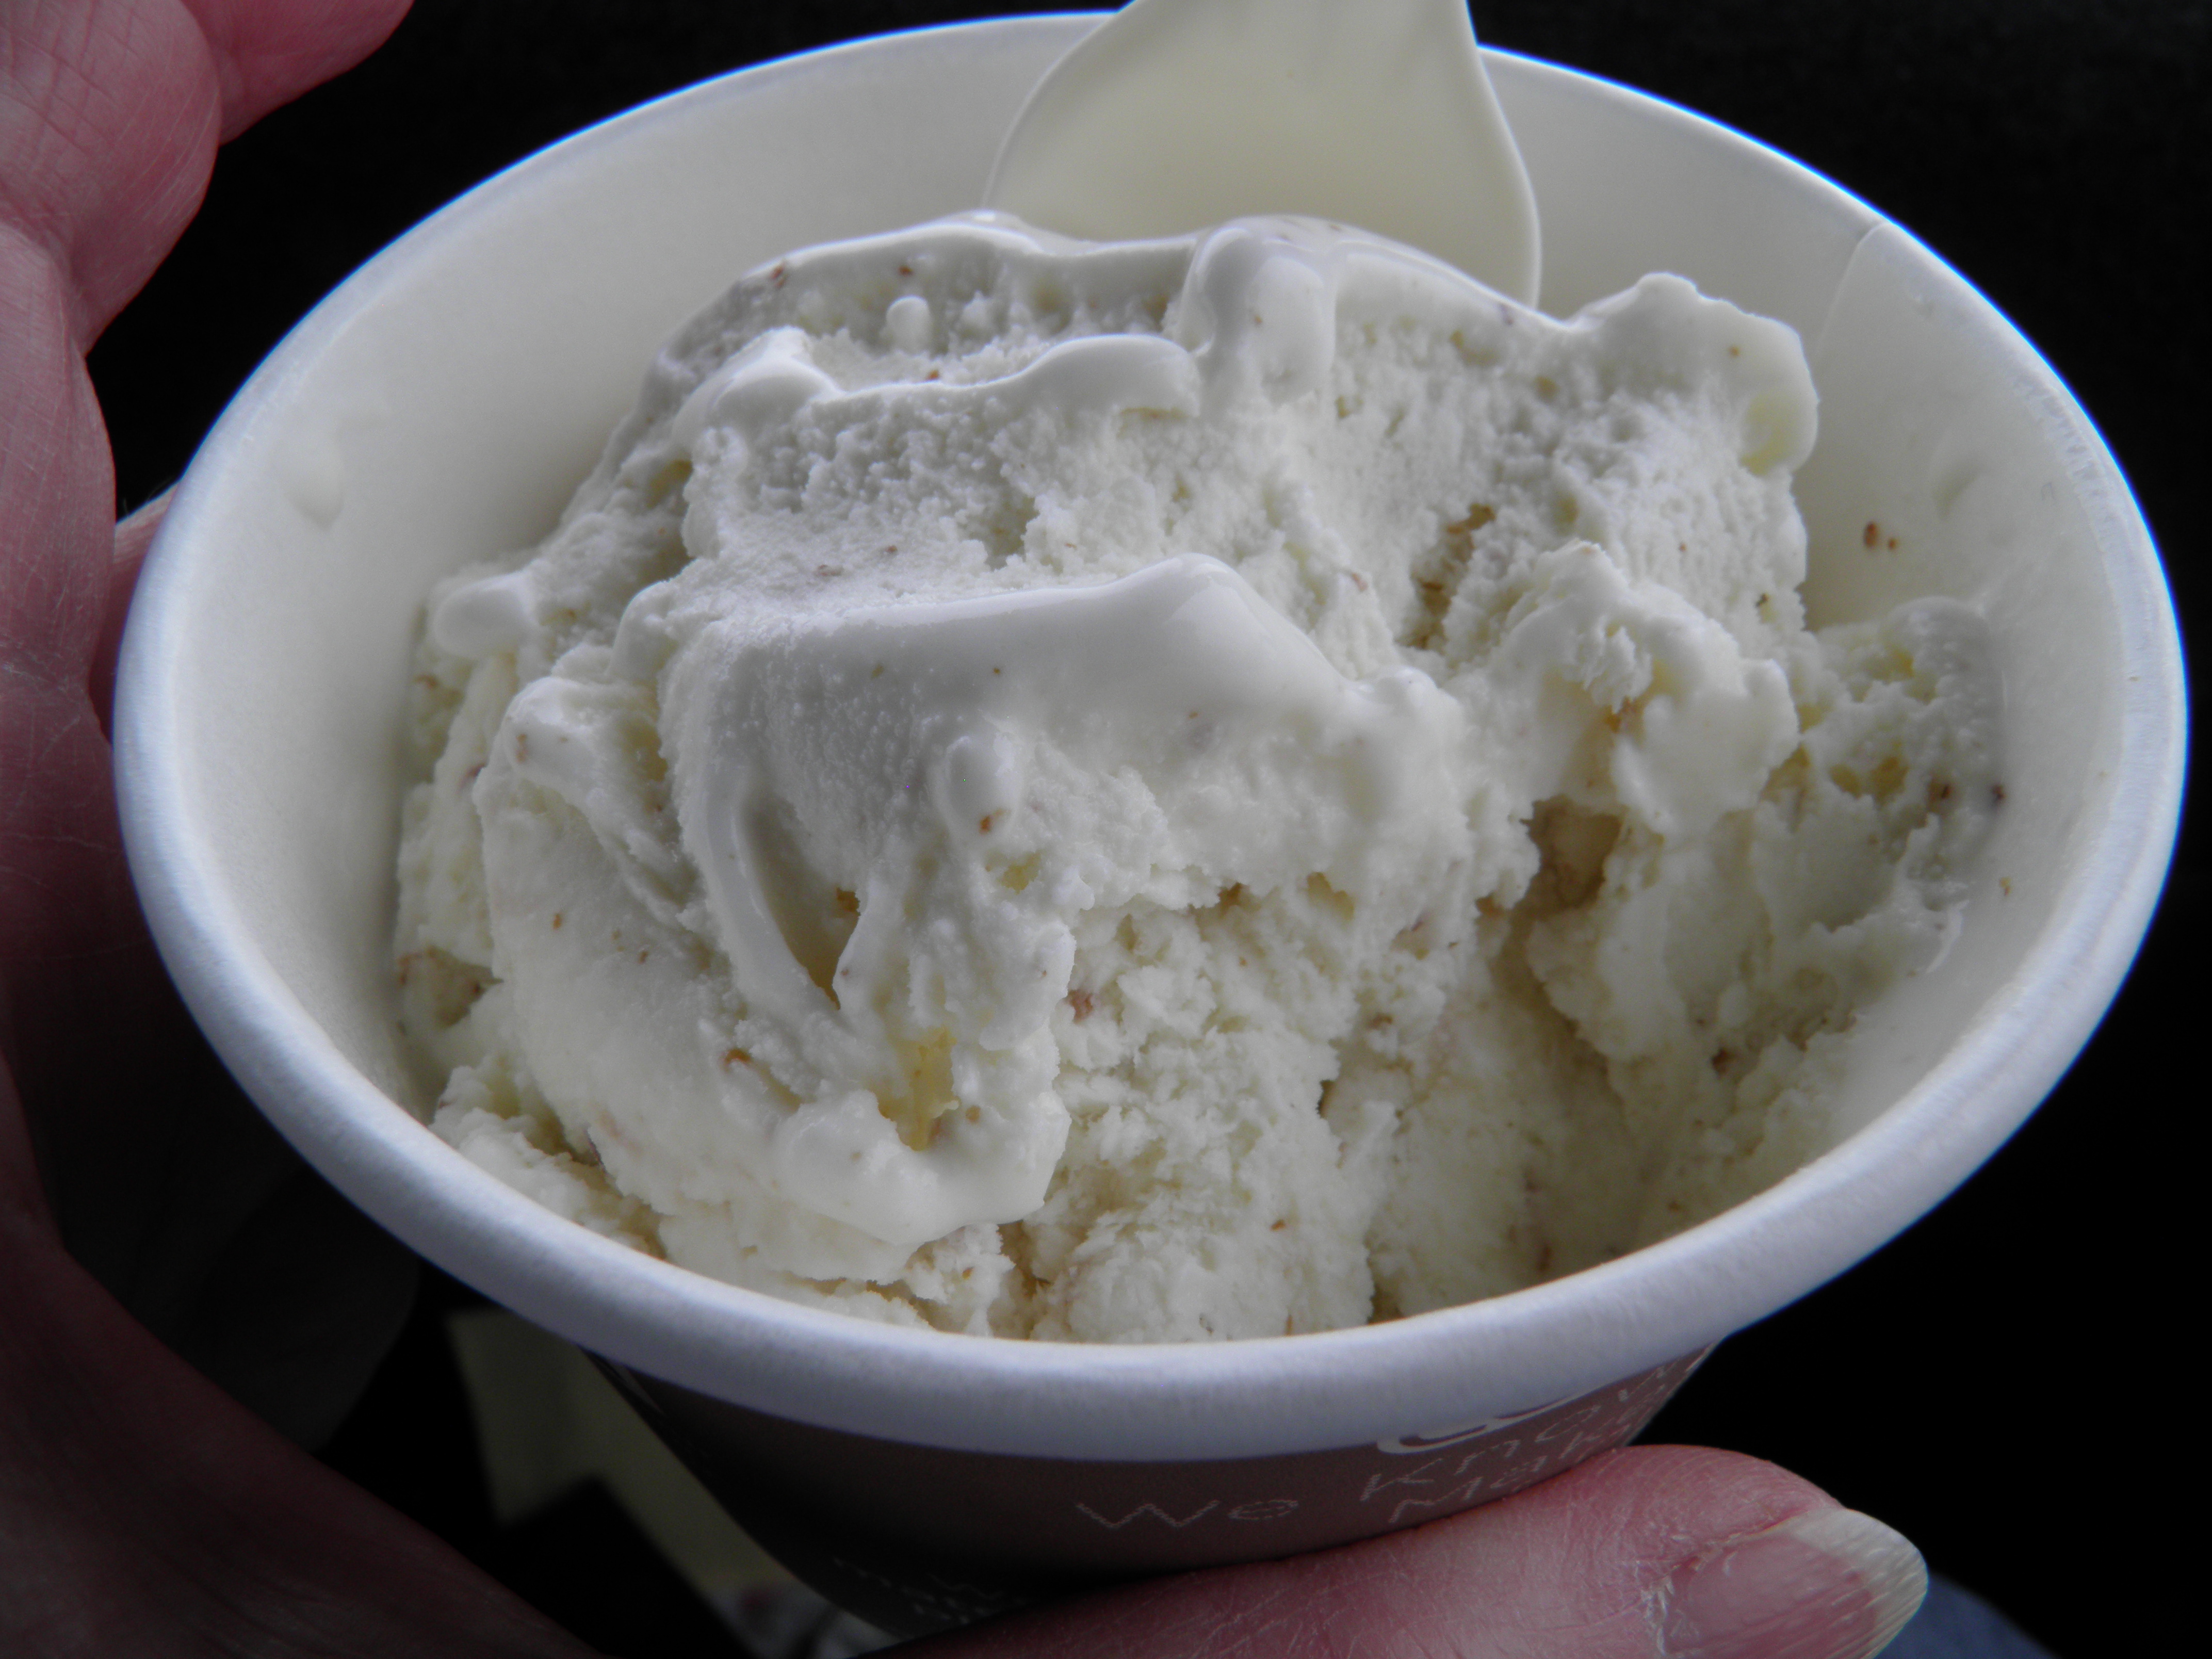
Earlier in the day, we stopped at Cowlick’s Ice Cream Parlor in Fort Bragg, and I had a scoop of Candy Cap Mushroom ice cream. It sounds weird, but oh my, was it good! It tasted like Butter Pecan or Butter Brickle ice cream. I could have used another bowl of it for dessert! (Not that we were lacking desserts, with homemade blueberry-topped cheesecake and homemade pineapple upside-down cake, neither of which were photographed! We ate the evidence!)
OLYMPUS DIGITAL CAMERA

I’ve never tried abalone, hope to try it at some point. Also, love your tip on pre-making the homemade bread crumbs
Yes, abalone are pretty gruesome-looking!
I saw the picture and was like “what……is that?!”, ahahah.
Oh man, I’d love to try those! And mushroom ice cream?? lol, If you say so, Jeanie!