
There are two things that really drive up the cost of a kitchen renovation—well, really any renovation. One is labor costs, and the other is the cost of professional design. The way to keep costs down, obviously, is to do as much as the labor yourself as is possible, within your scope of ability, and to dare to design your own space.
When we gutted and remodeled the kitchen twenty years ago, with the help of a friend, Leonard, who built houses for a living, it turned out pretty much the way I wanted it to. We had a shoestring budget, and even though the cabinets were custom-built, we had to go with the cheapest possible material, which was pine. It was the same with the countertops and the floor. Laminate for the countertops, vinyl for the floor. This time around, we will actually spend more on new countertops alone than we did for custom cabinets and countertops twenty years ago.
Twenty years ago, the footprint of the old kitchen was altered drastically to create better function for cooking and ease of movement through the space. That is the scariest part of designing your own space, making sure that it actually functions. And this is where you really may need the help of a professional. I was so glad to have the advice and expertise of Leonard and his wife, Lynzie, all those years ago. We all collaborated on the kitchen layout in that remodel, and what we came up with works so well, it doesn’t have to be changed this time around. All the appliances can stay where they are now, in an elongated triangle that touches both side walls of the kitchen. That makes designing the renovated kitchen much easier this time around. I am glad I don’t have to make those kinds of decisions, at least!
If you do want to change the footprint of your kitchen, you may need to get some professional help, or at least advice, in relocating the sink, dishwasher, stove, fridge, etc. Changing the plumbing can be particularly problematic and expensive, so keeping things where they are, if at all possible, is one way to keep costs down.
The other thing that makes designing my own space not quite as intimidating these days is the plethora of online resources and the proliferation of DIY and construction programs on television. I love those shows and have watched them for several years now, gradually acquiring enough knowledge to make me dangerous, in Dennis’ view, but also getting a much better sense of what will function and be sturdy, practical, and attractive at the same time.
Designing your own space comes with pitfalls. A professional designer is trained to know what looks good together, what color of cabinets or types of materials look nice with what kind of countertop material, with what sort of backsplash. For me, it’s really a guessing game, an experiment. And yeah, that’s a little scary, because I’m spending thousands and am going to have to live with my choices for perhaps the next twenty years. But I’m taking the dare.
I figured I would go about the design methodically, but taking one step at a time. I knew it wasn’t going to be possible for me to choose everything before the work began. I did know right from the start what I wanted in flooring and cabinet material this time. I love natural oak, and it’s hard, which is what I need. I need something that can withstand hard use, because this kitchen gets it. I figured when those materials were chosen and ordered or purchased, I’d work on choosing countertops, getting samples and looking at them alongside the sample cabinet doors. And then once the countertops were chosen, I’d have to try to find a backsplash material that looks good with both cabinets and countertops but is easy for me to clean.
It’s not quite working out that way.
Dennis and I went to Reno on Sunday to look at countertop material and try to choose a material and installer. Because we can’t do it locally, we decided to limit our search to Home Depot and Lowes in Reno. We just don’t have time to run all over town looking at multiple shops and installers.
I had ruled out another laminate or solid surface countertop. Laminate is the cheapest option, but it also the least durable. Solid surface countertops that mimic the look of granite are attractive, but are neither heat nor scratch resistant. I wanted something I wouldn’t have to be quite as careful with as I’ve had to be all these years with a laminate countertop.
When we went into each store, we chose a low-end quartz and two or three granites, one in low-range pricing and one or two in mid-range pricing, and had estimates written up based on each material, so we could see what fit into the budget.
Ideally, I wanted quartz because it requires no maintenance. Most granite has to be sealed once a year to prevent staining. (Yes, I learned that watching DIY shows.) I was worried about hard water staining around the sink, and food stains from all the preserving I do, if we went with granite. But even low-end quartz countertops cost more than I want to spend. And they were ugly besides. Well, not exactly ugly, but certainly boring. Mid-range quartz, much more attractive, was just not possible with our budget. So we turned to granite.
We already had a pretty good idea of what low-end granite countertops would cost us because I’d asked about it when we were getting estimates for cabinets. Once we’d decided quartz was out, we started comparing both price and a couple of other factors at each store.
Home Depot’s installation fees were cheaper; they gave us free samples, and there were two granite choices I liked there. We even looked at backsplash tiles while we were there, and I realized something I hadn’t thought too much about before. The busier the countertop, the simpler the backsplash tile should be, for my taste. The plainer the countertop, as in a low-end quartz, the more I could tolerate a busy, decorative backsplash, and the less I liked a plain tile like the one in the photos below. But with the busier granite material, I liked a plain, almond- colored subway tile. Hopefully you can see what I mean in the badly-lit pictures below. The first photo shows the almond subway tile with the beige quartz. Blah. The second photo shows the same subway tile with the busiest, veiny-ist granite. Much more attractive to my way of thinking.


I only found one glass backsplash tile I liked with my favorite of the granites from Home Depot. That’s the one below. I took a picture with my phone so it isn’t a very good photo, but I liked the longer strips of glass in this 12″ tile better than the ones with the tiny squares, which Dennis liked because they’d be easier to cut!
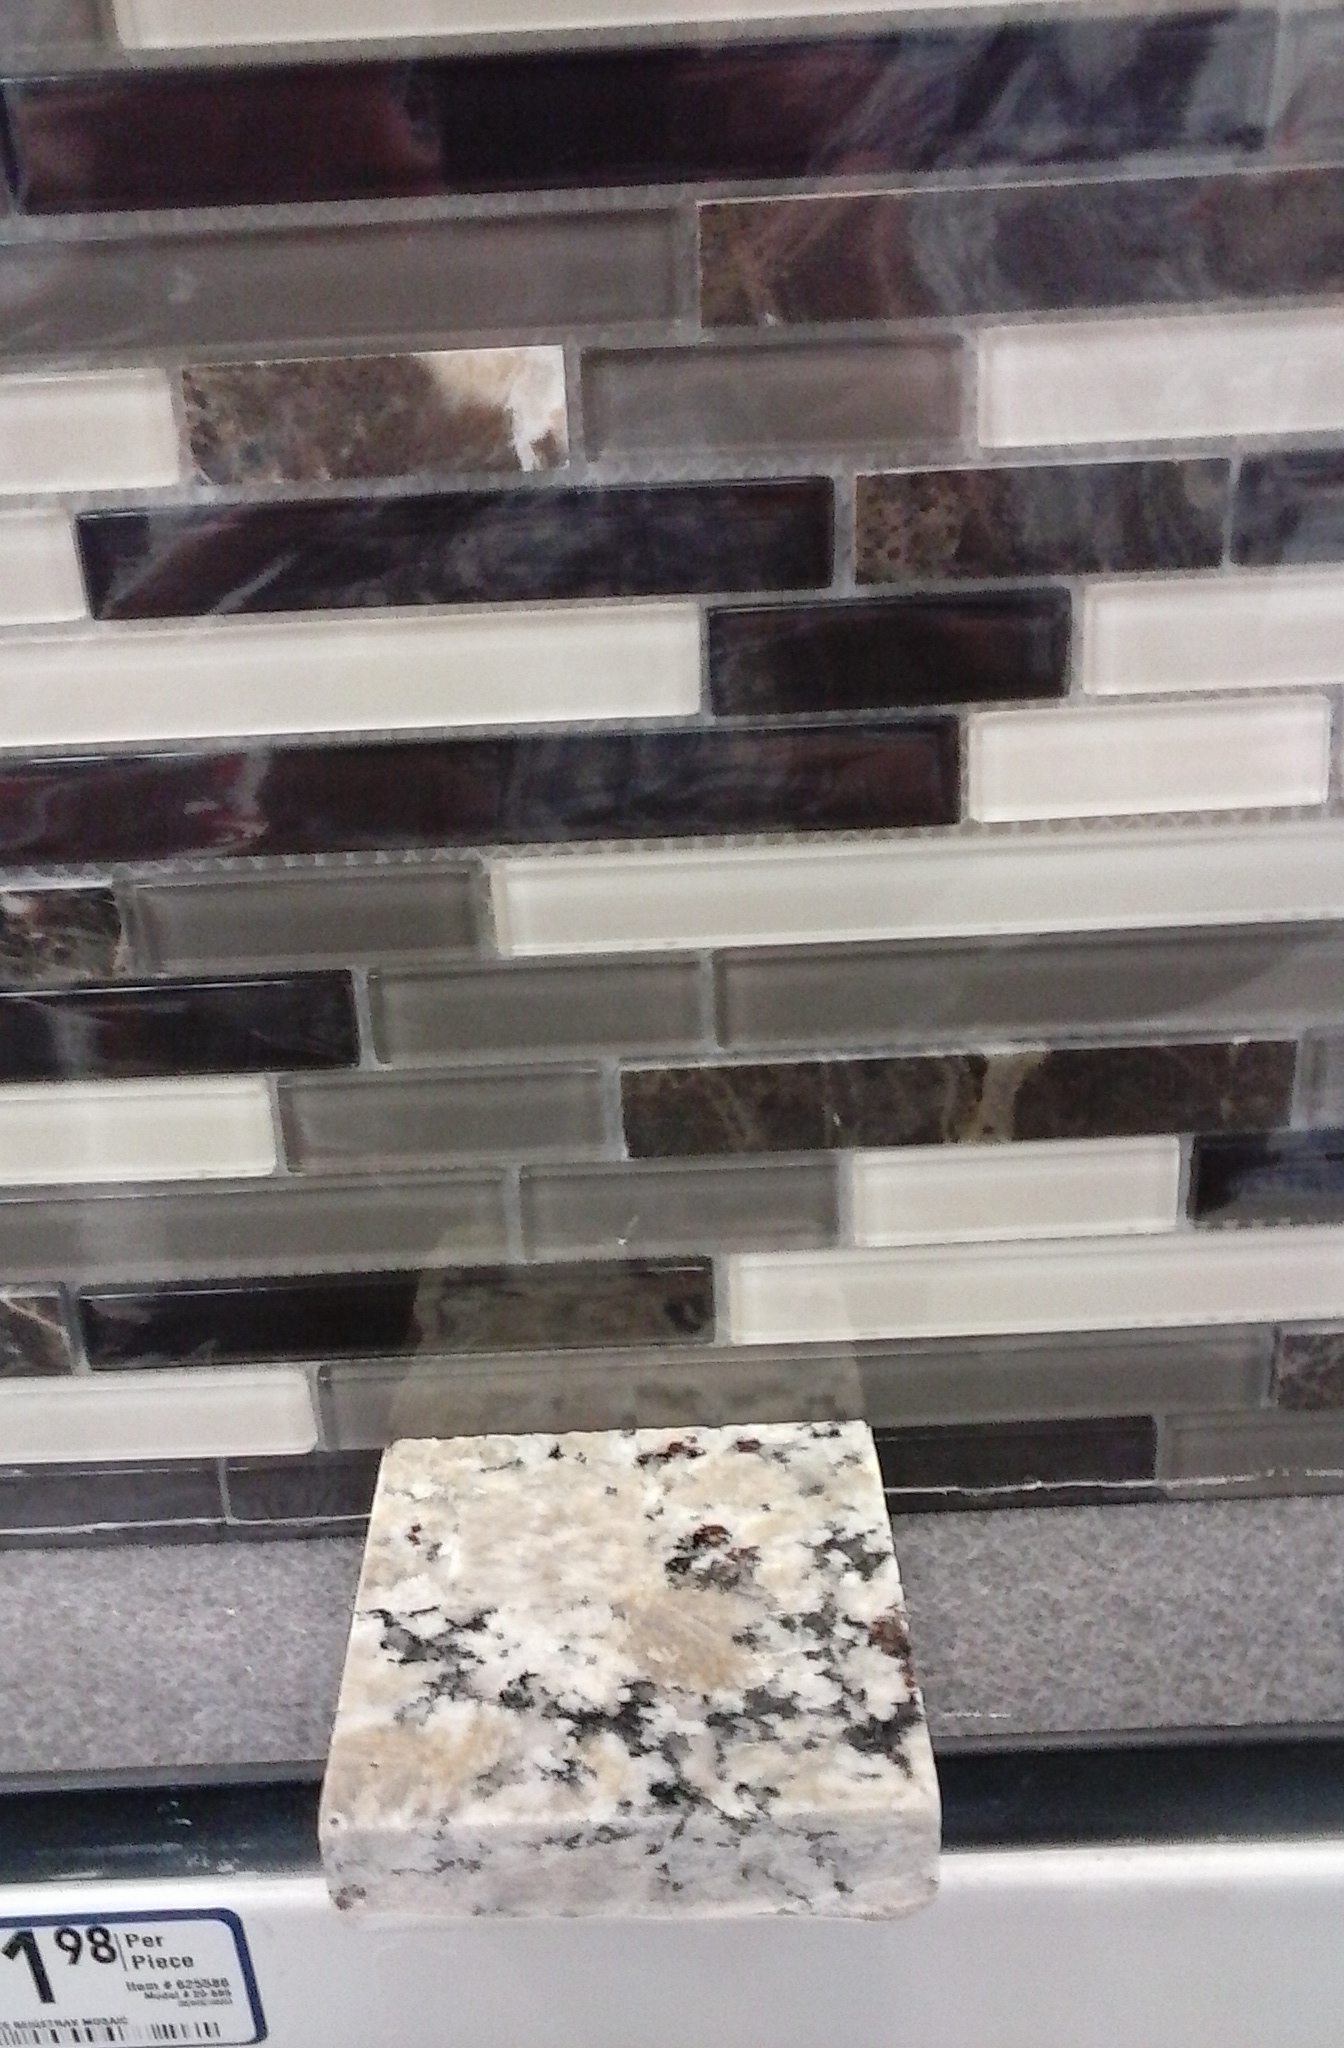
I like this stone the best because it has small red splotches in it, although it’s hard to see in such a small sample. Red is one of the accent colors in my kitchen. It is called Butterfly Beige, but it has a slight greenish tint that I like too. Here’s a close up of Butterfly Beige and that red splotch.
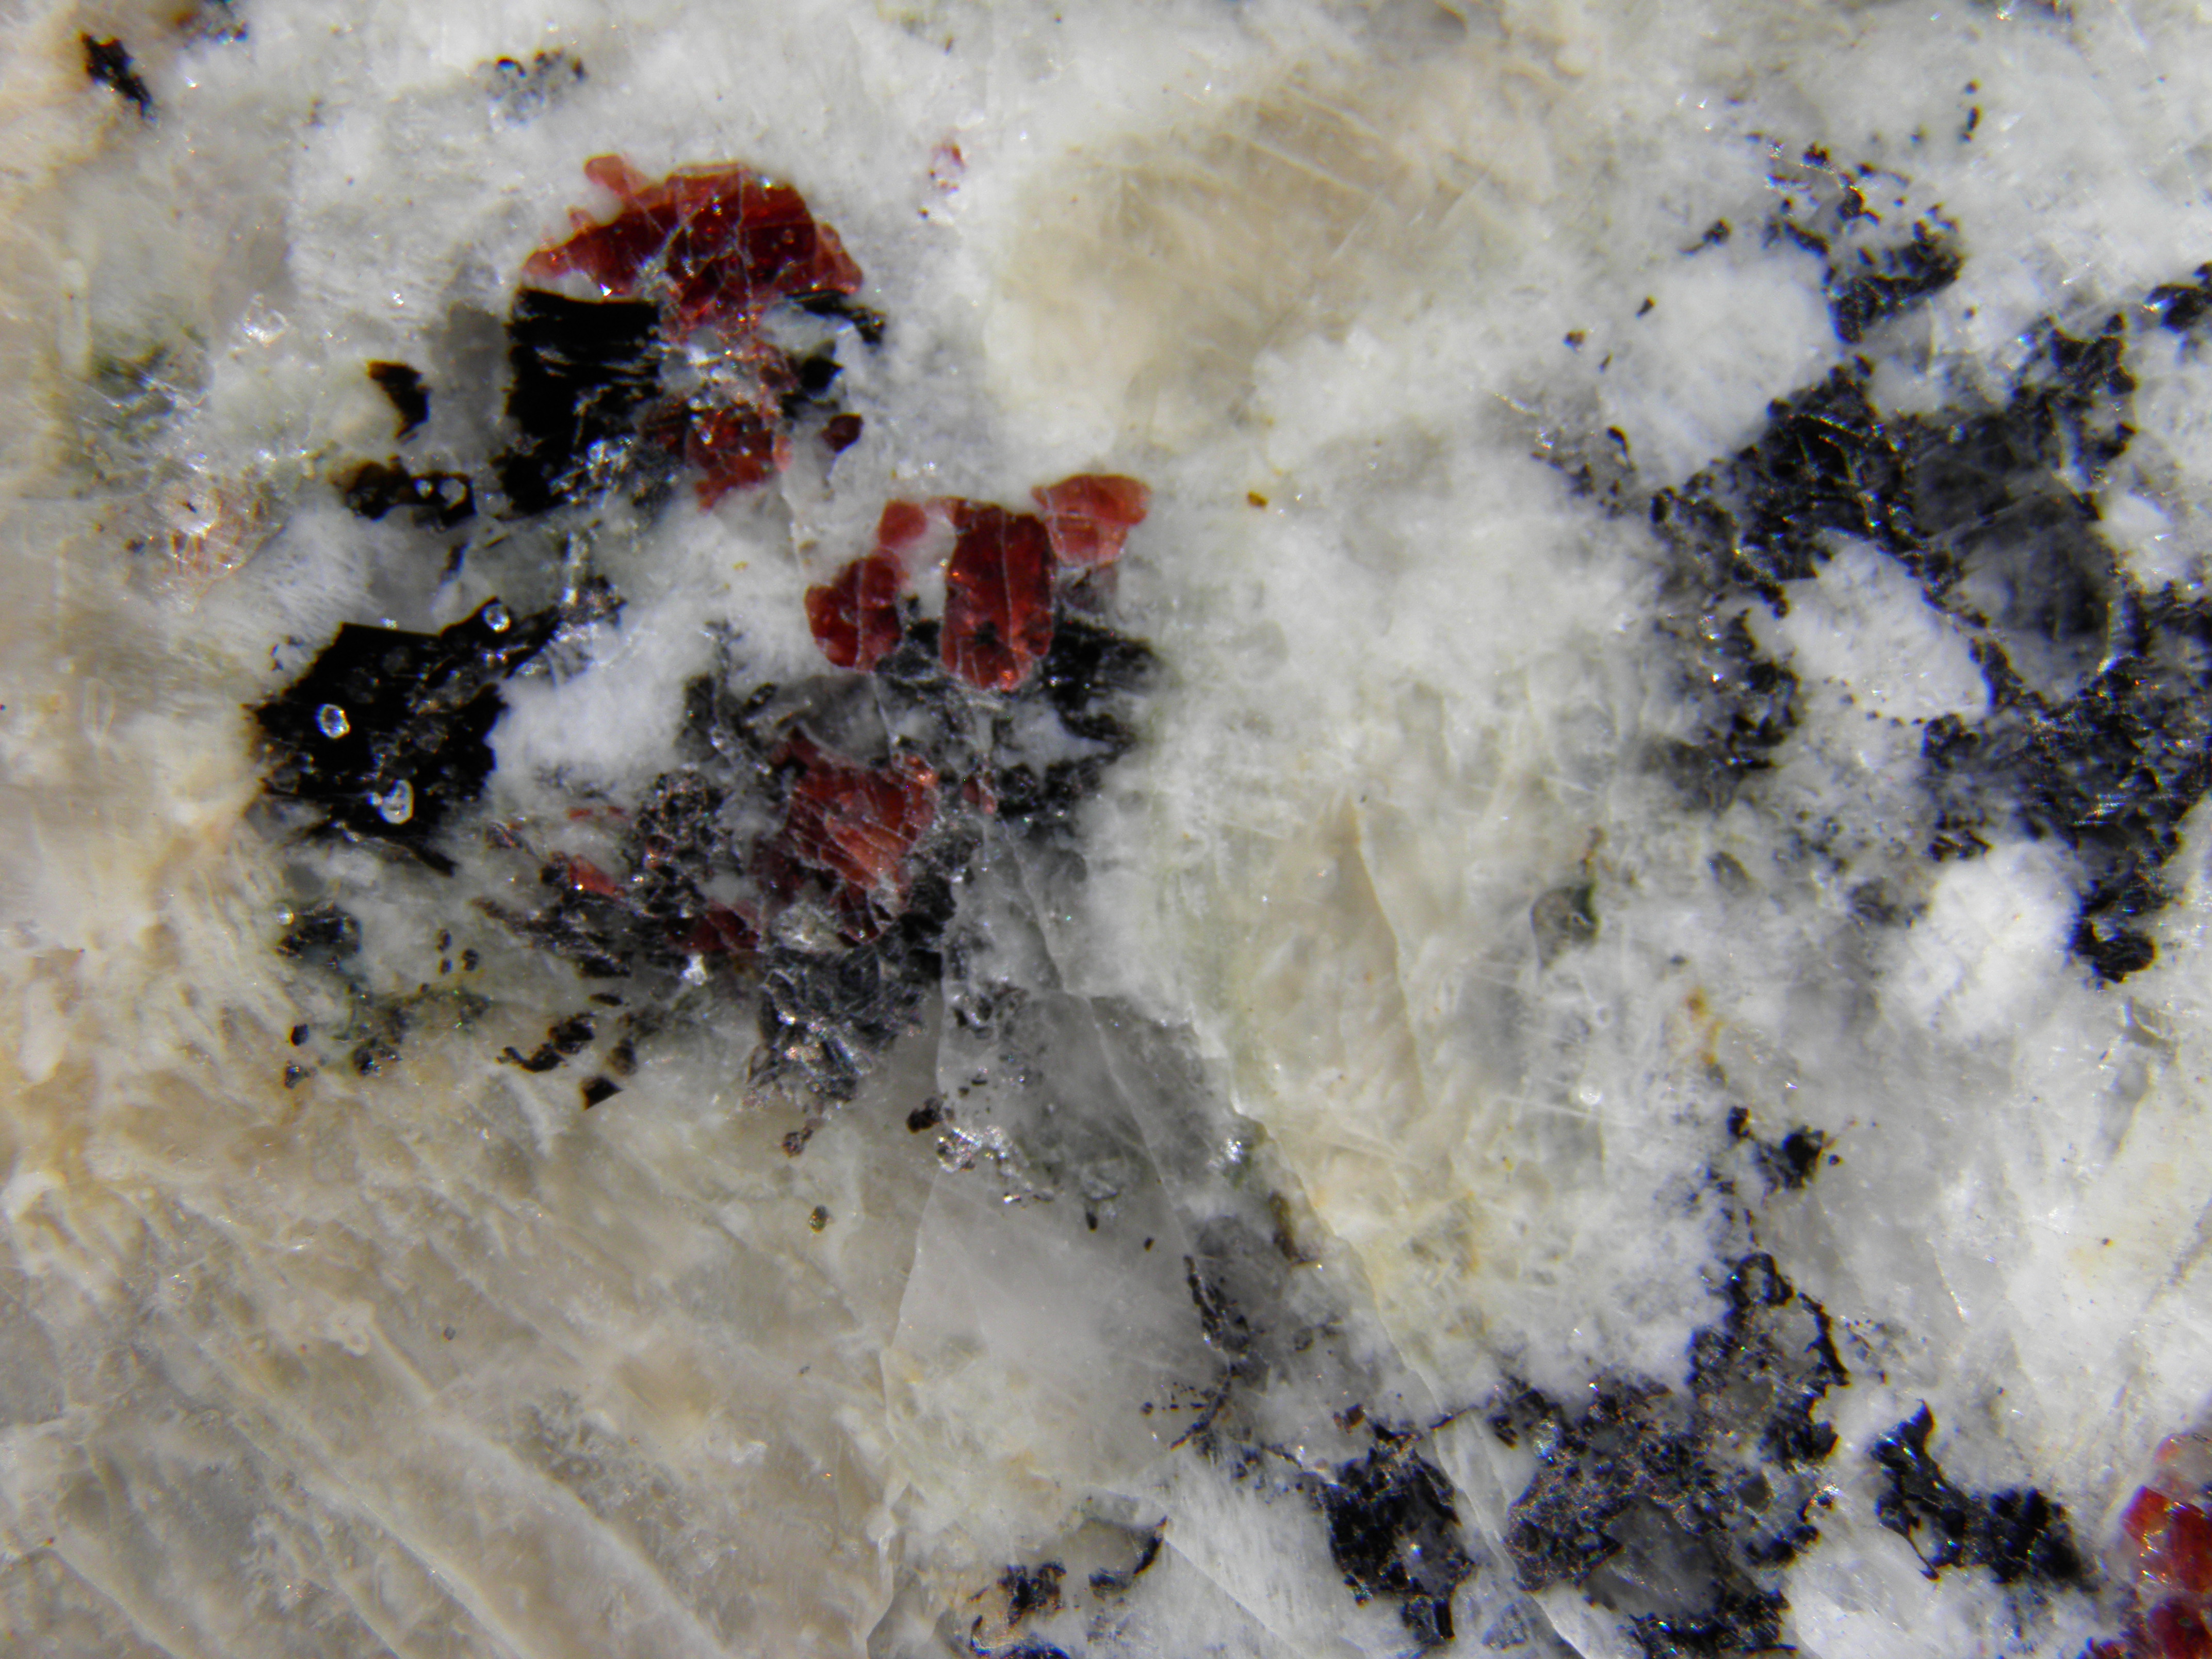
OLYMPUS DIGITAL CAMERA
I thought I’d picked a stone (the one above) and maybe had a choice for backsplash tile (also above) until we got to Lowes. At Lowes, we discovered that if we took advantage of a sale, we could get a mid-range granite that Dennis liked (below) for the same price as the lower-end granite that I liked there. The picture of Dennis’ pick doesn’t do it justice. It has a nice wave pattern to it, and many different shades of brown speckles. It looked very nice with the cabinet color and that plain almond subway tile. I could do a dark brown grout with that subway tile and have a very easy-to-clean backsplash.

OLYMPUS DIGITAL CAMERA
There was one lower-end granite at Lowes (below) which also had a red splotch in it. I do like that red splotch! Crema Pearl is very similar to Butterfly Beige from Home Depot, but the designer at Lowes said I’d definitely need to pick out my slab if I chose that one, because he’s seen them come in to the store with big, purplish patches the size of a pumpkin! I don’t think I’d like that as much. And there is no greenish tint to this one.
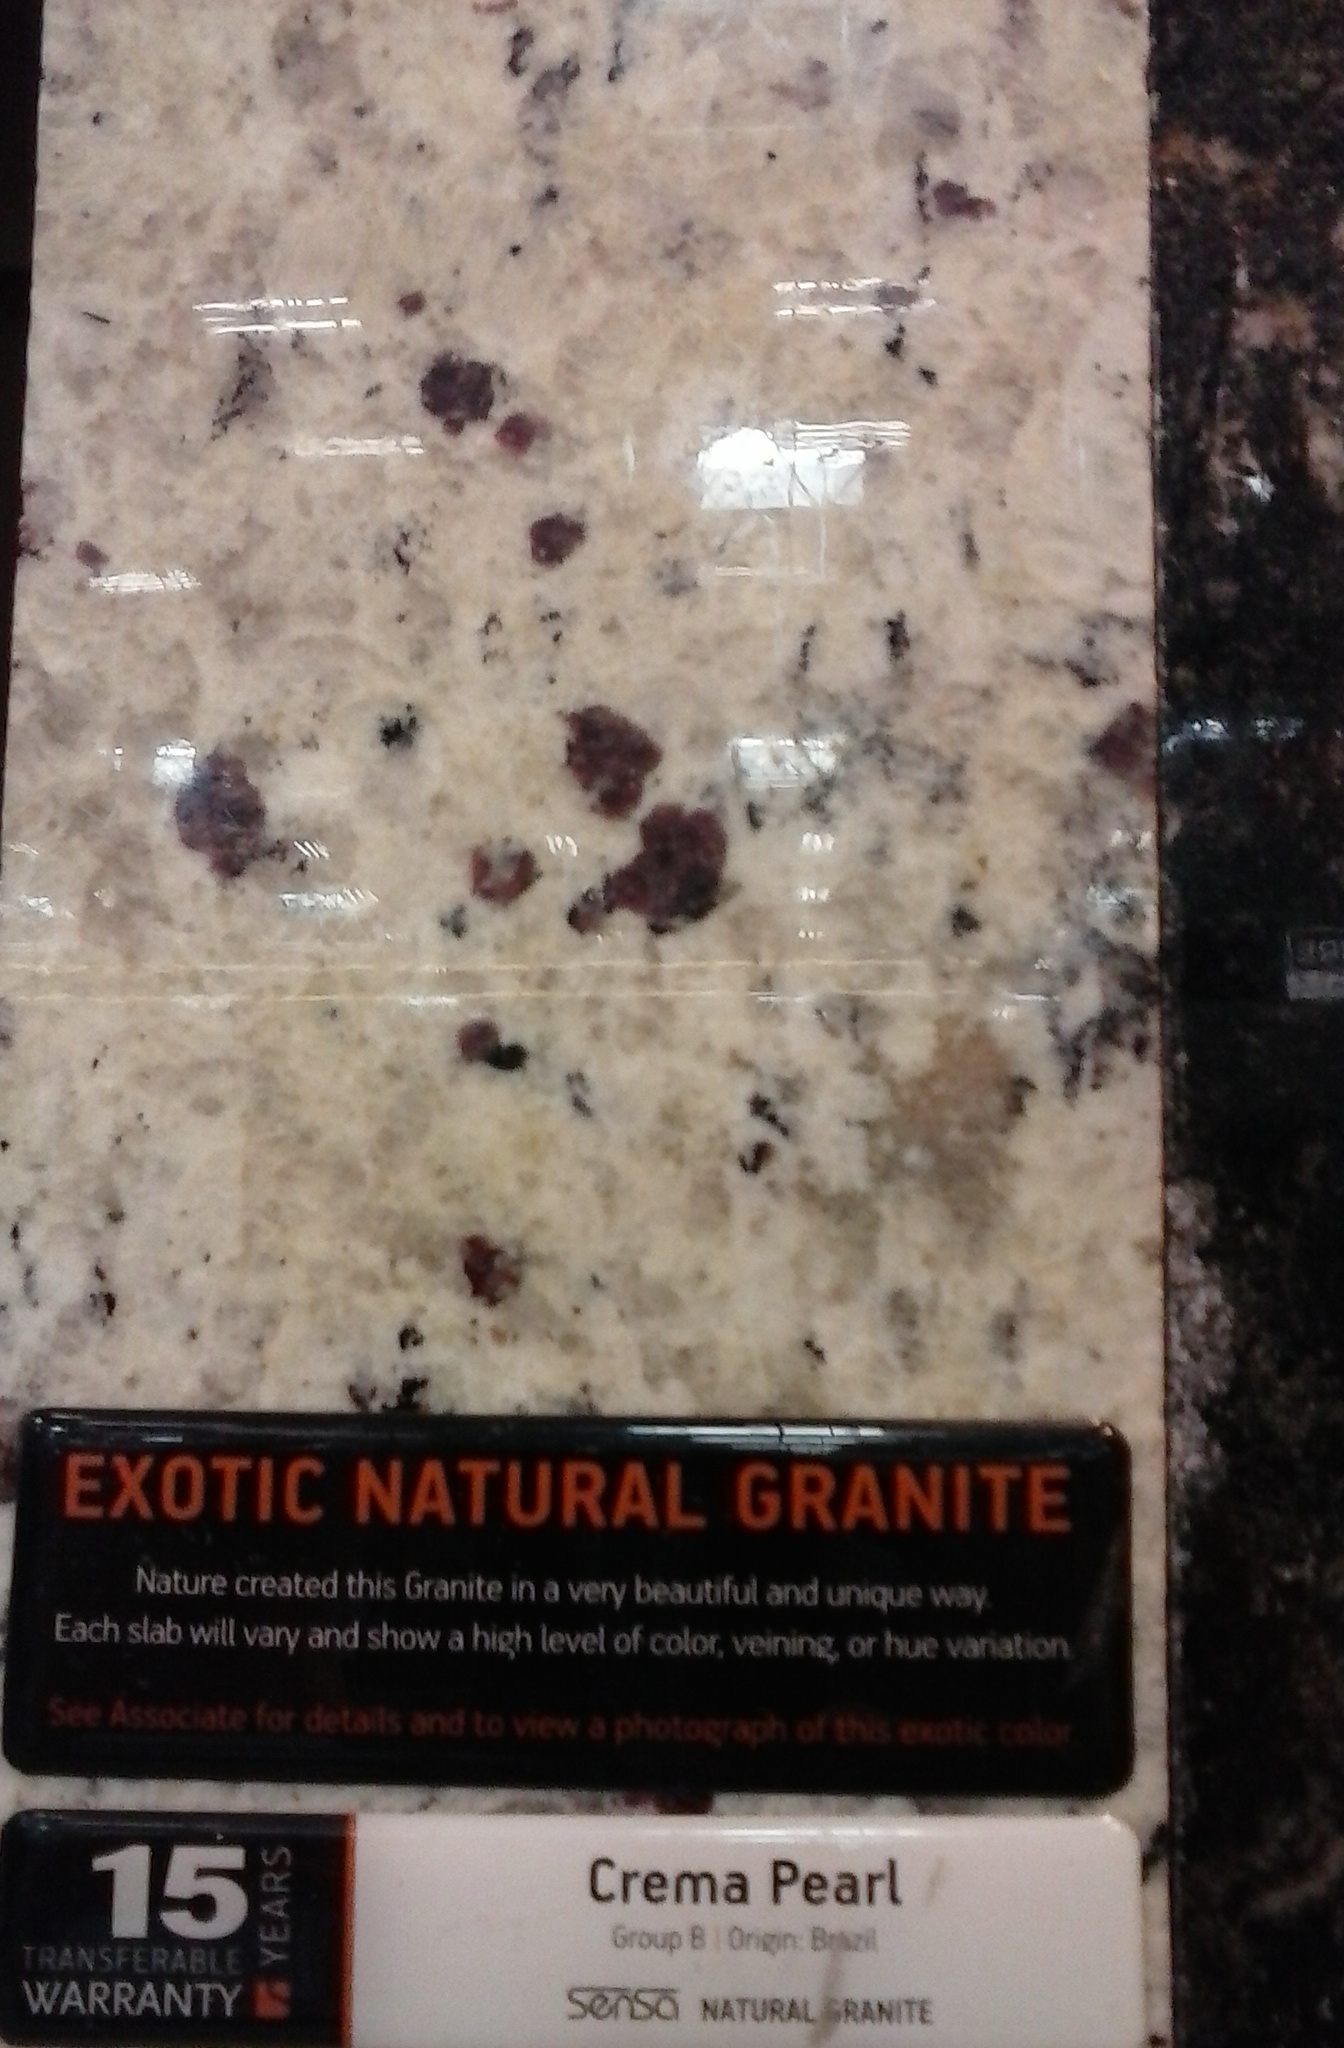
Both choices at Lowes came from the factory already treated with a process that prevents staining, without the yearly sealing, plus a 15 year warranty. This granite at Lowes was only a few hundred dollars more than the untreated granite at Home Depot. But to choose our individual slabs after ordering from Lowes, we’d have to go to the stone yard in Roseville, several hours away. To choose our slabs after ordering from Home Depot, we’d only have to go to the stone yard in Sparks, a few minutes from Reno. We’ve been advised by both stores to choose our slabs individually, because they can vary so much in color and pattern from the samples.
My first inclination is always to pick what’s least expensive. Fortunately, I have Dennis, who says, “What’s a few hundred dollars in the long run?” And he’s right, at least in this. But cost isn’t the only factor. I’ve still got the problem of the backsplash tile in my head. So I’m thinking about what’s going to be easiest to coordinate. And what’s going to look best in the room with all the other design elements I have planned: the barnwood shelves, the utensil gate, the cookbook rack. Not to mention the built-in banquette benches. Have I mentioned those yet?
Ah, decisions, decisions! I haven’t decided yet. I’m weighing all the information I’ve gathered. Since the floor is holding everything up (more about that in another post), I’ve got a couple of weeks to think about it before the sales and promotions on the granite are over. I think my daughter and I need to go on a backsplash tile hunt. Maybe then I’ll be able to choose the countertop.
