
Tips for painting are probably completely unnecessary for most people, but I do know some folks who have never painted a room in their lives. This sort of blows my mind, because I can remember painting walls when I was very young, and since Dennis and I married 35 years ago, we have always done all our own painting, both indoors and out. Painting is the easiest of renovations, and the cheapest way to perk up a gloomy or blah room.
I love color, but not so much on my walls. I like a neutral wall so that my art pieces will show nicely, and I have six paintings/ wall hangings in my kitchen. When this kitchen was renovated twenty years ago, I chose a cream color for the paint. The paint was Color Place brand from Wal-Mart, and amazingly, it held up through twenty years of hard use. We’d have had to paint this year whether we’d renovated or not, because it was starting to look a little dingy, and I have scrubbed it off in places behind the stove, where my jams and preserves splatter, but for an inexpensive paint, I’d say it performed very, very well. For that reason, when Dennis said last week, “Hey, guess what? Wal-Mart has Color Place Country White on sale for 14 bucks and change a gallon,” I said, “Let’s grab some!” Country White is the color I put on the walls all those years ago, and while I’d toyed with the idea of changing the color a bit, I was happy enough to go with that soft cream again. It’s going to look great with my new oak floor and cabinets. I’ll just have to make sure it also goes well with whatever countertop and backsplash I choose. I’ll take a paint sample with me on a paint stick when I start the search for counters and tile.
So, my first painting tip concerns color. Whatever color you choose, be aware that if it is not very close to the color that is already on the walls, you will need to use a primer. Primer is an inexpensive base coat that helps hide the color underneath your new paint so that it does not show through. It’s less expensive to put on two coats of primer before your colored paint, if the paint underneath is either several shades lighter or darker than the color you want to paint the walls. If you don’t use a primer in this situation, you may find that you need several coats of paint, and paint is far more expensive than primer. Another option is to use a tinted primer, which the paint store or department can help you with, if you’ve got a really stubborn color to cover like black, bright red, bright yellow, dark green, or dark brown. A general rule of thumb is that the more expensive the paint, the better it covers. If you’ve got an ugly situation to fix, go for the best quality paint you can afford. It will cover better and quite possibly save you money in the long run. And if you use good paint, you can often get away with a very inexpensive primer.
Paint comes in several different sheens. There’s flat, with no gloss at all. Many people choose flat paint for interiors. I don’t like it because it doesn’t wash well, and I scrub my walls in the kitchen and bathroom, probably not as often as I should, but often enough to warrant a paint that can resist soap and water. I’d rather wash my walls and ceilings than repaint them. High gloss is usually reserved for trim paint rather than walls or ceilings because too much reflection on surfaces is distracting. So for me, semi-gloss or satin is like Baby Bear’s porridge; it’s just right. It washes well and is only lightly reflective. You’ll have to decide what sheen is right for your rooms.
Paint store or department people can also help you figure out how much paint you need if you know the dimensions of the room you’re painting. I have learned to get a little less than I think I need. Personally, I’d rather have to go back for a quart of paint than have a gallon more than I actually need. That’s because once the store tints your paint, you can’t return it. You’re stuck with it. And with the price of paint these days, especially good paint, I don’t want to fork out for paint I don’t actually need. Our kitchen measures 12’X 21’, but because we are getting new cabinets that will go all the way to the ceiling, there was no need to paint above the existing cabinets, or where the wall will be removed, or where the backsplash will be applied. We painted everything we needed to paint with less than a gallon, but we decided that we needed to give the ceiling another coat, so Dennis went back to Wal-Mart for one more can. If properly lidded and stored (don’t let it freeze!), a re-closed can of paint should last for at least five years, so this extra partial gallon will probably be enough to paint another room in the house, since this same color is on all the walls and ceilings in the house. When I find something I like, I do tend to stick with it!
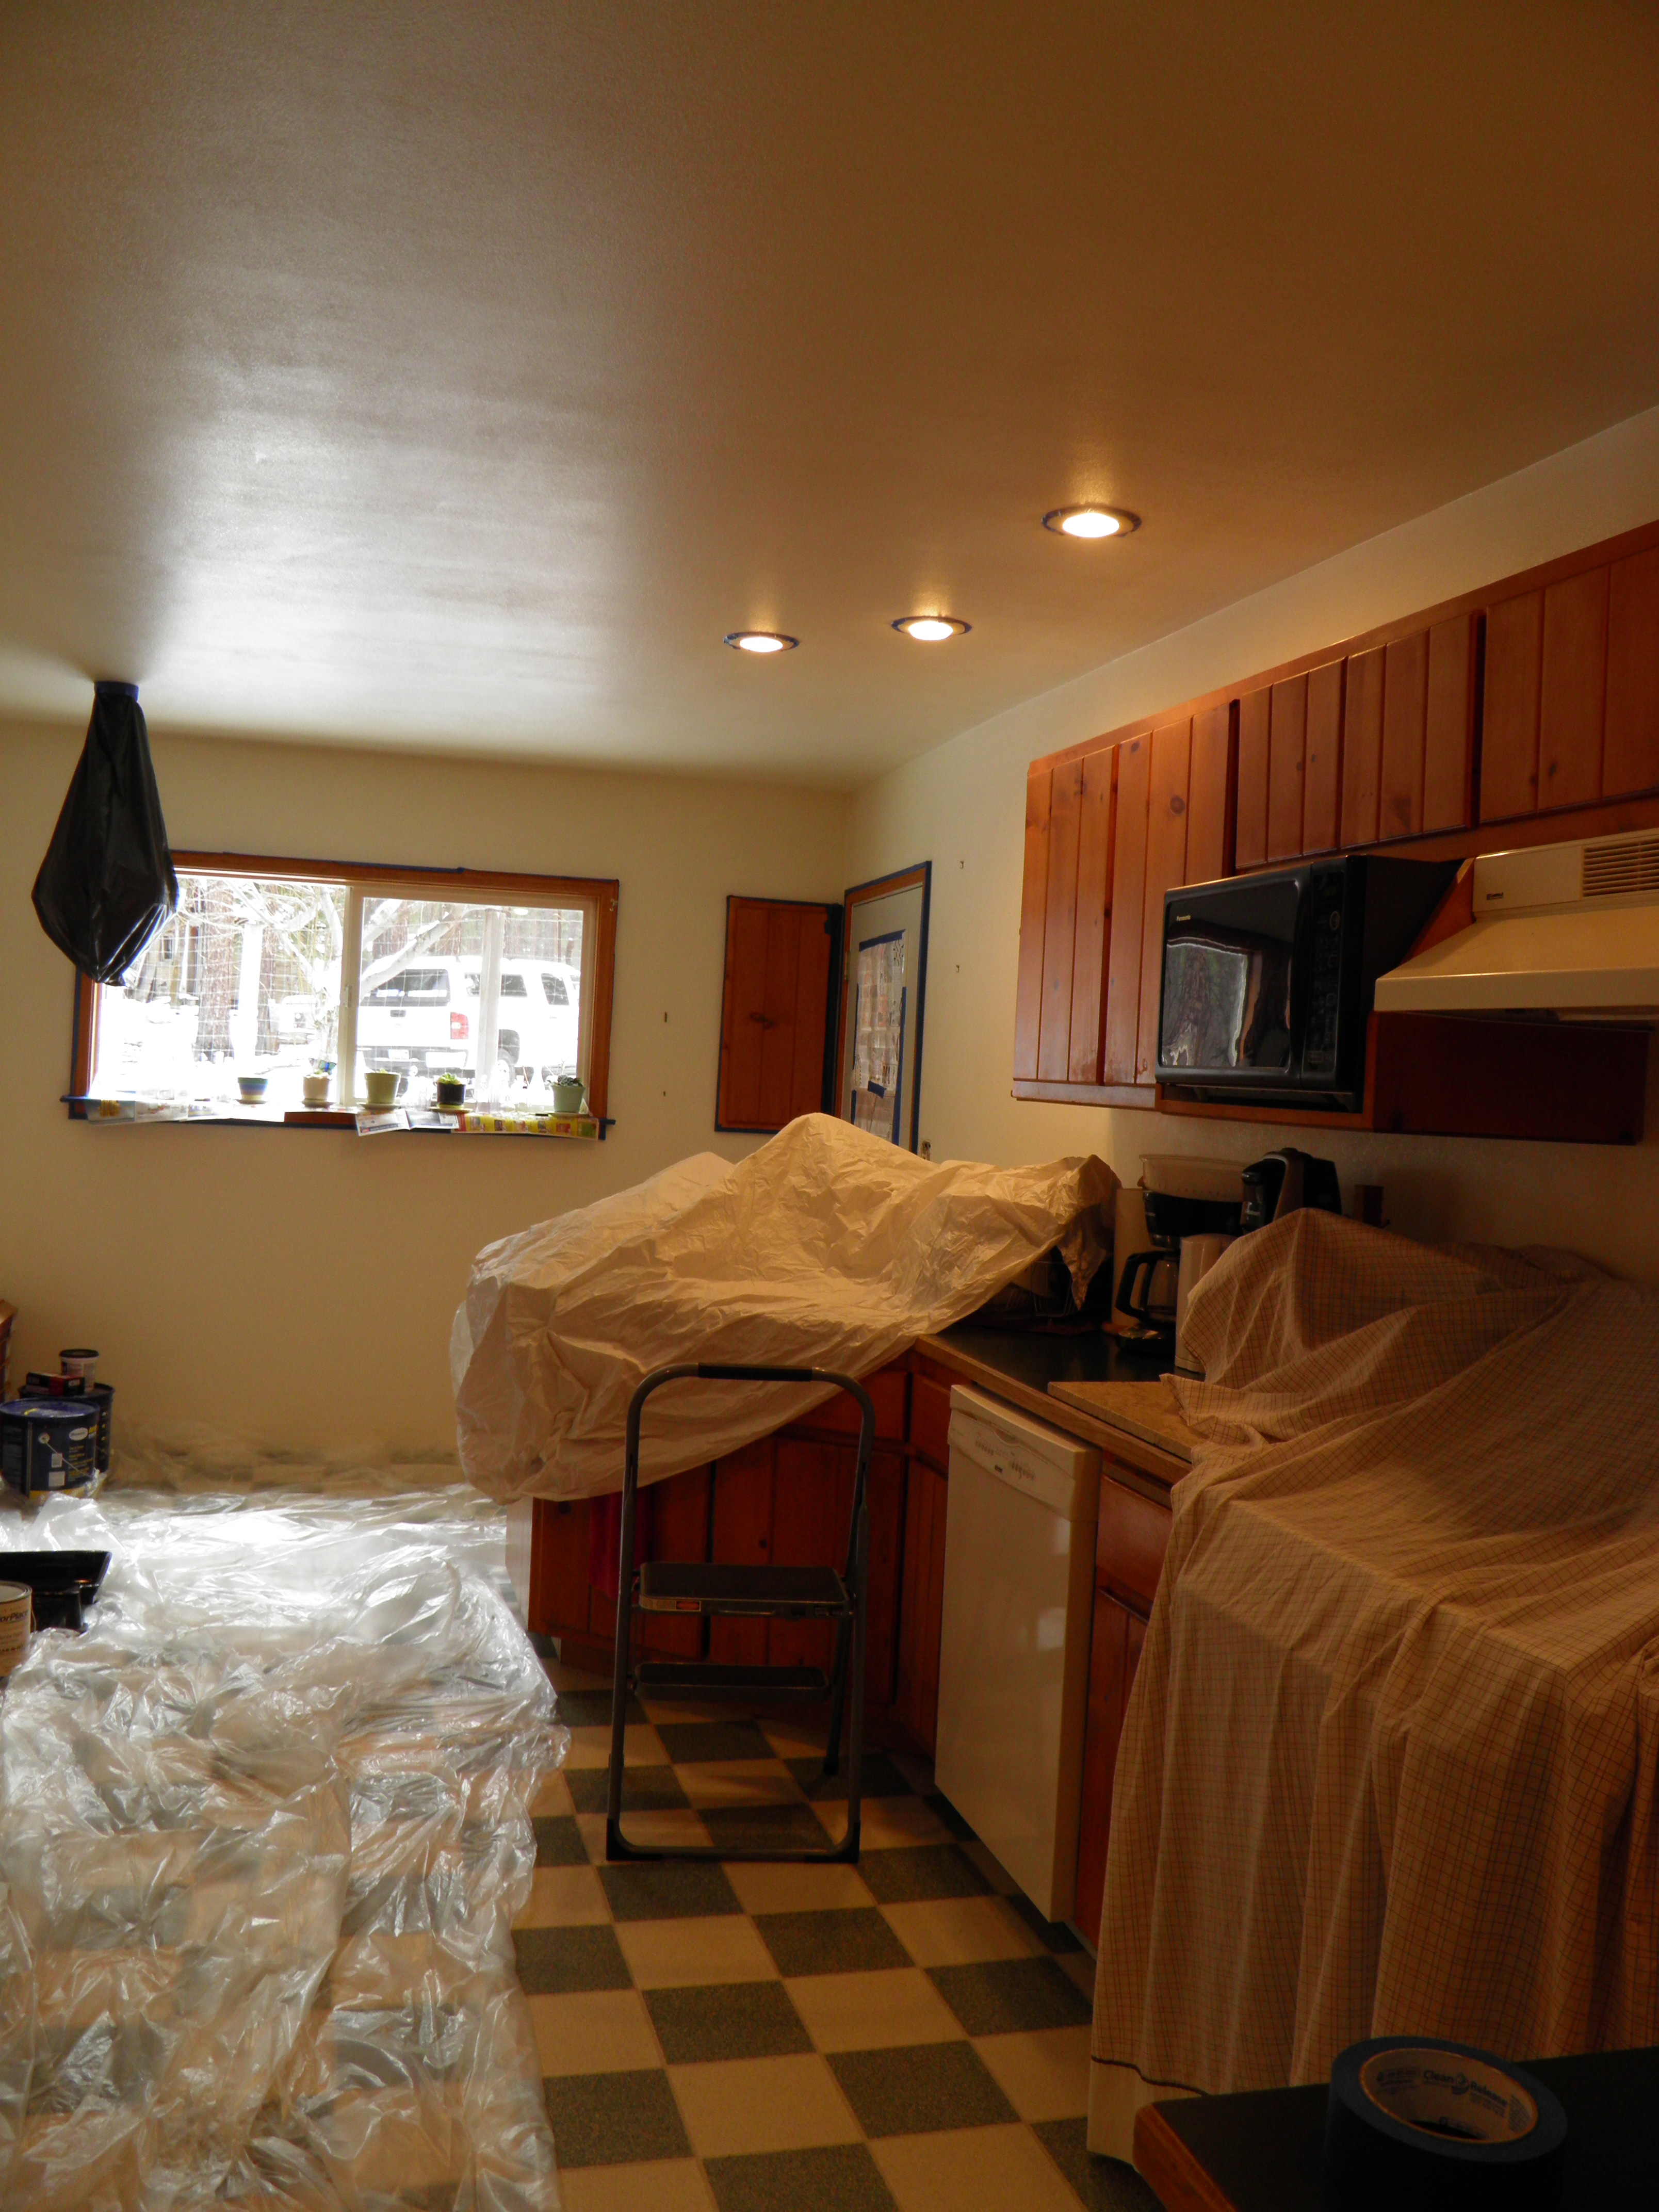
My next tip is about preparation for painting. Really, you cannot skimp on prepping unless you are a professional. They seem to know how to manipulate the paintbrush to avoid applying paint on trim, countertops, cabinets, light fixtures, switches and outlets, and oh, let’s not forget the floor, but I have learned that I need to tape off or cover those items. I love the blue painter’s tape that comes in several widths. I can choose which tape works best for which application. And I tape everything. I would rather pull tape off window and door trim than scrub off paint smears and speckles later. And if you wait too long to scrub, you’re stuck with speckles. It can take longer to tape, and to clean before taping, than it does to paint, but it is worth the effort, in my book.

OLYMPUS DIGITAL CAMERA
Before you tape, wash the walls, ceilings, and trim. Professionals often use a product called TSP (tri-sodium phosphate) for prepping surfaces to be painted. I have used this product, but I’ve found that clear ammonia works just as well, and I always have it in the house for multi-purpose cleaning. I mix about a cup to a gallon of hot water, and I don’t have to rinse after washing. Dennis uses a sponge to wash the walls; I use a rag. Change the water frequently, because the cleaner the walls are, the better your new paint or primer will adhere. Paint does not stick well to dirt. (Don’t ask me how I know this.) You might think you shouldn’t have to wash your trim if you’re not painting it, but you want the tape to stick so no paint runs underneath, and tape won’t stick to dirt or kitchen grease.
Don’t forget to tape off your baseboards unless you are replacing them or painting them the same color as the walls. We are replacing our pine baseboards that matched the old cabinets with oak ones that will match the new floor, so Dennis pulled all the baseboards. They are just pin-nailed, so they come off very easily. If you pull out your baseboards, and your kitchen is a dirt magnet like mine, you’ll need to wash that space too, because there will be a dirty line where dust sifts down behind the baseboard. Also remove the outlet and switch plate covers if you can and wash around them. You don’t want any dirt or grease to get onto your brush and into your paint. If the covers are caulked, tape them off instead of removing them. We had one that was caulked and three that weren’t! (They will all be caulked when this is over.)
Finally, cover the counters, the fridge, the sink, stove, ovens, anything else you don’t want to scrub tiny paint splatters off of, and the floor. You can buy a roll of thin plastic sheeting that works well for shielding the floors and large appliances. I have some old cotton sheets from my kids’ twin beds when they were little (boy, you can’t beat an old cotton sheet for durability) that I use for drop cloths. I also have some plastic mattress covers from the days when the grandkids were babies and some old shower curtains that I’ve saved for drop cloths. (Yeah, I’m chintzy.) When you roll a wall or ceiling with paint, tiny droplets fly off the roller and land on any surface below. If this happens, you can scrub the paint off with a plastic net scrubber and a little Dawn dish soap, and it will come off very easily when it’s fresh, but if you cover, you won’t have to scrub.
OLYMPUS DIGITAL CAMERA
When the walls and ceiling are clean, dry, and all the trim and counters, etc. are taped and covered, you’re ready to paint. Don’t forget to stir your paint thoroughly before you begin.
At this point, I should probably say a word or many about tools. Buy a decent paintbrush. A good paintbrush with a thin edge will give you a nice edge. Ask for a cut-in brush when you buy your paint. For the newbies, cutting-in refers to the process of painting the corners and around the trim with a paintbrush, because you can’t get into those spots with a roller. A good paintbrush makes painting so much easier. A good paintbrush is worth washing out. I hate cleaning paintbrushes—hate, hate, hate it, but I will wash out a good paintbrush. For some things, I use foam brushes and throw them away, but not for a big job like the whole kitchen.
I feel exactly the opposite about roller covers. There is no roller cover worth washing in my book. If you want to buy a roller cover so expensive that it must be washed out rather than thrown away, well, you go right ahead. As for me, I will stick with the cheapies that can be tossed when I’m done with them. Quite some years back, when we did the work in the living room, our friend, Lyndon, who did the drywall and texture work on the ceiling, talked Dennis into buying a lambswool roller cover. Lyndon had been a professional drywaller and painter in another life, and he swore by this thing. I refuse to use it because I will not wash it out. However, if I am painting on consecutive days, I will put my paint-soaked roller cover in a gallon-size Ziploc bag and stash it in the fridge, because if you keep the air off the cover and keep it cool, you can use it again the next day. Without washing!
I wrote a post recently about our disposable culture, but I will admit that I am glad some things, like cheap roller covers and foam brushes, are disposable.
You’ll need a ladder or a step-ladder or a bench scaffold, also sometimes called a painter’s bench. If you don’t have these things, they can often be rented at tool rental places.
If you’re painting a ceiling, and you’re scared of ladders or don’t have a tall enough one, buy a long-handled roller. I cannot handle these myself—they are just too unwieldy for me and my damaged hands, but I’m not afraid of climbing up on the ladder if I have to. Fortunately, I have Dennis, so I don’t usually have to. It helps to have two people painting, one to roll and one to do the cut-in, but I have painted many a room all by myself. I like to do the cutting-in first when I’m painting by myself, one wall at a time. When I paint with Dennis, I just try to stay ahead of him.
One more tip concerns painting the ceiling. I’m in favor of painting the ceiling the same color as the walls, because it is so much easier when you are cutting in, but this doesn’t work well when you are using a dark color on the walls and a light color on the ceiling. Unless you have really high ceilings in a really bright room, you don’t want a dark color on your ceiling. It will shrink the room. So there are tools you can buy, edgers and shields and such, or you can use a piece of thin cardboard, like card stock, which you hold up to the wall while you use a sharp-edged cut-in brush to put a lighter color on the ceiling. The cardboard helps keep the light paint off the darker walls. You can use the same piece of cardboard to shield the ceiling from the darker wall paint, so that you don’t have to cover up dark smudges on the ceiling. Make sure whatever paint is on the cardboard is dry before you switch to another color!
You will also need plenty of soft cotton rags. Old cotton underwear and tee shirts are great for cleaning up after painting, staining, finishing because they don’t leave lint behind. Always have a wet cloth handy for cleaning up drips of paint immediately. Wet paint is much easier to clean up than paint that has dried, and paint dries fast.
That’s my final painting tip. Drying times really vary depending on the type of paint you’re using, the temperature and humidity levels in the house (or outside if you’re painting the exterior), and the condition of the surface. The paint can will give you guidelines about drying times. My experience has been that it’s best to let paint dry for several hours, even overnight, before you decide if you need a second coat. Wet paint always looks streaky. Semi-dry paint often looks streaky. Let the paint dry the full time specified on the can before you re-coat, if necessary.
Dennis and I painted the kitchen on Friday and gave the ceiling a second coat on Saturday, and if this paint last as long as the previous paint job did, we shouldn’t have to do it again in our lifetimes.

OLYMPUS DIGITAL CAMERA
Painting is a lot of work, but it’s not difficult. I can’t see spending mucho moolah hiring a professional to do something that’s easily done ourselves. If you haven’t painted before, take the plunge into your first gallon of paint. It’s really satisfying to see that fresh color go up on the walls.
Did I miss anything or get something wrong? Experienced painters, chime in. Inexperienced painters, ask questions. We’ll try to answer them.
