
This is another installment in my Fun with Dairy series, and it was sparked by my friend, Gretchen, who wanted to learn to make ricotta. This past week, Gretchen came over to help Dennis and me prune our fruit trees, and we spent 20 minutes in the kitchen, making cheese out of some sour milk I had in the fridge, before going out to work on our poor little trees which have never had any real pruning done to them. They were in sorry shape. Gretchen just shook her head and said, “Oh, my,” each time we moved on to a different tree.

As we started on the cheese, Gretchen confessed to me that friends of hers were dismayed by the fact we were going to use sour milk. I used to throw sour milk away too, if I couldn’t use it all for pancakes or biscuits before it got chunky and nasty. Then I learned to make ricotta. I call this ricotta, but technically, it’s not, since true ricotta is made from whey leftover from hard cheese-making; thus, its name in Italian means “re-cooked.” The milk for this cheese is only cooked once, although I have been known to cook it twice if for some reason I thought not enough of the curds had separated from the whey first time around. This mainly happens when I use full fat milk and add heavy cream or half and half to it, which I do when they go sour on me!
You can use milk of any fat content, although I don’t recommend using fat-free milk. You don’t get much out of it. The higher the fat content, the more cheese you’re going to get. Since we usually use 1% milk in the house, that’s what my ricotta is usually made of, although sometimes I will buy milk with a higher fat percentage for various reasons and end up using it to make cheese. I always mark the fat content of the cheese on the container when I stash it in fridge or freezer, so I know which dishes I want to use it in. I like to use the lower fat cheese in my lasagna, because there is also mozzarella in it, another source of fat.
The milk/half & half/cream does not have to be sour. You can make the cheese with fresh milk. But surprisingly, after the cheese is made from sour milk, it doesn’t taste sour. I think Gretchen might have been a little skeptical about this, but I proved it to her when we tasted our final product. Perhaps it is the addition of the acid which changes the flavor, or perhaps it is the separation of fat and protein from the whey. I don’t know, but I know it works! Here’s how to do it.
First, you need a large, heavy-bottomed pot or pan, a colander or strainer that will sit up over a bowl large enough to hold two quarts of liquid, and some cheesecloth or other clean fabric that will allow liquids to pass through but will hold onto solids. (I use an old, fine-cotton pillowcase that I have dedicated only for straining cheese and yogurt.) You’ll also need a container to keep the cheese in, and a container for the whey, if you wish to save it for baking. The whey can be added to breads, quick breads, cakes, etc. in place of water, or added to smoothies. It still contains some protein.
Before you begin to cook the milk, rinse the cheesecloth in hot water and squeeze it out. Then line the colander or strainer with the cloth and place it over the large bowl. Squeeze 1 or 2 lemons, enough to make 3 tablespoons of juice, and strain out any seeds. (White wine vinegar or rice vinegar, unflavored, can be substituted for the lemon juice if lemons are not in season.) I recommend doing this prep work before you start heating the milk, so you don’t get distracted and let the milk scorch.
Place the milk (with any cream-type additions you want to make) in the pan or pot. To two quarts of milk, add 1 teaspoon kosher salt. (Cut down the amount of salt and lemon juice or vinegar proportionately if you have less milk). Turn the burner on medium to medium-high, and stir the milk with a wooden spoon. Stir frequently to prevent the milk from sticking and scorching on the bottom. It’s best to babysit the milk fairly closely. A bit of sticking isn’t a problem, but if the milk scorches (that is, if you start scraping black fragments up from the bottom of the pan), it will ruin the cheese. I am a champion multi-tasker in the kitchen, but this is one preparation that can go south on you pretty quickly if you step away while it’s cooking. Yes, I learned this the hard way!
Bring the milk to a full, rolling boil, stirring continuously once it really starts to heat up. Drizzle in the lemon juice or vinegar, reduce the heat to medium-low, and cook until the white curds separate from the yellowish whey. The lower the fat content of your milk, the smaller the curds will be, and the higher the fat content, the larger the curds. It may not look like you have much cheese until you strain it, and then you’ll be surprised.
You only need to cook the mixture until you can clearly see the separation of curds and whey, and this usually only takes 3-5 minutes after the addition of the acid, whether lemon juice or vinegar, or a combination of the two. I combine lemon juice and vinegar frequently when I have not quite enough juice from one lemon and don’t want to cut another just for a teaspoon or so of juice. In this case, I’ll add a teaspoon of rice vinegar or white wine vinegar to make up the difference. I have even added a teaspoon of bottled lemon juice.
At this point, I will add a caution. You can use bottled, reconstituted lemon juice for this instead of fresh lemon juice, but you may find, as I have, that it takes more bottled juice to separate the curds from the whey. I think this is because when you squeeze a fresh lemon, you’re getting some of the oils from the peel into the juice, and this bumps up the acidity level. I have tried my homemade apple scrap vinegar as well, and it was not acidic enough. I had to add rice vinegar that time to get the curds to separate.
When the curds have separated from the whey (and the whey will look yellowish but still a little milky), carefully pour off the mixture into the cloth-lined colander or strainer. If your bowl isn’t big enough, you may have to pour off some of the whey that drains through right away. Be careful and watch out for tipping and spillage. (You can tell by my cautions what kinds of accidents I’ve had, right?)
It only takes a few minutes for the whey to drain away from the curds if you have the right cloth in your strainer. The longer you leave the cheese to drain, the harder and more solid it will become. I have gone on to other things and left my cheese to drain several hours, and it becomes a brick! 10-20 minutes is about right to get a nice, soft, spreadable cheese, if you wish to flavor it with herbs, lemon zest, and garlic and spread it on crackers or crostini. If you let the cheese drain too long and it gets too hard and dry, you can always mix a bit of whey back into it to get it to the consistency you want. Let it cool to room temperature, and then put it in an airtight container. It can then be stashed in the fridge for immediate eating (it’ll keep a week) or in the freezer for future use. The whey also can be refrigerated for a week or longer (throw it out if it gets moldy) or frozen. Some people also dehydrate whey for protein powders, but I have not tried this. Remember that this whey is acidic and contains some salt, so that take that into account if you decide to bake with it or use it in smoothies.
I mostly use my homemade ricotta for making my Roasted Eggplant Lasagna, which is my all-time favorite Italian comfort food. In this recipe, the ricotta is mixed with eggs and parmesan cheese to create that creamy, thick layer in the lasagna, so I often let my ricotta drain past the spreadable stage, so there is less moisture in the lasagna. However you use your ricotta, I promise you, you’ll enjoy it. Just ask Gretchen. She’s the one holding the cheese in the picture below.

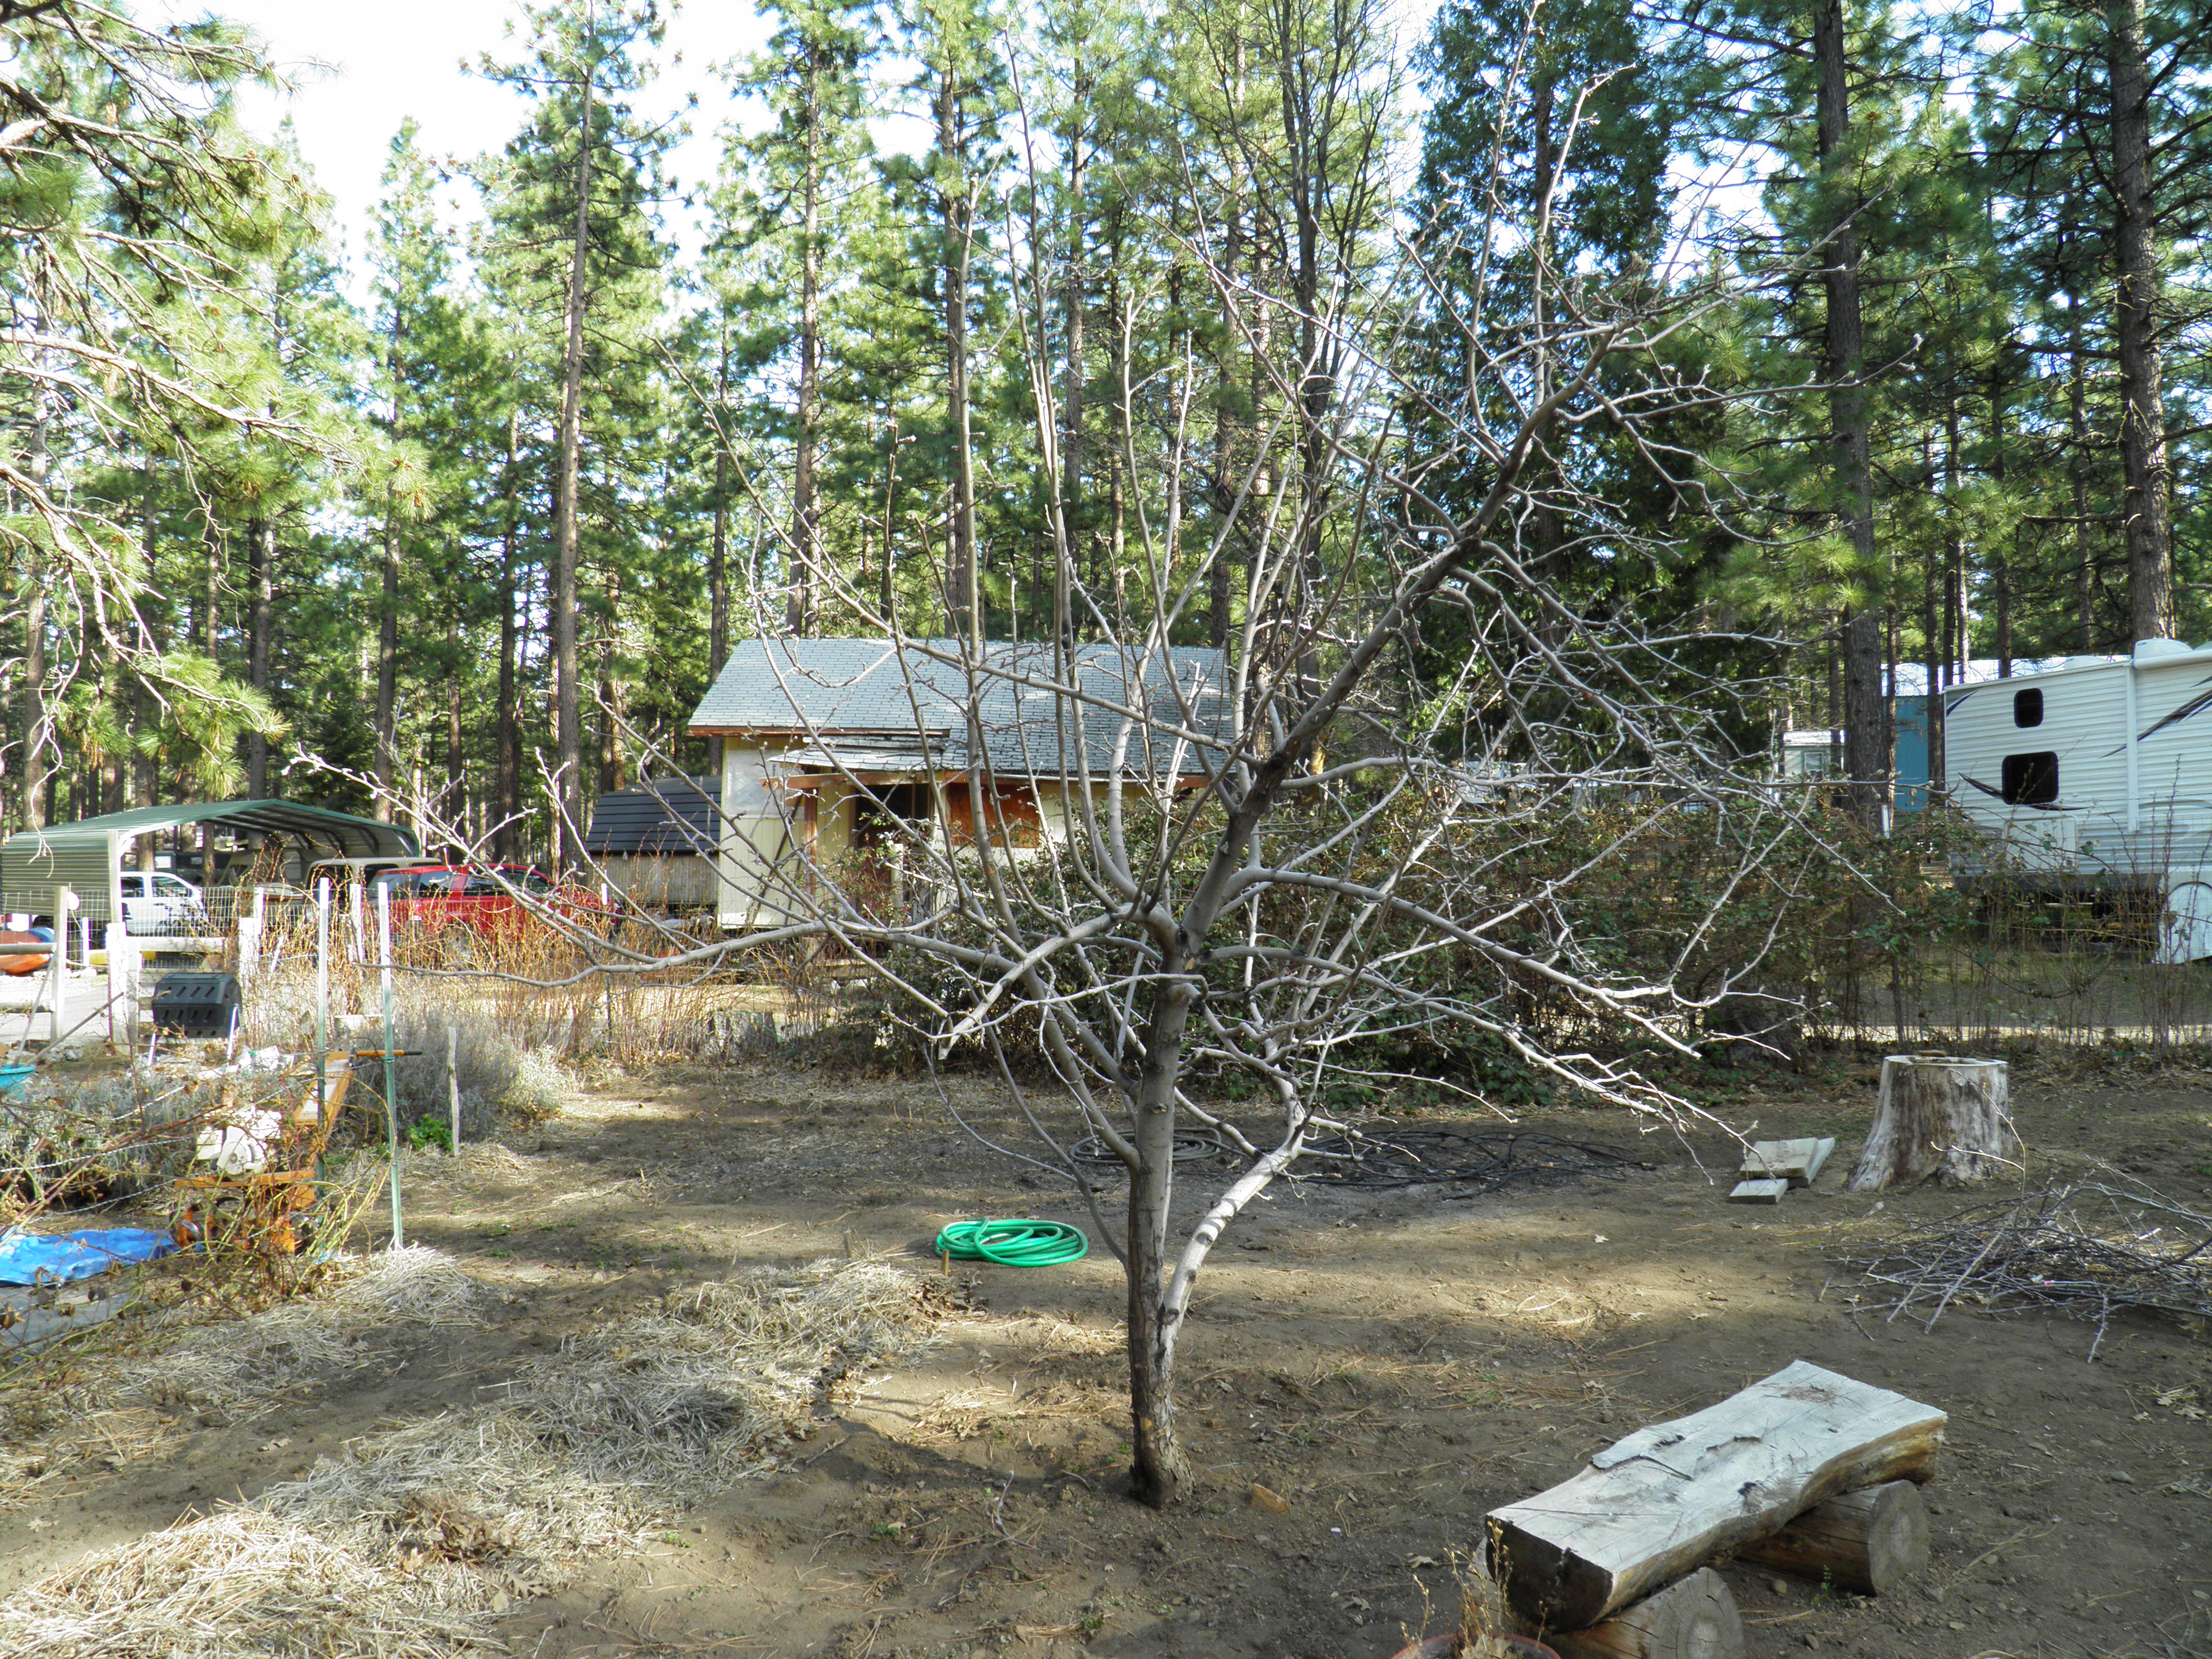
Thanks to Gretchen, our fruit trees look a whole lot better now too! I am hopeful that those poor, neglected trees down in the back will take heart and begin to be more productive as they get healthier. As for the little pie apple tree in the garden, while it might not bear quite as many apples this year, I’m betting the apples will be larger and the tree will maybe even start to straighten up now that it’s been pruned. I’m looking forward once again to apple pies, applesauce, and apple butter in the fall. And it hasn’t even bloomed yet!

Can’t wait to try this! I have never made cheese, but think about it once in a while. I know I’ll be hooked once I try it! Thank you for the great descriptions / instructions.
This is easy cheese! You’ll love it, Shari.
Pingback: Homemade Yogurt | Garden, Forest, Field
Pingback: Crab and Ricotta Jalapeno Poppers | Garden, Forest, Field
Pingback: Rendering Bear Fat | Garden, Forest, Field