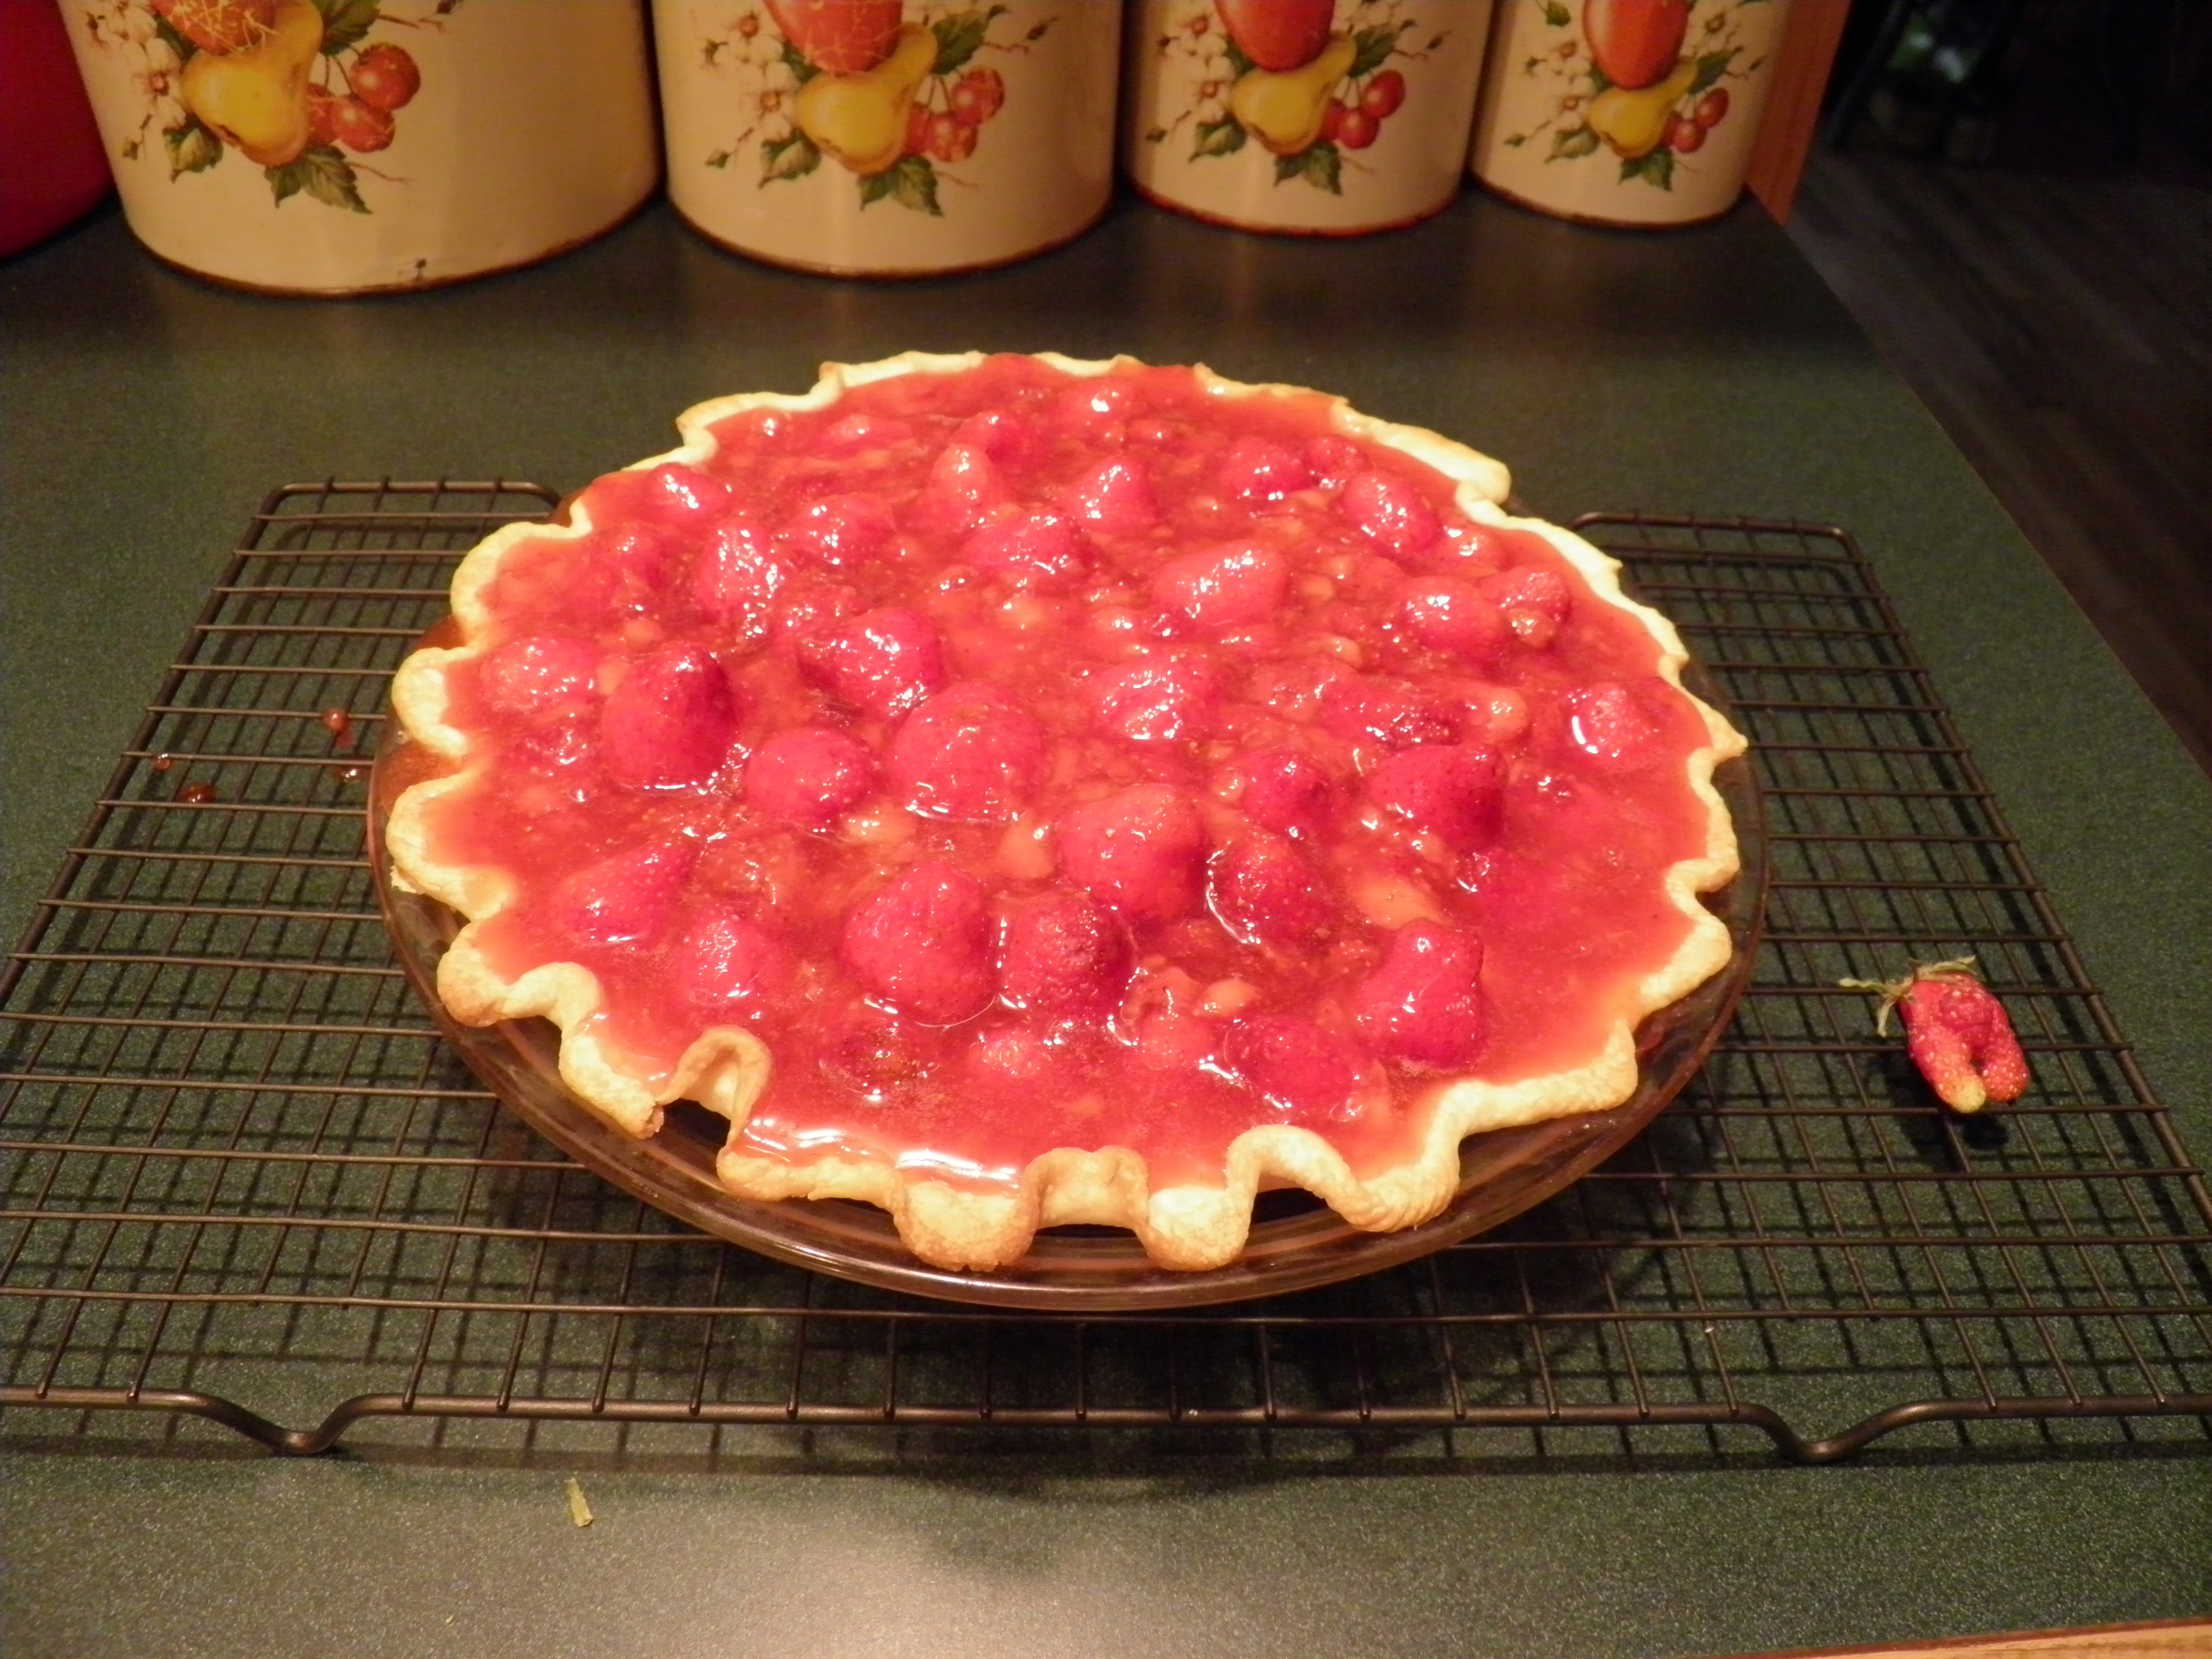
Strawberry shortcake, strawberry milkshakes, strawberry jam, strawberry pie: need I say more?
There are two crops I think everybody should try to grow, if they possibly can. One is tomatoes, and the other is strawberries. The flavor of homegrown in these two instances is so far superior to anything you can buy in a store, it’s well worth your time to give them some space. If you live in an apartment, tomatoes in pots on a balcony are easier than strawberries, but strawberry jugs and pyramids make growing in small spaces possible as well. If you have backyard space, however, consider devoting some of it to strawberries. I’ve tried several different methods of growing strawberries, and I’m still experimenting with ways to make cultivation and harvesting easier, but over the years, I’ve learned a few things you can do to make planting, harvesting, and renovating your strawberry patch easier.
Late summer or fall, after the worst heat has subsided and at least a month before any freezing temperatures, is a good time to plant. Your plants will have time to root deeply and establish themselves before winter. You can also plant in early spring. But first, you have some prep work to do.
Amend your soil
Work some old leaves, rotted straw, and compost into the soil now, before you plant. Once your patch is established, it’s harder to fertilize and mulch it naturally. It’s easy enough to sprinkle commercial fertilizers on your berry plants in spring, but after you’ve gone to all the trouble of planting for flavor, you wouldn’t want to do that. So enrich your soil now with all the good stuff that will feed your plants and help keep moisture in your soil, and the following year, you can fertilize with good, organic fertilizers like Dr. Earth and fine-screened compost, which can be broadcast and watered in.
Construct raised beds or rows
Next, rake and shovel your soil into raised beds (which can be framed in with old lumber, discarded fence posts, old doors, or even bales of straw or spoiled hay) or raised rows. Make the beds or rows as high as you can, but make sure if you’re using raised beds, that they are narrow enough so you can reach across to the middle from all sides.
If you want to haul in topsoil to help construct your raised beds or rows, mix your compost, etc. into the soil in a wheelbarrow, and then construct your raised rows or fill your raised beds out of the enriched soil. If your beds are more than two feet deep, don’t waste money filling them all the way with topsoil. Strawberry roots are fairly shallow. Use a cheaper, lower grade fill dirt on the bottom of your beds, and fill the top two feet with your amended soil. You’ll add organic matter to your beds every year, and gradually, that fill dirt will be transformed to better soil by earthworms. Just try to make sure the fill dirt doesn’t contain any large rocks, in case you ever take your beds apart for some reason.
The most frustrating thing, to me, about growing strawberries is how quickly they become overgrown, making it difficult to get in to pick the berries without stepping on some. To counteract that tendency, make the space between your raised rows wide enough to run a tiller between them. This isn’t as much of a concern if you are using high, framed, raised beds. If you don’t have a tiller, you don’t need to put as much space between your rows, but you will eventually have to dig up plants to get in to pick your berries, unless you don’t care about trampling on rooted runners which will be bearing fruit! When your rows are as high as you want them or your raised beds are filled (I suggest at least two feet high, and three is even better), you’re ready to plant.
Buying plants
Don’t buy bagged roots from nursery catalogs or in the garden departments of the big mega-stores. You know the ones I mean. Strawberries are really rather fragile once their roots are exposed. Those bagged roots dry out, and then they won’t give you a live plant, no matter how much love you give them. I’ve given away and sold strawberry plants for some years, and people tell me that their success rate with the bagged roots is very low, whereas working with freshly-dug plants makes a world of difference. If you can’t get freshly-dug plants from a friend or neighbor or local grower, buy a flat or two from a local nursery. They’ll have already been transplanted once, so they’re going to endure a double shock, but that’s still better than bagged roots.
Always buy plants that are recommended for your area. One reason to get them from a friend or neighbor or local grower rather than ordering from a catalog is that you’ll know they are right for your area. I also recommend a mix of June-bearing and ever-bearing plants. With June-bearers, you’ll get a heavy harvest in June, which is great for putting up jam, freezing, etc. With ever-bearing varieties, you’ll get berries all summer long, right up to a hard freeze in late fall. Berries from June bearers tend to be larger and more like the berries you see in grocery stores, although again, the flavor of home-grown cannot even be compared to the hard, red, flavorless wedges of store-bought that need a ton of sugar to taste like anything. Ever-bearing varieties tend to produce smaller berries, but the flavor and scent of them is well-worth devoting the space. They don’t produce as large a harvest, but you’ll get berries for fresh eating longer than with June-bearers. However, it’s best to keep them in separate rows or beds for future plant maintenance.
Finally, don’t buy too many plants. It’s tempting to want to fill that raised bed or row to its maximum capacity all at once. Resist that temptation. Your plants are going to reproduce the first year, and you will at least double your numbers of plants by fall. How’s that for return on investment?
Ready to plant
When it’s time to plant, dig shallow depressions about a foot apart in the tops of your raised rows or beds and settle your plants in place with roots spread. Cover just the roots, not the crown of the plant, where the leaves emerge. If you cover the crown, your plants could rot. Keep them moist, and don’t worry too much if they wilt a little. They should recover if you don’t let them dry out. The earlier you plant in spring or the later in summer when the heat has subsided, the less transplant shock your plants will have to endure. But don’t expect berries the first year, except maybe a few from your ever-bearing varieties. Some people pick any blossoms off the first year to let the transplants focus their energy on rooting, but I don’t do this. I believe in letting plants do what nature designed them to do, and strawberries want to bloom and run. The first thing your plants will want to do is run.
Keeping your beds manageable
Strawberries reproduce two ways: by seed and by runner. The plant will send out a long stem along which one or two or even three new plants might form. These plants will root and sometimes send out runners themselves the first year. You’ll have to do some space management to keep your berry patch easy to pick. Don’t let the runners root in the path between rows. If you do, in a year, you’ll have a strawberry jungle on your hands that’s a nightmare to harvest. (Yes, I speak from experience!) Move the runners to position the new plants in between the ones you transplanted. You can let the runners root down the sides of the rows as well, but then the next year, you’ll have to watch out for path creep.
This is where the advantage of raised rows or raised beds becomes clear. Years ago, I planted a strawberry patch with my granddaughter, who was just a little over a year old at the time. I didn’t have the energy or resources then to create raised rows, so I just planted the berries in rows two feet apart in a patch about 8X8 square. I put flatrock stepping stones down the paths between the rows. And at the end of that first year, I couldn’t even see the stepping stones because the plants had run so much. For seven years I struggled to maintain and pick that patch, and as my back problems grew worse and worse, it got harder and harder to deal with. I didn’t want to give it up because I had such wonderful memories of Kaedynce digging holes and playing in the dirt with me. But two years ago, when the pain of picking outweighed the pleasure, I gave in.
I asked my husband to build some more raised beds from the redwood and juniper fence posts that we’d pulled from old cross-fencing on the property. The ends had rotten through, but most of the posts were still sound. We’d been building raised beds in the garden, a few every year for several years, to make it easier for me to do the growing I love, but we were almost out of materials and didn’t want to buy brand new posts. So he built two low beds that I could pick by sitting on the lowest rails, and I filled them with about 60 strawberry plants from my original patch which had grown together so badly I couldn’t tell the June-bearers from the ever-bearers. Of course, they promptly began to run down the sides of the raised beds and root in the ground. But now I can have Dennis till the area around the beds when necessary. I have also been giving away and selling off the extras locally to people who want to start their own strawberry patches.

Spring tune-up
There are a couple more things to do to help make your strawberries more productive. Early in spring, before new growth gets underway, rake the old leaves off your strawberry plants. They’ll be crispy and dry if you’ve had a few sunny days without snow or rain, and you can compost these leaves as long as your plants aren’t diseased. (I have to say, I can rarely get out to the garden early enough in spring to get the raking done. Seems like there’s always snow on the ground, or I’ve got something more pressing to do. You can skip the leaf removal step if necessary and still get a good crop of berries, but I include this because it is good practice.)
After raking off the old leaves (or even if you don’t rake off the old leaves!), broadcast a good, organic garden fertilizer, like Dr. Earth, and fine compost, every year. If your plants are as thick as mine, you won’t be able to work the fertilizer into the soil, but a good soaking will help the fertilizer penetrate the soil and get to the roots. If you put the old leaves back over your bed, along with shredded oak leaves or loose straw, for example, this mulch will help retain moisture in your soil through the late spring and summer months. Don’t mulch if you have slug problems. Mulch only gives the slugs a moist, cool place to hide in the daytime. (Then they come out at night and eat your berries.) After fertilizing, sit back and watch your plants grow new leaves, begin to bloom, and in early June, most likely, you’ll start getting ripe fruit. And about that time, your plants will develop runners. Again.
Ongoing maintenance
The thing to remember about runners is that they are the future of your strawberry bed. I’ve found that this summer’s runners won’t bear much fruit next year. It will be the following spring before they hit full production. Don’t let your strawberry patch outrun itself. Your beds should always be a mix of mature, bearing plants and young plants that will bear the following year.
In two or three years, you’ll need to go through the raised beds early in spring and pull out the oldest plants with the largest crowns. After some years, the plants just aren’t that productive. And this culling makes room for younger plants which will be more productive. Some experts advise renovating your strawberry beds right after the June harvest (for June bearers), but at that point, I’m picking raspberries. My strawberry beds sit until I have time to get to them. They don’t seem to mind.
I don’t renovate every year; I simply haven’t the time or energy. I renovate when the beds are obviously too crowded or the yield seems lower than it should be, and I usually do it in fall, or early spring for the ever-bearers, instead of right after the June harvest.
I hope you enjoy your strawberry patch as much as I do mine. Strawberries are the first fruit of the season for most of us who grow our own, and after a winter of oranges, apples, and bananas, I’m always ready for them. We eat our fill, and I freeze what we can’t eat to make strawberry jam and strawberry pies, which just might be the subject of a future blog.